How to Make a Nightstand

"This project was such an accomplishment, and I can’t wait for you to feel the same sense of achievement."
Materials
This project was inspired by the Big Sur Collection from Crate and Barrel. I absolutely loved the chunky, big-beam look of the bedroom set, but was less than enthused about the idea of spending nearly $5,000 on two nightstands and a bed frame. So, naturally, I decided to make my own version of the Big Sur—at a fraction of the cost.
In part 1 of this series, I’m walking through the nightstand, which retails for $799—I built two for about $100 each. The nightstand is built to the same dimensions as the Crate and Barrel one it’s inspired by, but in a happy accident sort of way, I took some liberties and changed up the design throughout the building process. In the end, I was happier with the finished product than I was with the original thing I was trying to copy, all thanks to one tool: the Kreg jig. It’s an amazing device that enables seams in a design without a lot of visible holes for nails and screws. There’s something magical about knowing that everything is holding together in there, but you can’t see it. This project was such an accomplishment, and I can’t wait for you to feel the same sense of achievement.
I wanted a thick, sturdy look, so I went with an easy-to-find, four-by-four Douglas fir post for the legs of the nightstand. These posts are green lumber which means that you're going to need to let them dry out inside for a couple weeks before you start building. This will help them avoid warping and cracking later on. I also used Rainier plank (pictured below). Rainier plank is essentially the veneer of old-growth Douglas fir backed with new-growth Douglas fir; the result is a gorgeous top over a glued-together bottom (kind of like plywood). I love Rainier plank because it’s more affordable than clear vertical grain Douglas fir, but it looks the same. And, because of the way it’s manufactured, it’s actually stronger than old-growth Douglas fir. Let’s get to it!
Step 1: Gather Materials and Make Cuts
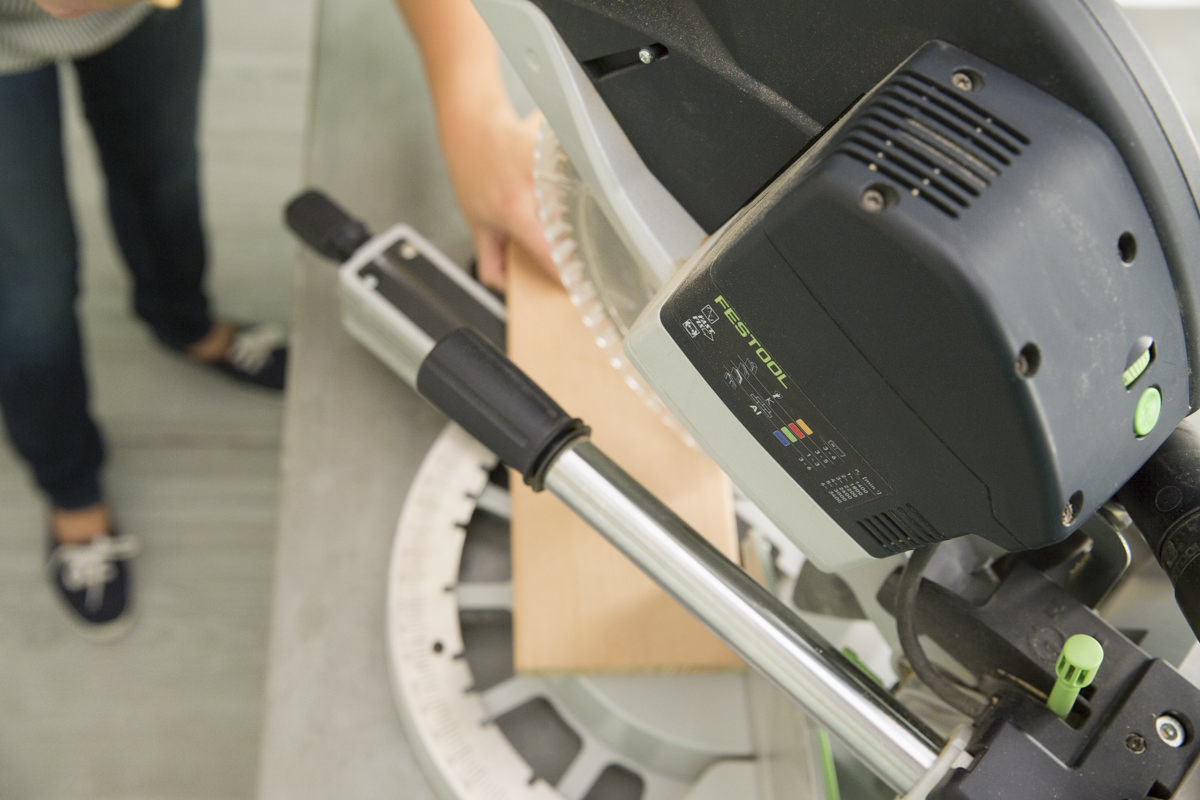
Once you’ve gathered your lumber, make your cuts.
Cut your four-by-four into four 22 1/4” pieces. These will be the legs of the nightstand.
Cut your one-by-eight to a 15” piece. At 45 degree angles, cut the one-by-six board to fit around the 15” piece. This will make up the top shelf of the nightstand. Repeat these steps for the bottom shelf, then mark 3 1/2” in from the point of each of the one-by-six boards and make a cut at a 90 degree angle. This will create notches in the shelf to fit around the four-by-four legs.
Hang onto your one-by-three piece; we’ll cut this to fit snug into the finished design later as a “skirt” just below the tabletop of the nightstand.

Step 2: Sand
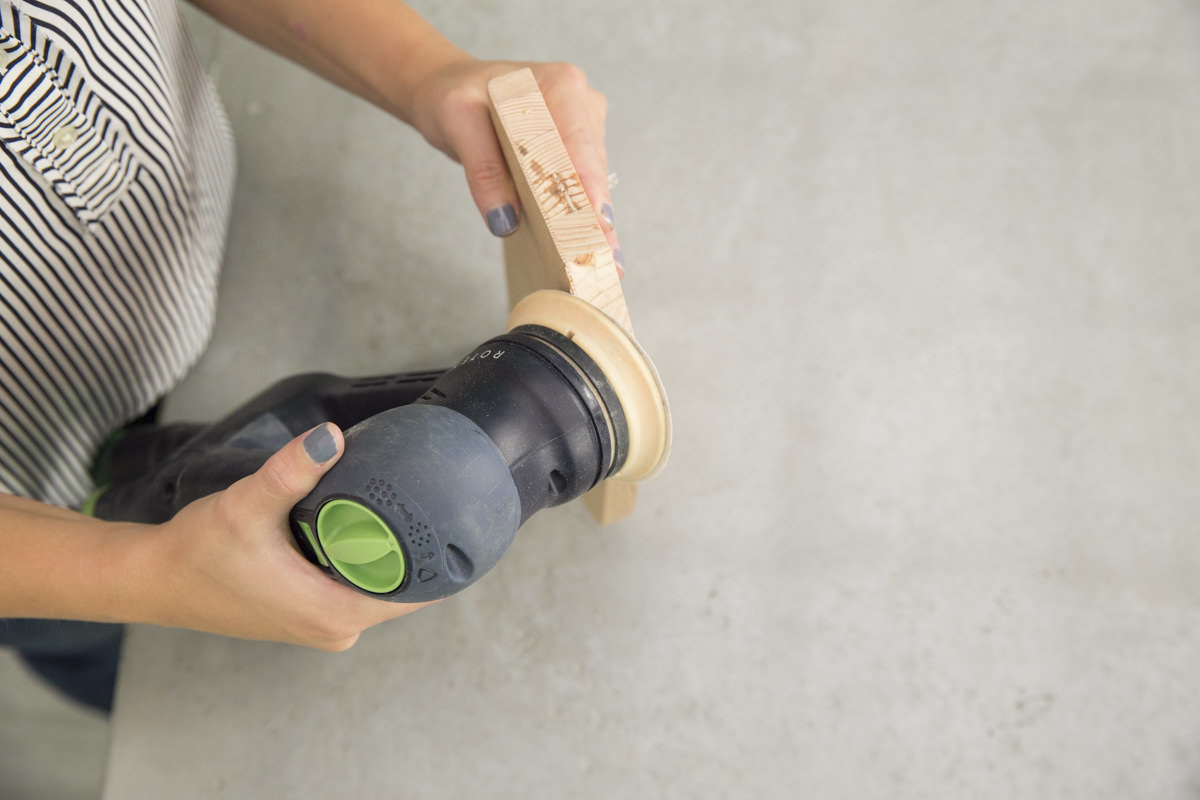
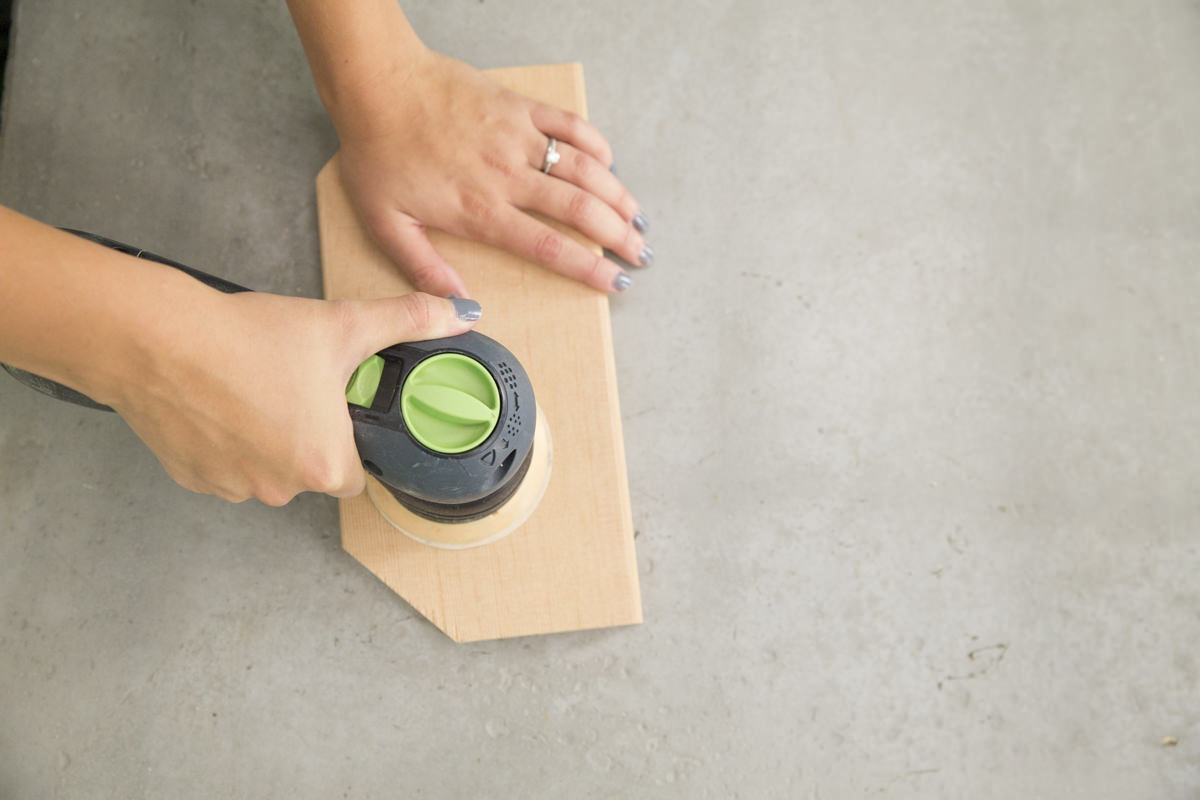
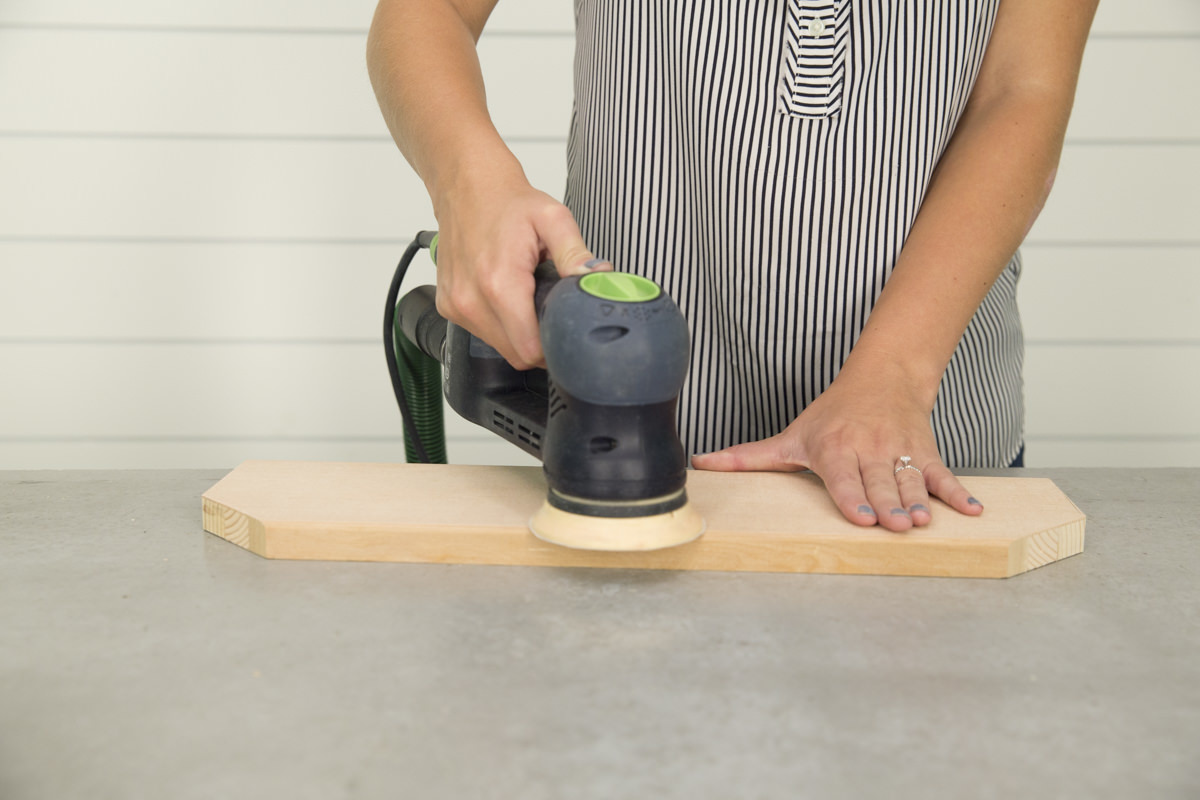
Next, sand each of the four-by-fours, starting with 80-grit sandpaper and moving your way up to 150-grit. Then, with the 150-grit sandpaper, sand each of the shelf pieces. Leave the sanding of the one-by-three until we’ve cut it to size later.
Step 3: Pre-Drill Holes
Download the pre-drilling diagram to get started.
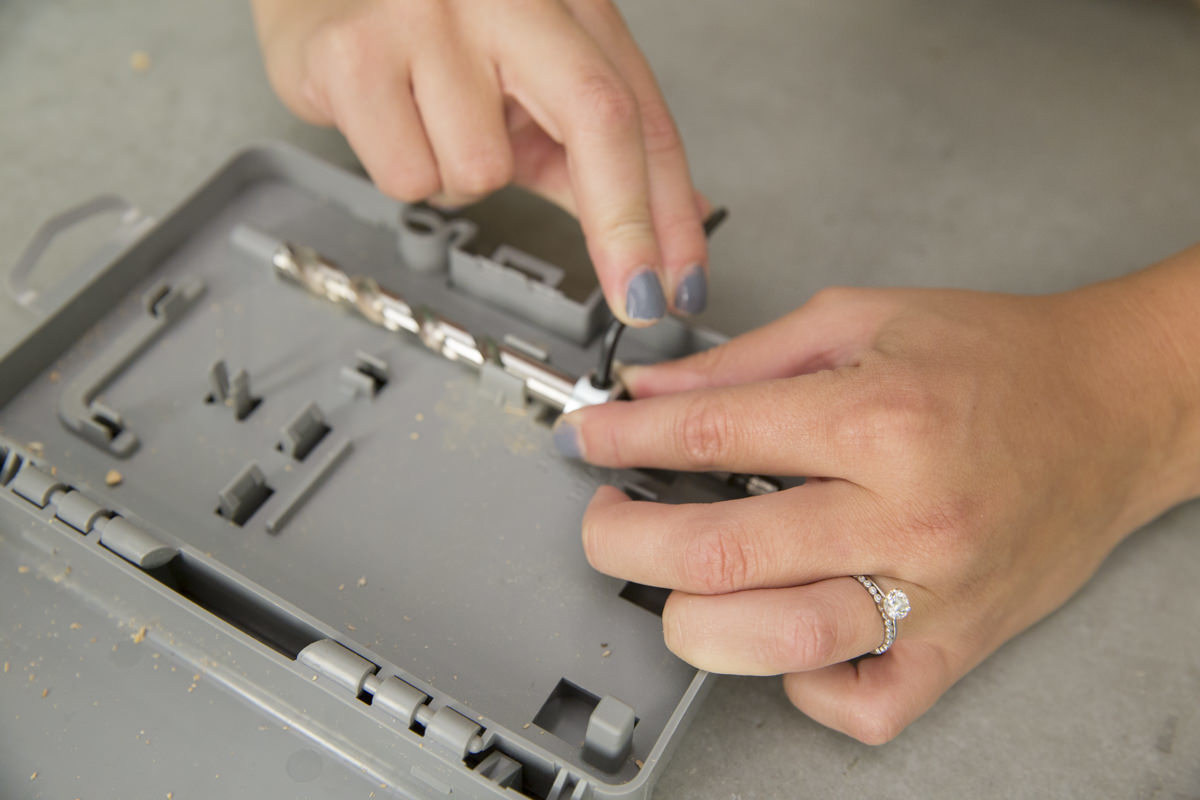
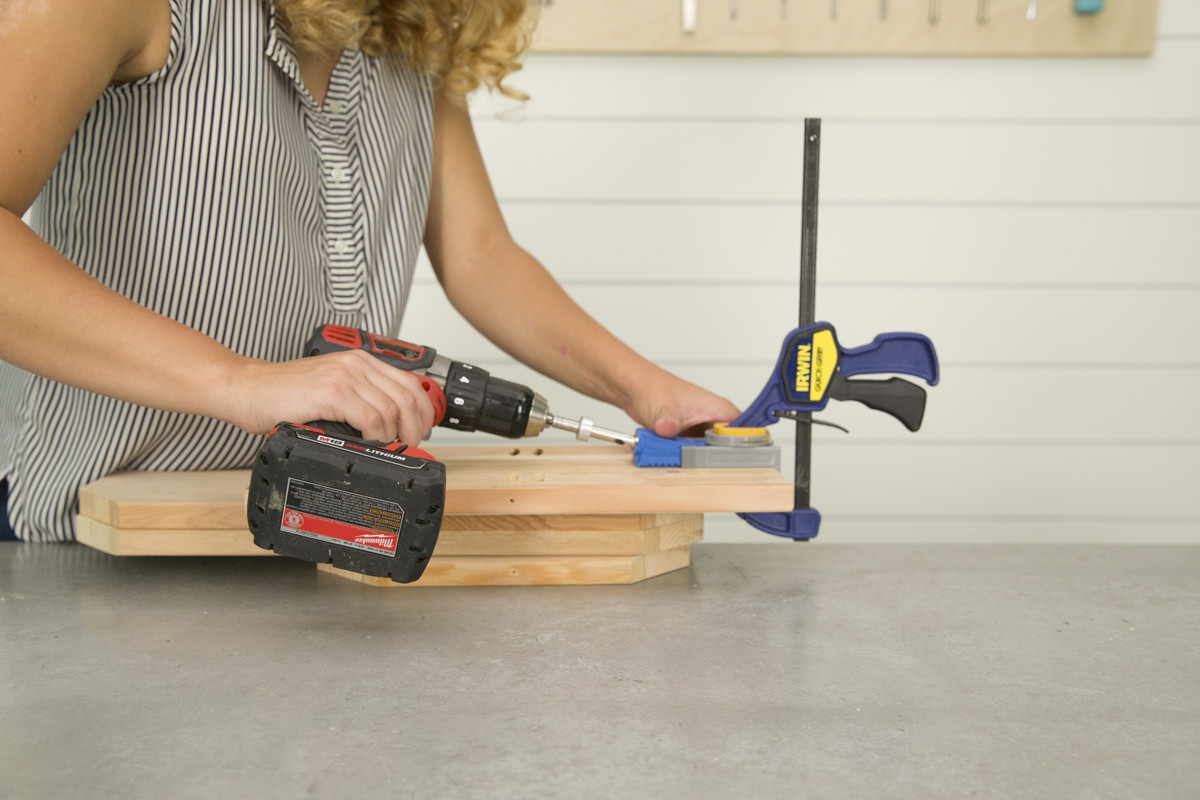
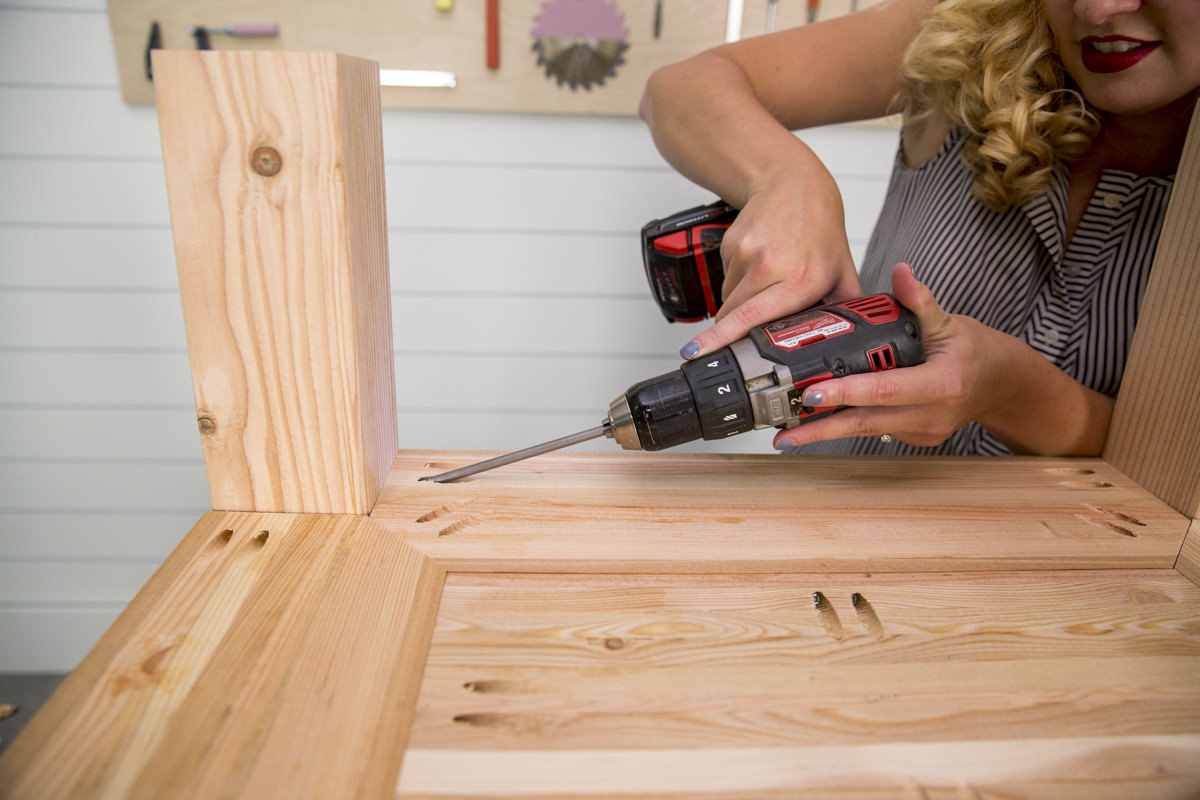
One of the things I love about the Big Sur Collection from Crate and Barrel is the lack of exposed hardware. This is where the Kreg jig comes in. The Kreg jig is incredible handy, but it’s also a bit of a pain. It’s surprisingly difficult to pre-drill into Douglas fir with a Kreg jig, but I do have a trick that makes it easier: use an impact driver, and keep an eye on the ring around the drill bit. When the impact driver is doing its job and making that heavy clicking sound, the mechanism can dislodge the ring around the bit that shows you how deep you’re supposed to go. After making this entire bed set, I came to the realization that a piece of tape in place of the ring was a much more secure and preferable option.
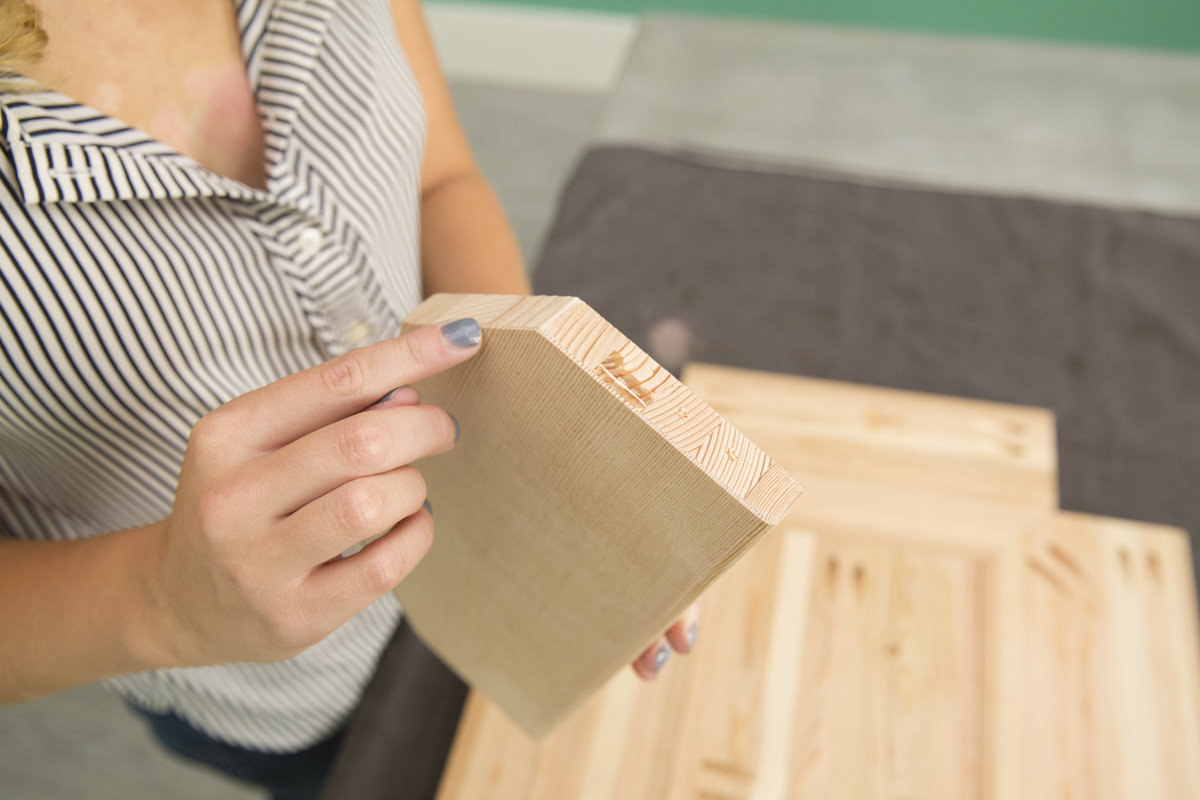
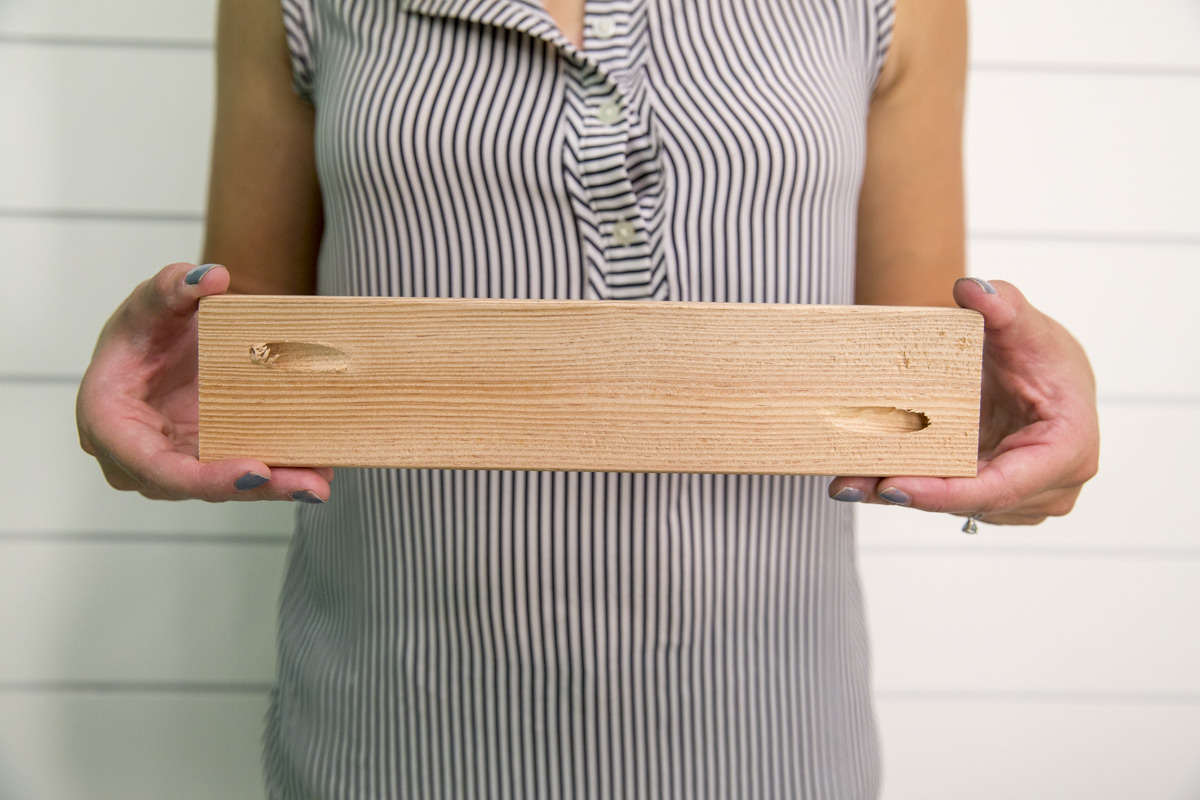
Set the Kreg jig to 3/4”. Pre-drill holes on all four sides of your one-by-eight pieces. Next, pre-drill holes on the diagonal sides of the one-by-six pieces for the top shelf and bottom shelf. On the top shelf, use your Kreg jig away from the outside corners; that’s where the posts will be. On the bottom shelf, drill holes with the Kreg jig on the outside corners. Pre-drill holes on the top inside corners of the legs.
Step 4: Secure Shelf
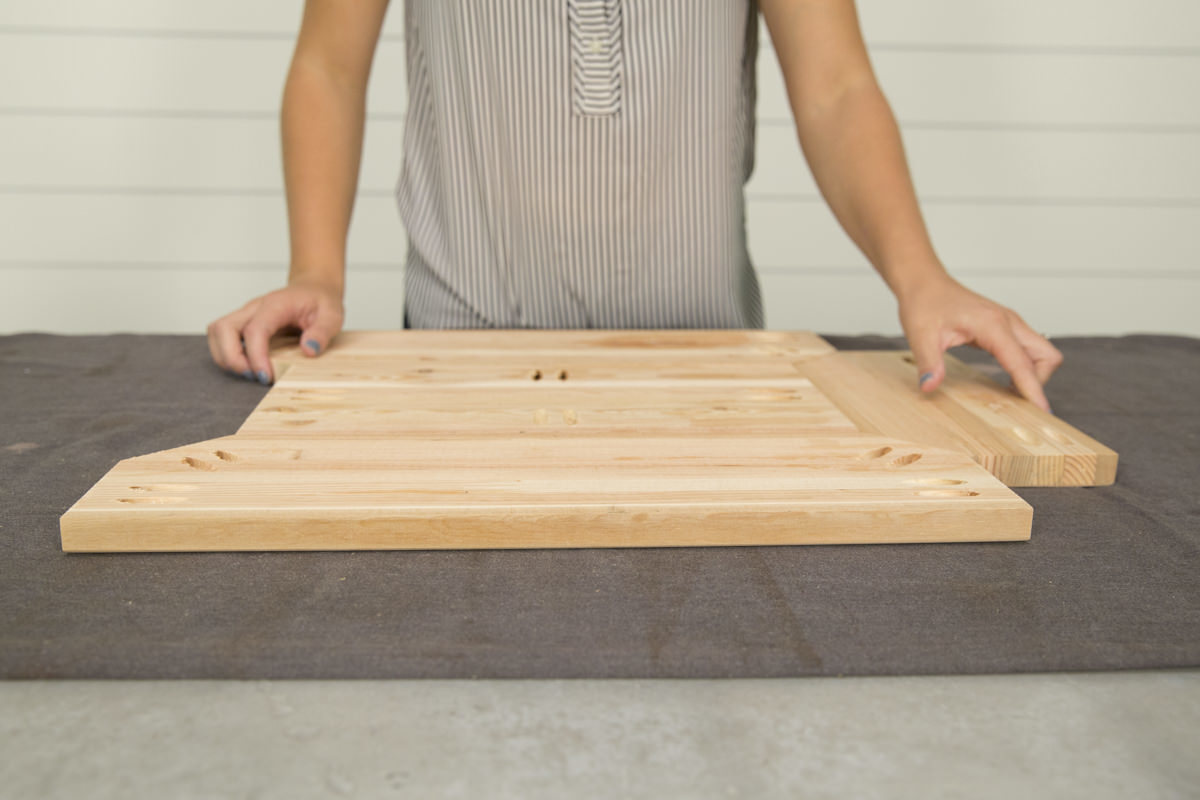
Once you’ve pre-drilled your holes, it’s time to start assembling. On a soft, flat surface, secure shelf pieces together with 1 1/2” Kreg jig screws.
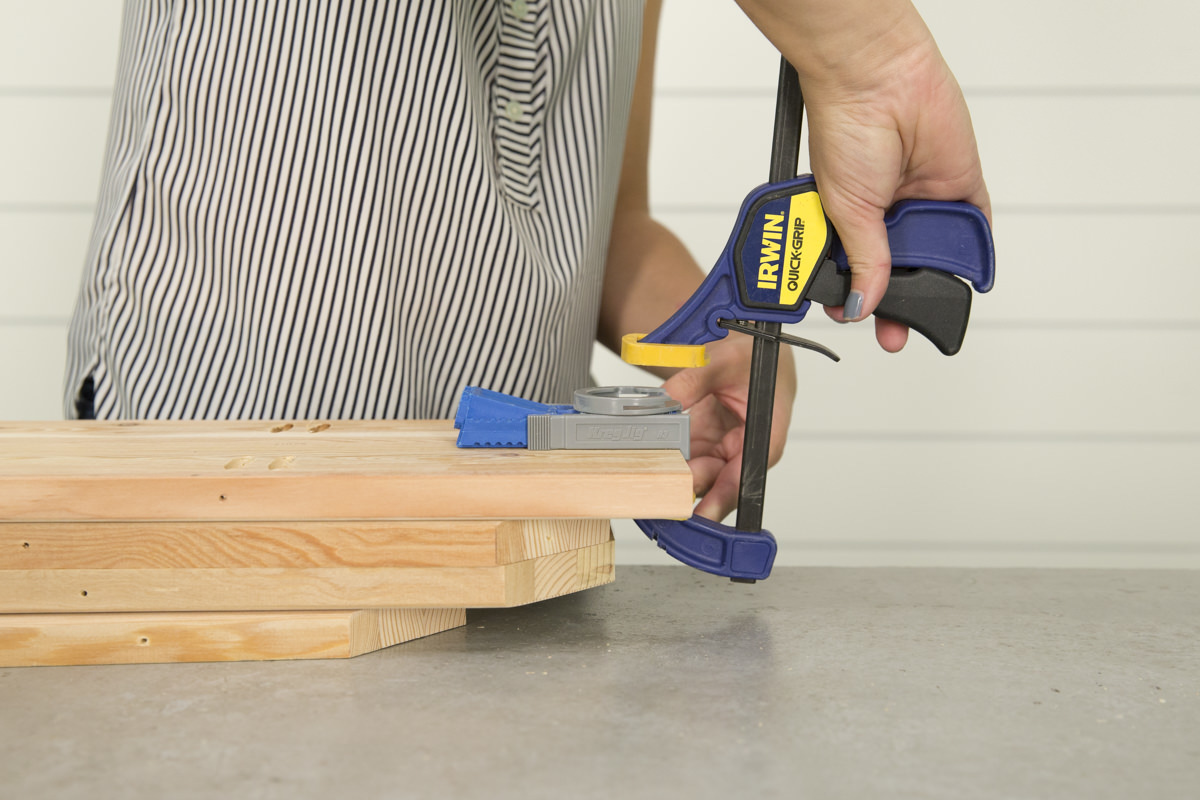
I’ve found it’s helpful to use a large clamp to keep the sides together while drilling. The key to successfully drilling the pieces together is manipulating the various pieces to make sure the top is flush as you go. Working from a flat surface helps, but you still have to line up each piece as you go—taking the time to do this will really improve your results.
Step 5: Attach Top Shelf to Legs
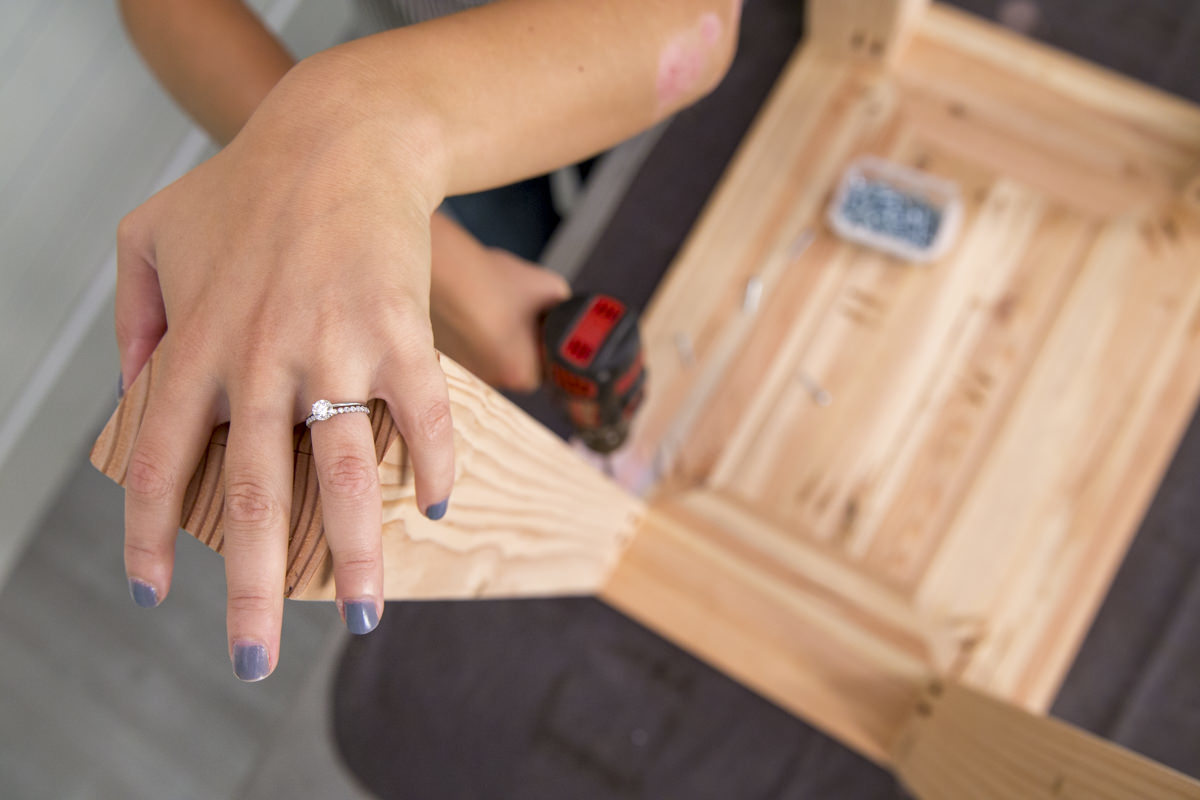
Attach the top shelf to the tops of the four-by-four legs with 1 1/4” Kreg jig screws. The sides of the shelf should be flush with the outside of the legs.
Step 6: Create Skirt
To create the skirt, measure the distance between the four legs and cut your one-by-three accordingly. It should fit snug between each leg. Once cut, sand each piece smooth like you did with the shelf pieces. Measure 1” back from the edge below the table top and mark—this is where you’ll attach the skirt.
Pre-drill with the Kreg jig on either end of each one-by-three piece. The skirt isn’t structural, so it’s not necessary to have two screws going through each side. I pre-drilled one hole on either end in alternate places so the piece can’t rotate. Once you’ve finished pre-drilling, attach each piece with 1/4” Kreg jig screws.
You may find that the driver bit that comes with your Kreg jig is too long for the shorter side of the night stand; if that’s the case, switch it out for a shorter bit. You might not be able to get the screws in as tight, but again, it’s not critical to the structure, so it’s not a big deal.
Step 7: Attach Bottom Shelf
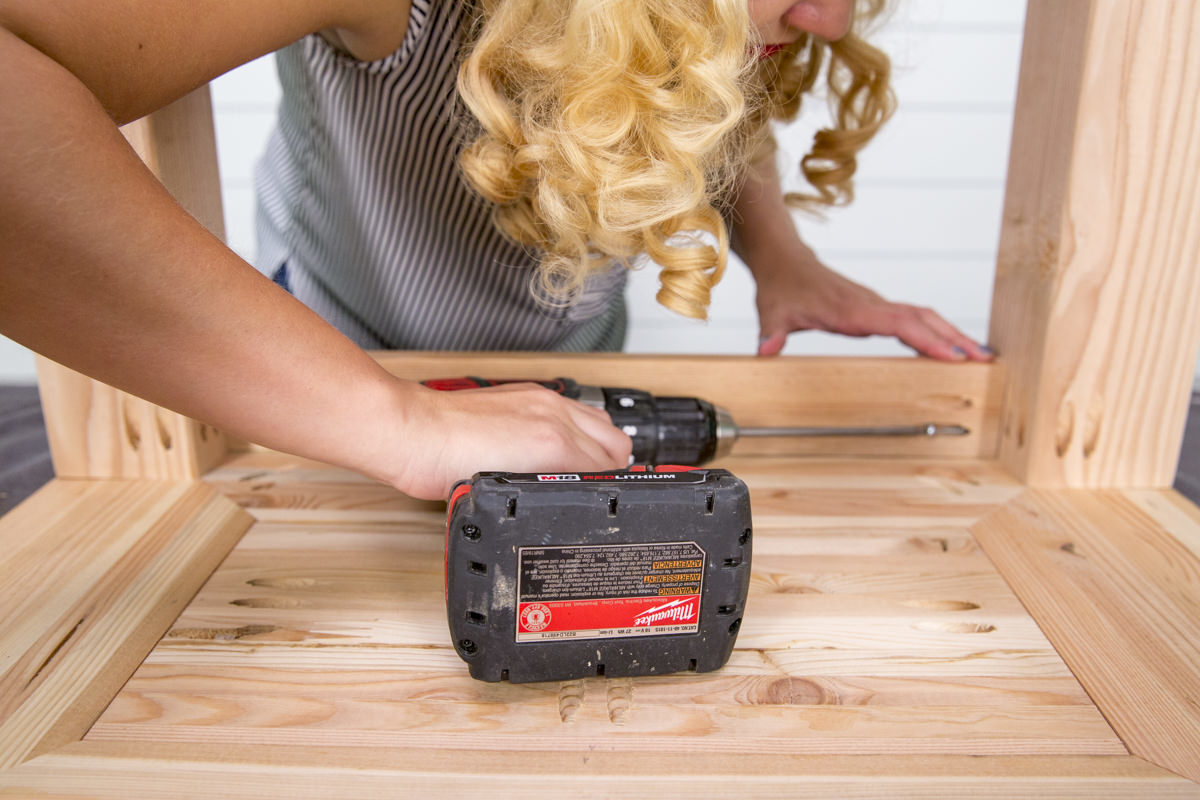
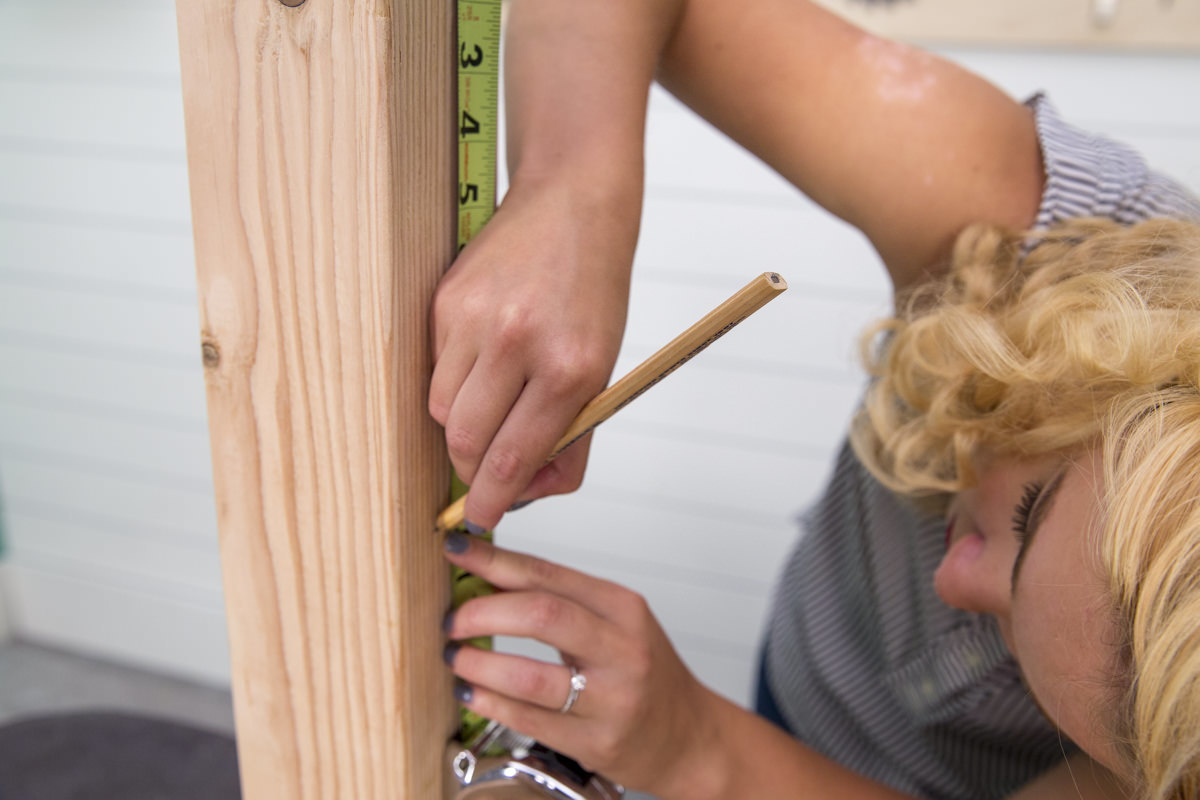
Next, attach the bottom shelf. Measure up from the bottom of the legs and mark at 10”. Fit the bottom shelf in between the four legs and line up the top of the shelf with the pencil marks. Secure with Kreg jig screws. The fit should be snug—you may have to wedge the shelf in place. I’ve found it helps to pound each corner with my fist to nudge it to the pencil line.
Step 8: Stain
I loved the cool, weathered look of the Crate and Barrel's Big Sur Collection, and mixed two Minwax stains to get the exact color I was going for. This color is a one-to-one ratio of Early American and Classic Gray, which is a stain I special ordered through Dunn Lumber.
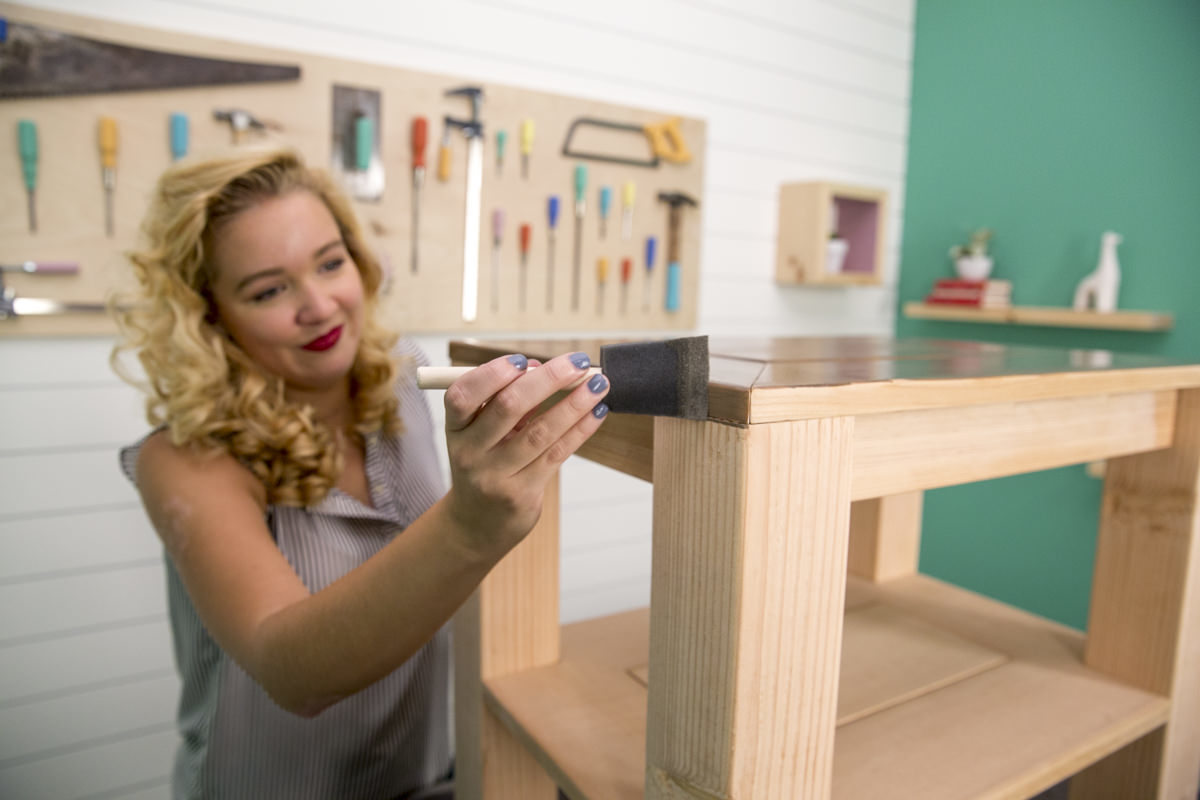
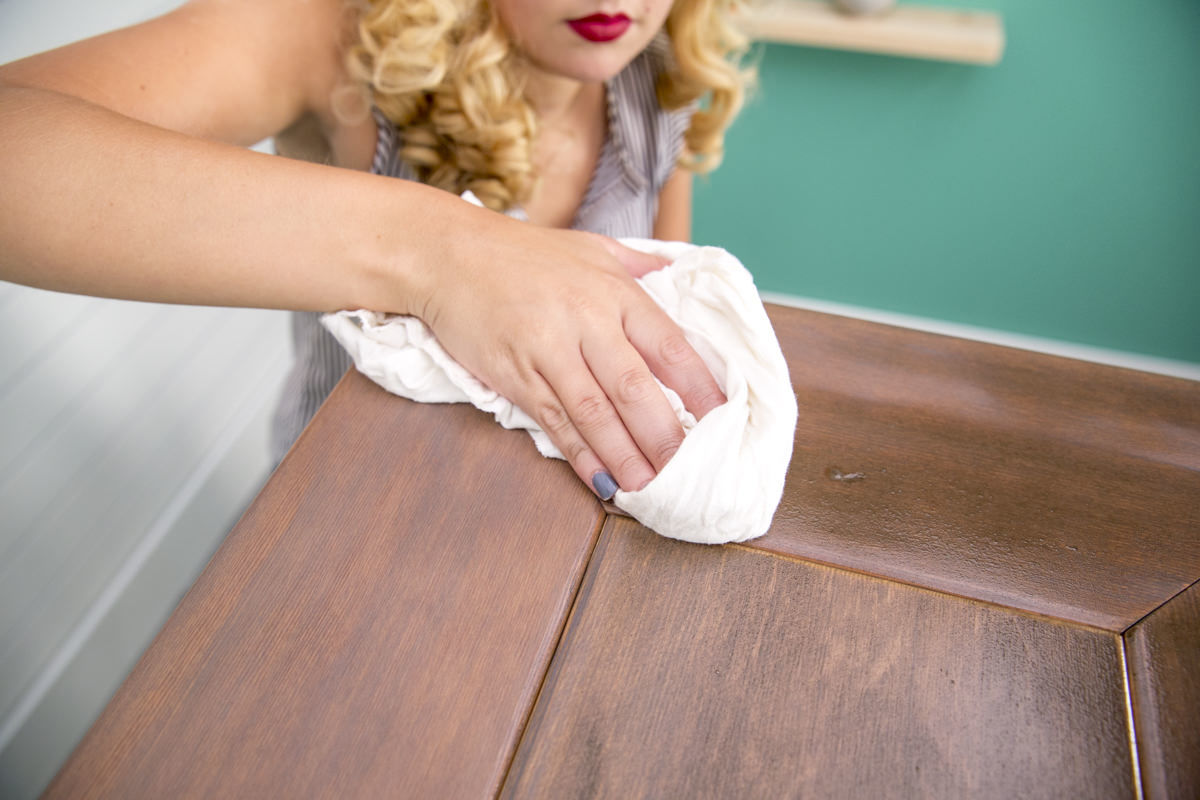
Once you’ve selected your stain, stain all visible surfaces of the nightstand, then wipe down with a rag. Let it dry thoroughly, then coat with a spray-on polyurethane finish.

I’m so excited to have these nightstands. They complete the look of our bedroom and I’m even happier than I would have been if I had purchased the original, which is always a welcome surprise. Plus, I did it for a fraction of the cost. A job well done is always a rewarding feeling, and there’s something extra rewarding about creating your own version of the look for less. Stay tuned for the next part of this series: the bed frame!
Learn how to maximize bedroom space with tips from our friend—certified interior designer Keith Miller.


