How to Make a Bed Frame

"There’s nothing quite as satisfying as creating a look for less—this project was no exception!"
Materials
- 6 x 6 - 10’ Fir (1)
- 2 x 6 - 10’ Dricon Fir (1)
- 2 x 6 - 8’ Dricon Fir (2)
- 2 x 4 - 10’ White Wood (1)
- 2 x 4 - 8’ White Wood (3)
- 2 x 12 - 8’ White Wood (1)
- 1 x 4 - 10’ White Wood (7)
- 1 x 2 - 8’ CVG Fir (2)
- 1 x 2 - 6’ CVG Fir (2)
- 1 x 3 - 6’ CVG Fir (1)
- 2 x 3 - 6’ CVG Fir (1)
- 1 x 6 - 10’ Rainier Plank Grooved (2)
- 1 x 6 - 8’ Rainier Plank Grooved (1)
- 2 ½” Kreg Jig Screws (Box of 100)
- Wood Glue
- 2 ½” Screws
- 1 ¼” Screws
- 3d Finish Nails
This project was inspired by the Big Sur Collection from Crate and Barrel. As I mentioned in the nightstand blog, I adored the sturdy, big-beam look of the bedroom set, but was not thrilled about the idea of spending nearly $5,000 on two nightstands and a bed frame. There’s nothing quite as satisfying as creating a look for less—this project was no exception!
Today, I’m walking through the queen-sized bed frame, which retails for $3,199—I built mine for a tenth of the cost. Let’s get started!
I read an article in the Wall Street Journal about maximizing space in a bedroom, and one of the suggestions involved moving your bed away from the wall and using the back of the headboard as a place to put a bench, bookcase, or another form of storage. So with this in mind, I designed this bed to have a pretty back as well as a pretty front. Depending on your available space, you can choose to follow along or to leave out those extra steps.
Step 1: Gather and Cut Materials
Like the nightstand, I used Douglas (Doug) fir, Rainier plank, and white wood. While the white wood doesn’t show, I wanted all the lumber that does show to be fir so that it would take a stain the same. To accomplish this goal you can use clear vertical grain doug fir which is beautiful if pricey, but to keep our cost low we chose an unconventional method and went with construction grade doug fir that's fire retardant: this meant hand picking boards and lots of sanding. I'm usually all for choosing the higher quality and voting for less work, and even with the vertical grain you're stilling saving so much over buying furniture—but honestly the extra work was so worth it to me. In the end, choose whatever fits your budget and how much time you want to put in.
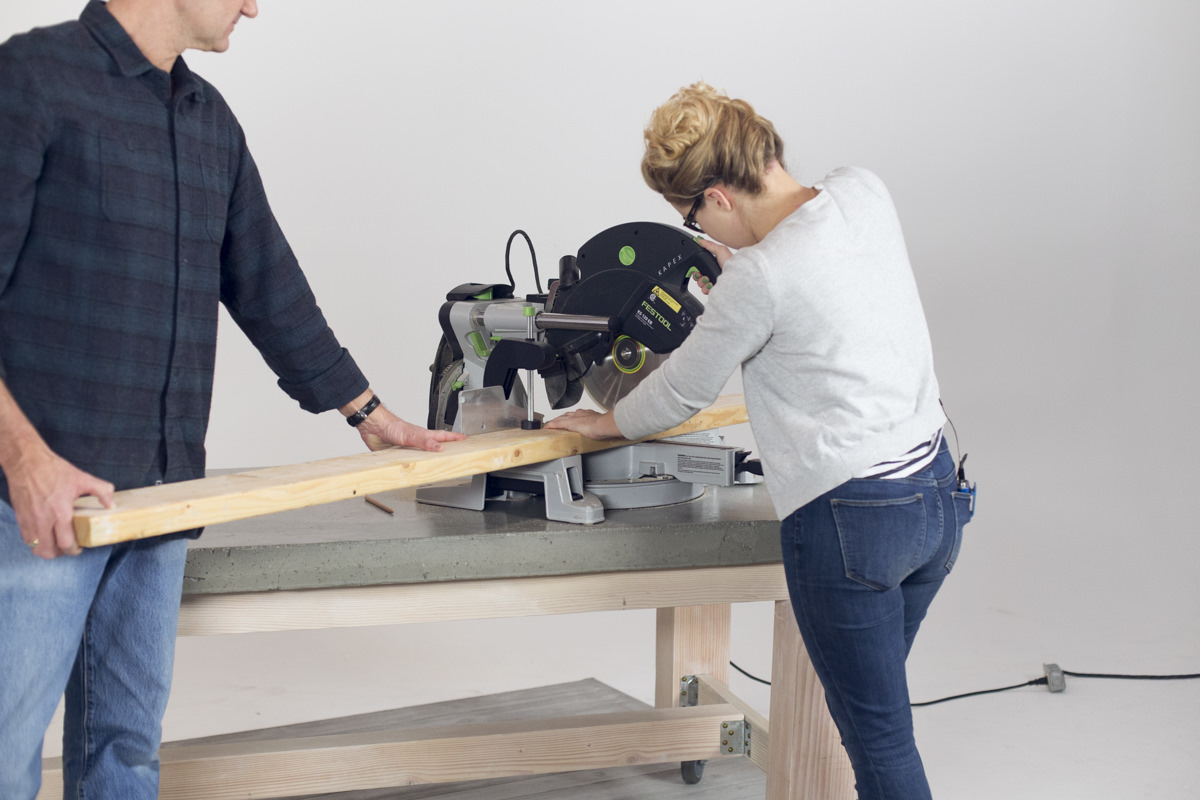
Start by making all your cuts. There are a lot of them, so remember: measure twice, cut once. If you need help, then remember your first six cuts at Dunn Lumber are free, and after that, they’re only $.50 each!
- Cut six-by-six to two 42” pieces and two 14” pieces. Saw through one side, then flip over to cut through the rest.
- Cut 10’ two-by-four and two-by-six boards into four 51 1/2" pieces.
- Cut 8’ two-by-six boards and two of the 8’ two-by-four boards into four 76” pieces.
- Cut the remaining 8’ two-by-four board to 78 1/2".
- Cut Rainier planks into five 51 1/2" pieces.
- Cut two-by-three, two-by-twelve, and the remaining 6’ one-by-two to 51 1/2".
- Cut one-by-four boards into 11 59 3/8" pieces and one 51 3/8" piece.
- Cut one-by-three into two 22 3/4" pieces.
You should be left with two 8' and one 6' one-by two boards. These will be cut to fit into the design later.
Because I can only manage to fit an 8' board into my Honda Fit, I had all of the 10-foot lengths cut in half. The design happened to lend itself extremely well to this solution, and no lumber was wasted by doing this. And because my saw is too small to cut six-by-six Doug fir, I had it cut at the lumber yard. Our team will cut material of that size with a chainsaw, which makes for a rougher cut, or by cutting halfway through with a chop saw and then flipping it over to finish the job. This latter results in a much smoother finish, but leaves a little lip, which can be evened out with a handsaw or a bit of sanding. (I also could have used this same technique on my own saw at home and, being the perfectionist that I am, may have gotten a more seamless cut).

Step 2: Make Sure All Lengths Are Equal
Match up all the 76” boards and the 51 1/2" boards with each other to make sure the lengths are all equal. Adjust as necessary. You can also make adjustments as you go; a dry fit at this point is best if you’re assembling the frame in your bedroom without a saw nearby.
Step 3: Pre-Drill With A Kreg Jig
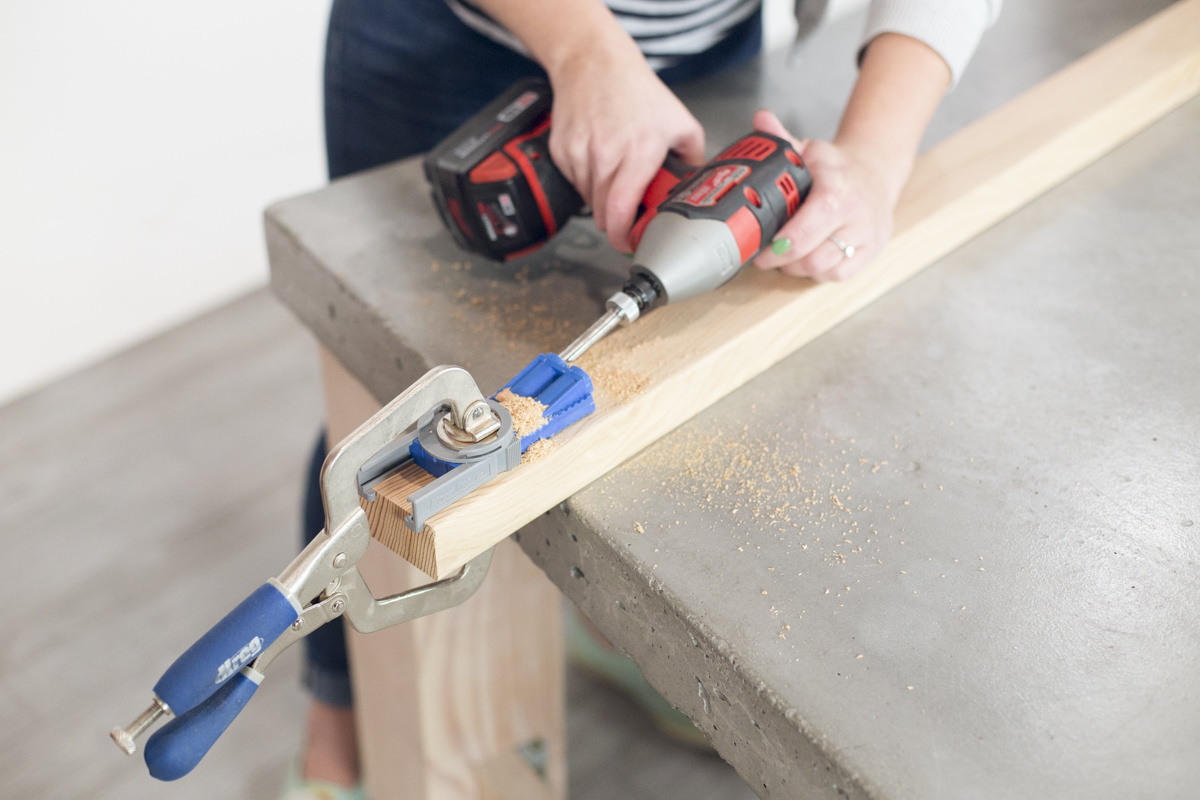
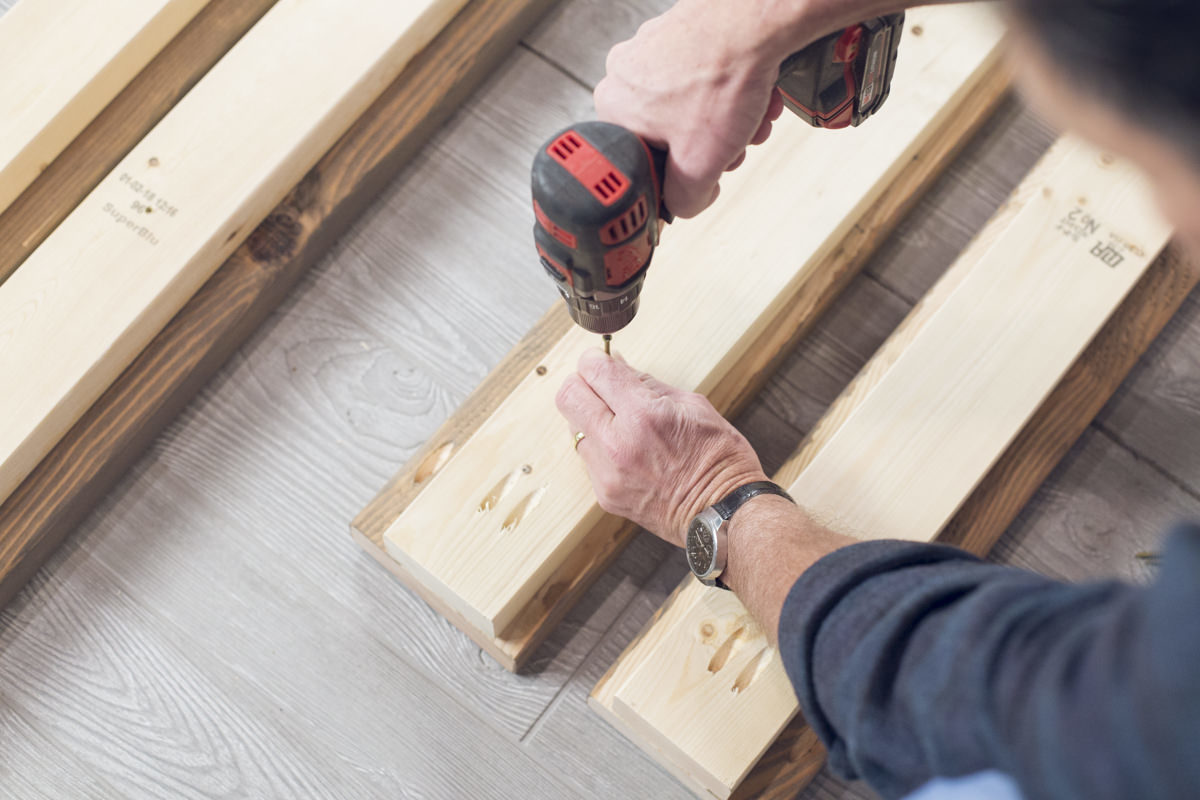
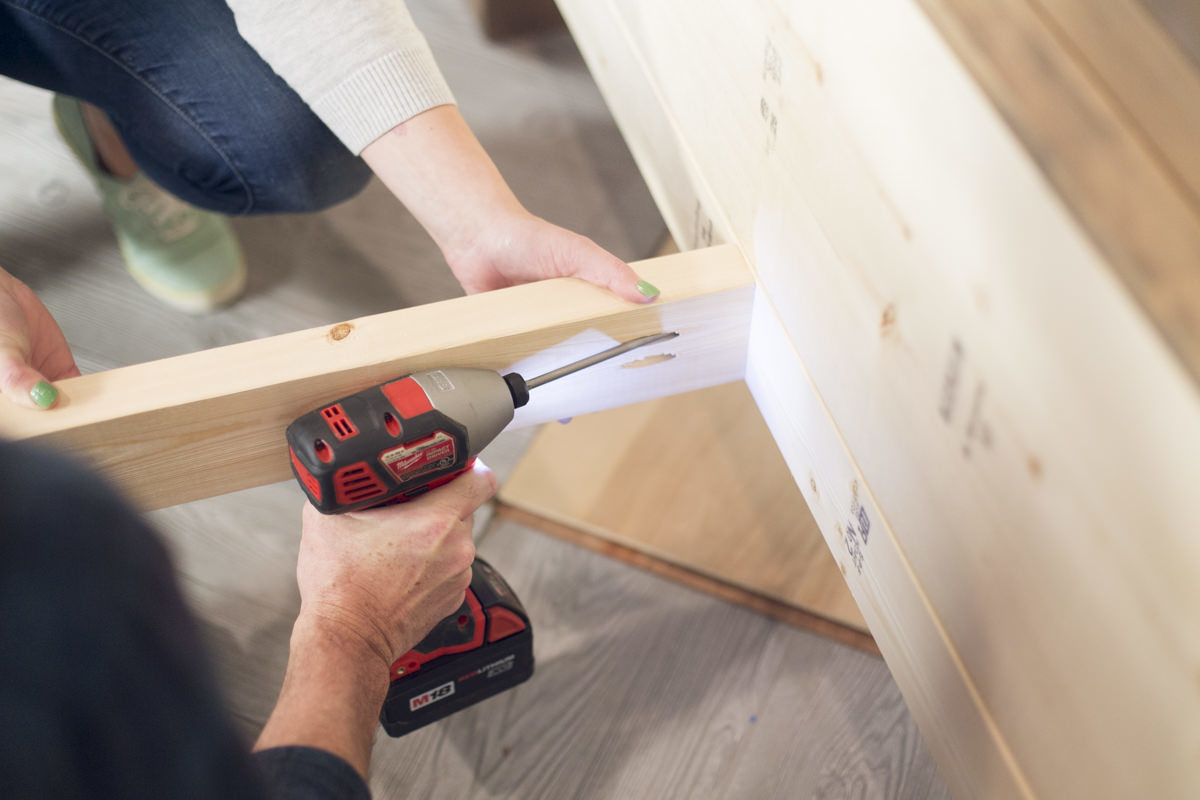
The next step is to pre-drill everything with a Kreg jig. It’s surprisingly difficult to pre-drill into Doug fir with a Kreg jig, but I do have a trick that makes it easier: use an impact driver, and keep an eye on the ring around the drill bit. When the impact driver is doing its job and making that heavy clicking sound, the mechanism can dislodge the ring around the bit that shows you how deep you’re supposed to go. After making this entire bed set, I came to the realization that a piece of tape in place of the ring was a much more secure and preferable option.
Set the Kreg jig to drill through 1 1/2" thickness. Pick the best face of the two-by-six boards to serve as the front, and the best side to serve as the top. Along the top side, pre-drill one hole on either end of the inside of each of the boards.
Pre-drill a set of Kreg jig holes at either end of all of the two-by-four pieces. It doesn't matter which side you choose here. Then pre-drill two sets of holes on either end of the two-by-twelve piece, and one set of holes on the least attractive side of the two-by-three piece.
Next, set the Kreg jig to drill through 3/4" thickness, and pre-drill one hole on either end of the backside of the Rainier planks (on the edge near the groove).
Step 4: Sand
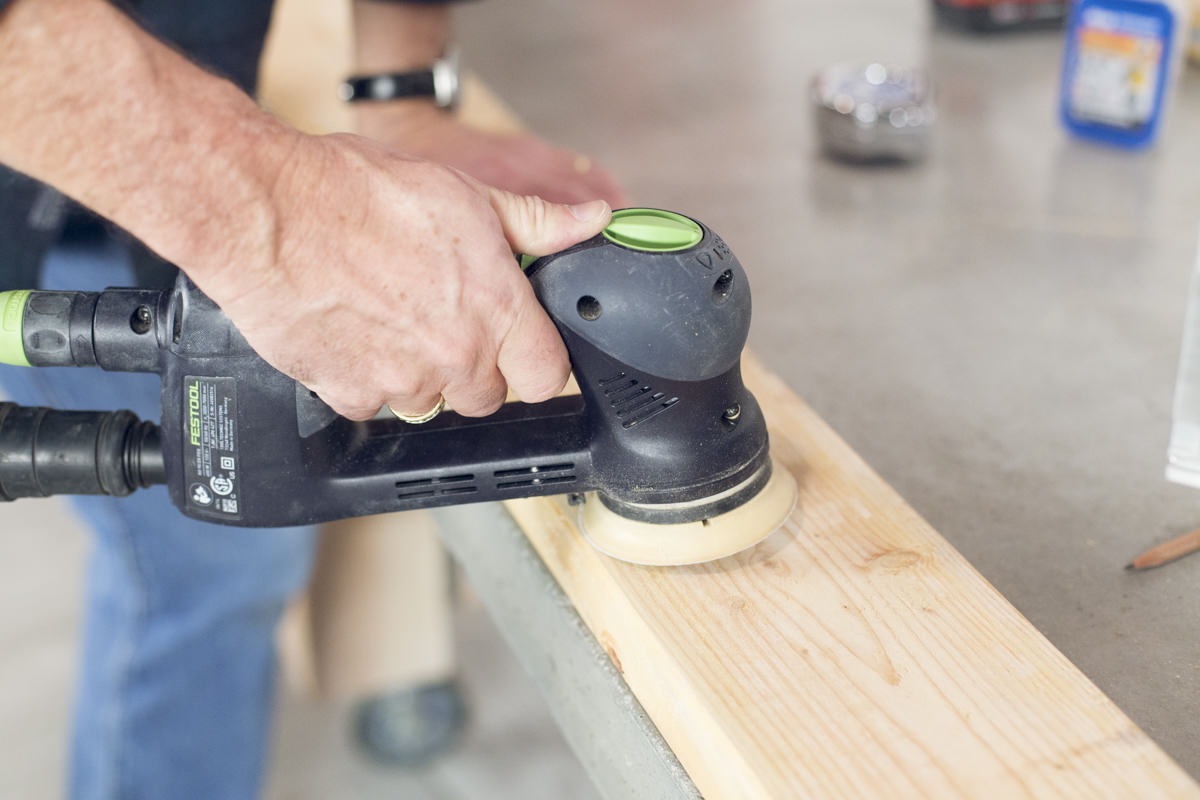
Grab an electric sander to smooth out each piece of wood, paying special attention to the sides that will be showing. For the clear Doug fir, I used 150-grit sandpaper on the end cuts and edges where there’s a tendency for long slivers to develop. For the two-by-sixes and six-by-sixes—which are a much rougher grade—I started with a 60-grit sandpaper and worked up to 150.
The fire retardant wood may seem a bit intimidating, but—trust me—you can do it! Keep in mind what's actually going to be seen. The blue stripes on the sides will either be on the underside of the bed, or covered by one-by-two trim pieces on the top; so it's really just one side that needs to look pretty. Smooth out any rough patches on the bottom sides so you don't snag things that are being stored under your bed. For the white wood, I left it as is.
Step 5: Stain
Checking is a term used when lumber develops cracks as it dries. This is especially common in green lumber like the Doug fir we're using. While it’s not necessarily a problem, it’s something you want to minimize. To help prevent checking on the six-by-six posts, we applied Daly’s Benite to the ends prior to staining. Let dry for 12 to 24 hours.
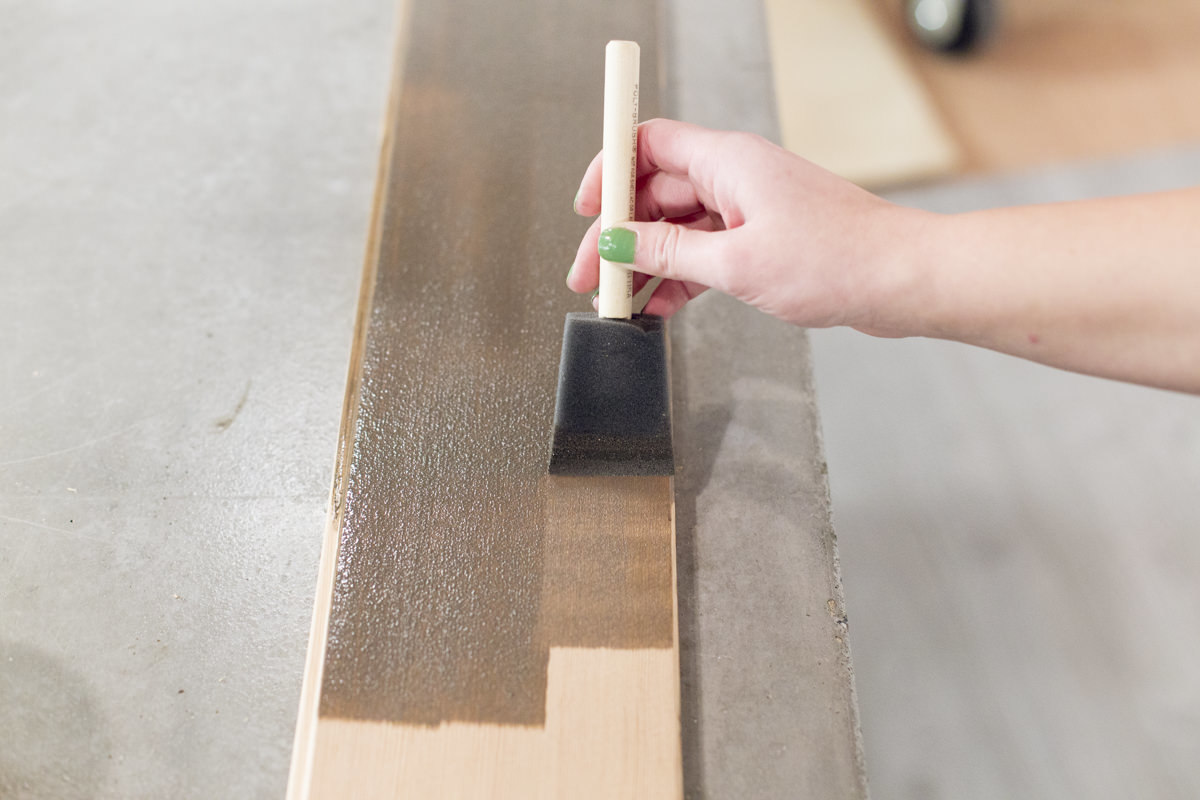
I wanted a worn, gray finish, so I created a custom stain by mixing two Minwax colors: Early American and Classic Gray. I tried out a bunch of different mixes before settling on a 1:1 ratio. For this look, stir each can, then dump them into a third container and stir together.
Once you’ve got your color, stain all of the Doug fir pieces, focusing on the sides that will be seen. Stain both the fronts and backs of the rainier planks if the back of your headboard will be seen. Be sure to stain the tongues of the Rainier plank pieces because you will be able to see them peeking out. Don’t worry about staining the white wood.
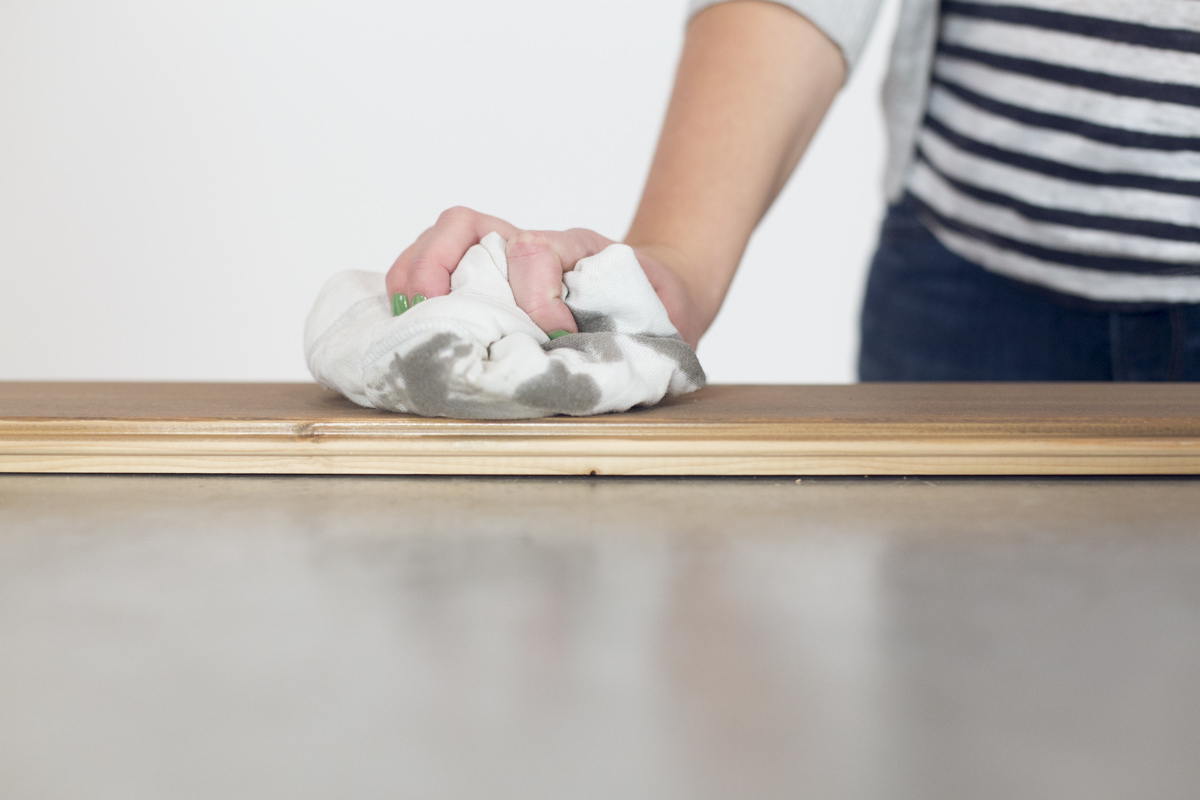
Follow the directions on the side of the can, wiping down as necessary, then let dry fully before assembling.
Learn how to safely dispose of oil-soaked rags by visiting our helpful tutorial.
Step 6: Create “Skirt”
Now it’s time to create the “skirt” that runs across the sides of the bed. To start, lay the 76” and 51 1/2" two-by-fours on top of their corresponding two-by-six boards. Position the boards with the Kreg jig holes facing up and the two-by-fours 1 1/2" from the top edge (so they’re not covering up the holes on the two-by-six). The two-by-four makes a support for the bed slats to rest on; the two-by-six is the decorative front.
Once all the edges are lined up, secure with 2 1/2" screws. I used five screws in the longer boards, and three in the shorter ones.
Step 7: Measure Posts
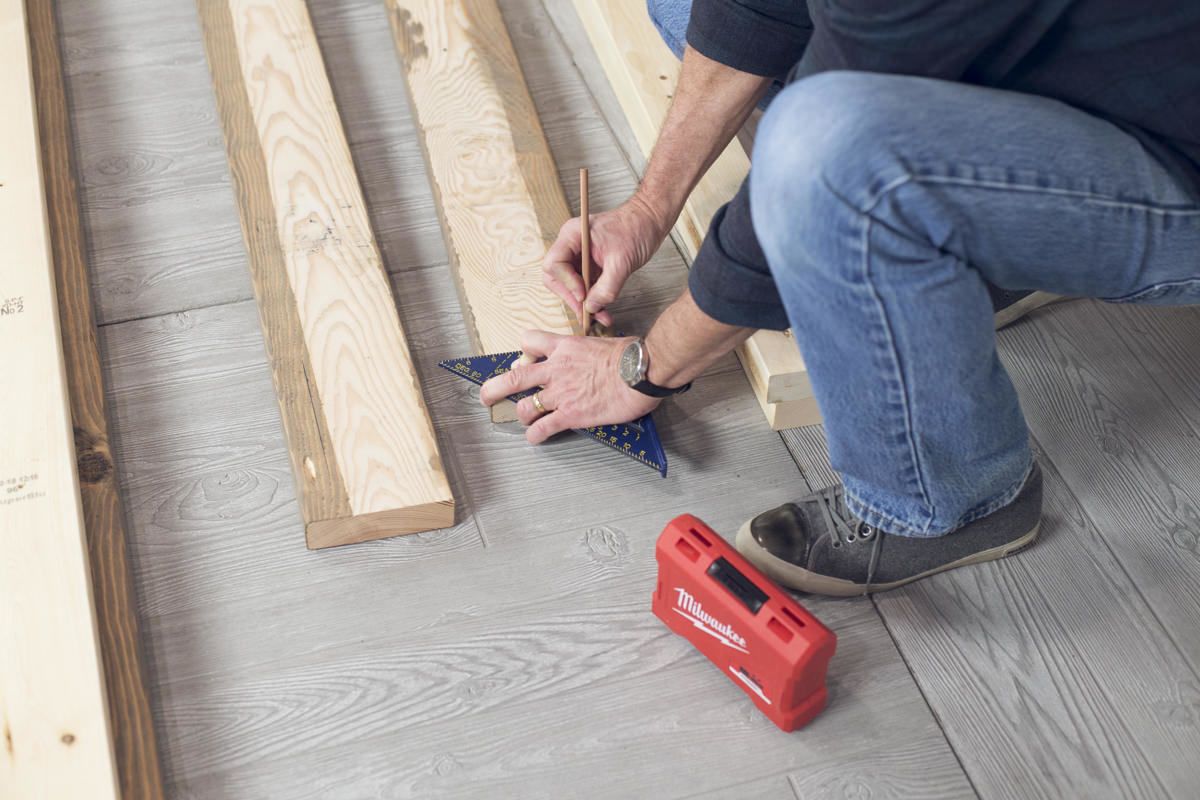
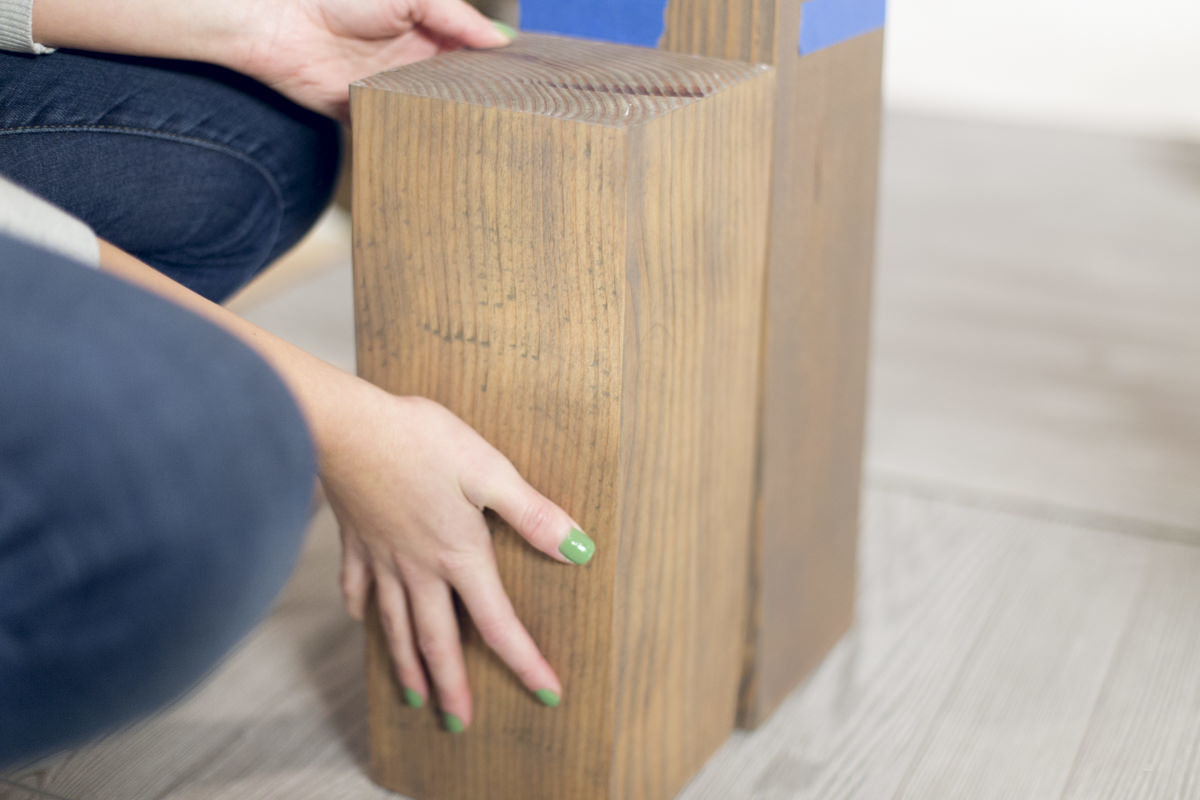
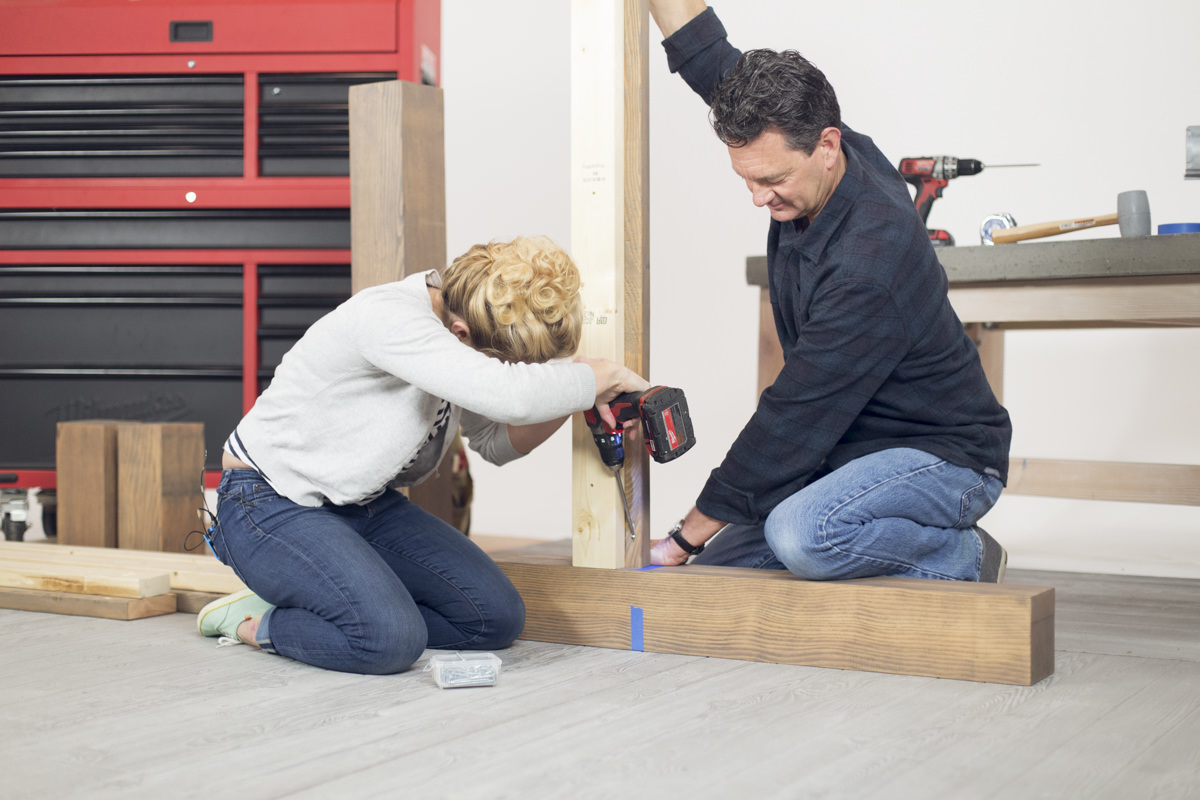
Using the short posts as a guide, mark the top of the short post on the two inside corners of the tall posts. To make the pencil line easier to see, we used blue tape along the top of the line.
Step 8: Attach Skirt to Headboard Posts
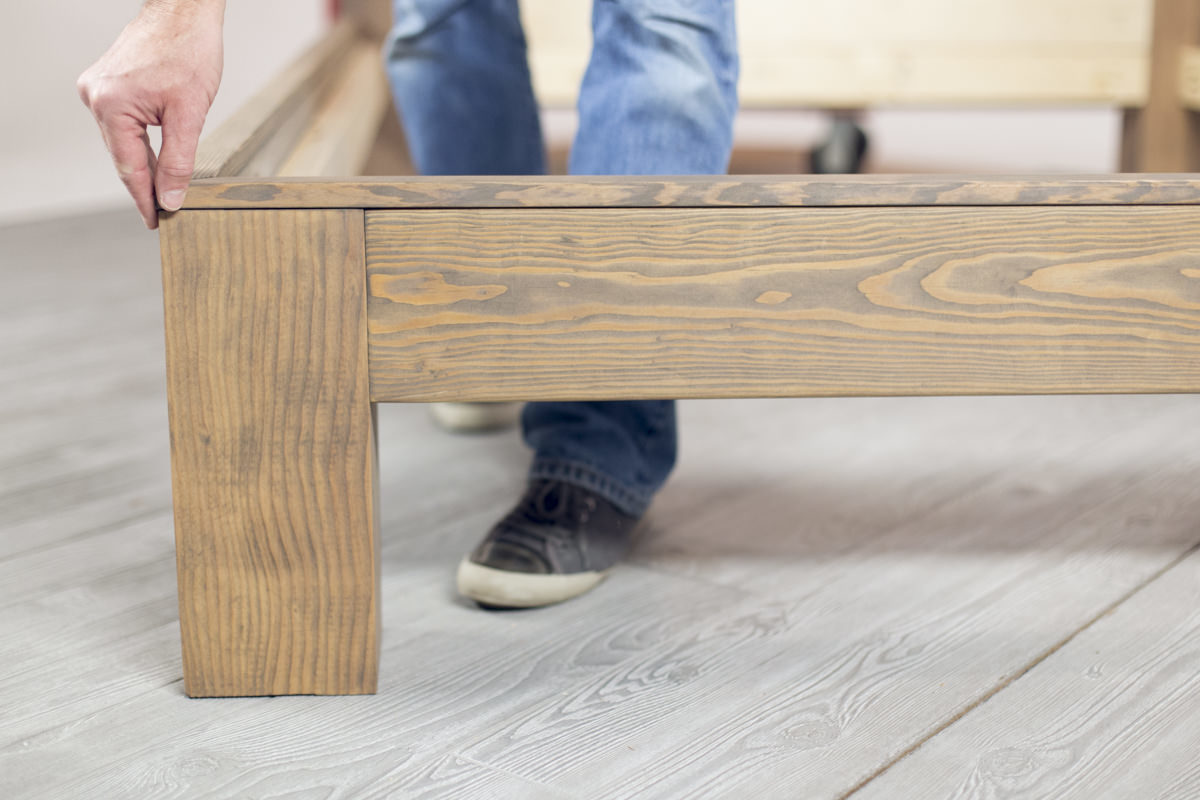
Now it’s time to create the headboard. Lay one of the tall posts on its side and align the top edge of one of the 51 1/2" two-by-six “skirts” (see Step 6) with the mark you made. The two-by-four ledge should face inward, lining up with the front side of the post. Secure with Kreg jig screws (starting with the outside screws) before moving to the inside.
Repeat this step at the other end with the other tall post—it helps to have an extra set of hands to hold everything in place.
Step 9: Assemble Headboard Frame
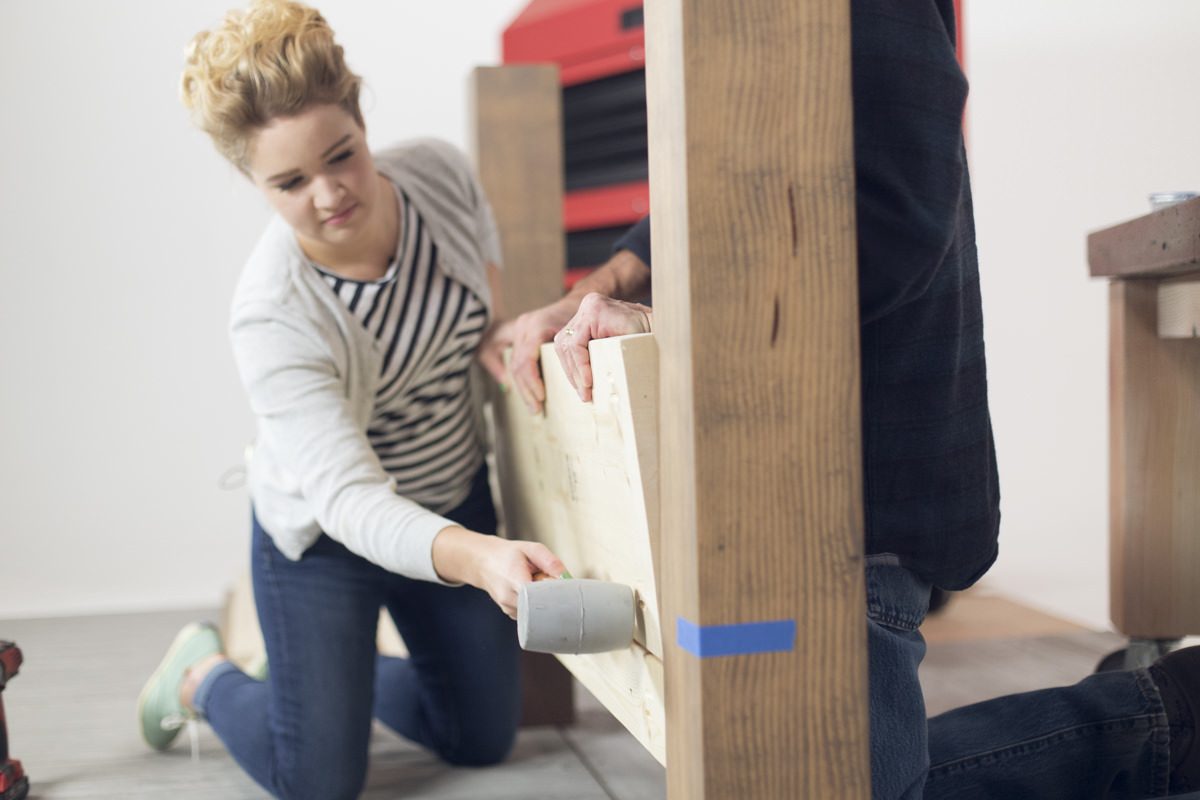
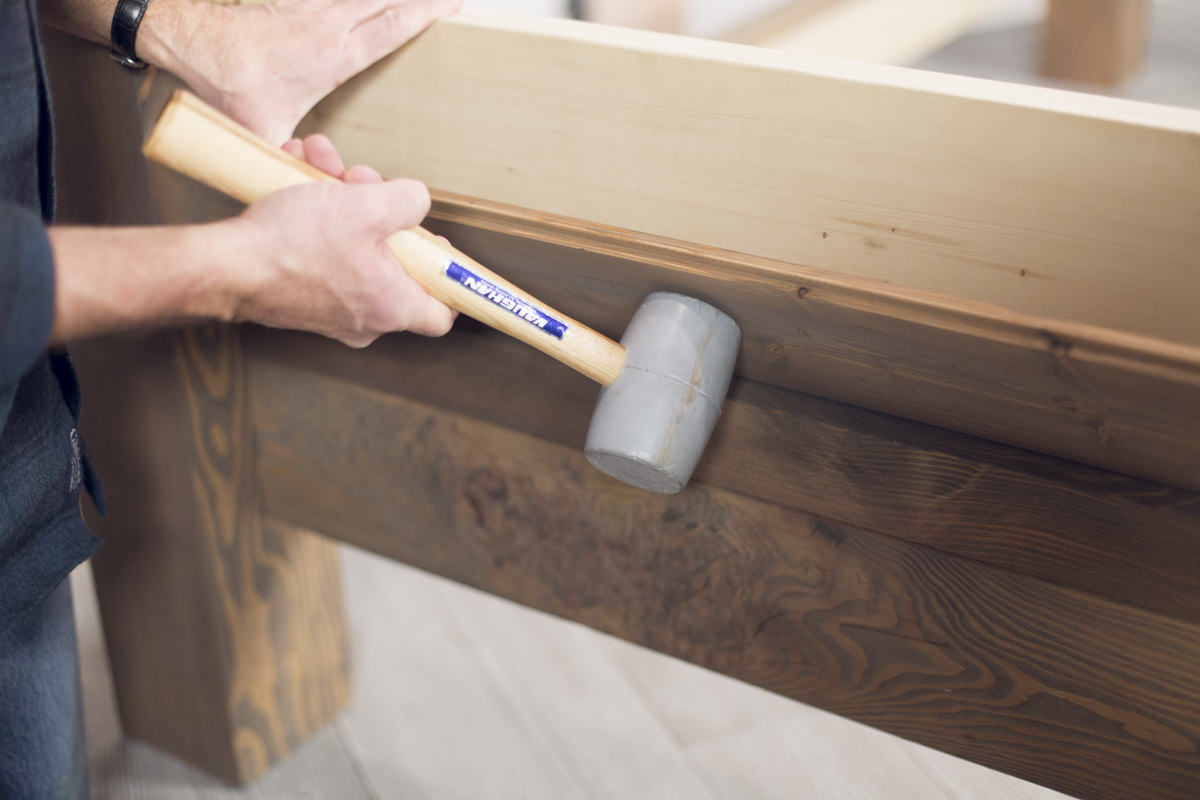
With the headboard upright, put a two-by-three in between the two headboard posts and on top of the two-by-six skirt. If it’s a tight squeeze, that’s OK. In fact, it’s best: tension creates a stronger structure in the end. It may help to use a rubber mallet at this stage; and use your judgement to determine whether it's a tight squeeze, or just plain too big. Secure with Kreg jig screws.
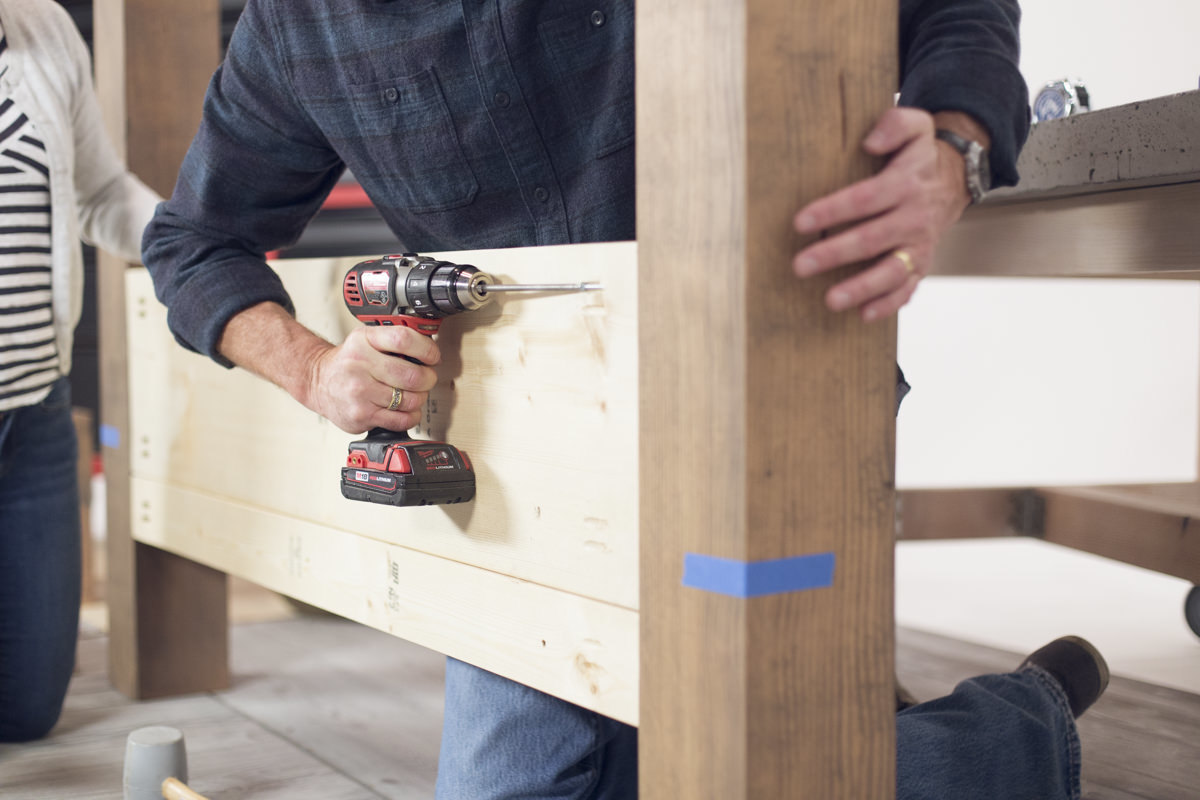
Put a two-by-twelve right next to the two-by-three—it should rest on the inside support piece. Secure everything with Kreg jig screws.
Step 10: Attach Long Skirts
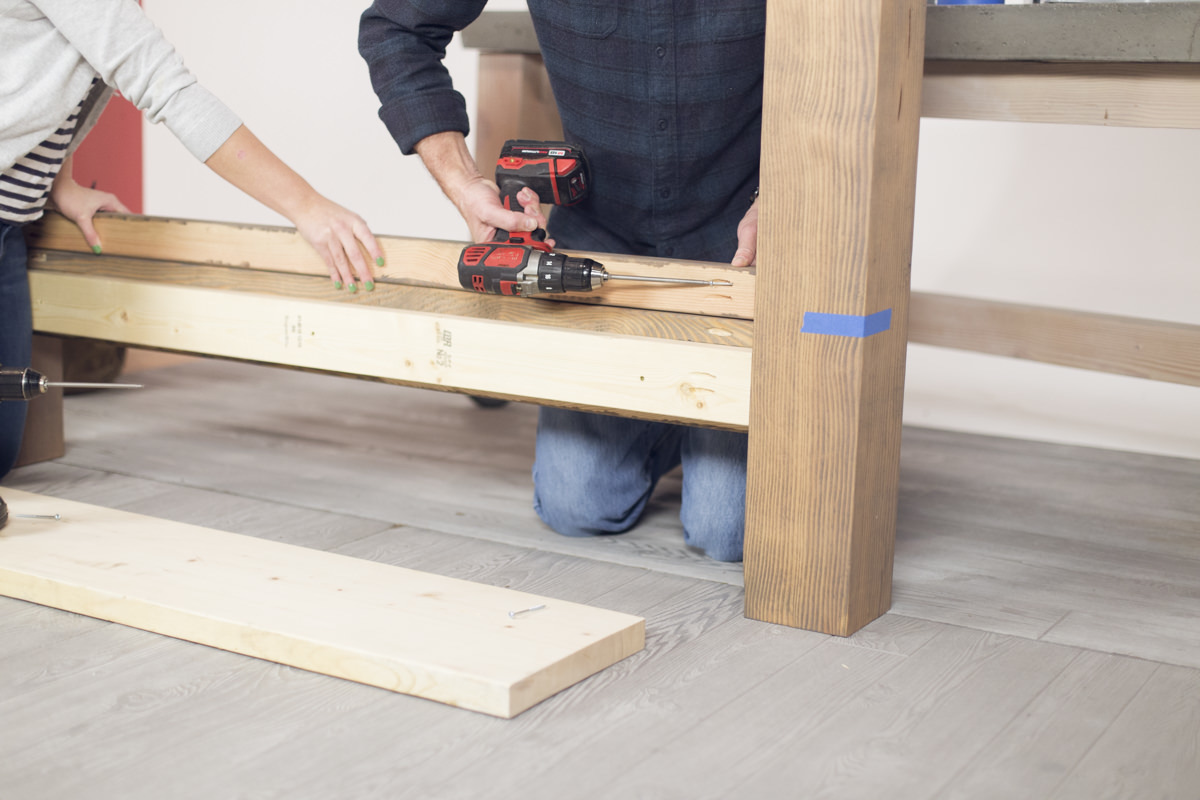
With the head of the bed back on its back, attach the long, 76" skirts to the headboard, matching the marks on the tall posts and lining up with the outside corner of the post. Secure with Kreg jig screws. Secure the outside screws first while carefully holding the skirt in place, then secure the inside screws. Once you’re finished, you should have a U shape, with only the footboard missing.

Step 11: Create Footboard
Next, it’s time to create the footboard. Attach the remaining short, 51 1/2" skirt to one of the short posts, aligning the top edge of the skirt with the top of the post. Secure everything with Kreg jig screws, moving from the outside in. Repeat this step at the other end with the other short post. Again, it helps to have an extra set of hands for this process.
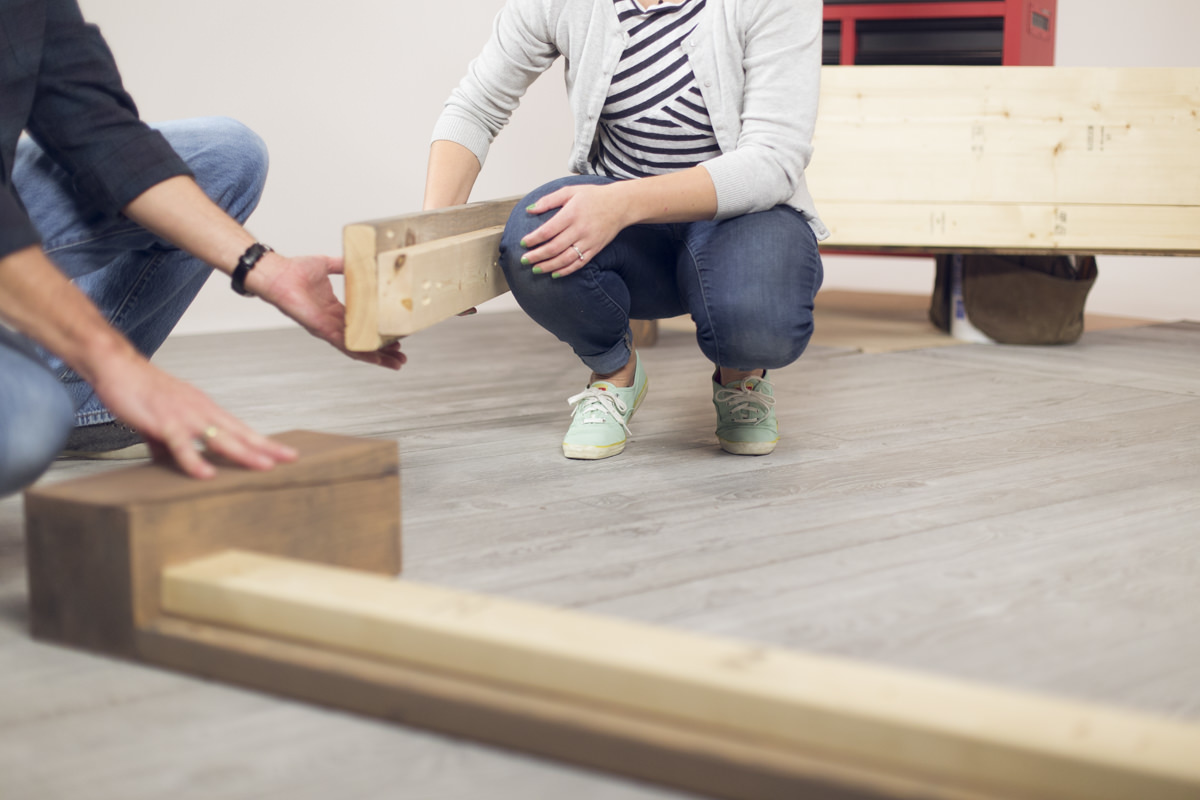
Step 12: Attach Footboard to Bed
Flip the headboard and the sides of the bed upright. Now use a piece of scrap wood or a stack of books to support the sides of the bed. Be careful here—the sides can easily snap off without being secured to the footboard. With the footboard also upright, line up each post with each side so everything is flush—the top and outside of the skirt should align with the top and outside of the footboard post. Once placed, secure with Kreg jig screws, following the same pattern: outside, then inside. Repeat on the opposite side. Now you have a basic frame!

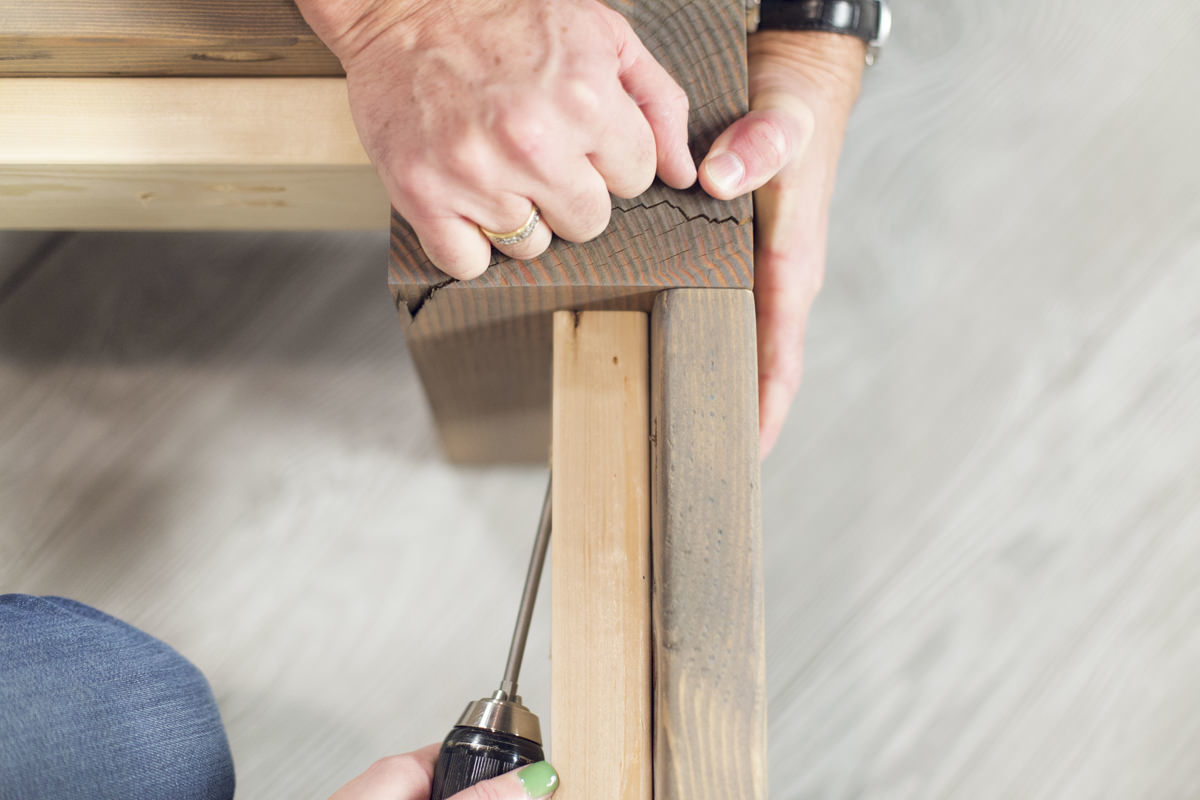

Step 13: Finish Headboard
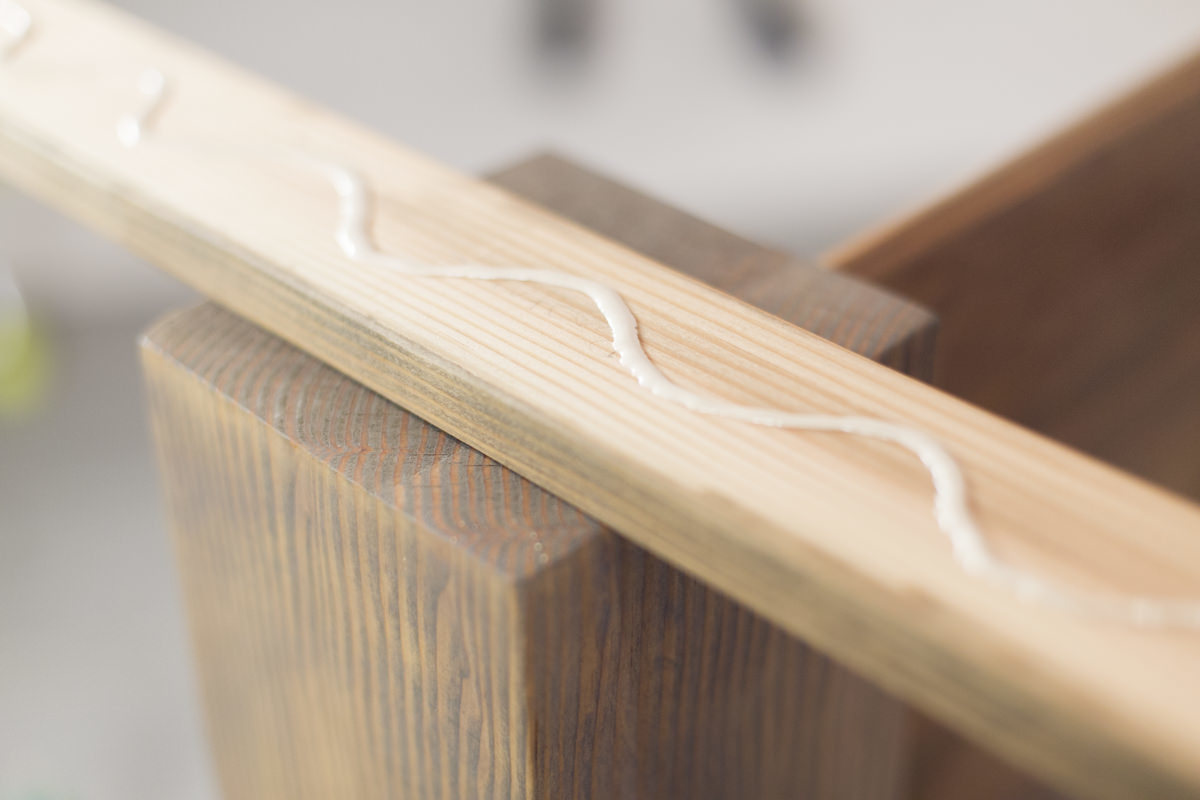
Now that the basic frame is built, it’s time to finish the headboard. Slide in the tongue-and-groove Rainer plank headboard pieces on top of the two-by-three and behind the two-by-twelve, with the grooved side facing down. Attach to the posts on either side with Kreg jig screws. Use the one-by-three as a guide, or draw a pencil line, to keep the planks 1 1/4" from the front edge of the post. Attach the one-by-three with glue and small screws or nails to cover up the kreg jig holes and create a nice finish for the back of the headboard. In the front, fit the 51 1/2" one-by-two on top of the two-by-twelve, then glue in place.



Step 14: Add Caps and Support Beam
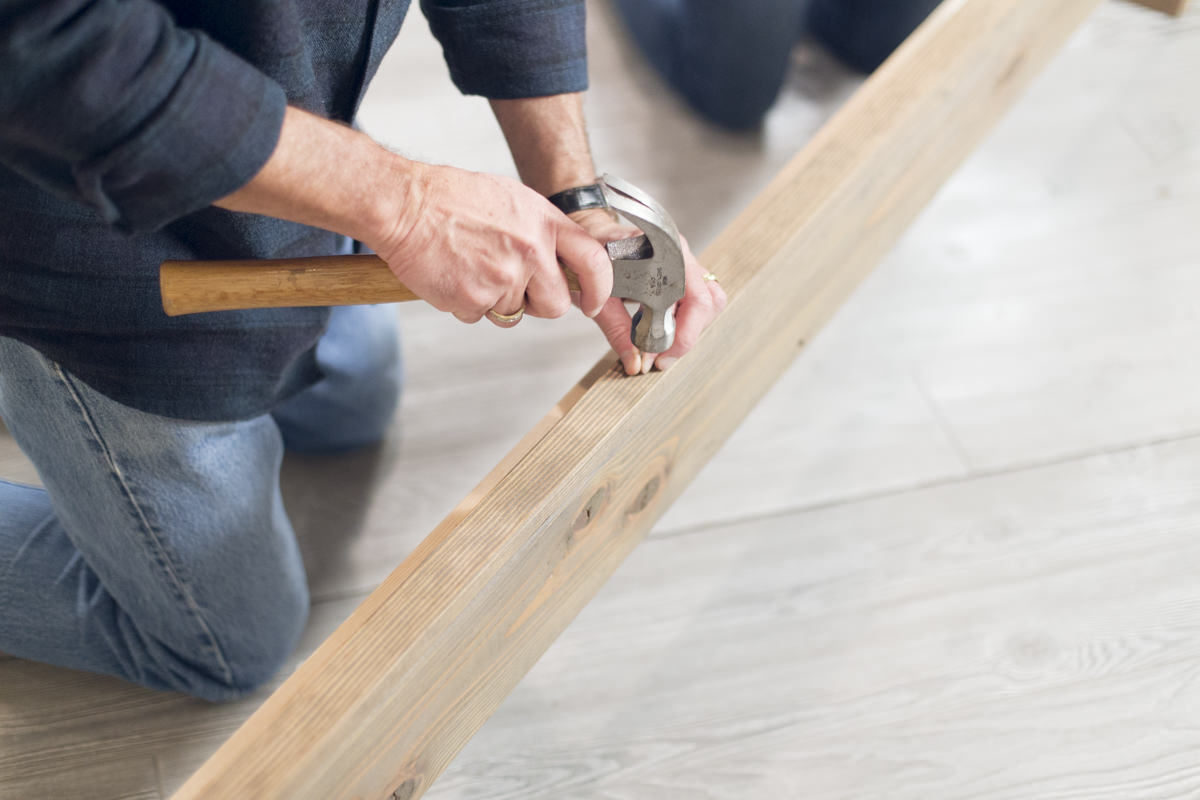
Finish the posts with a one-by-two cap. This is where those last three one-by-two boards come into play. Measure the length and width of the skirt and cut three one-by-two pieces to fit directly over the two-by-sixes. Now sand, stain, and secure with 3d finish nails.
Next, add a support beam the long way across the middle of the bed. The top of the beam should be aligned with the ledge on the inside of the skirt. Secure with Kreg jig screws. Place slats across bed the short way—they’ll be held up by the inside ledge on the skirts and the center beam. Use the one shorter slat at the foot of the bed between the footboard posts. Because we're using softwood for the slats, we chose one-by-fours over one-by-threes. The standard distance for slats is no more than 2 1/2" which means 14 one-by-four slats. To be on the safe side, we're using 16 slats. There's no particular need for the slats to be secured, so long as they're evenly spaced when the mattress goes down.

Step 15: Finish with Polyurethane
Finish the bed frame with polyurethane—which gives it a durable, protective finish—then let dry. You did it!


This project required some heavy lifting—literally and figuratively—which is why it feels so good to have it done. I had so much fun topping it with a mattress and fluffing the bedding. I first felt a sense of accomplishment when I finished the nightstands—this trumps that, especially because it completes the bedroom set. Now, I have a cohesive look that costs only a fraction of the original, and I have the pride of a job well done.


