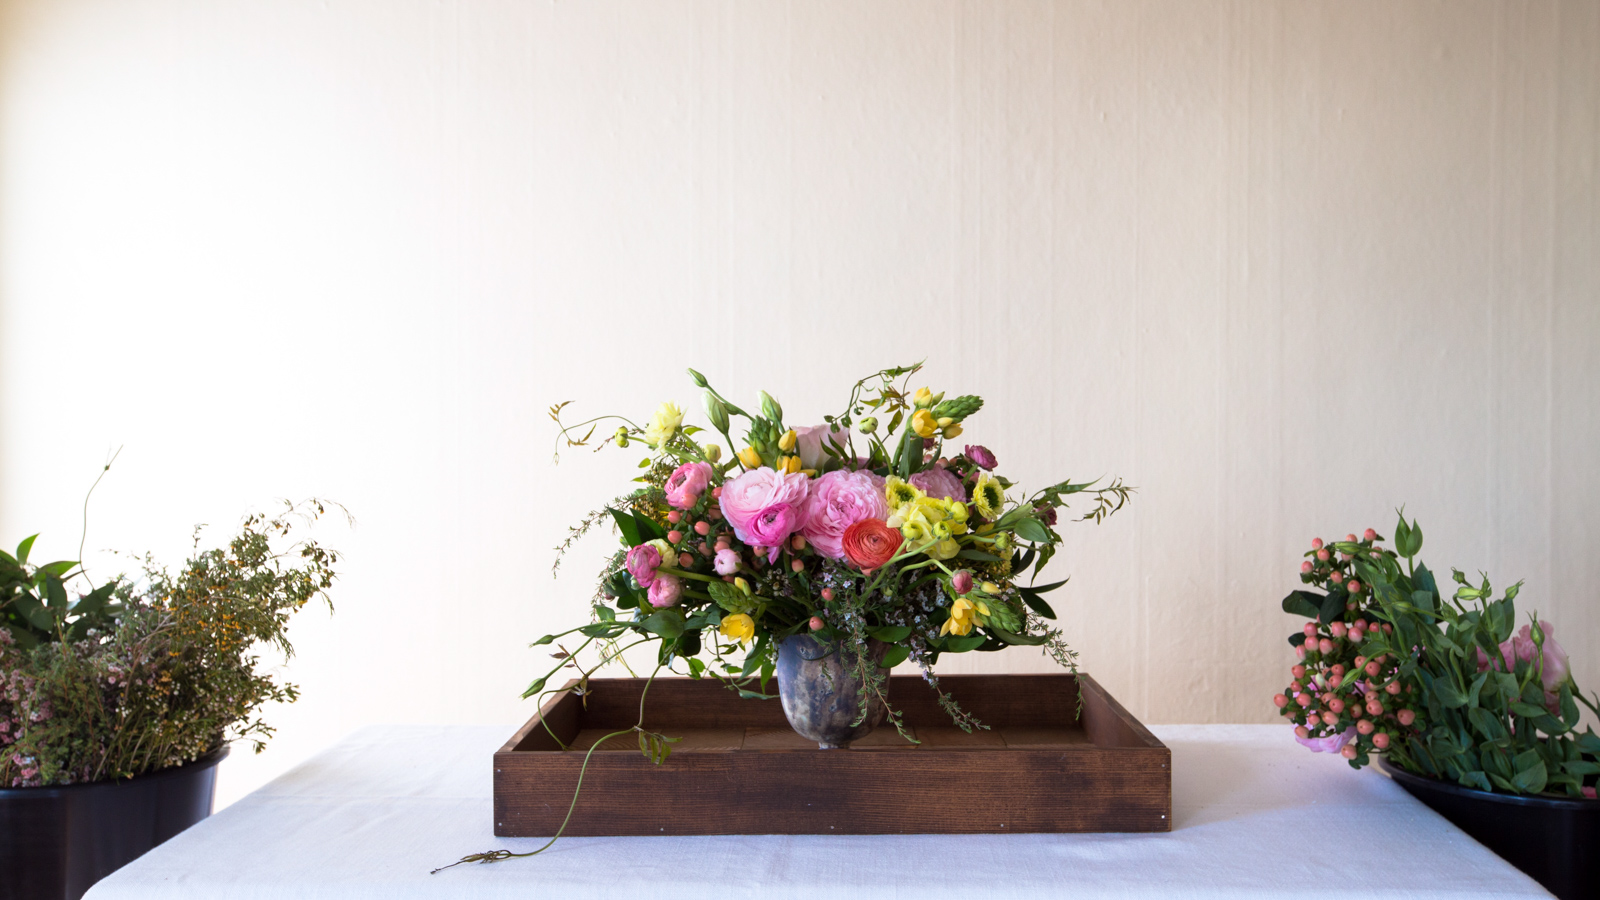
How to Make a Stained Wood Serving Tray

"Mother's Day is almost here, and what better way to celebrate than bringing Mom breakfast in bed on a homemade tray?"
Materials
- 1 - 1/2"x3"-8' Clear Vertical-Grain Fir
- 4x4-8' Kiln-Dried Doug Fir (Special Order)
- 1/4 Sheet of 1/4" Plywood
- 2 - 3 1/2" Cabinet Pulls
- 3D Finish Nails
- Gorilla Glue
- 150-Grit Sandpaper
- Varathane Wood Stain - Provincial
- Varathane Wood Stain - Early American
- 2 - 2" Foam Brushes
- Rags
- Marine Spar Varnish - Satin
Step 1: Prepare for the Project
This project takes a little forethought because some of the materials need to be specially ordered. Dunn Lumber carries the 1/2" x 3" Doug Fir at several of its locations, so call ahead to ensure it's at (or can be delivered to) your nearest location.
The 4" x 4" Doug Fir used for the checkerboard pattern on the tray needs to be specially ordered and can take up to a week to arrive. We carry green 4" x 4" in our lumberyards, but it doesn't have the clean cut edges you'll need for this project.
Step 2: Cut Your Materials
Using a chop saw cut the 4"x 4" into twenty-four 1/4" pieces (cut a couple extra for good measure). Arrange these tightly together on the 1/4" sheet of plywood to figure the exact measurement you'll need to cut the plywood to. Ours was just a hair under 14" wide, and just a little more than 21" long. Mark with a pencil and cut plywood with a circular saw.
Using a chop saw, cut the 1" x 3" Doug Fir into two 22" pieces and two 14" pieces (or to fit the outside dimensions of the plywood). These are going to be the sides of the tray.
Step 3: Sand Your Materials
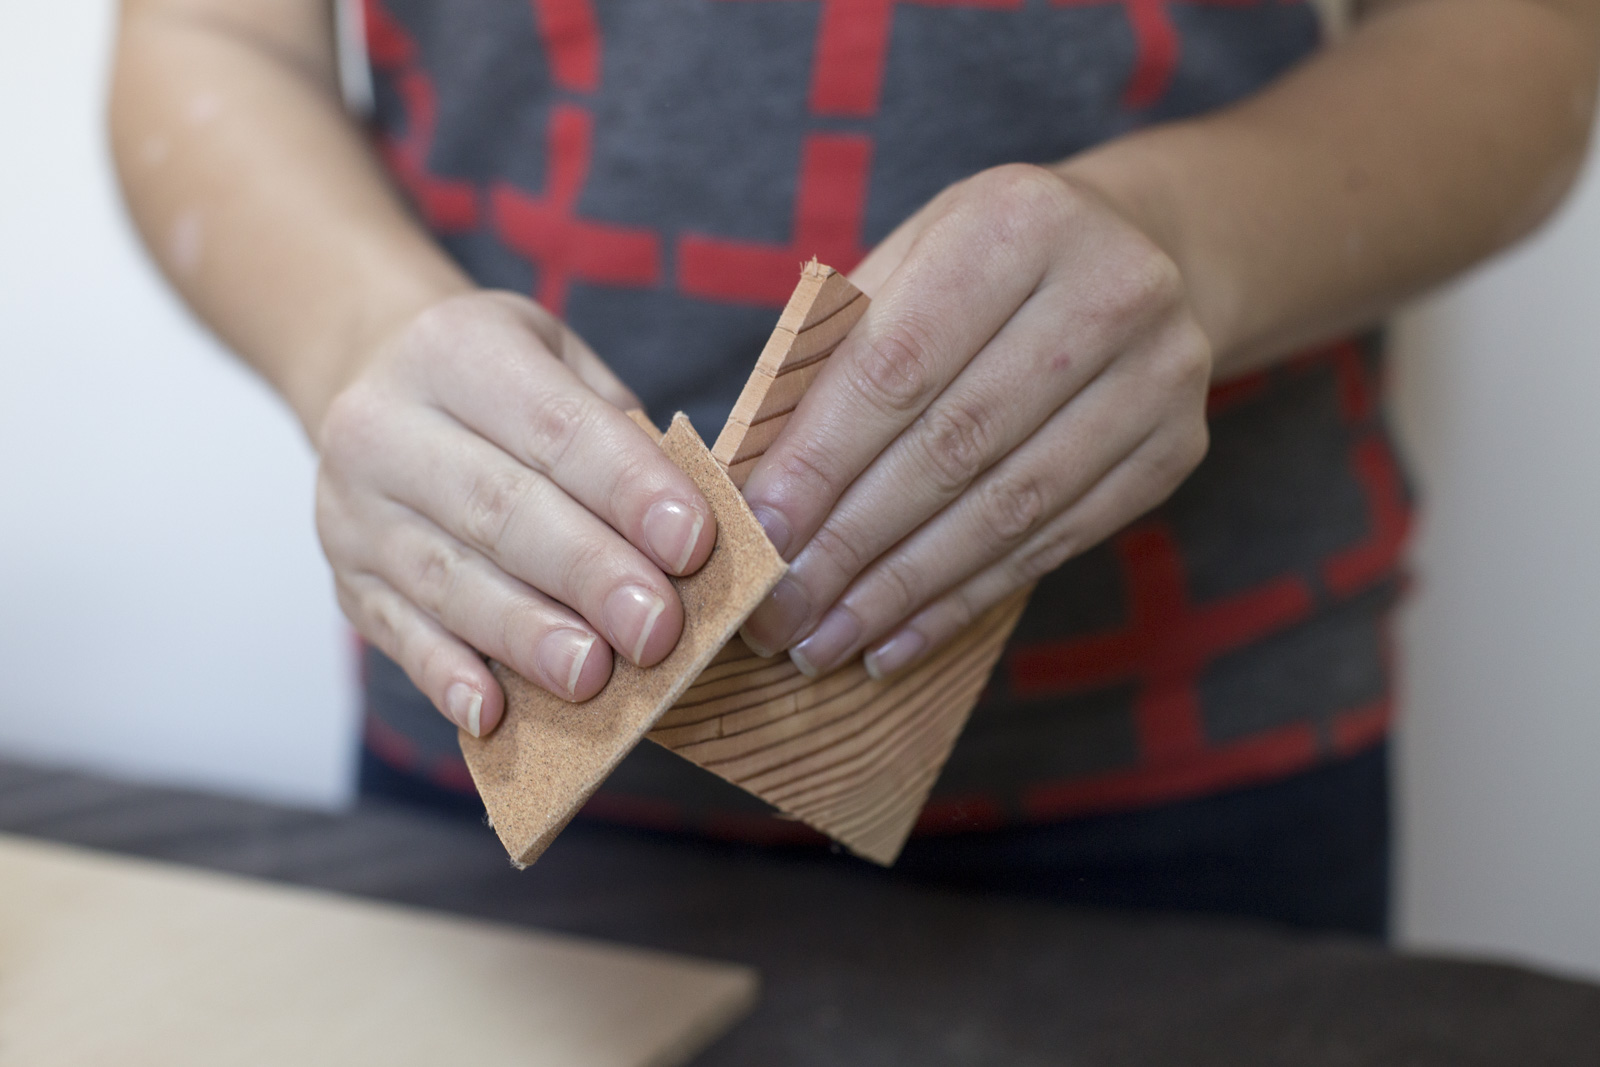
Sand the edges of all 24 squares and divide them into two piles of 12.
Step 4: Stain Your Materials
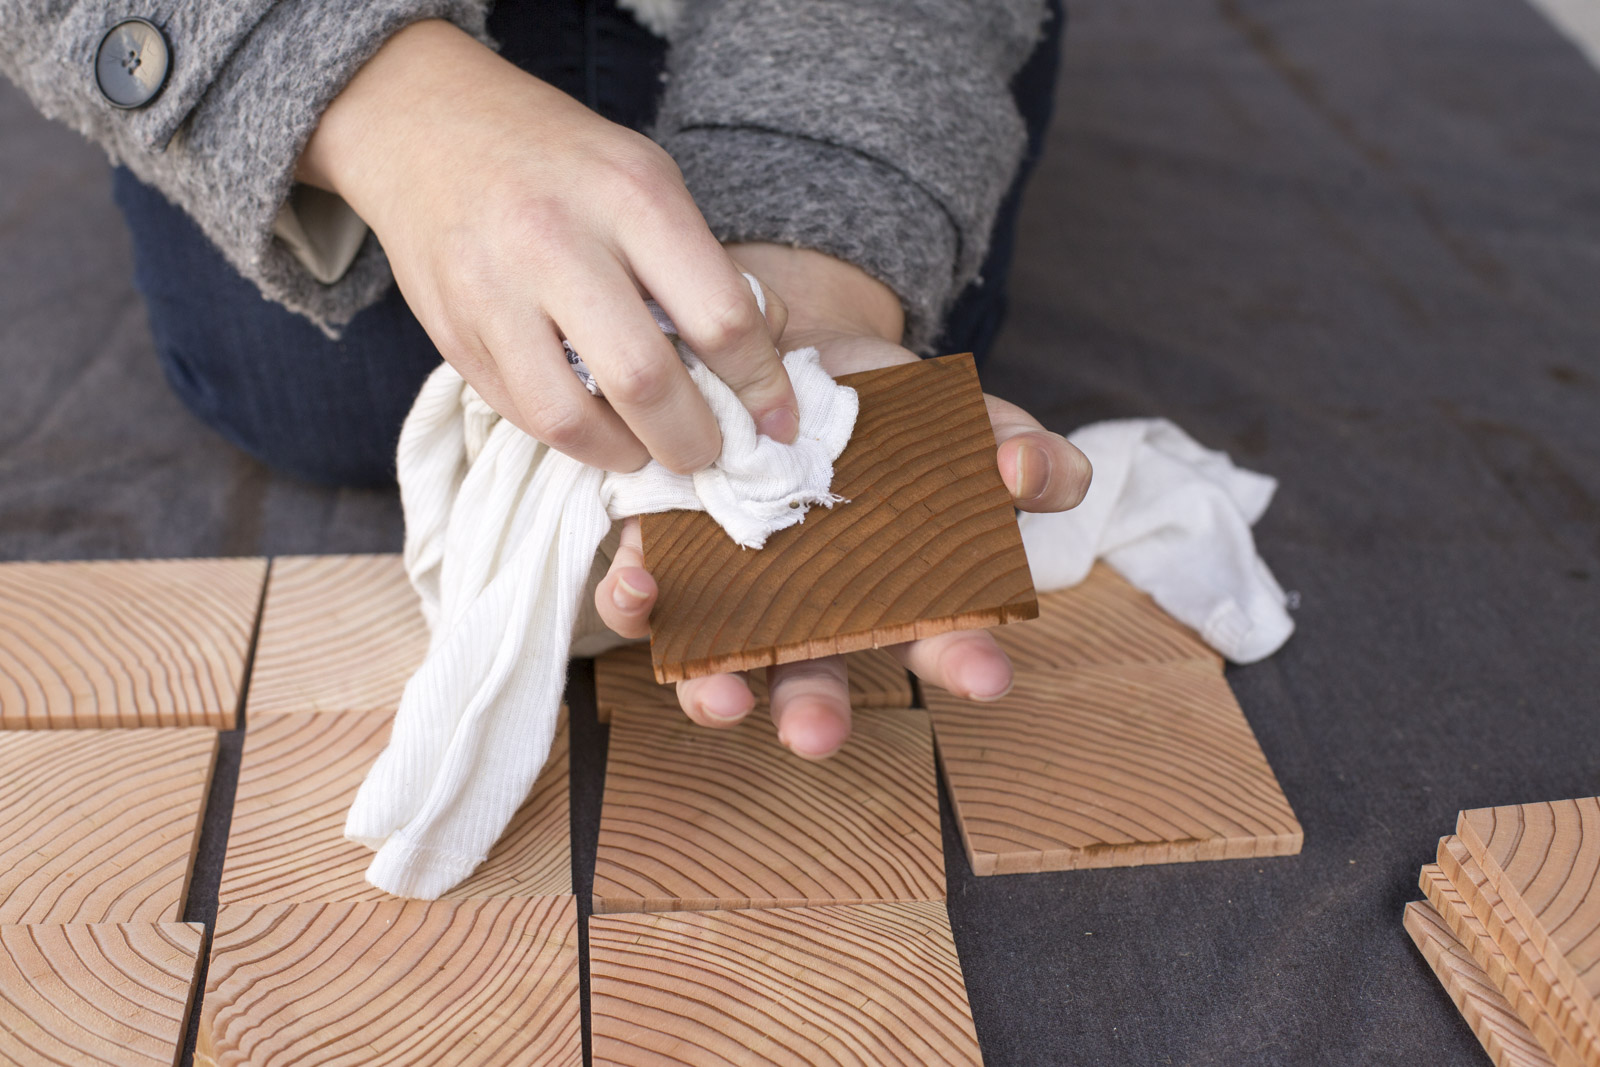
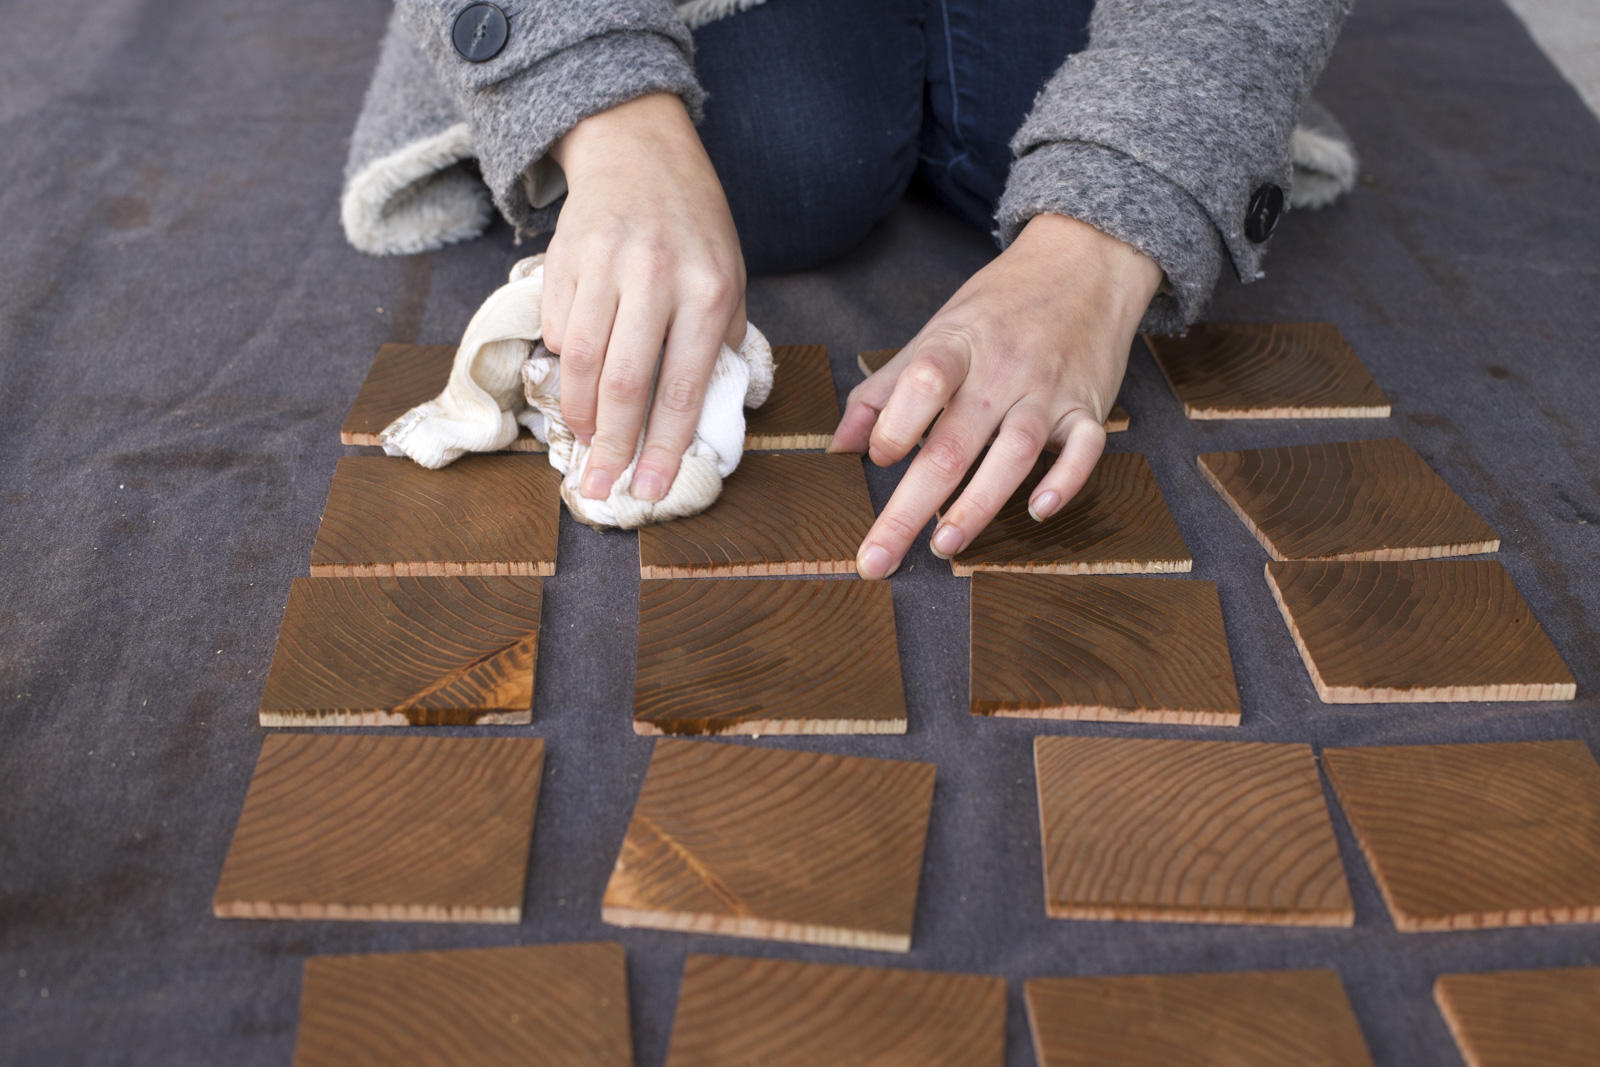
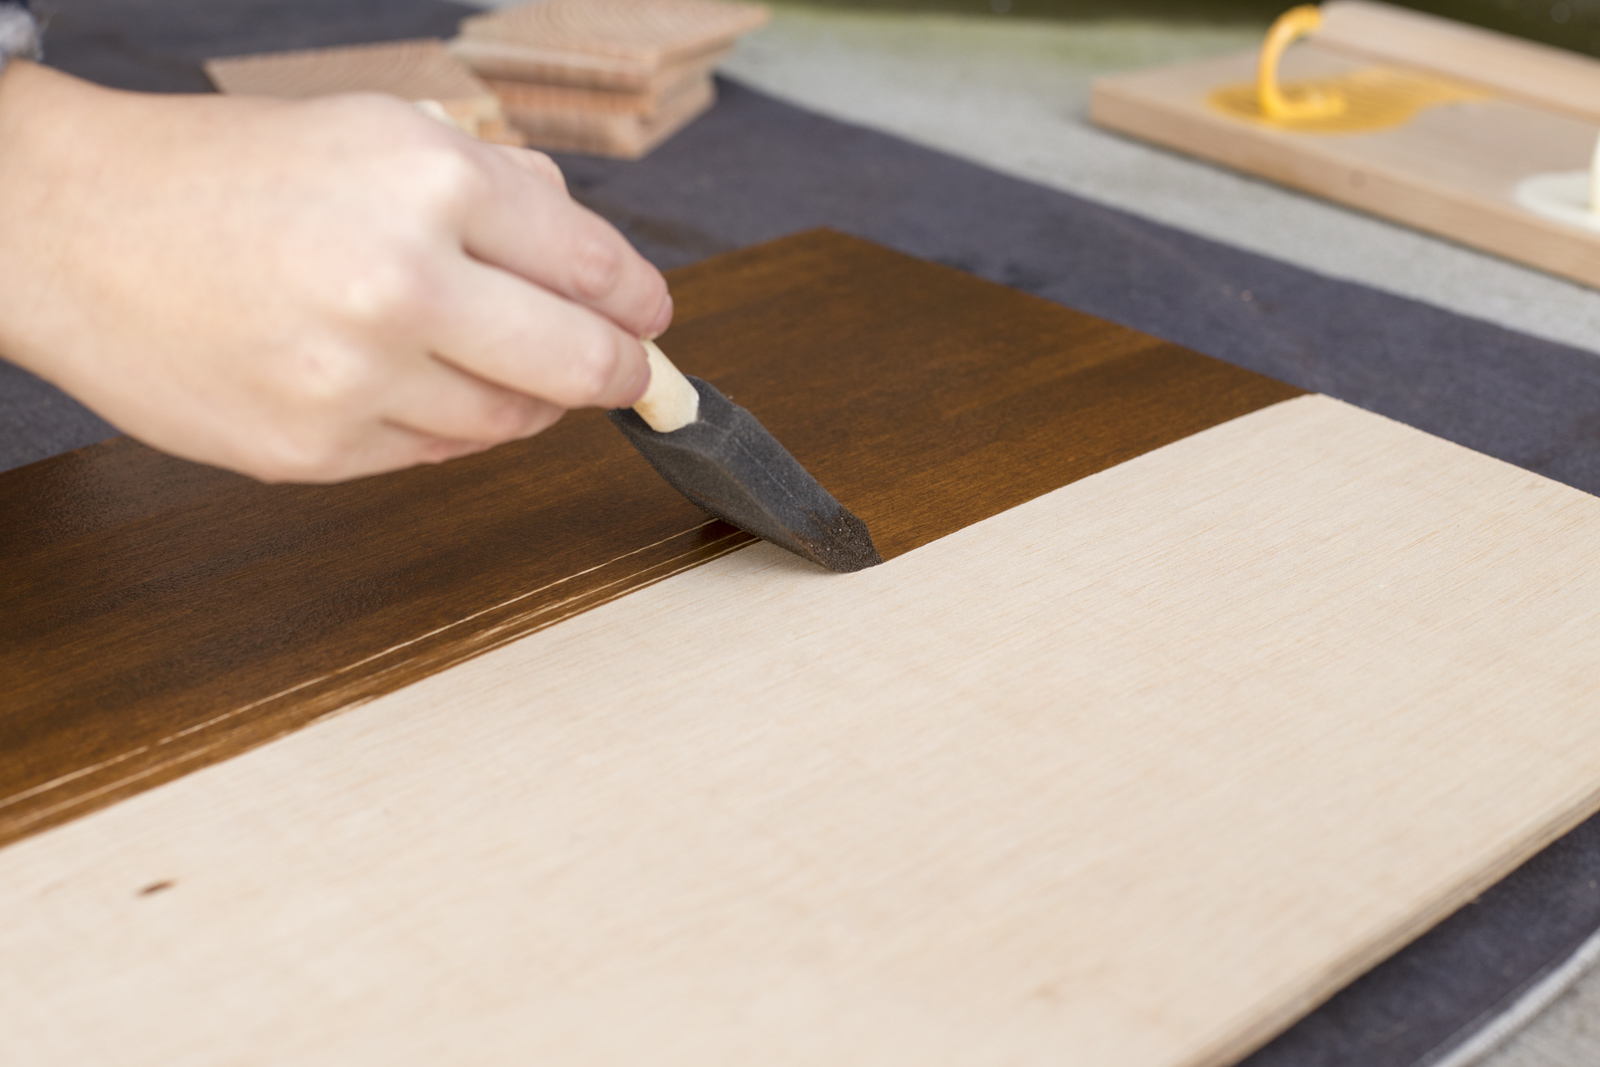
Following the directions on the can, stain 12 of the squares with the "Provincial" stain and the other 12 with "Early American". Wipe off excess stain with a rag. For a more dramatic checkerboard effect, select stains with a greater color contrast.
Then, use the "Provincial" stain to stain the bottom of the tray and the 1" x 3" sides.
Step 5: Arranging Your Pattern
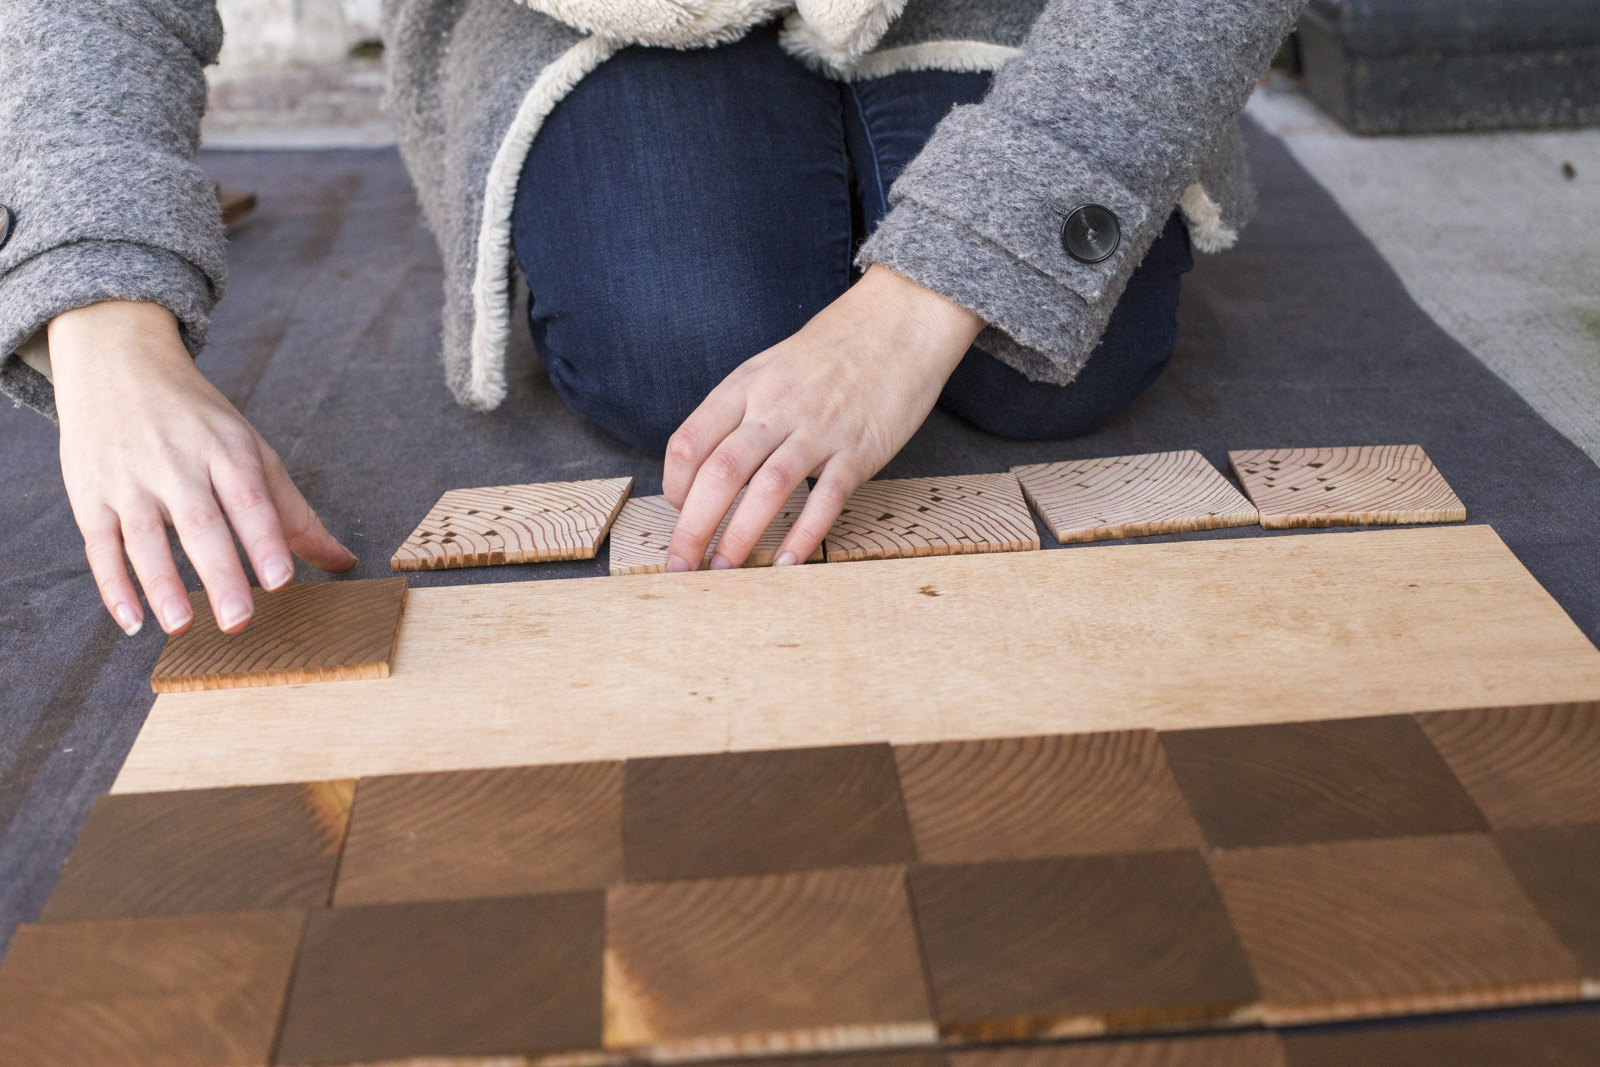
Now, place the squares in an alternating dark and light pattern on the base of the tray.
Step 6: Secure in Place
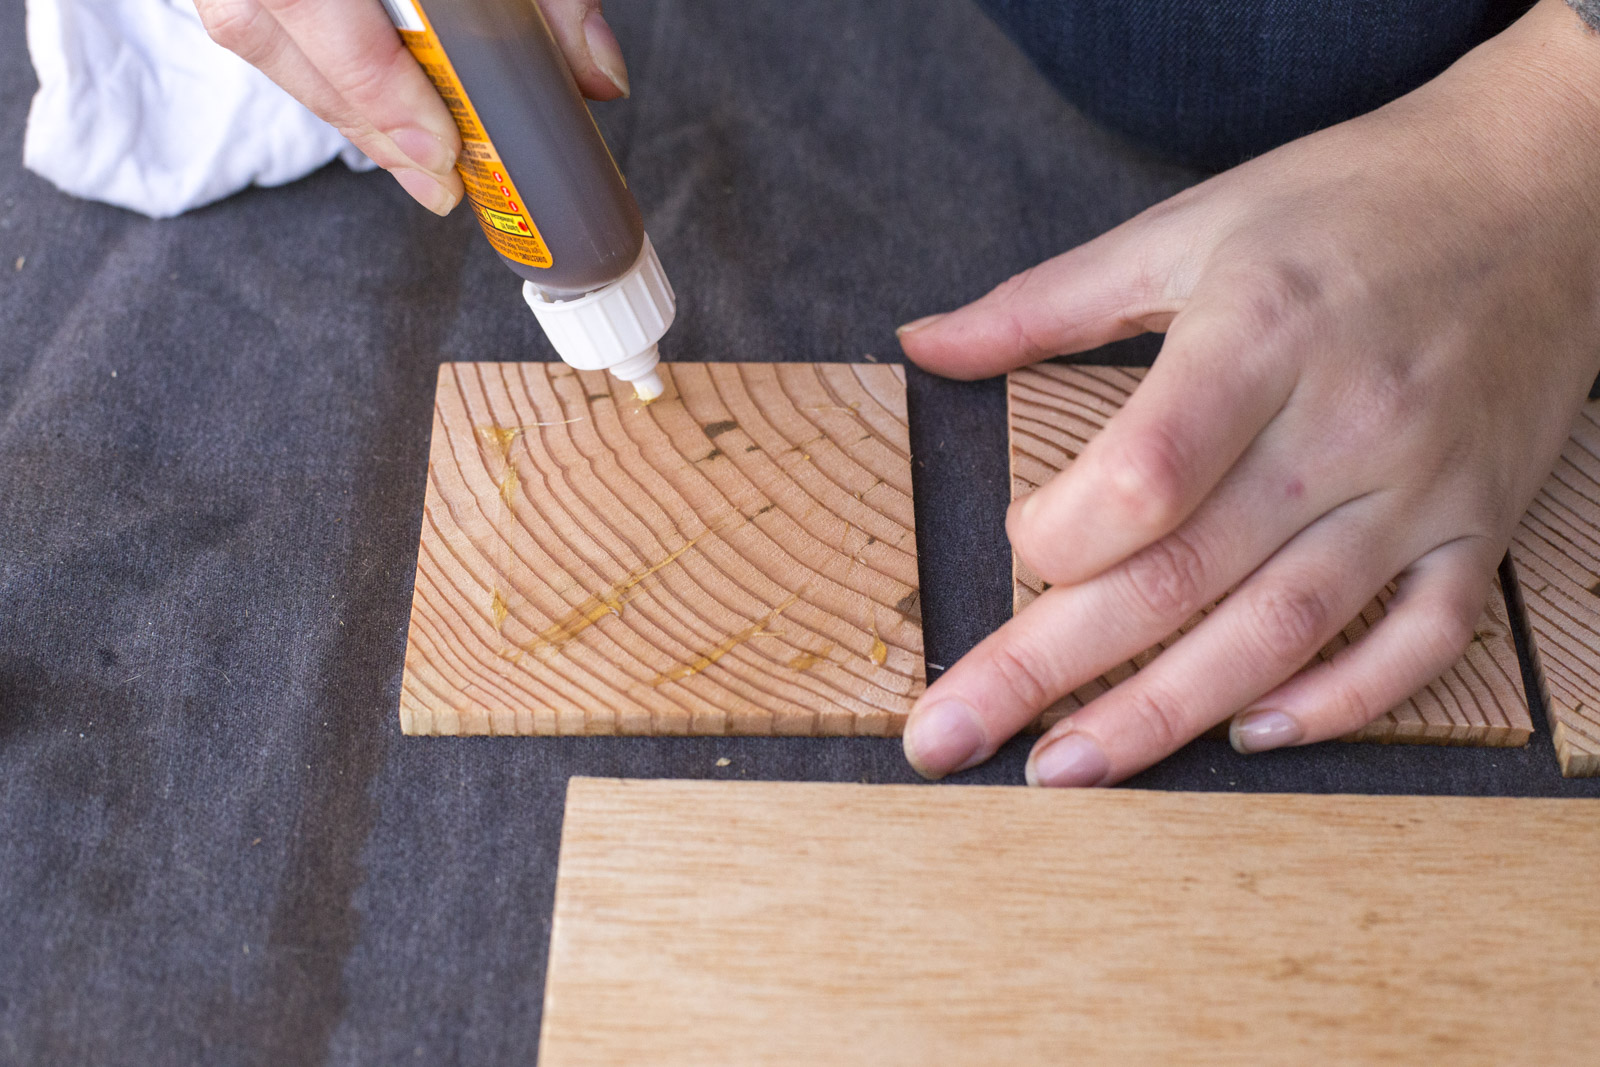
Secure each square in place with Gorilla Glue. Because Gorilla Glue needs moisture to cure, wipe the squares with a damp cloth before applying the glue, and be careful to use only a very small amount because this glue will expand. You don't want your squares to be floating above the plywood because there's too much glue.

Step 7: Attach the Sides
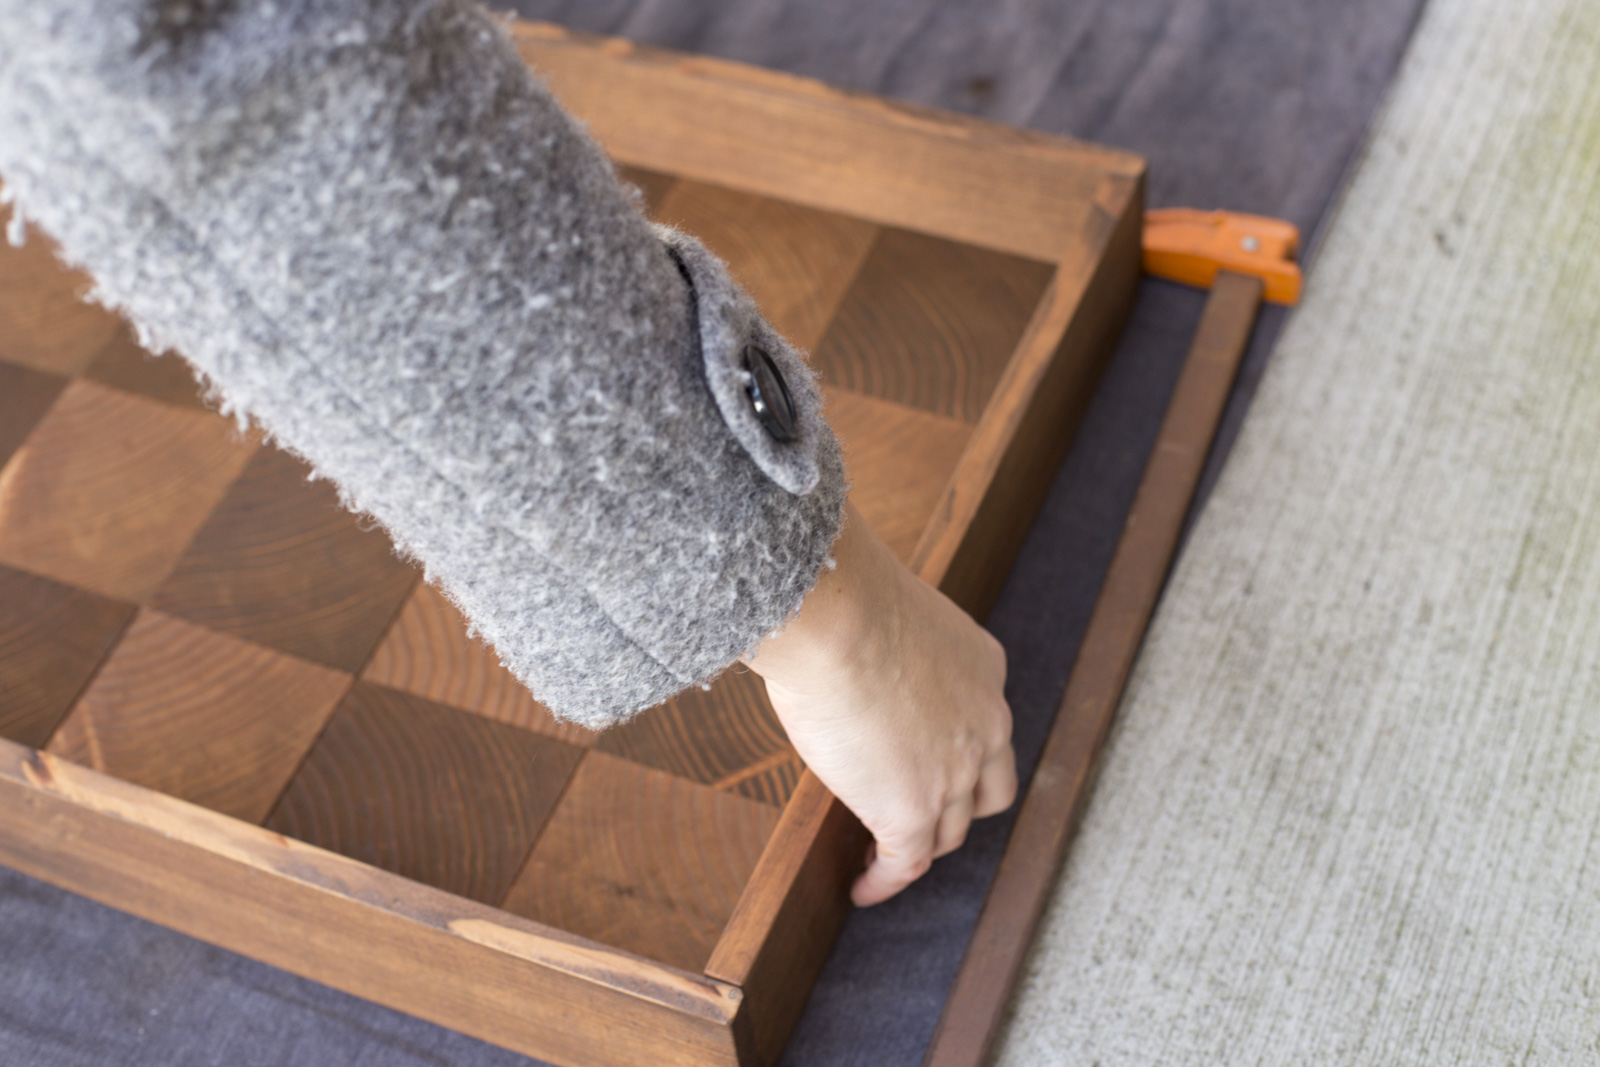
Glue the sides to the base and use a clamp to secure them in place. Allow to dry fully before moving on to the next step. (We let our dry for 24 hours.)
Step 8: Drill
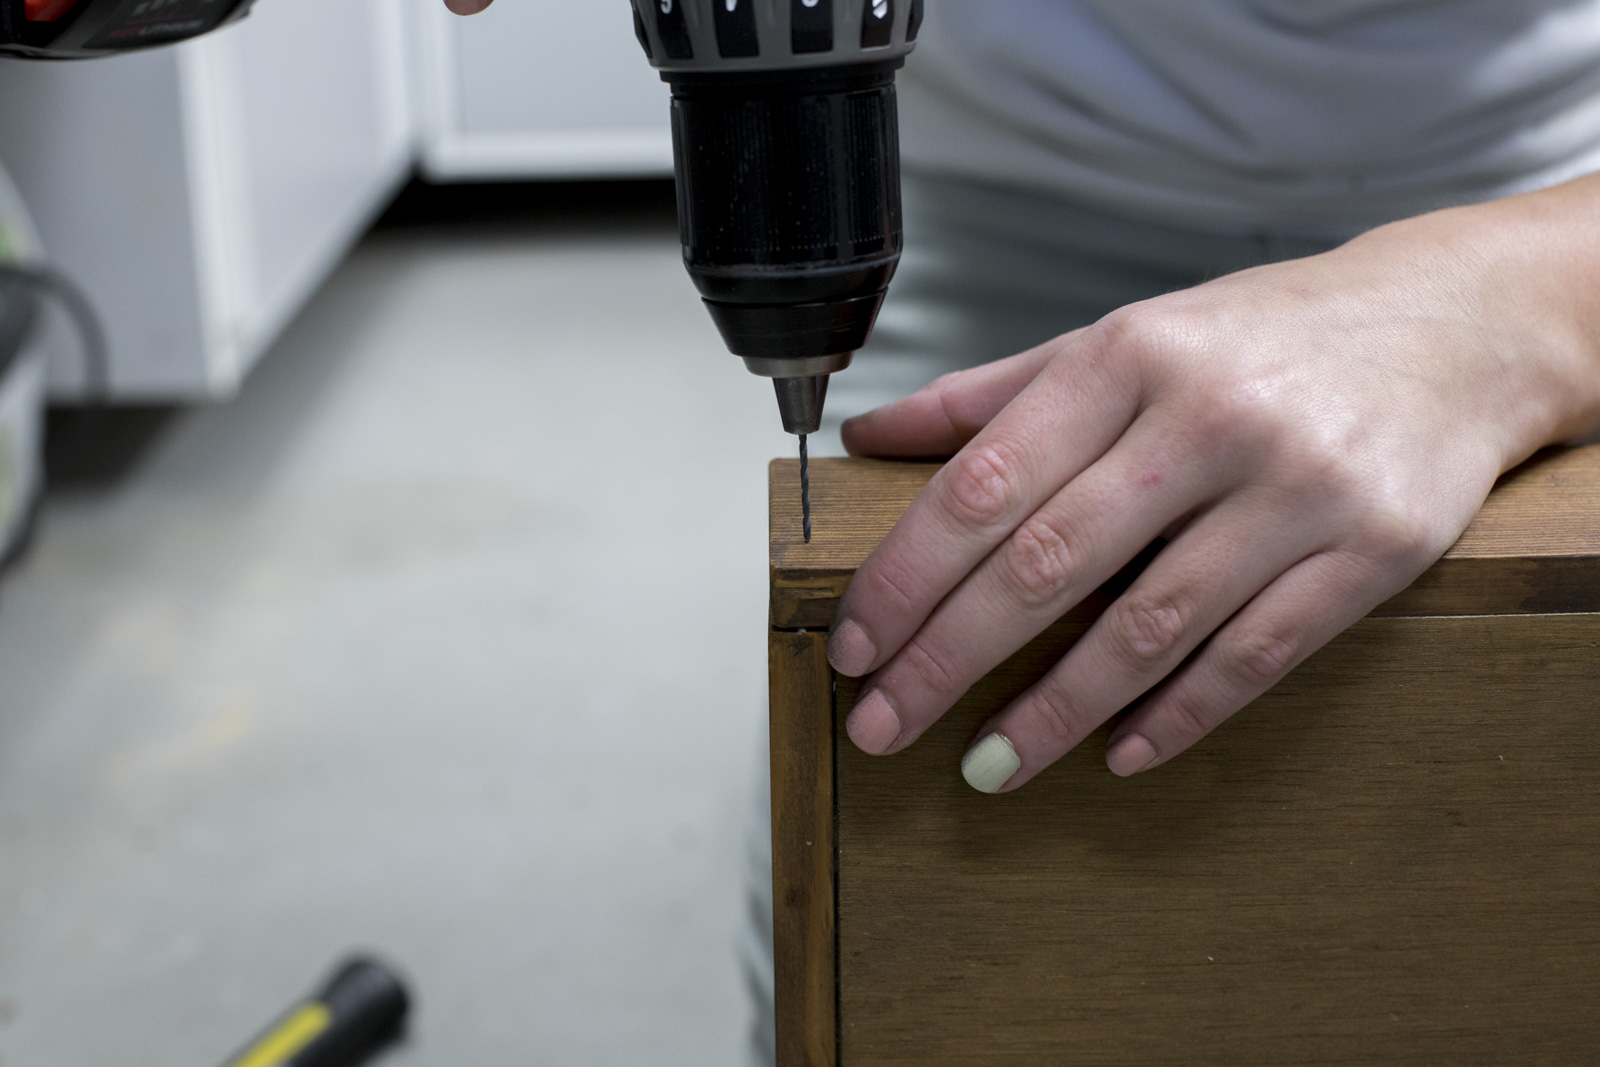
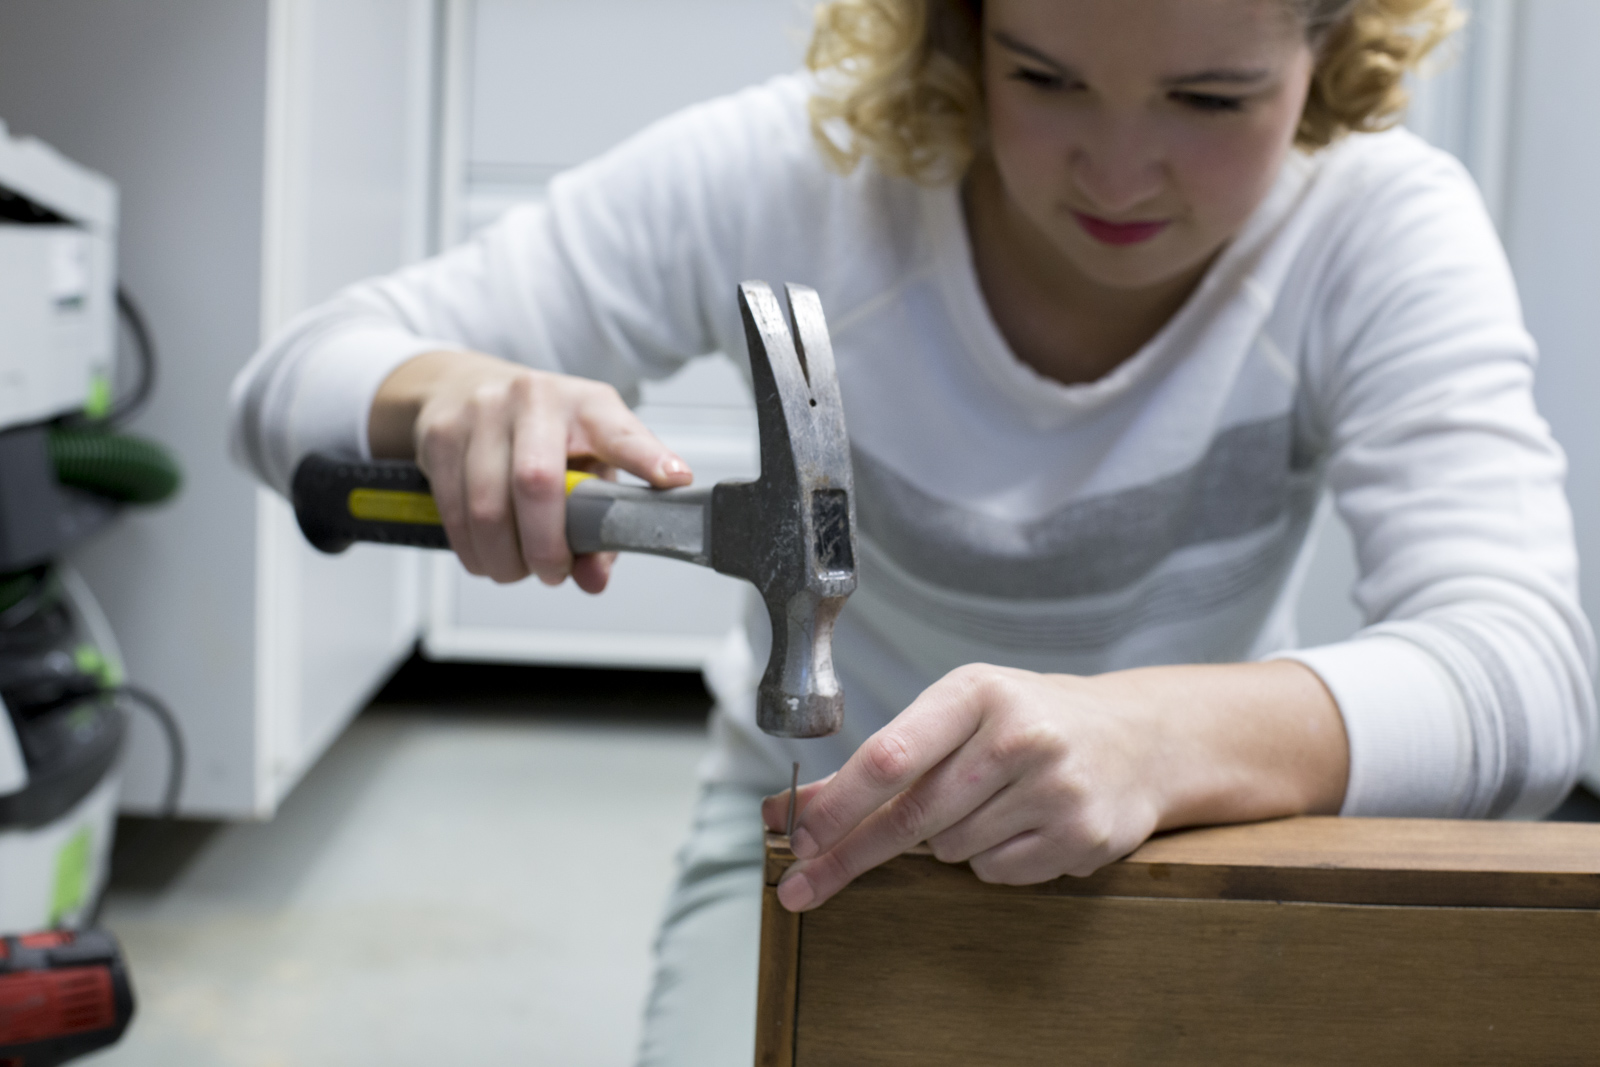
Once your sides are set, it's time to predrill to ensure you don't damage the wood when hammering the nails in place. Predrill two holes along each corner and around the bottom edges with a 1/16" drill bit. Then, hammer in the finish nails.
Step 9: Attach the Handles
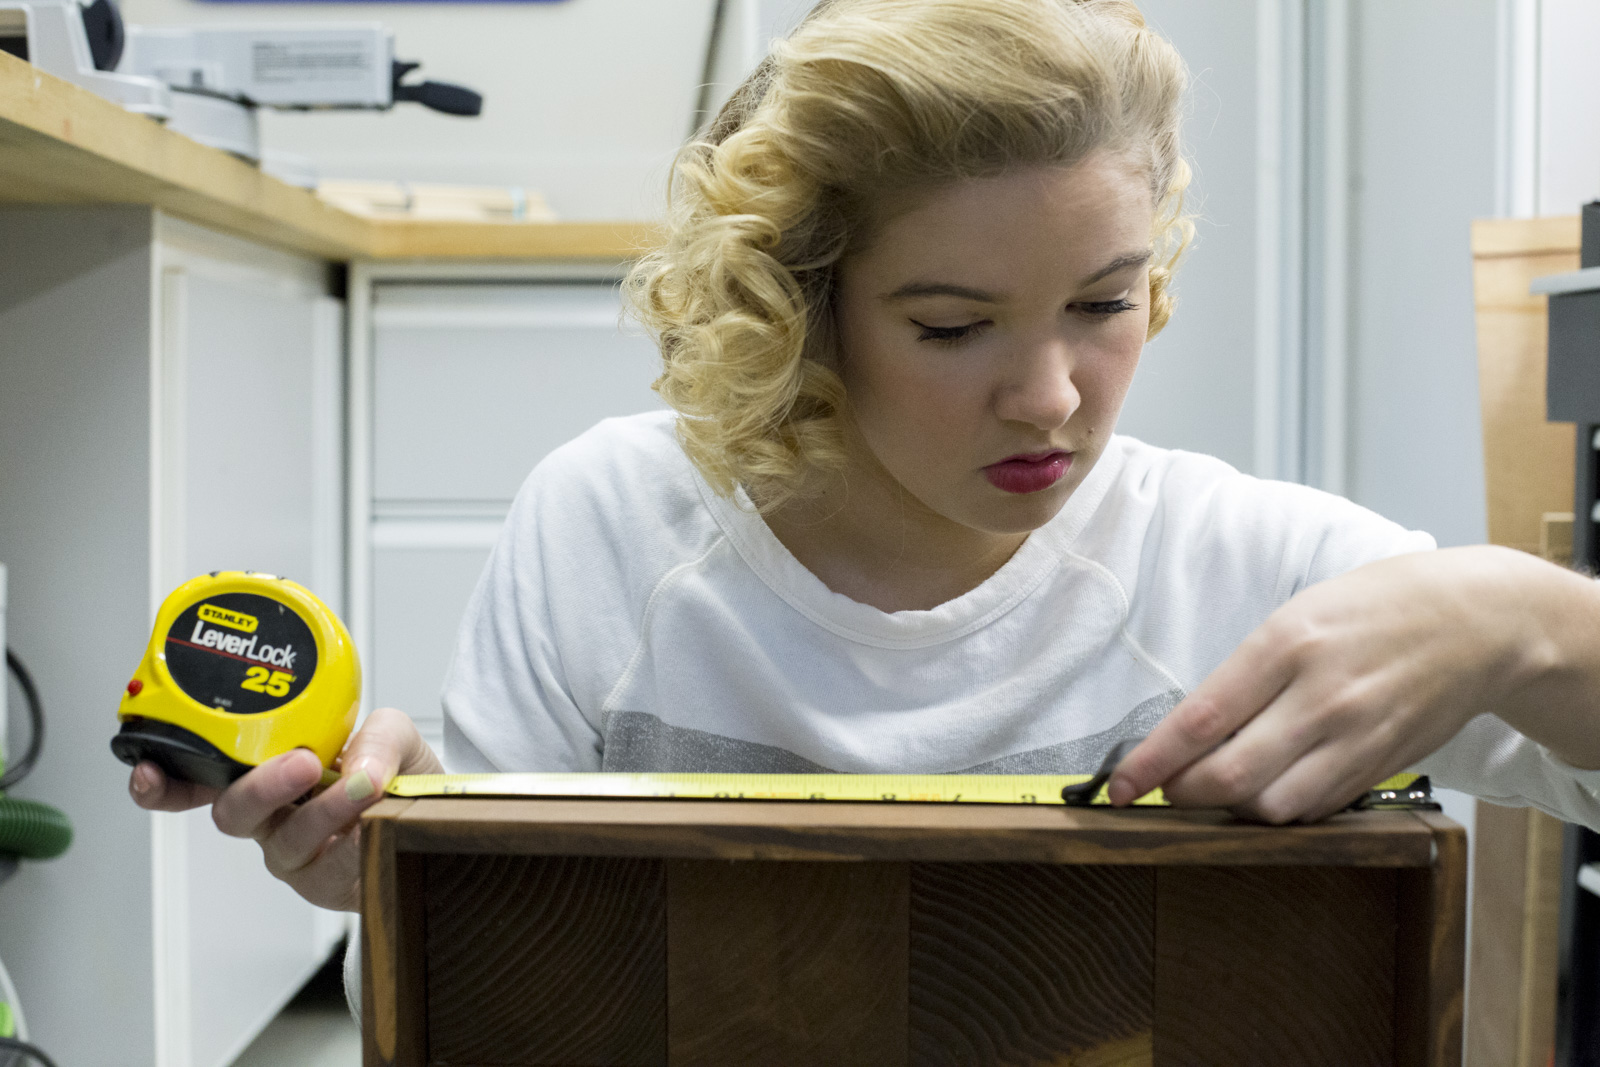
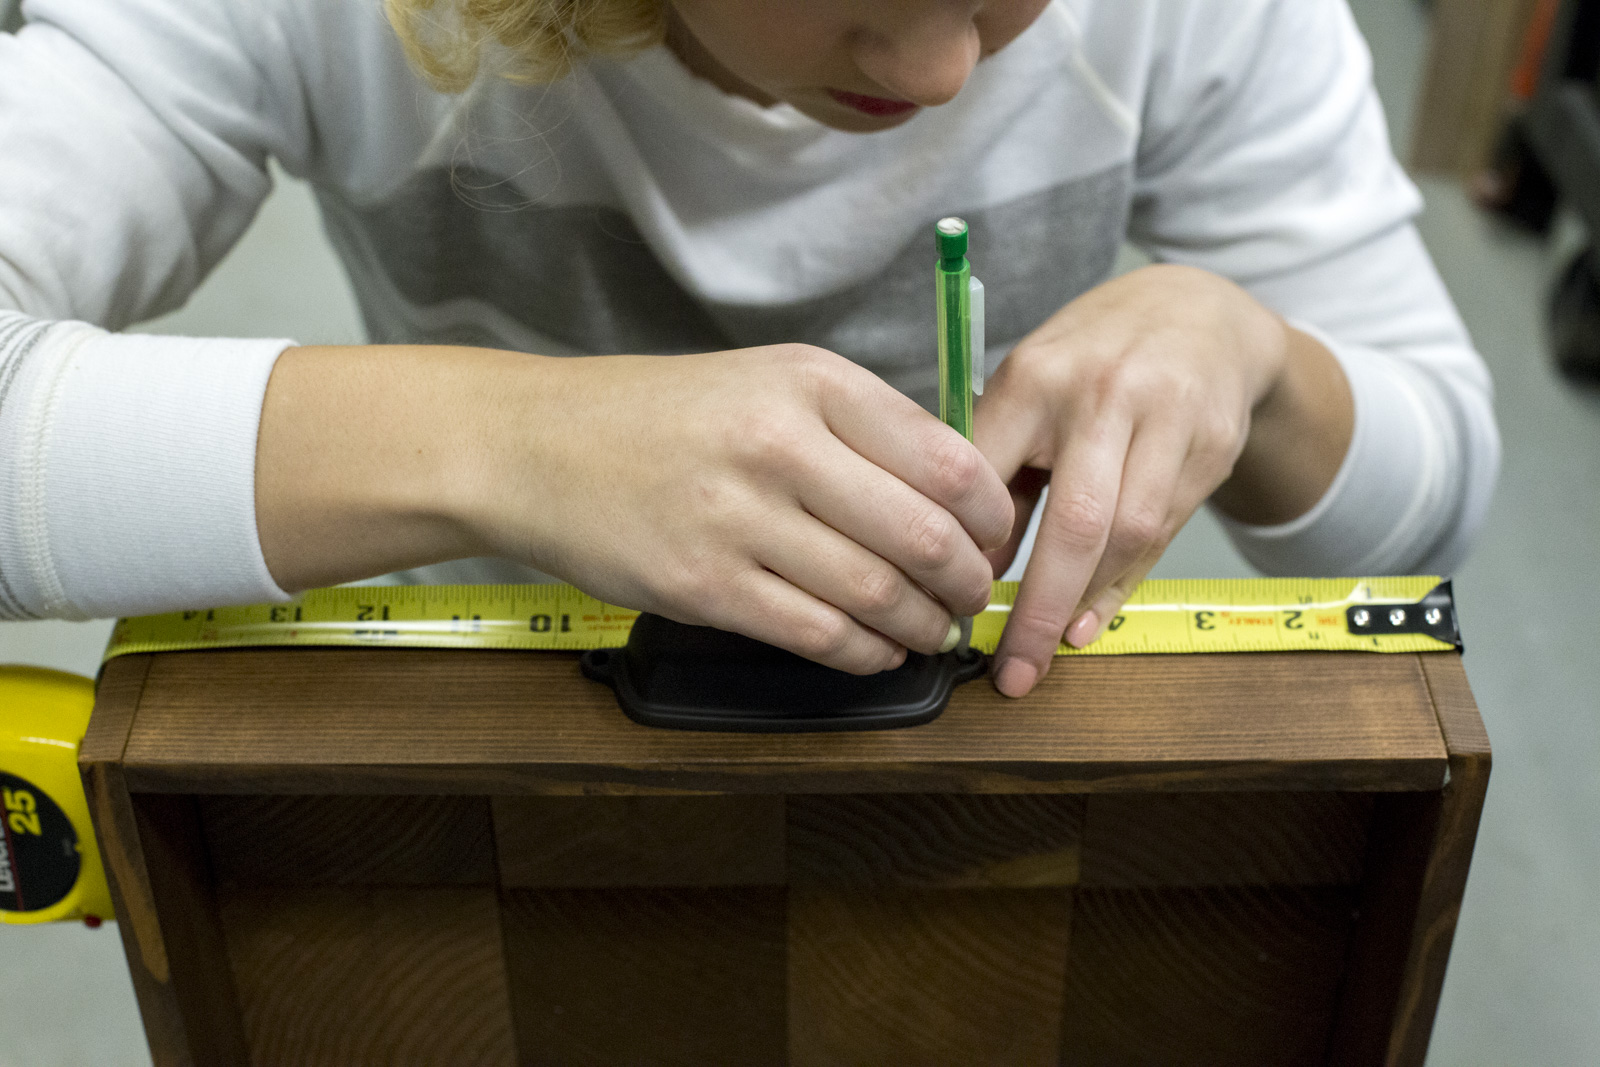
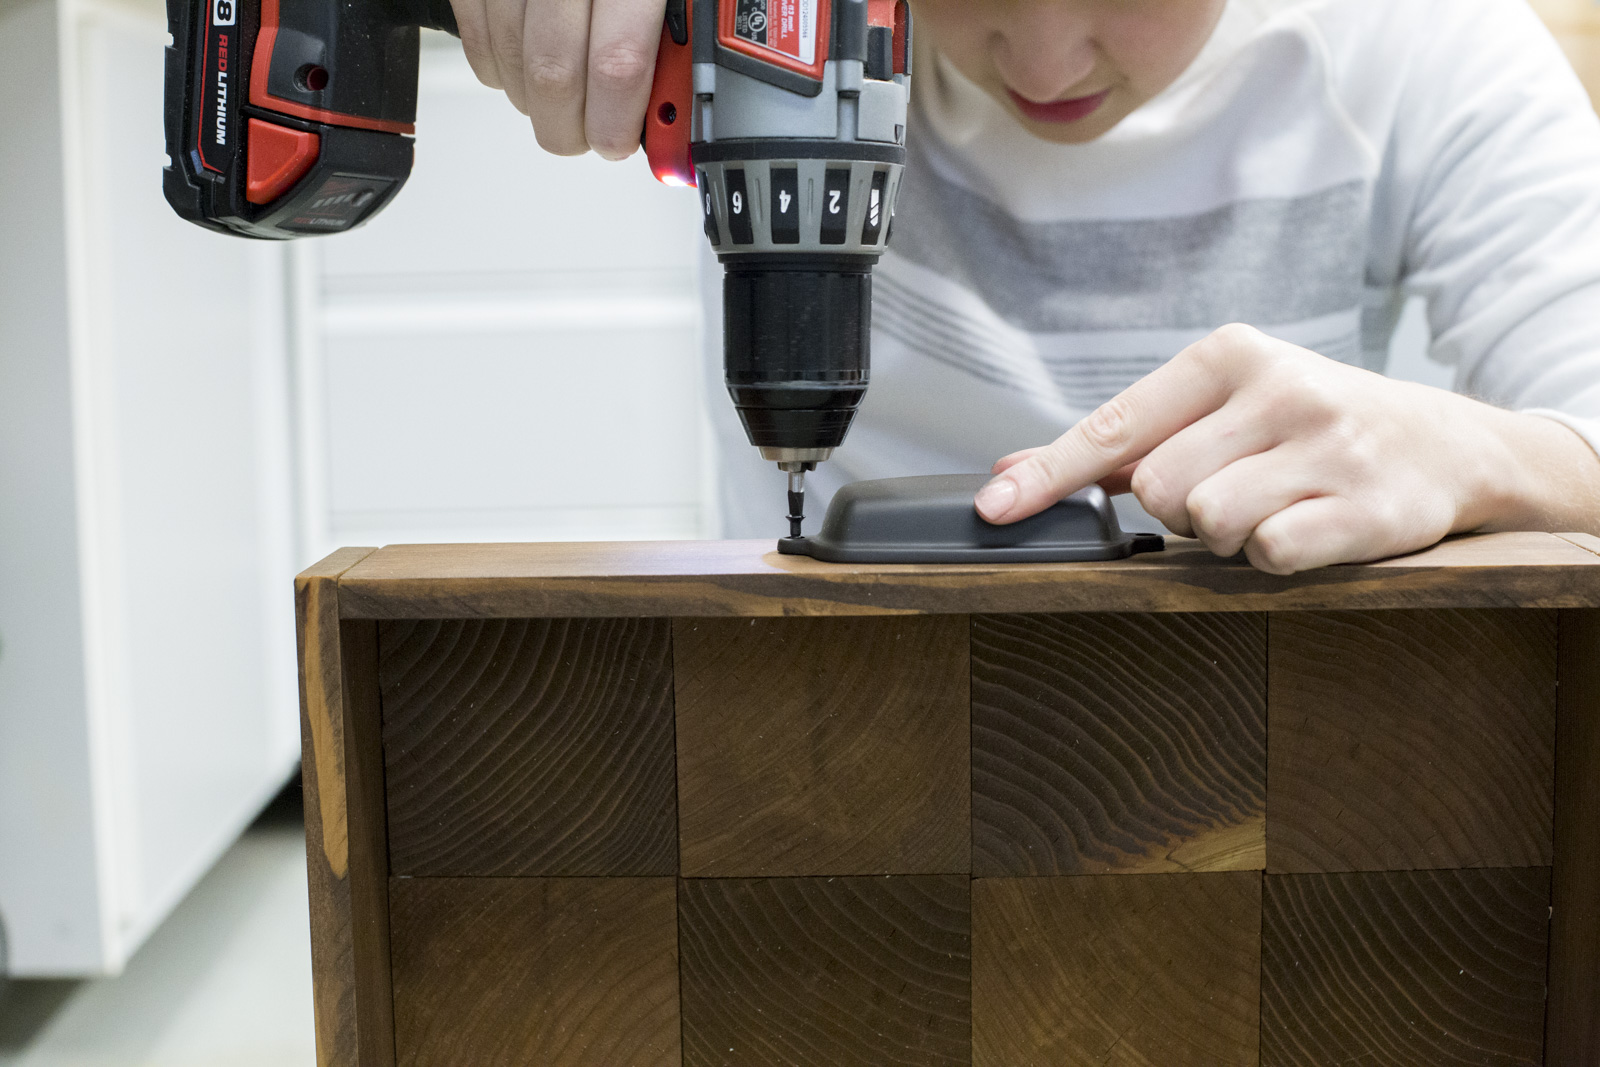
Measure and mark the center of the tray ends where you'll be securing your handles. Predrill before securing in place. Don't drill too deep; the screws are just about the same length as the width of the wood, and you don't want to drill all the way through the wood!
Step 10: The Finishing Touch
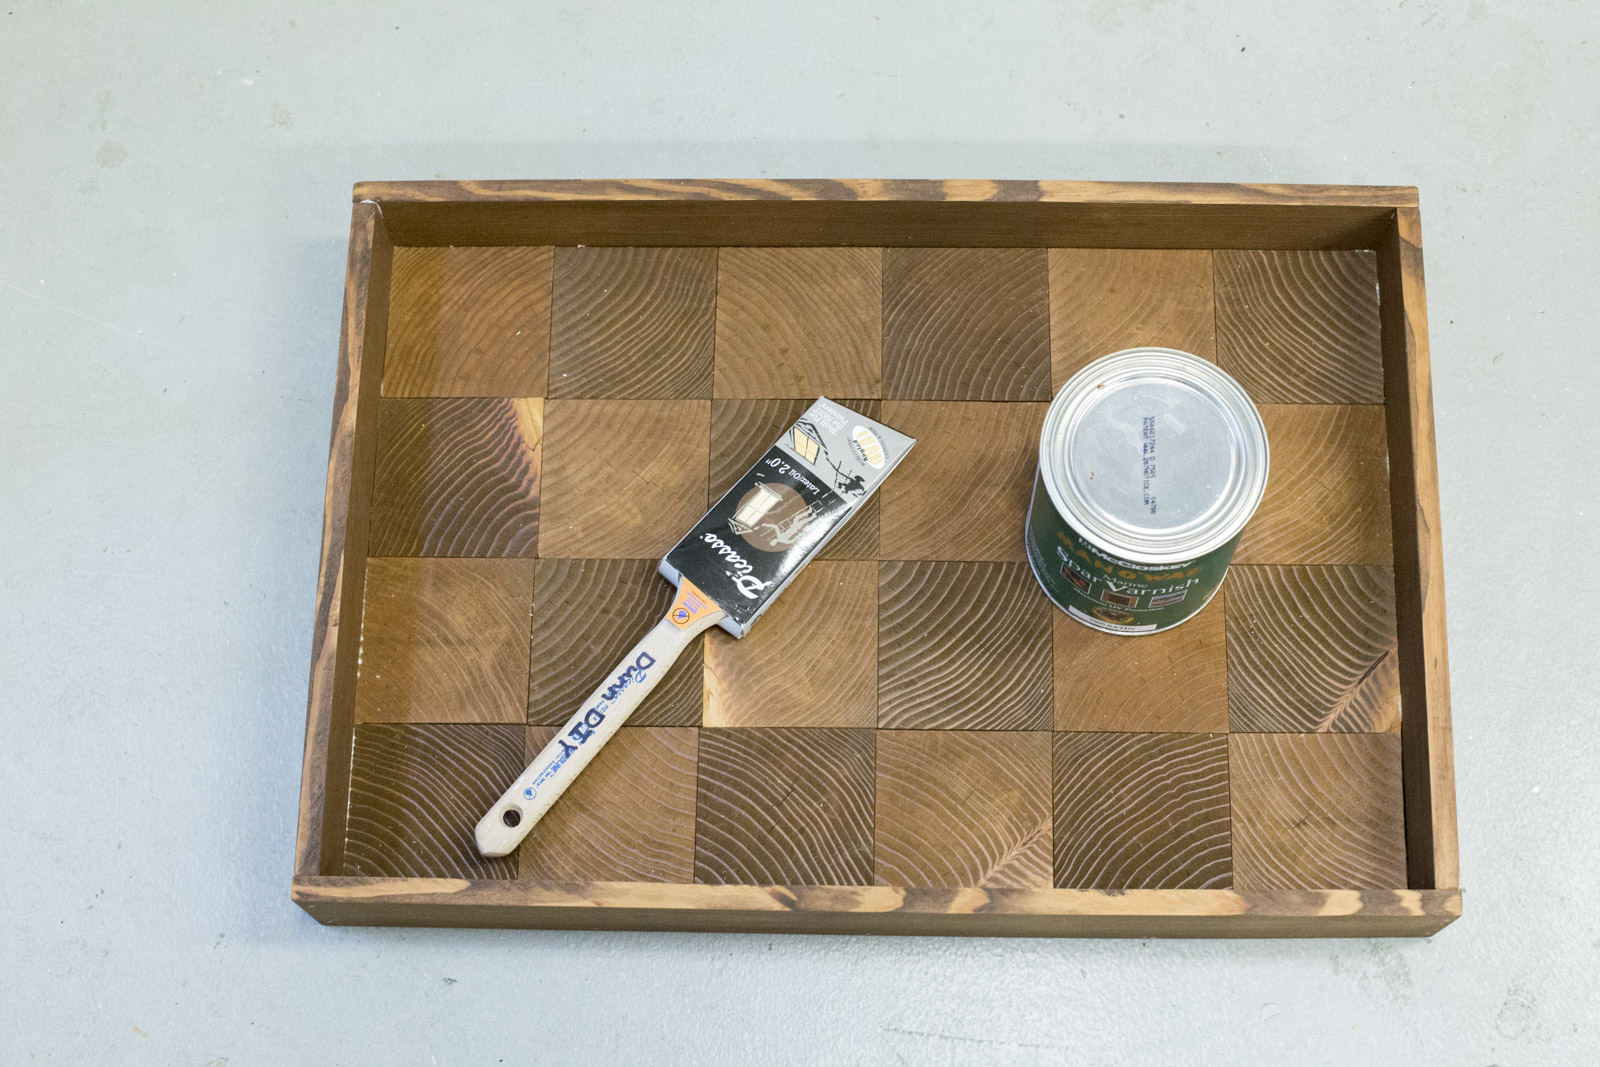
Finish with a coat of varnish or other top-coat, and let dry completely before using. (Refer to the directions on your varnish for the dry time.)
Step 11: Enjoy!
Aren't those flower beautiful? Come back next week to learn how to arrange your own bouquet for Mom—a perfect pairing with your new tray!
