How to Treat and Remove Moss From Your Roof Like a Professional

"Greg of DAPrDAN explains what homeowners need to know about roof moss, and walk you through the process of cleaning it off your roof."
Materials
A note from Todd: This article is part one in a two-part series. We'll cover moss treatment and moss removal in this installment, and how to clean your gutters in the second part. We’re working with Greg and Abe of DAPrDAN, a locally-owned home detailing service that offers window cleaning, gutter cleaning, power washing, as well as moss removal. In this installment, Greg explains what homeowners need to know about roof moss, and walk you through the process of cleaning it from your roof.
Heads up: This is a tutorial, and includes the basic steps required to clear a roof of moss. It’s entirely possible to DIY this project, but if you feel uncomfortable completing the steps yourself, please hire a professional like our friends at DAPrDAN and have it done for you.

The Difference Between Moss Treatment and Moss Removal
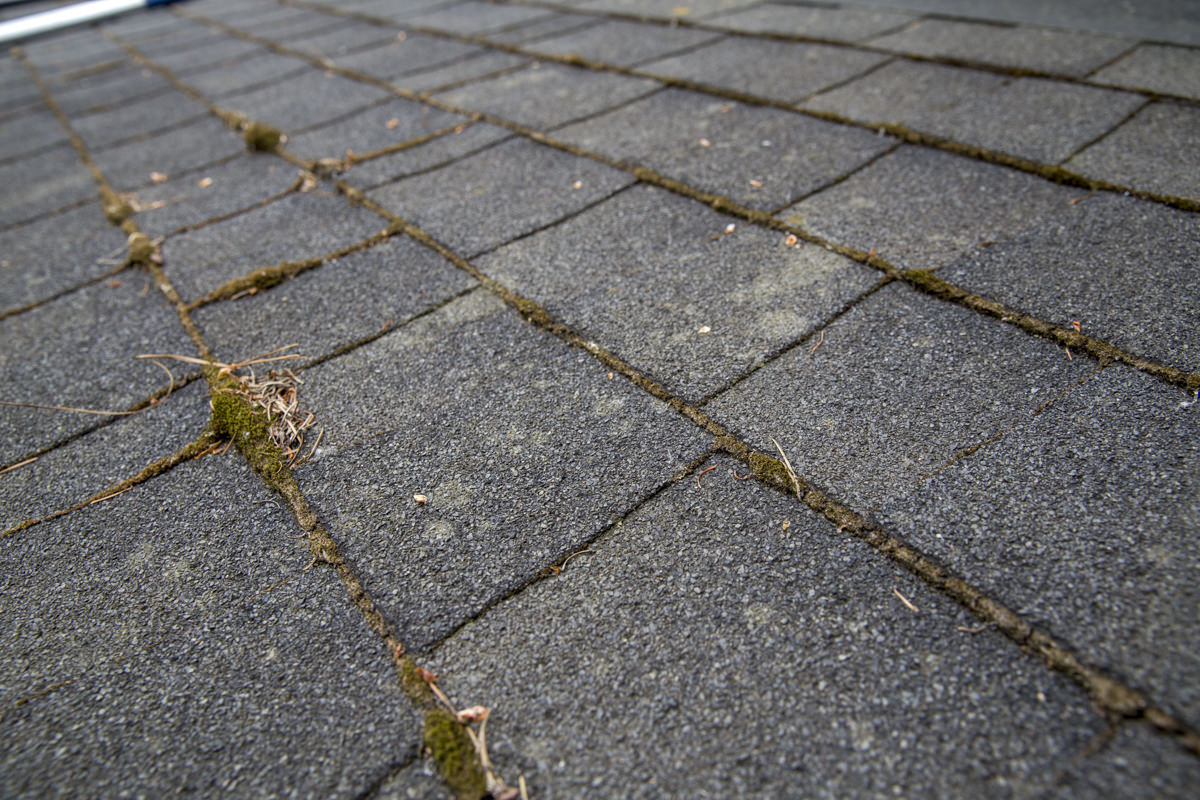
It's ideal to treat and remove moss as it is growing and thriving (from October through April). If you treat your roof once a year, moss won't grow beyond the point of routine maintenance. As a rule of thumb, seeing a tint of green on your roof means the moss is outgrowing the maintenance phase, and you may need a restoration plan to completely clear it off. The difference between restoration and maintenance as it relates to moss is whether you’re treating the moss or removing it; it's also the factor which determines if you can do it yourself.
Moss treatment means killing the moss, which begins at the time of treatment. Moss treatment is the process of applying a solution that will kill moss over time—typically five to six weeks. When performed at regular intervals, moss treatment prevents moss growth, which often eliminates the need for moss removal. Think of it like you think about changing your car's oil versus having to replace the engine.
Moss removal clears the moss at the time of service, by scraping the shingles. This will need to be followed with a moss treatment to prevent future growth. Today we are going to do both moss removal and moss treatment.
One big thing to avoid: Don’t use pressure washers on your roof. If you do, you'll strip away the layer of sand and grit, which offers traction and is the protective layer of your roof.
The American Roofing Association (ARA) estimates that you end up subtracting five years from your roof’s life every time you power wash it. Compromising the integrity of your roof in the smallest area can create a path for water intrusion. Leaks like that show up as water spots, and may lead to dry rot in your rafters.

Safety Recommendations
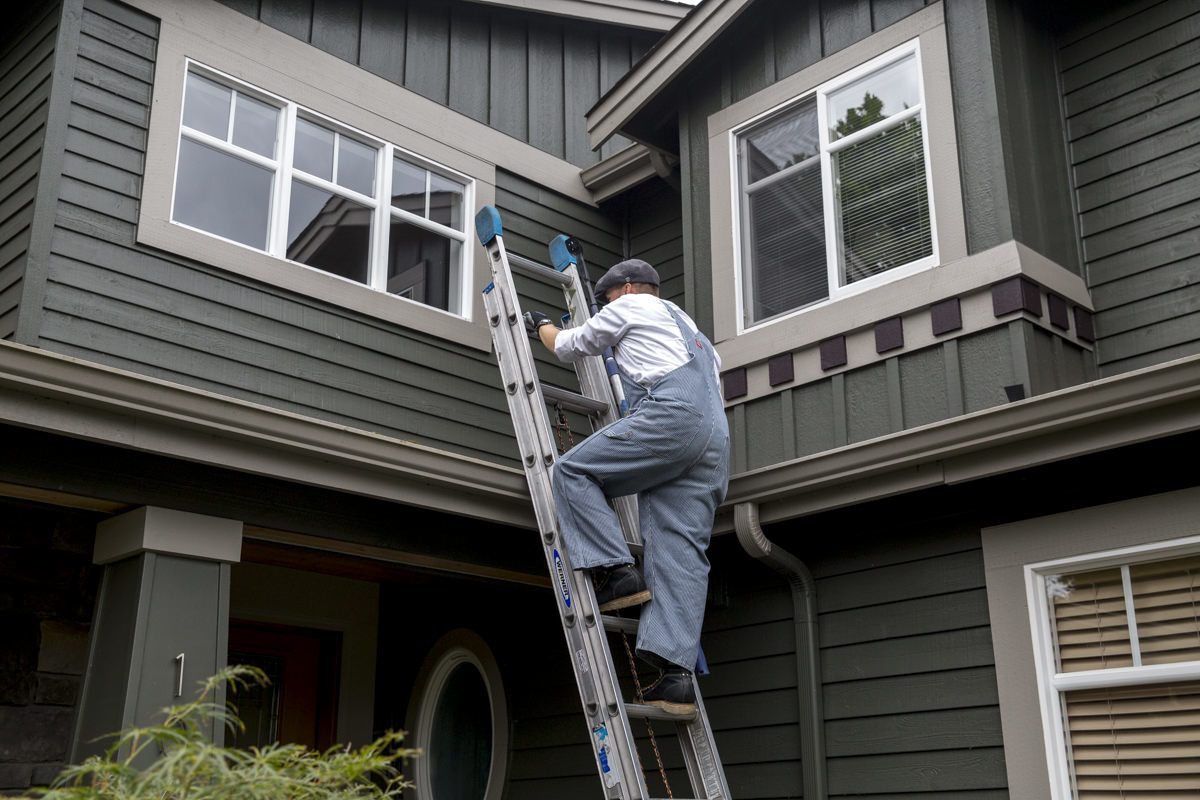
Set up your ladder in a proper, safe position; the ladder should be leaning up against a secure part of the home. Also note that if you're standing on your roof, don't turn your back to the edge. If you can't see the edge of your roof, you're more likely to fall off of it.
Consider purchasing safety equipment like a rope, harness, and carabineers to ensure you're secure. You can find these items at Dunn Lumber, available for individual purchase, or as a set in a bucket.
Step 1: Prep the Area
Before you start, determine a project plan which includes your starting point, workflow, and containment. Be sure to remove furniture, move cars, and cover pools and hot tubs. As an extra precaution, wet down any vegetation that might receive overspray.
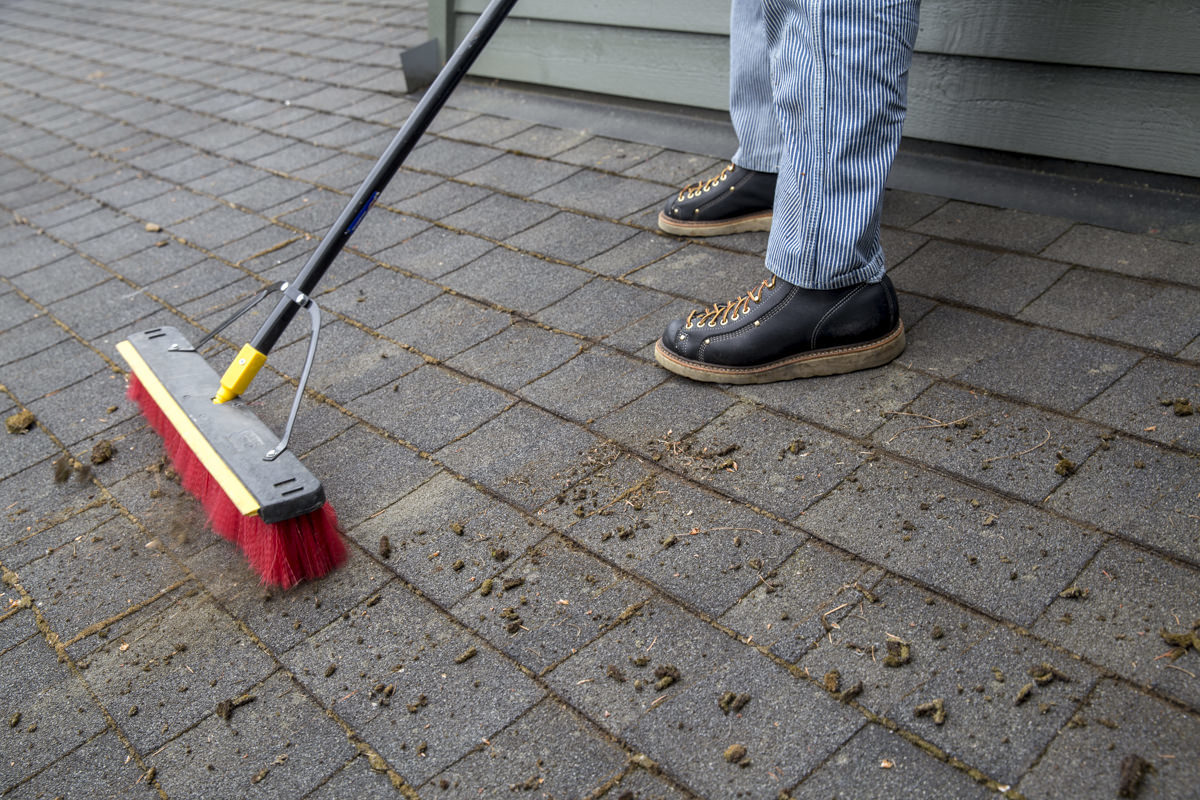
Prep the roof by sweeping loose debris. (You won’t be able to get hard debris off, because they’re on the roof long enough to glue themselves to the roof's surface.)
Start at the crown (or peak) of the roof.
Working from the peak of the roof down, move the debris across the layers of the roof.
The most common type of roof today is a composite roof, which is great to use a broom on—because you don’t have a lot of transitional texture from one tile to the next. Ceramic tile or a cedar shake tile will each have an elevation change where bristles on a broom can’t fully reach; and those small spaces are where the moss loves to grow.
Sweep from top to bottom in a clockwise section around the roof. Be methodical and present when you’re on the roof, so you know where each step of your foot is going and what’s underneath it.

Step 2: Set Up Ladder
Set up your ladder in a proper, safe position.


Step 3: Moss Removal
If you’re cleaning the roof of moss that’s loose enough to remove manually, you can use a standard push broom or a soft bristle brush screwed on the end of a pole—anything that’s thicker and sponge-like will yield the best results. Once you’ve done what you can with the broom, take that same bristle brush in your hand and aggressively remove smaller portions of moss. Alternatively, you can use a putty knife or a spatula during this loose removal phase.
Now use the broom again to brush the new debris into the gutter for easy clean up later.


Step 4: Prep Sprayer for Moss Treatment
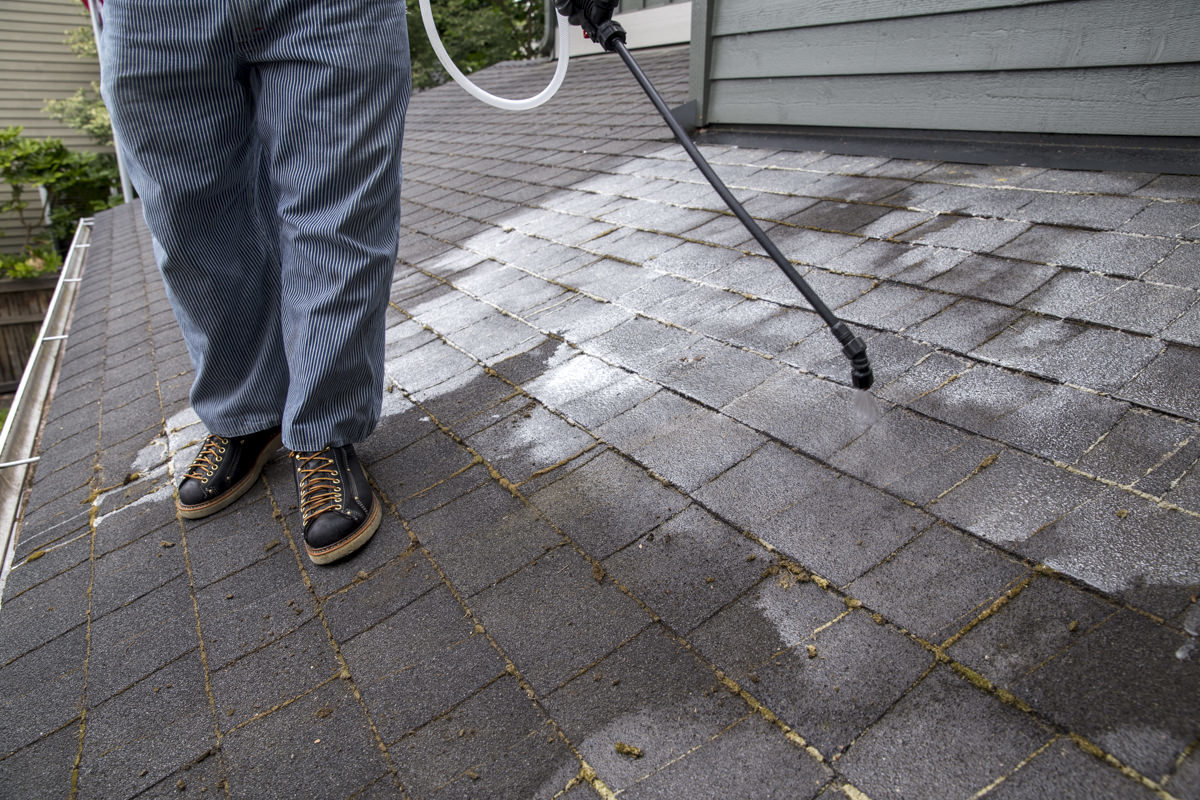
Next, put away the broom and set up your sprayer. You can buy a small, one-gallon garden sprayer at any hardware store, or you can get a commercial-grade backpack sprayer like we wear.
Step 5: Mix Treatment Cleaner
We use a 50/50 mix of water and bleach mixed with a little gel dishwasher detergent as well (about one cup detergent to every two gallons of liquid).
Start with dishwasher detergent, then mix in the bleach, and add the water as the third step.
Keep in mind that this mixture is corrosive to plant life because it changes the PH level: That’s why you need to cover or remove anything beforehand that could get damaged if it comes into contact with the mixture. A careful application helps mitigate the effects, because the cleaning solution gets so diluted that it doesn’t pose any real threat by the time it runs off your roof.


Step 6: Move Cleaner To Your Rooftop
Be sure to perform this step with safety in mind.

Step 7: Apply Moss Treatment
Now apply the treatment using your sprayer until the surface appears wet and shiny. The treatment should be applied more liberally in areas of heavier moss coverage.


Step 8: Clean up
Finally, put your equipment away and clean up, disposing of any final debris. Conduct a final quality check.

Step 9: Reapply After Six Weeks
Reapply the cleaner as needed, to eliminate any moss that’s regrown or hung on from the previous application. By creating a yearly moss treatment plan, you'll help add years to the life of your roof.

As you can see, preparation and safety are key when treating and removing moss on your roof. By following these steps and using a few materials and tools, you'll preserve the life of your roof, beautify your home, and help to protect against leaks.
Once you've finished removing the moss, you'll likely want to clean your gutters. Stay tuned for our Dunn DIY gutter cleaning tutorial—coming in the next few weeks.


