How to Make DIY Box Shelves

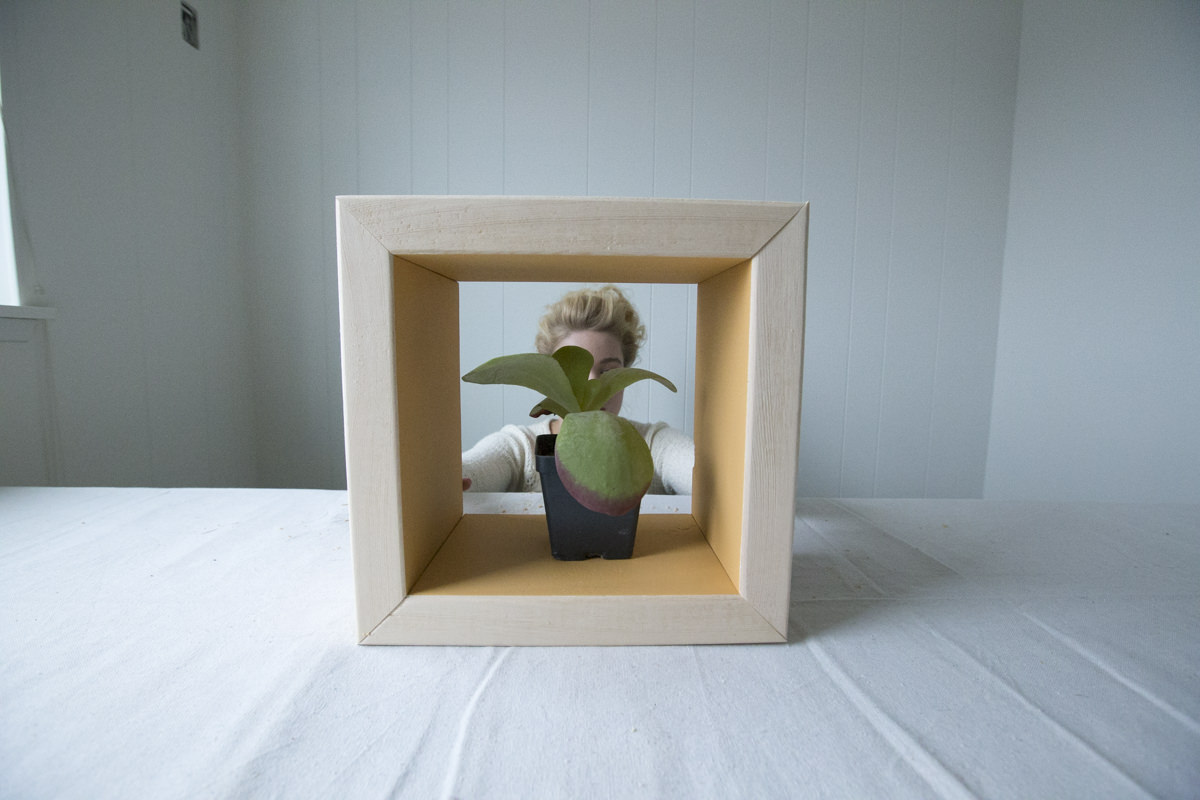
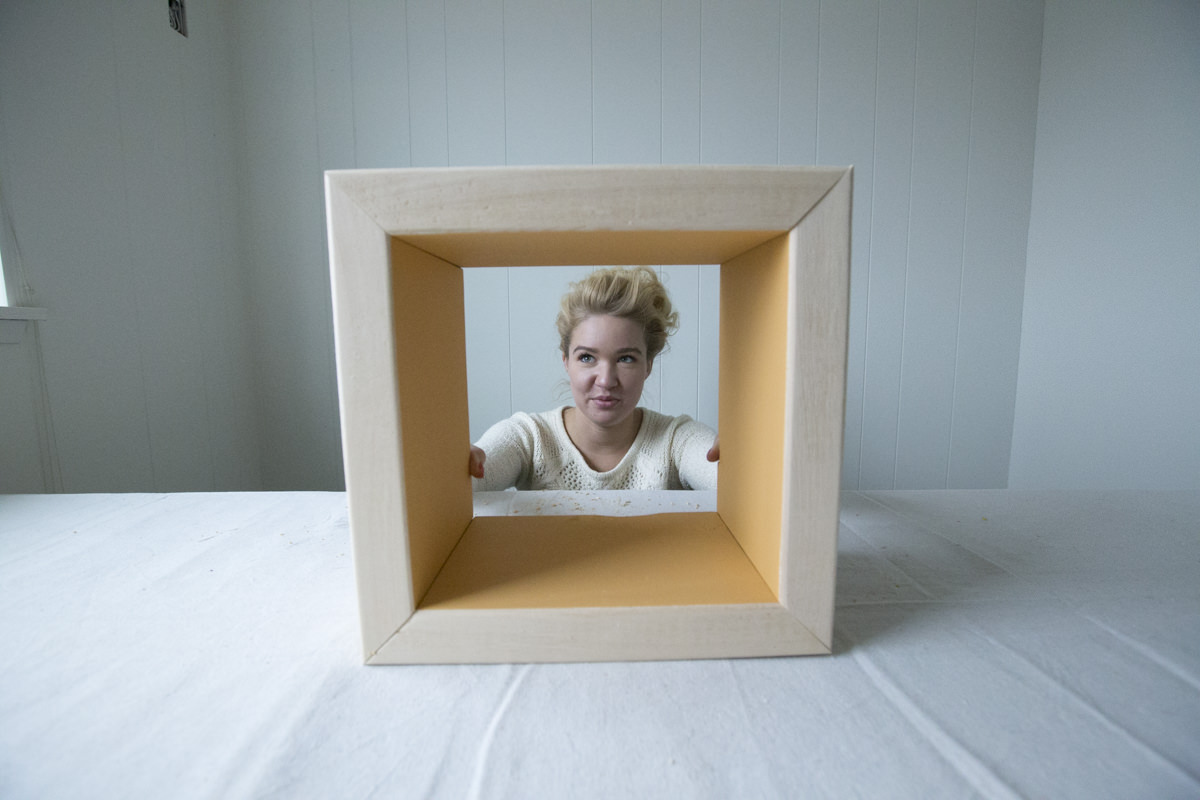
"They really only fit one thing, so it’s almost like building a 3D frame for a potted plant or figurine."
Materials
 These box shelves are a spin-off of the hexagon shelves we built a few years ago. They were hexagon shaped (SO many sides!) and we painted the inside and the border gold. I loved that look: painting the inside to give the shelves dimension while keeping the outside natural wood. I love the geometric shape, and there’s something very simplistic about them because they really only fit one thing. It’s almost like building a 3D frame for a potted plant or figurine.
Step 1: Cut the Wood
Cut the 2" x 8" into pieces with opposing 45° angles (i.e. a trapezoid) with the shorter side equaling 12 inches. Cut four pieces per shelf. We’re making two shelves, so we cut eight pieces in total. Form a square with the pieces to make sure they fit together, and make any necessary adjustments.
You can take your pick of lumber, but I chose to use 2" x 8" spruce. Spruce is super-basic framing lumber, so it’s really inexpensive. I’ve always liked the look of really light wood, which is important for this project in particular because we’re keeping the outside unpainted and natural. I chose the two-by-eight material specifically because the width of the wood is what's visible as you're looking at the shelves straight on, and I really love how substantial the two-inch thickness is. Not every type of lumber will be available in that specific thickness, but you could do 2" x 8" in cedar or fir, or you could change the thickness to go with a different species of wood that you prefer.
You’re cutting each piece into a frame with 45-degree angles, so each piece needs to have the 45-degree angles opposing each other. Just like with last week's chalkboard calendar, you don’t have to have the 45-degree angles, you can make square cuts instead. Either way, it’s just an aesthetic choice. If you’re a beginner beginner and don’t feel comfortable making 45-degree angle cuts, just make the square cuts. The important thing is that you’re making a shelf! You can always step it up and make new ones when you’re more familiar with the tools.
Because the material is so thick, the wood is a little less forgiving than a one-inch thick board, so the cuts need to be fairly accurate. (If you were making it out of 1" x 8" you could kind of bend it so the seams align.) If you’re a perfectionist and not used to working with wood, going with a one-inch thick material might be a better call because it will hide your mistakes a little more easily.
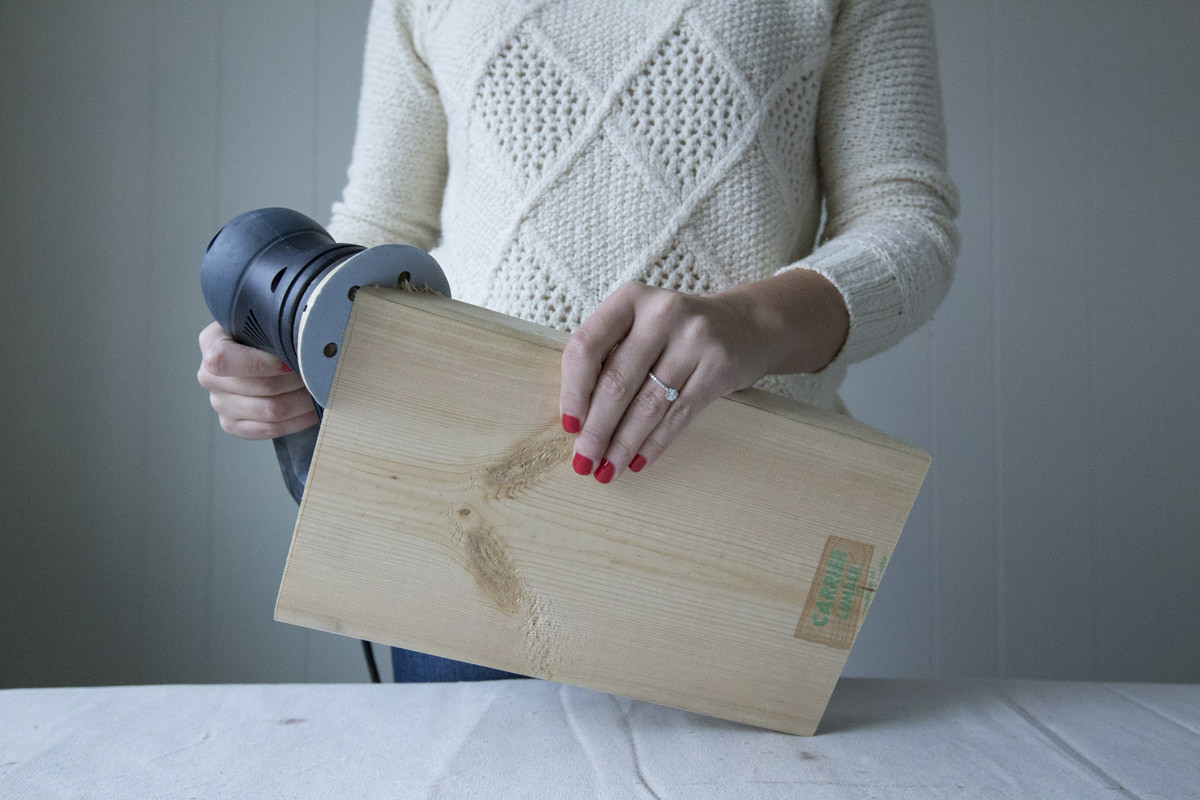
Step 2: Sand the Wood
Sand all the pieces with 150-grit sandpaper. We used an electric sander to help speed up the process, but you can also do this step by hand.
We used 150-grit because I see it as kind of the one-size-fits-all sandpaper. It’s rough enough to get rid of the splinters and smooth things out, and smooth enough that you can get away with not having to use more than one type of sandpaper if you don't want to. For a smoother finish (like if you decided you wanted to finish the outside faces), follow it up with a light sanding using a grade like 220.
Step 3: Prime the Wood
Make sure to remove any sawdust left on the board from sanding! Use a tack cloth or water; just make sure it’s clean and dry when you get ready to prime.
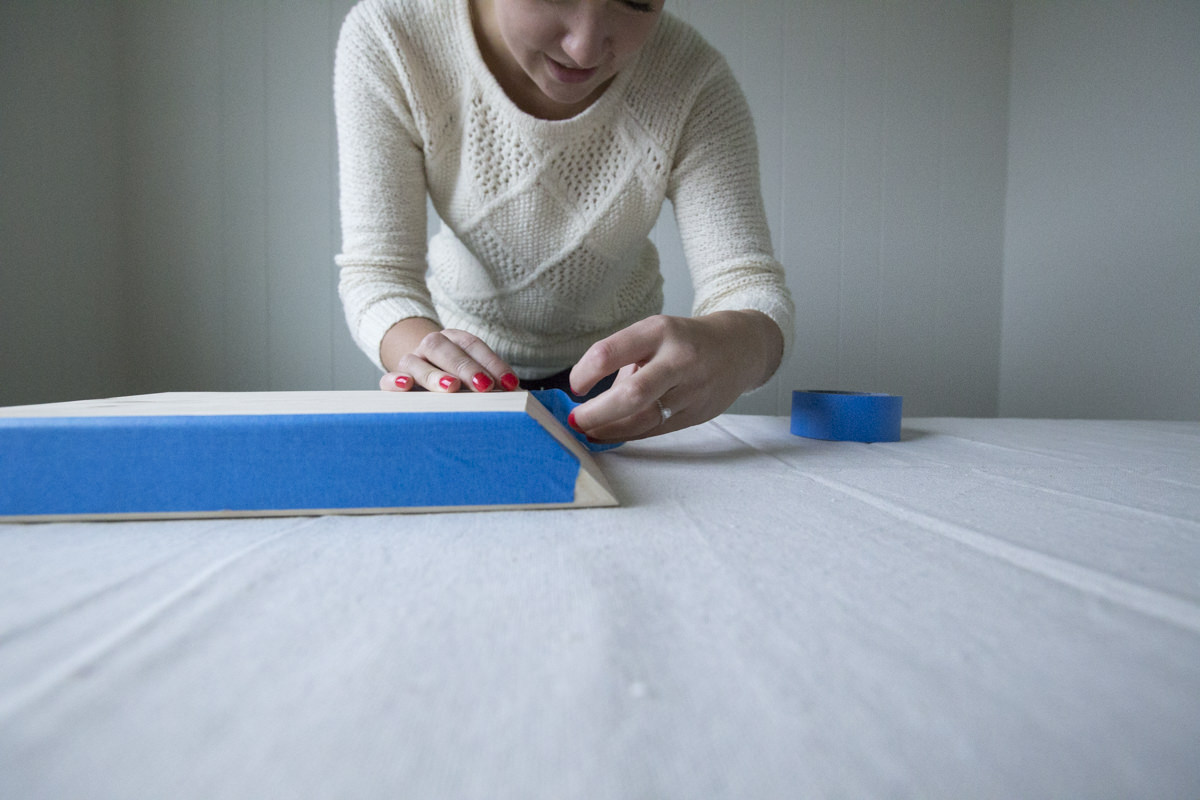
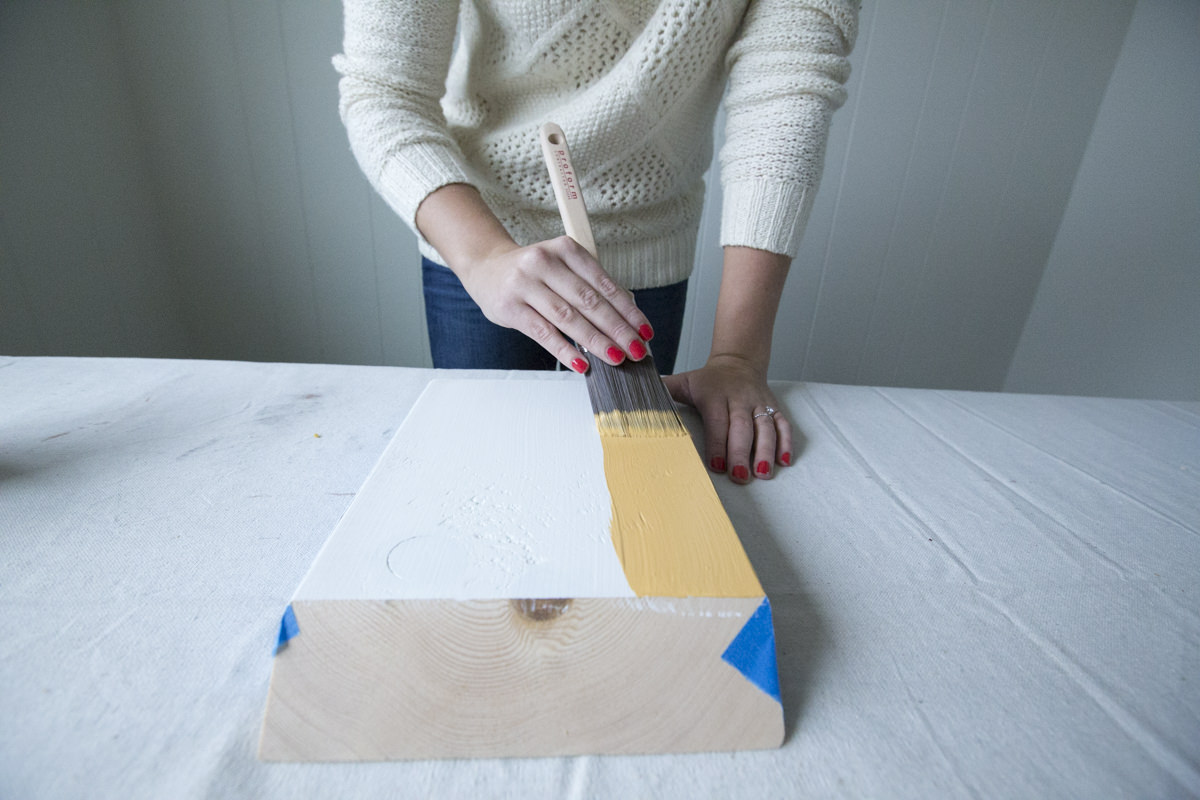
Lay each piece down with the shorter face up so that the angle slopes up towards you. Tape off the sides of each shelf piece with painter’s tape. Because the edges of the boards are rounded, you’ll need to decide where exactly you want the tape to hit, and then try to be as consistent as possible. As a general lumber rule, softwoods have rounded edges and hardwoods generally have sharp corners from the milling process. Don’t worry about taping off the angled cuts; these will get covered up when you put the shelf together.
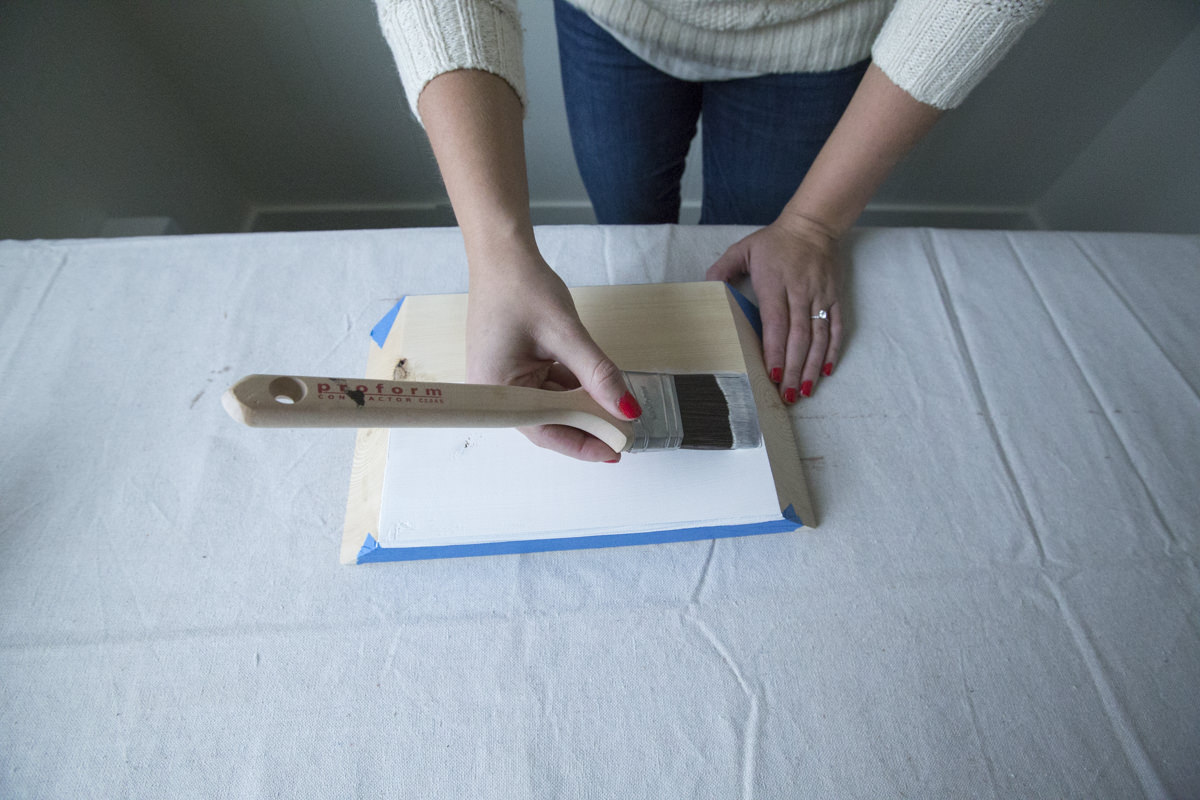
Apply the primer as directed on the side of the can. The primer can will usually tell you what type of brush to use (either a synthetic or natural-bristle brush). Basically, oil-based paint and primer (and latex paint and primer) work with different types of brushes.
I know, believe me: Priming seems like an unnecessary step. But you prime to make sure the paint actually sticks to the wood. Sometimes you can get away without priming, but it’s hard to say when you will and when you won’t. So it’s kind of like insurance for your project. If you want to make sure that what you paint doesn't peel or flake off later, you need to prime, then sand the primer, then paint.
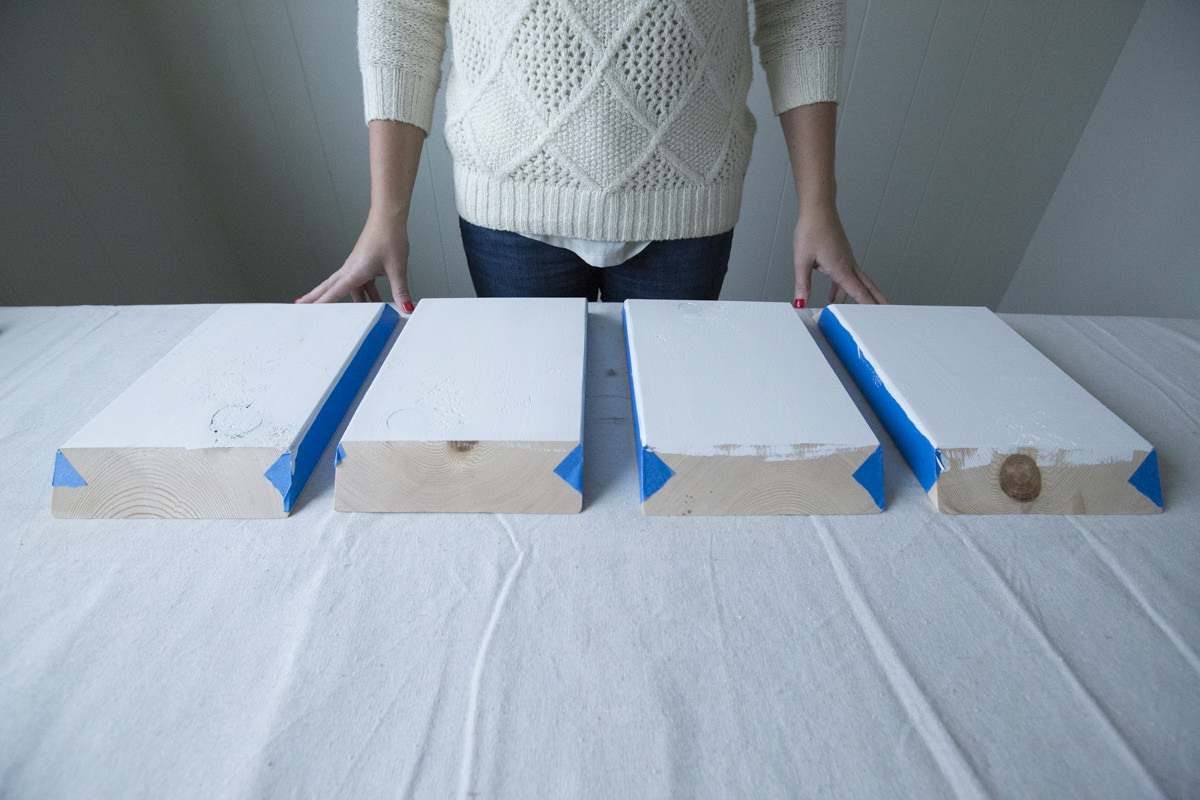
Step 4: Paint the Wood
Make sure you allow the full time for the primer to dry—and then some. There’s nothing worse than painting on wet primer and the paint never fully drying. If you don’t wait for the primer to dry before covering it with wet paint, it takes way longer for the primer to dry. I’ve even done this with wet wood, so I painted the primer on and the primer couldn't dry because the wood was wet, then I painted the paint on and it definitely couldn't dry, and the whole thing just peeled off like bad nail polish. Not a good look for your fingers or your shelf.
Since then, I always wait more time than they tell me to wait on the can. NEVER AGAIN will this happen to me. Painting is a science, and you really have to follow all of the steps to make it work. It’s a pain, but it’s true—and you'll be happy you followed the steps.
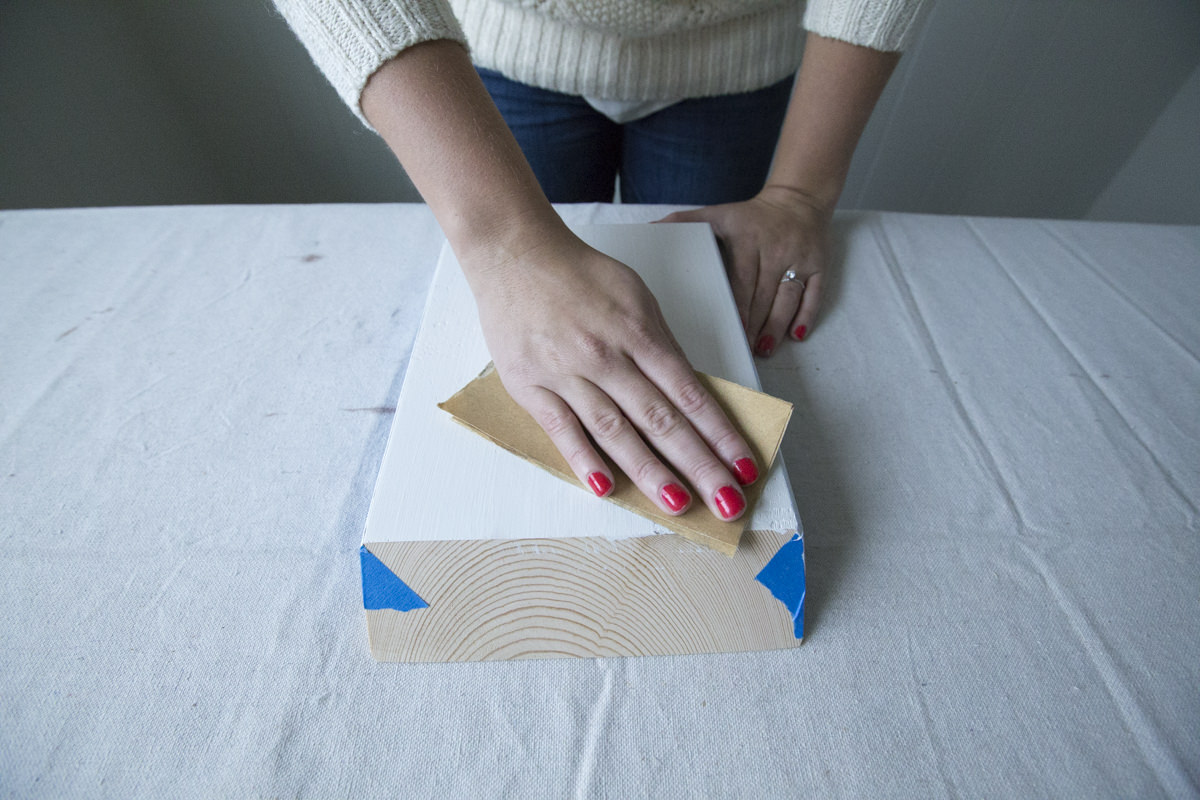
Once your primer is totally, totally dry, lightly sand it before continuing on with painting. I’d recommend using 220-grit sandpaper for this. Don’t sand it until you see wood, otherwise you’re destroying the primer you just put down, Just sand enough to ensure the primer is textured for the paint to grip to so that it won’t flake off later.
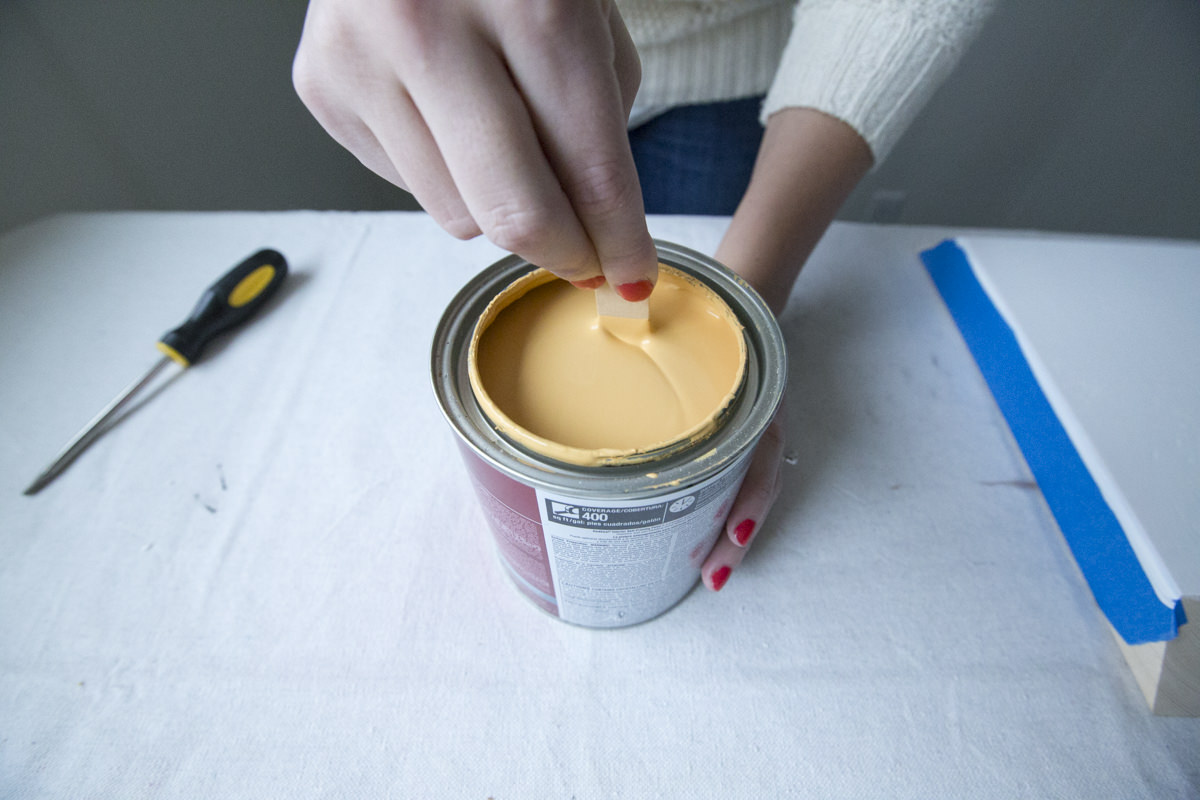
Follow the directions on the side of the paint can and coat the wood until the primer doesn’t show through anymore. (Before someone asks, we used Daly’s Pratt & Lambert paint in the colors Erica and Sumac.)
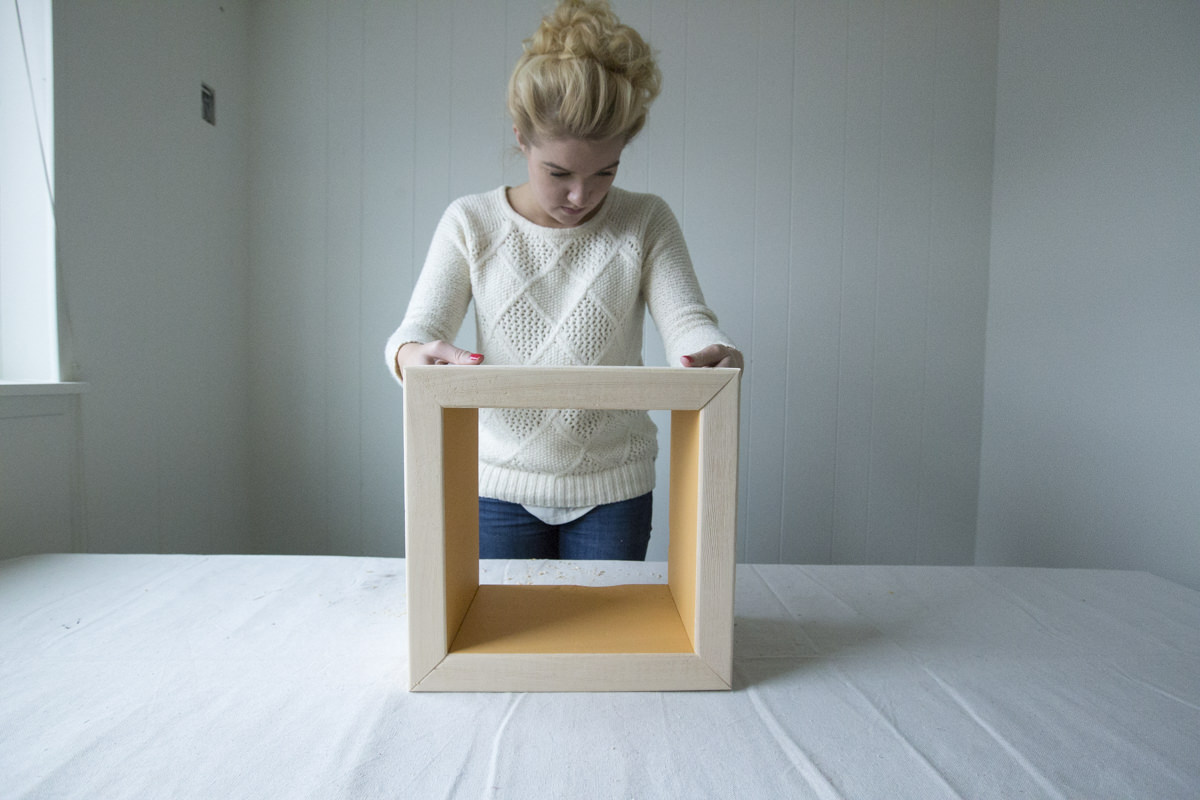
Step 5: Assemble the Box Shelves
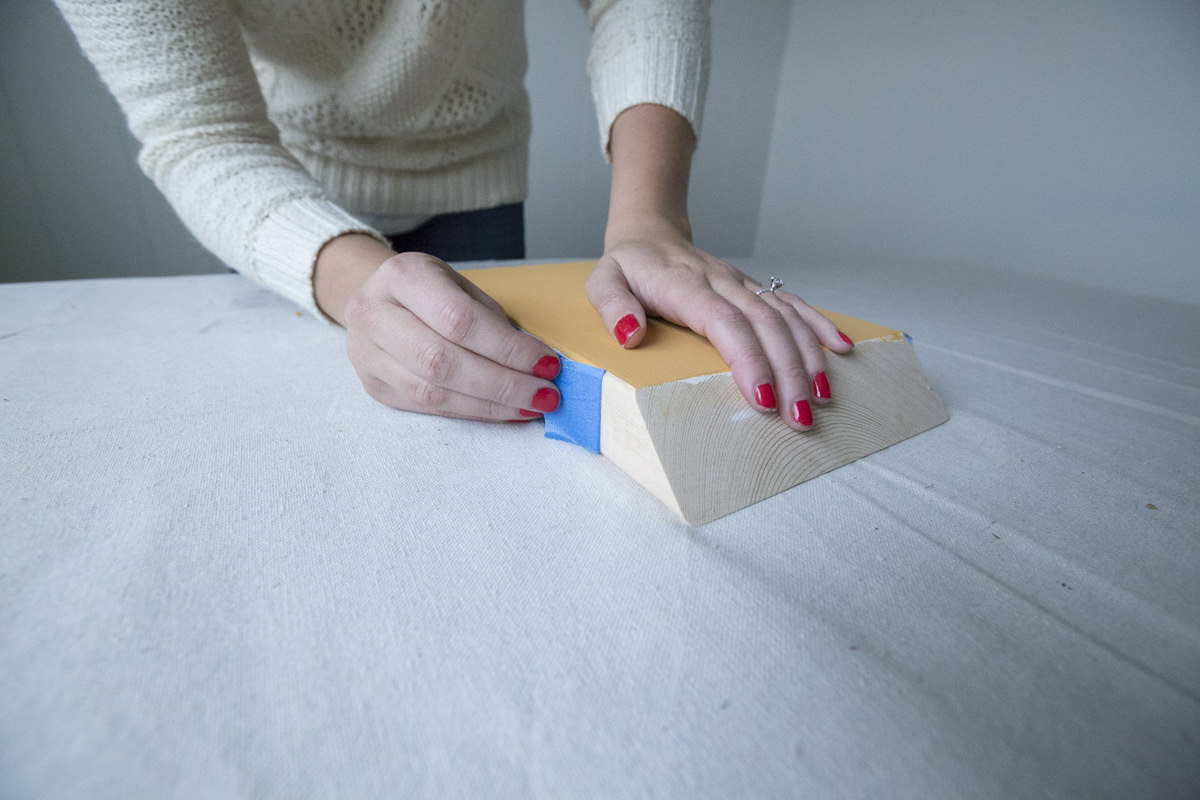
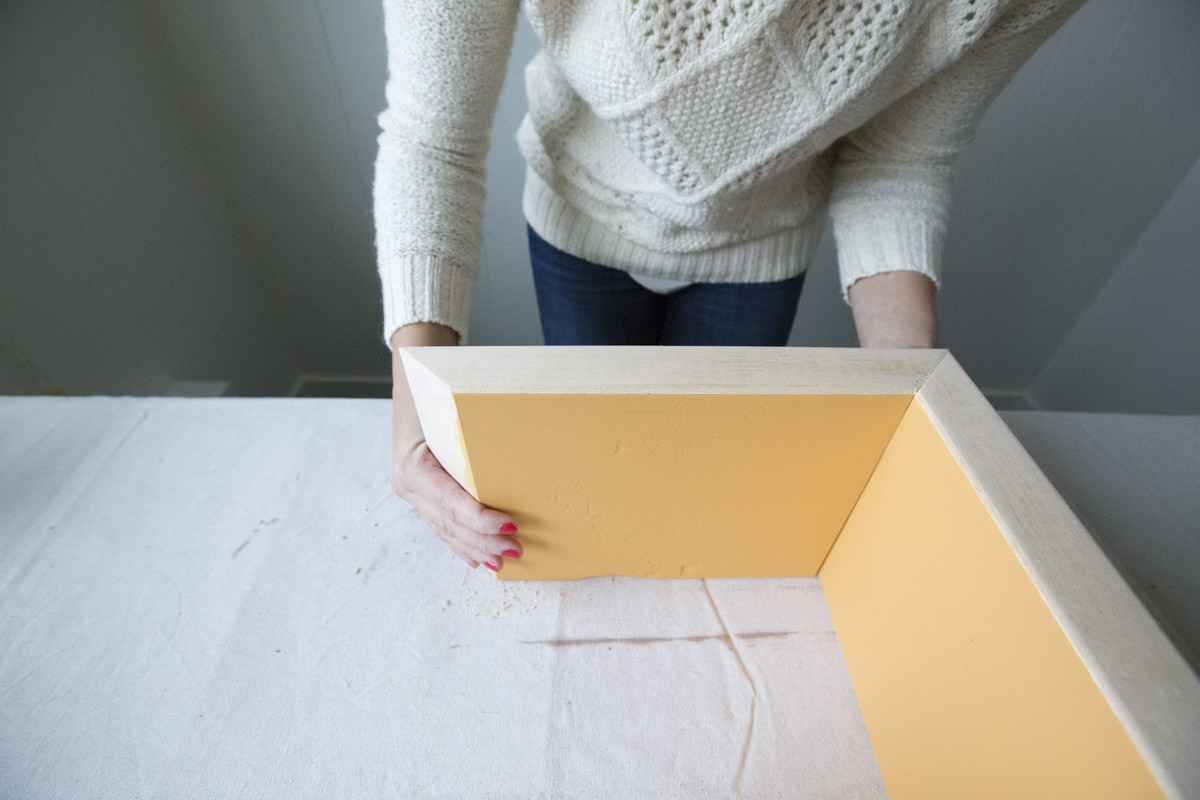
You’ll have to remove the tape at some point, and now is a pretty good time to do it. Once you remove the tape, the paint can have a sharp edge to it that kind of lifts off the wood, so I took 220-grit sandpaper and very, very lightly sanded the edge of the paint so it blended into the wood a little better.
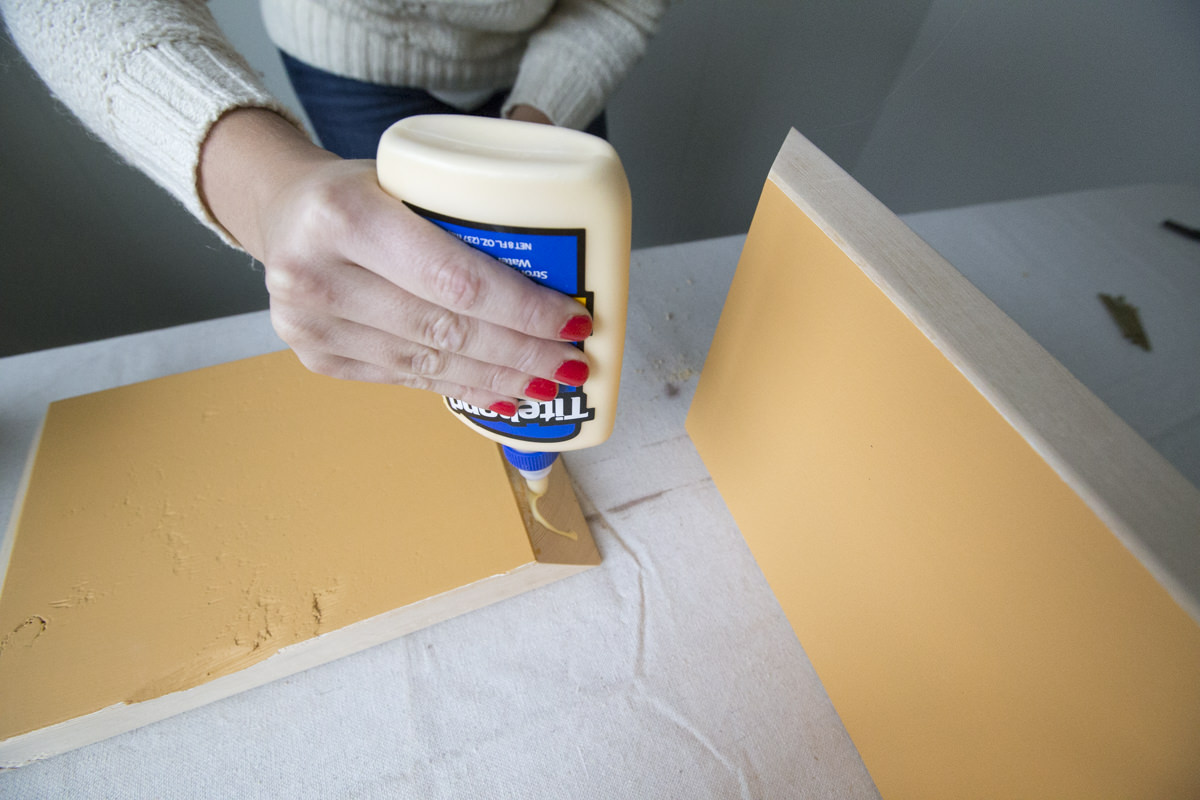
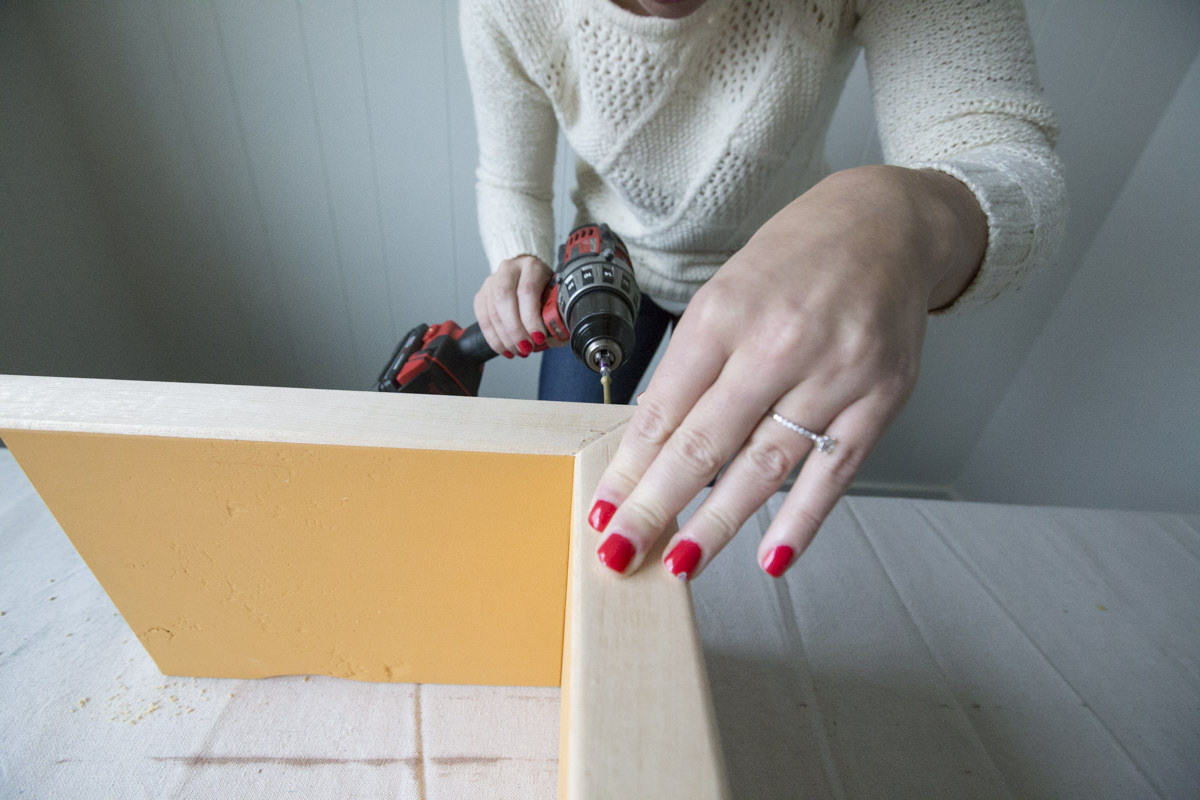
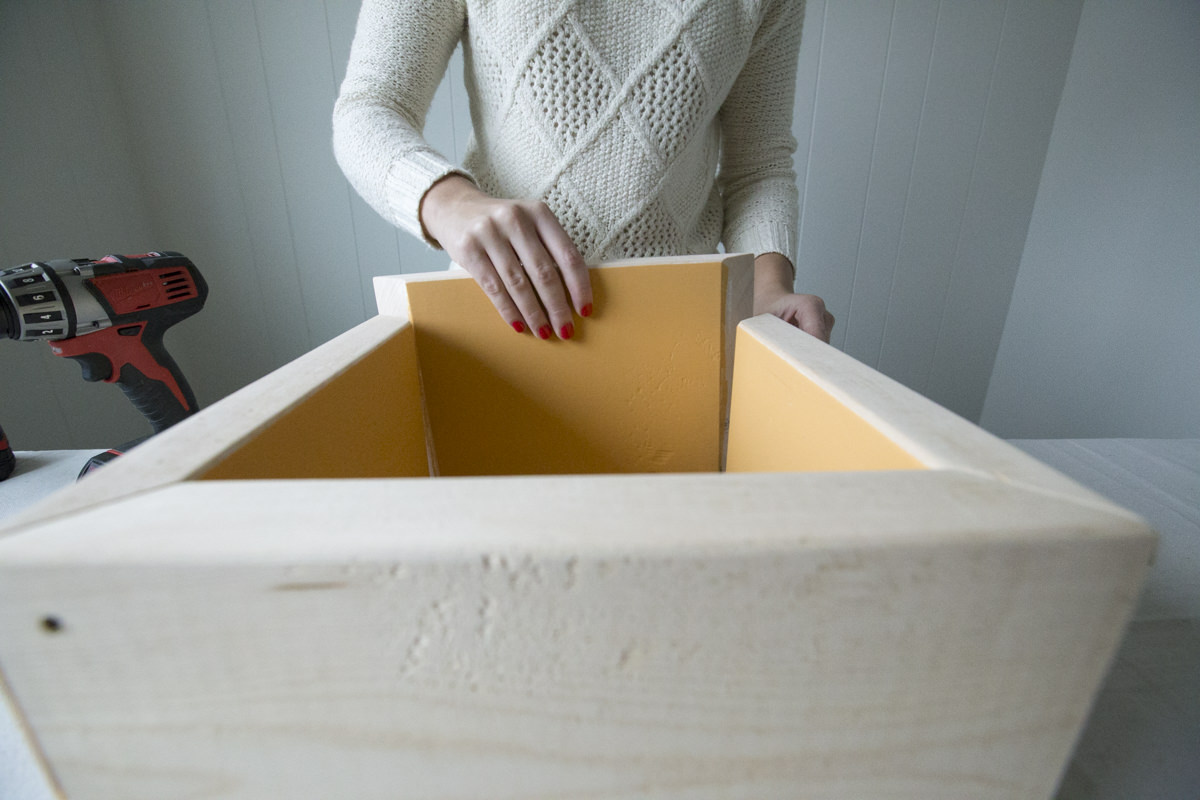
My favorite method for assembling shelves like these is to glue them together using a wood glue and hold them in place until the glue fully dries. Then it’s a breeze pre-drilling and putting in the 3” screws. Normally you'd use clamps for that, but it's a little tricky with the 45-degree angles. The two-inch thick wood has a weight to it anyway, so it can kind of weigh itself down. I assembled the bottom and two sides of the shelf, then propped the paint cans on either side to stabilize it and stop the sides from falling over. Then I just sat the top on top and let gravity do all the work. Once the glue has dried, just pre-drill and put in your 3" screws to keep it totally secure. (On camera though, I had an extra set of hands and was in a hurry so I glued and drilled all at the same time.)
We left the shelf natural on the outside faces, but for further protection or a different look you could add a finish, either by oiling the wood or using a clear coat to seal it.
It’s fun doing a project like this when I’ve already done a similar one like the hexagon shelves. I was able to do things differently this time. With the hexagon shelves we painted the gold on the outside edge, and after we did it I realized I liked it more when it was just on the inside.
I also couldn't figure out how to actually join all the boards on the hexagon shelves without them sliding apart while I was trying to drill! With this project, I realized I could glue them and let them dry and it would be stable and in place beforehand. It was all about being patient and following the right steps. I took a moment just to reflect on what it was like doing the hexagon shelves a few years ago; how much I’ve grown since then, and how I was able to apply all the lessons I've learned in the last couple of years leading up to this project and make these shelves even better.