


How to Make a Bathroom Storage Tower

"One of my favorite storage solutions in the bathroom is carts, shelves, or towers like the bathroom tower cabinet we’re building today."
Materials
Our bathroom makeover series continues! We’ve been slowly swapping our old bath accessories for DIY cedar ones, thanks to its rot-resistant qualities and amazing smell. So far, we’ve made a shower caddy, a cedar bath mat, and a bath tray. Today, we’re making a bathroom storage tower with baskets. It’s a great alternative for corner linen cabinet (linen towers are a thing, right?), and can hold everything from extra towels to toiletries and beyond.
Personally, I’ve always been annoyed by the cupboard under the bathroom sink. It provides so much room for storage, and yet it provides it in the most inconvenient way. I mean, what gets stored in that cupboard that actually uses the space well? Bathroom storage in general can be pretty poorly thought through, and it requires some time and attention to really make the best of it. But don’t worry, because that’s what we’re here to do right now.
One of my favorite storage solutions in the bathroom is carts, shelves, or towers like the bathroom tower cabinet we’re building today. These can be tucked into corners or pushed up against a wall and take advantage of vertical space without overcrowding a small bathroom. They provide extra storage and make things that get used often easily accessible. Not to mention, when you DIY it, it’s custom-made to fit your space! When you DIY yours, consider both the floor space of your bathroom and what products you’d like to fit onto your shower tower.
We made our shower tower with three boxes made from one-by-six and one-by-eight cedar with a one-by-two handle to connect them. We chose a higher grade of one-by-six to reduce time and labor in sanding, but for a more cost-effective option, you can buy one-by-six fence boards (which are a little thinner and have a rougher finish) and put in the elbow grease to sand them smooth. (If you don’t have access to an electric sander, I wouldn’t recommend the latter option.) The one-by-eight boards that make up the bottom of each box on this tower can also be replaced with four one-by-two slats spaced 1/4” apart for reduced cost and better drainage, which is nice if you’re planning to use this inside a shower or storing wet shampoo bottles on it. These are just a few alternate ideas, but the list of altercations is limited only by your imagination. So before we get lost down that rabbit hole, let’s jump into the tutorial!
Step 1: Cut cedar for storage tower
Using a handsaw or a circular saw, cut pieces to length. Here are your cuts:
- Cut your one-by-six lumber into six 12” lengths for the box sides and six 7 1/4” lengths for the box ends
- Cut your one-by-eight lumber into three 10 1/2” lengths for the bottom of the boxes
- Cut your one-by-two lumber into two 36” lengths and one 9 3/4” length for the legs and handle


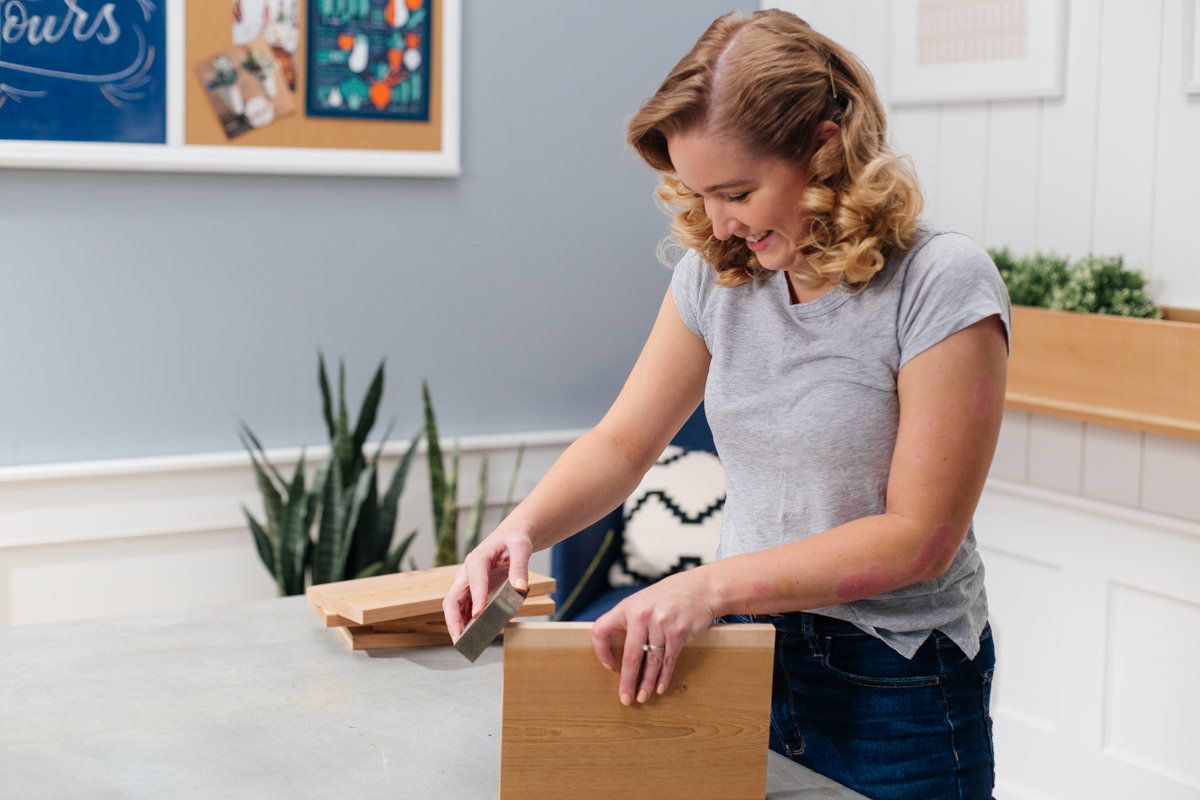
Step 2: Sand cedar wood for bathroom storage tower
Sand all pieces smooth with a sanding sponge, piece of sandpaper, or an electric sander. I focused on the smooth side, facing the rougher sides to the inside and bottom of the box.
How much you sand is really dependent on how much time and effort you want to give to this project. I just think it’s important to eliminate the chance of getting slivers when you’re reaching for some lotion, you know?
Step 3: Assemble boxes
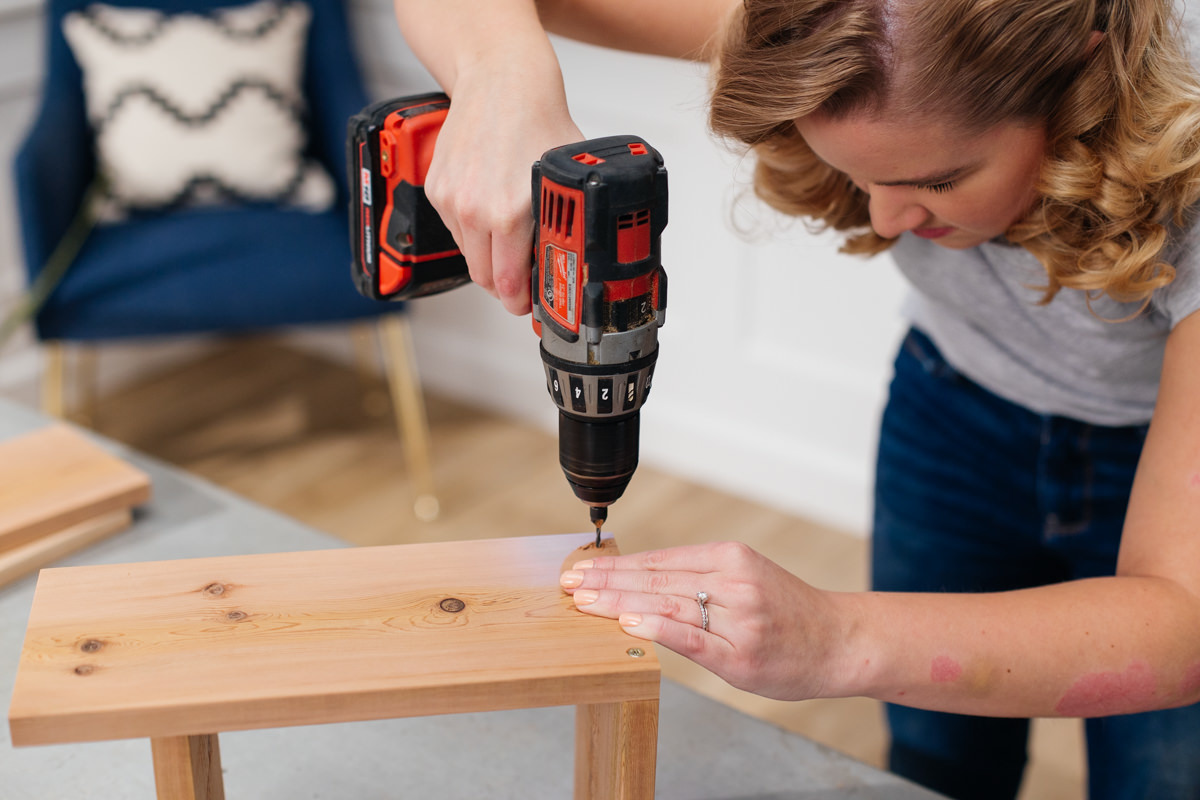
To assemble the three boxes that make up the three tiers of this bathroom linen tower, start by doing a dry fit to make sure that when you attach the sides together, they'll still fit around the bottom. Pre-drill and secure one side to both ends (with the sides overlapping the ends) using two 1 1/4" screws on either side. Slide in the one-by-eight bottom piece, pre-drill and secure in place with two screws through both ends. Finally, add the last side piece and pre-drill and secure in the same manner. You should end up with three boxes.
Because cedar is such a soft wood, I recommend using a countersink bit for pre-drilling. A countersink bit drills a hole not only for the shaft of the screw, but it also drills an angled hole for the screw head. Using a countersink bit creates a clean finish for your project. You could also use a Kreg Jig to create pocket holes on the inside of your boxes so no screws are visible from the outside. These pocket holes can then be filled with wood plugs.

Step 4: Attach bottom box to legs of storage tower
Measure and mark the center of the bottom box, then measure away from the center 3/4” on either side. Line up the 36” one-by-two leg with these marks and secure to the bottom box with a couple 1 1/4” screws. Repeat on the other side of the same box with the other leg.


Step 5: Attach remaining boxes
Measure and mark the center on both sides of the remaining two boxes, then measure away from the center 3/4” on either side. This will mark where the leg should be positioned on the box.
Next, measure from the bottom of the legs up and mark at 12” and 24”. Position the bottom of the second box at 12” inches and secure in the same manner as the first box. Position the third box similarly at the 24” mark. Make sure you put two screws on either side of each box, otherwise they’ll swing back and forth like ferris wheel cars.


Step 6: Add handle to bathroom storage tower
Place your handle on top of the legs and secure with screws.


Step 7: Finish
Lastly, protect your shower tower with a water-protective stain or finish. If you’ve done any of the other cedar projects in this bathroom series, you know the drill: you can stain (or leave unstained) and seal the wood with an exterior polyurethane finish, apply an exterior deck stain (we like Penofin), or use teak oil. Again, exterior products tend to come in giant containers, so if you have something on hand you need to use up, this is a good opportunity.
If you’re planning on using this shower tower near the shower (think wet, slippery shampoo bottles), consider using teak oil. It was designed for teak decks on ships, which means it was made for coming in contact with water. It’s somewhere between a stain and a finish and can be applied directly onto the wood as a finish or as maintenance—it’ll give already varnished surfaces a longer life. If you go with teak oil, apply it with a natural bristle brush or a lint-free cloth. Let sit 5-15 minutes, then sand with 400-grit wet/dry sand paper and wipe away any excess oil. Let dry.


You can add wheels to the bottom of your shower tower to make it mobile or add rubber bumpers to keep it from scratching the floor and to keep it dry.
With a little extra thought, you can upgrade some of your daily products that you choose to display in your shower tower for a more aesthetically appealing look. Using a glass jar for a bottle of vitamins (after you’ve memorized the daily dose), a vase for some cotton balls, or a tin for some of the less attractive items goes a long way to classing up your bathroom. And, in my opinion there’s nothing prettier than cedar and greenery. Have fun upgrading your bathroom with this DIY!


If you like the look (and functionality!) of this wooden bathroom storage tower, you'll also love making this matching DIY shower caddy, wooden bath mat, or customizable bath tray!


