


How To Make an Elevated Planter Box

"This planter box is the perfect home for a small herb garden. We're so grateful to Wendy for sharing her design with us!"
Materials
We're lucky at Dunn Lumber to have so many skilled, creative craftspeople on our team, and today, we have a special guest appearance from one of our Lake Union employees, Wendy. Wendy is a long-time DIYer and gardener. When she's not helping customers design kitchens and cabinetry at our Lake Union location, she's woodworking, gardening, or working on her motorcycle. Today, she's going to lead us through building an elevated planter box, step-by-step. While gardening season is coming to a close, any time of year is a great time to start an herb garden. There's nothing quite as convenient or gratifying as sourcing your dinner garnishes from the back porch, and this planter box is the perfect home for basil, thyme, chives—any herb you can think of! Take it away, Wendy!
Step 1: Mark all pieces to length
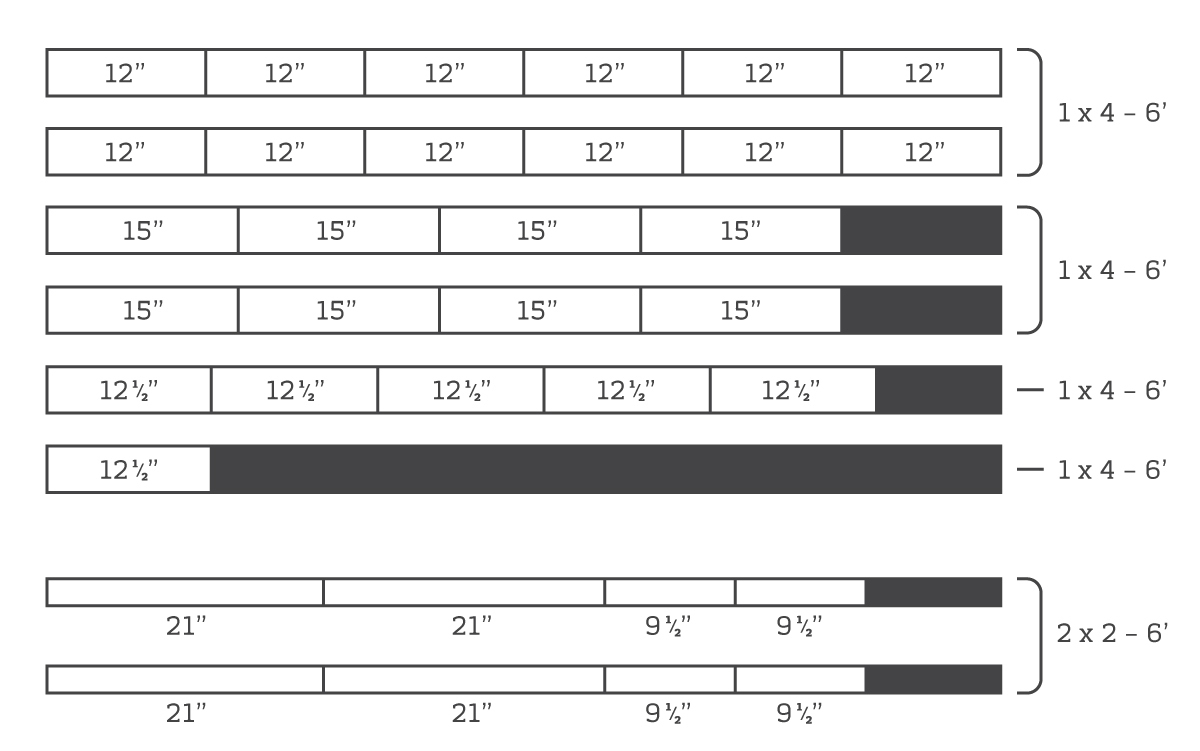
For the cedar one-by-fours, we’ll need to mark the following lengths:
- 12 pieces at 12”
- 8 pieces at 15”
- 6 pieces at 12 ½”
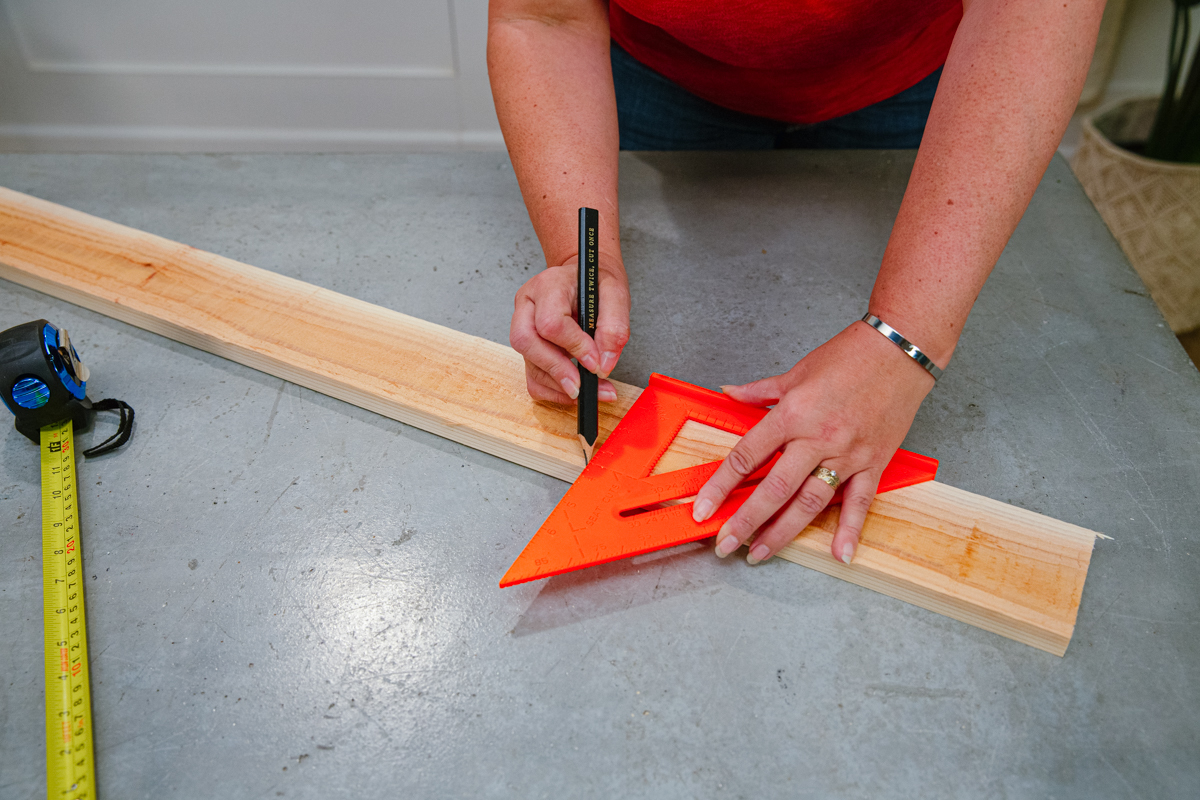
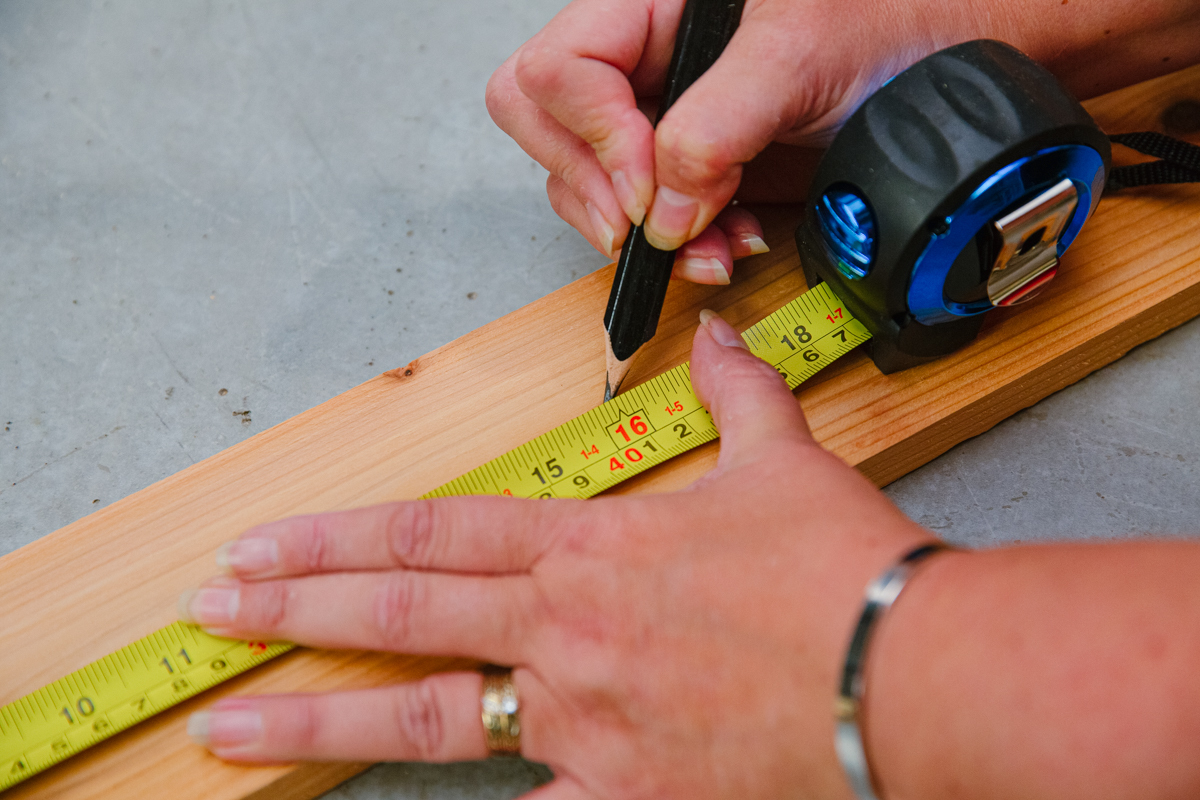
Using your measuring tape, measure 12 ½” from the end of the one-by-four and make a mark with your pencil. Then, use your speed square to draw a straight line where you’ll make the cut. To do this, put the square right up against the long edge of the one-by-four and use the straight edge of the triangle to draw a line where your pencil mark is. Continue measuring and marking all of your 12”, 15", and 12 ½" pieces.
Using the same method as above, measure and mark all of your two-by-two pieces:
- 4 pieces at 21”
- 4 pieces at 9 ½”
Step 2: Cut
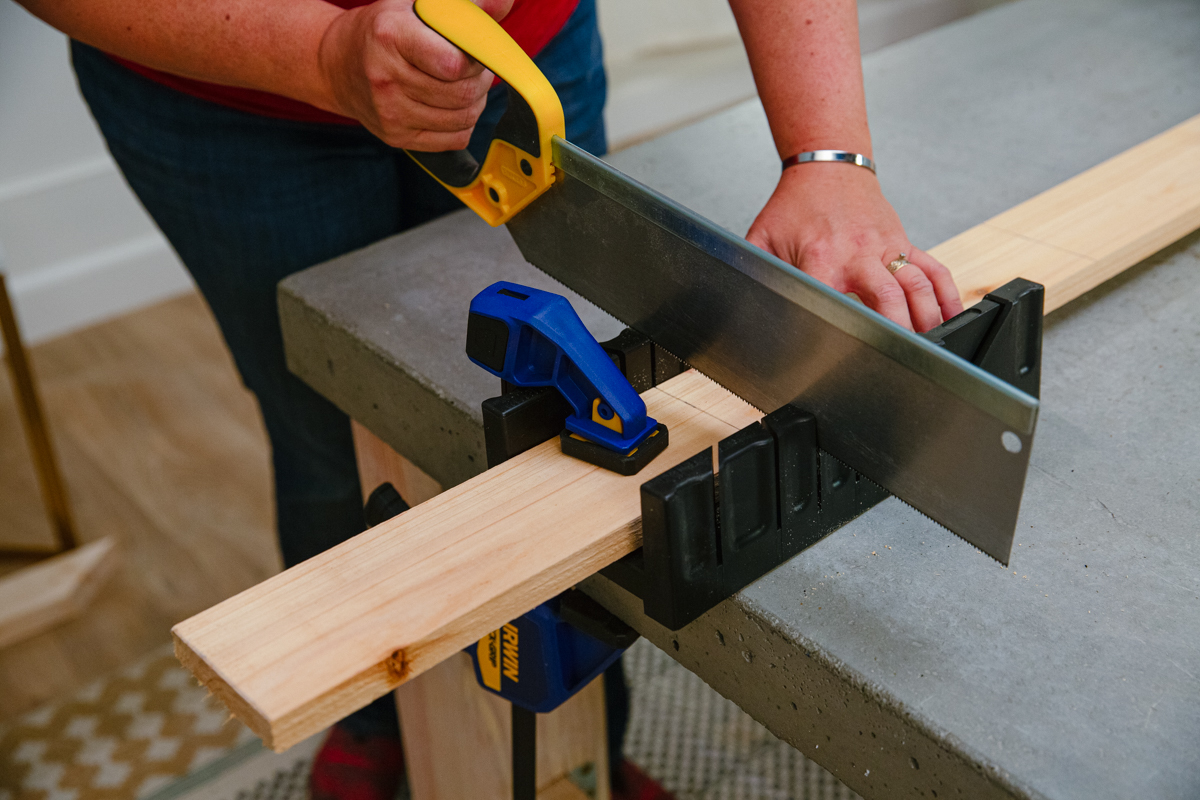
Now it’s time to cut! Today we’re using a handsaw, but a jigsaw or circular saw would work great here, too.
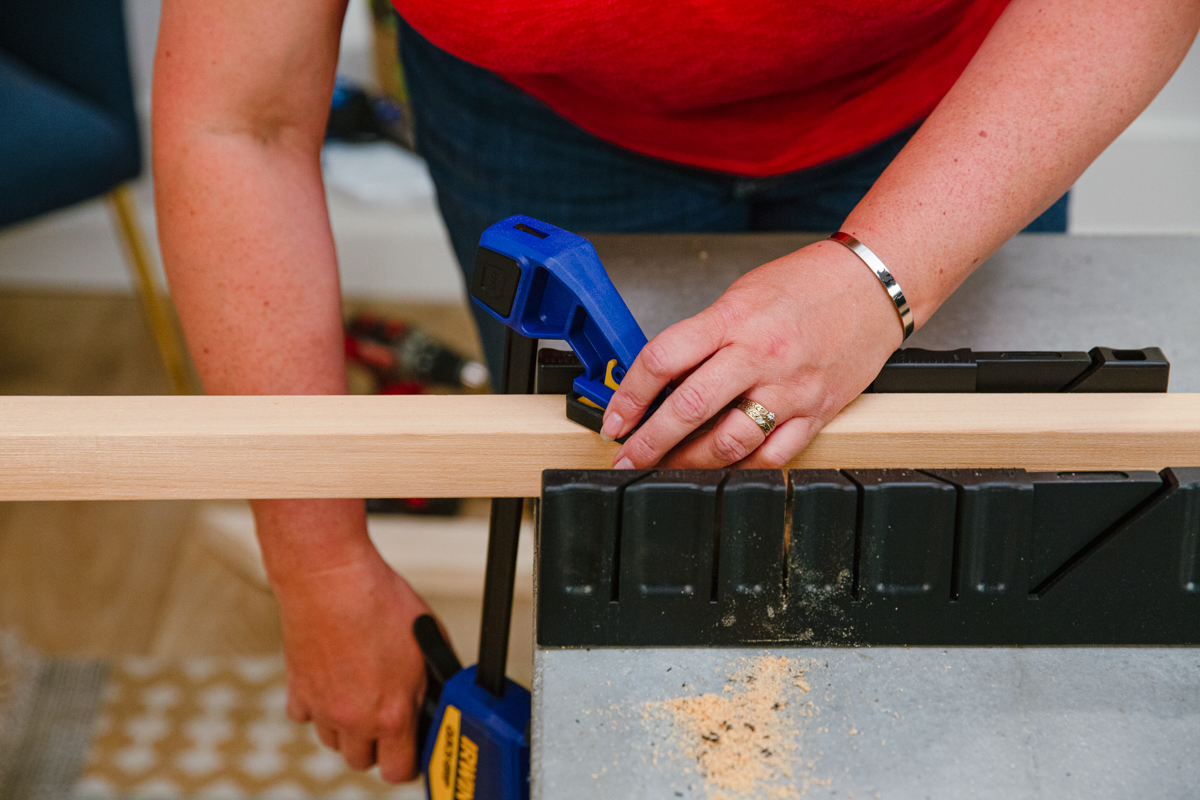
Line up your mark to the straight groove in the miter box and tighten everything down with a clamp to keep things from moving around. When using the handsaw, make sure you draw it toward you the first couple of times to get a groove going in the wood before starting the back-and-forth motion to cut all the way through.
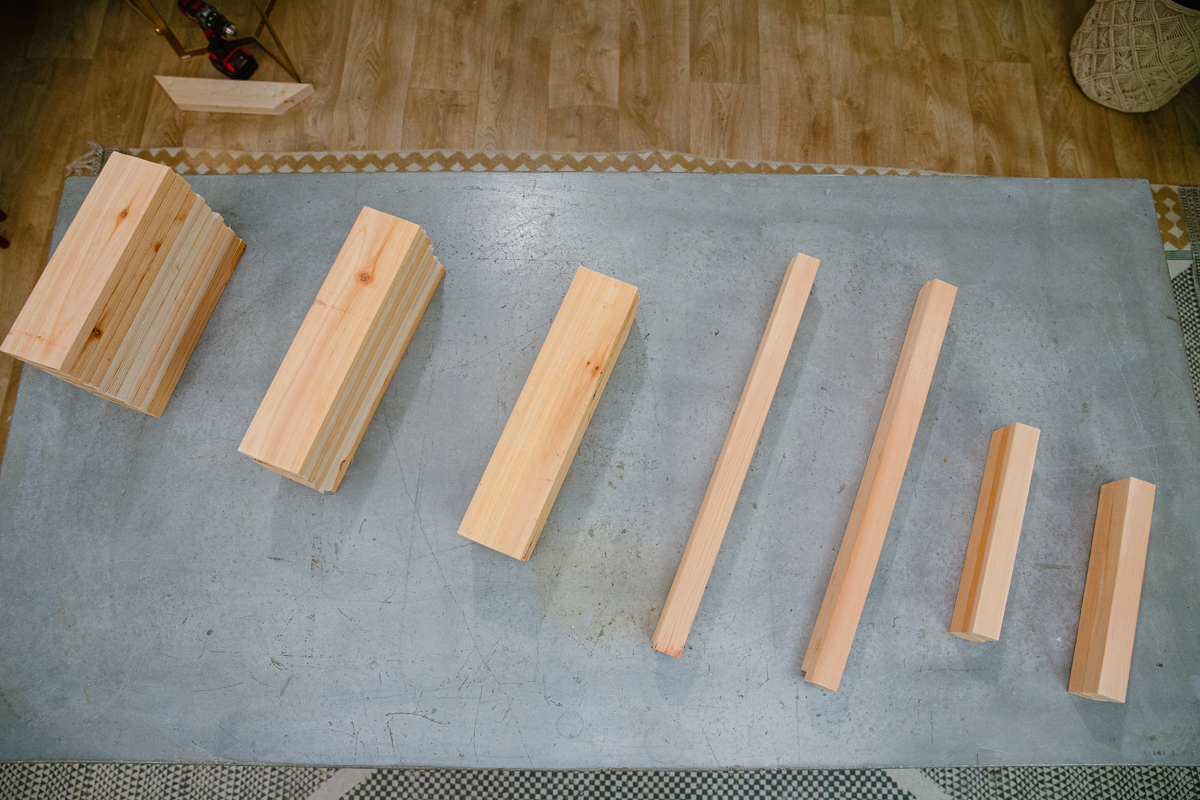
Undo the clamp and you have your first board! Repeat that step until all of your one-by-fours and two-by-twos are cut. When you’re done cutting, double-check to make sure you have the right number of each length listed above.
If you used a jigsaw or circular saw, use your sanding sponge to clean up the cut ends as needed.
Step 3: Mark centers of two-by-twos
Next, we’re going to mark the centers of all of our two-by-twos. For the 21” pieces, use your tape measure to find 10 ½” from the cut end and mark a line using your speed square. For the 9 ½” boards, find 4 ¾” from the end and mark another line.
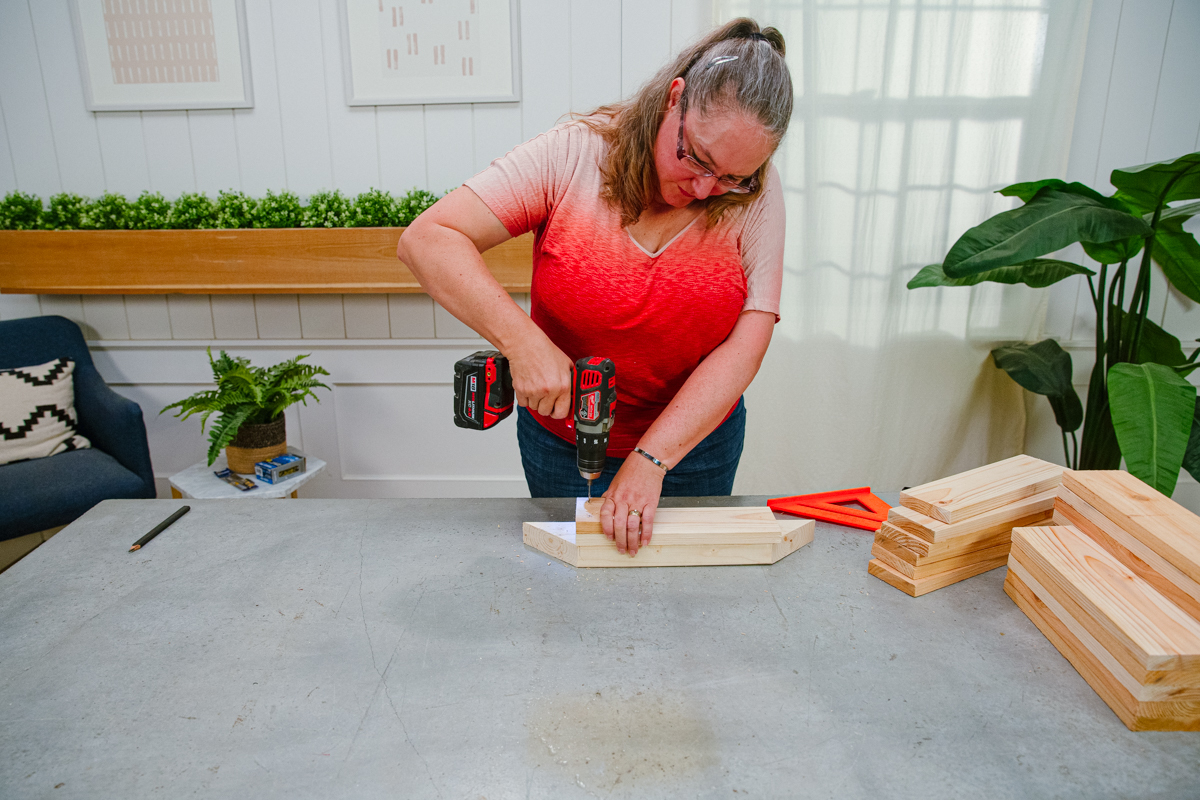
Step 4: Pre-drill holes
Now we can start pre-drilling our holes to get ready to start assembling the actual planter.
TO MAKE A JIG
We’d recommend making a jig for this step—it’ll save a lot of time and give you more precision when drilling your holes. To make the jig, cut a piece of scrap one-by-four a few inches long and mark two spots where your holes will go: ¾” in from each side and ¾” in from the end. Then drill through them using your ⅛” drill bit.
TO PRE-DRILL THE 12” ONE-BY-FOURS
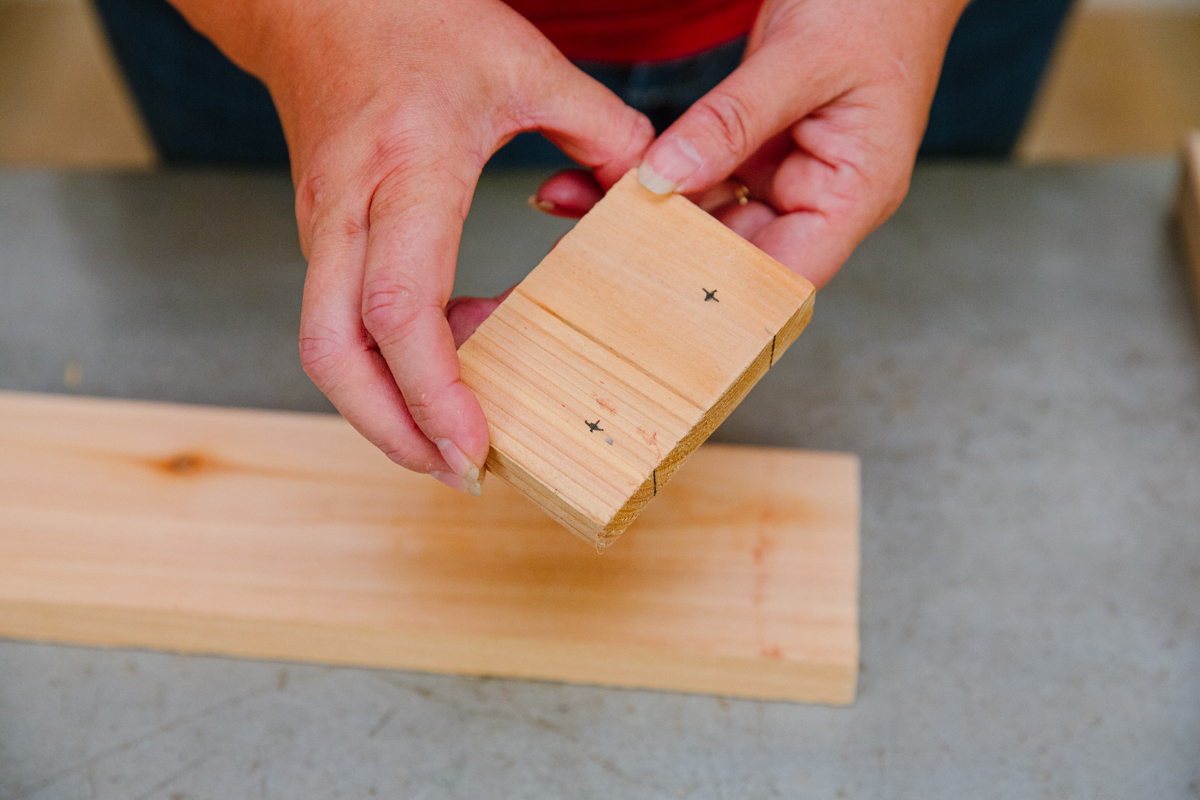
Sandwich one of your 12” one-by-four between the jig and a scrap piece of wood (to keep you from accidentally drilling a hole in your table). Line up the jig end-to-end with your 12” one-by-four and drill through the jig holes with your ⅛” bit, all the way through the one-by-four below. Repeat on each 12” one-by-four. Now you have your top holes!
The other ends of your 12” pieces will be the bottoms of your planter. We’ll want to drill two holes on this end: ¾” from each side and 2 ½” from the end. You can either make a new jig for these holes or measure and mark before you drill.
TO PRE-DRILL THE 15” ONE-BY-FOURS
The 15” boards will be the corners of the planter. For the tops, use your jig to drill two holes ¾” in from each side and ¾” from the top, just like we did with the 12” pieces.
For the bottoms, mark or use a jig to drill two holes that are ¾” from each side and 4” from the end.
To check to make sure all your holes are in the right place, line up the tops of the 15” boards and 12” boards—all of the holes should line up with each other.
Step 5: Assemble sides
To assemble the sides of your planter, we’re going to drill two 12” boards to either side of the center line we marked on our 21" two-by-twos (in step three).
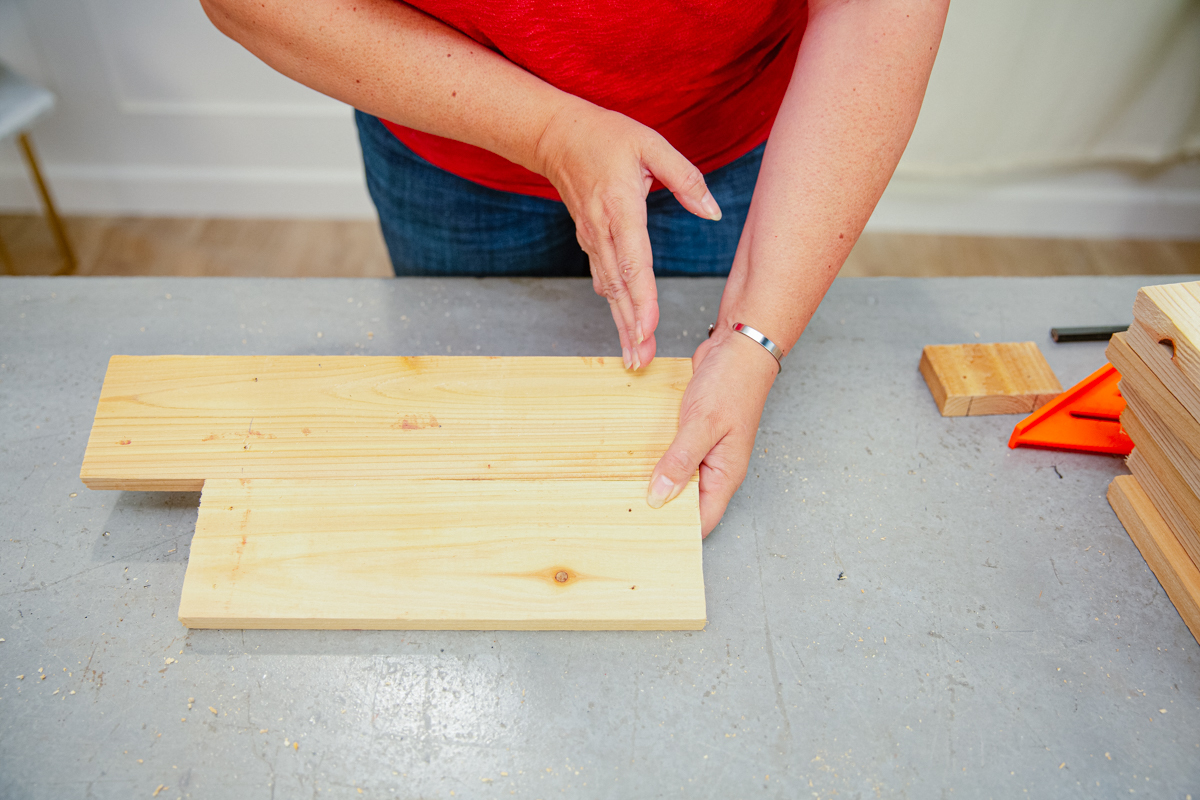
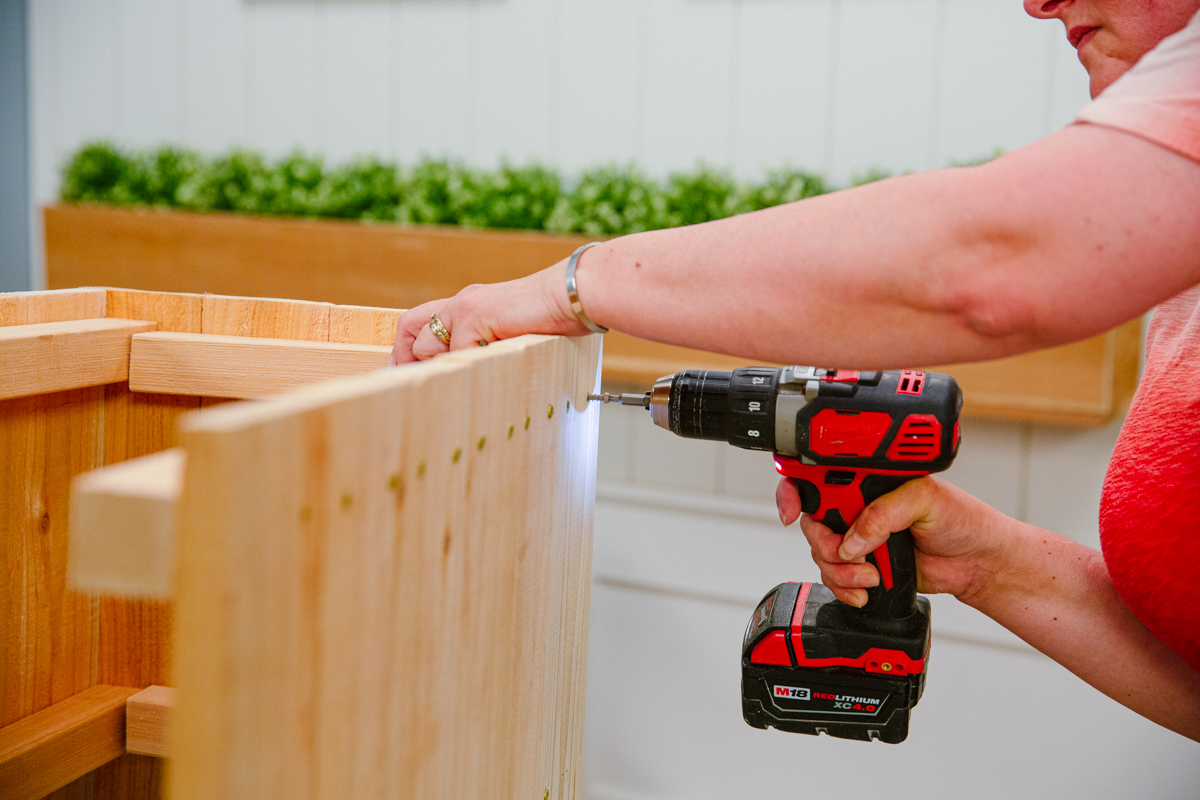
Situate your 21" two-by-twos horizontally in front of you and place two 12” one-by-fours on top, directly next to each other with the center line in the middle. Make sure the holes you pre-drilled at each end of your 12” boards line up with the horizontal center of each two-by-two so that you can drill into them. Be sure to line up the top edges of the one-by-fours (this will be the top edge of your planter).
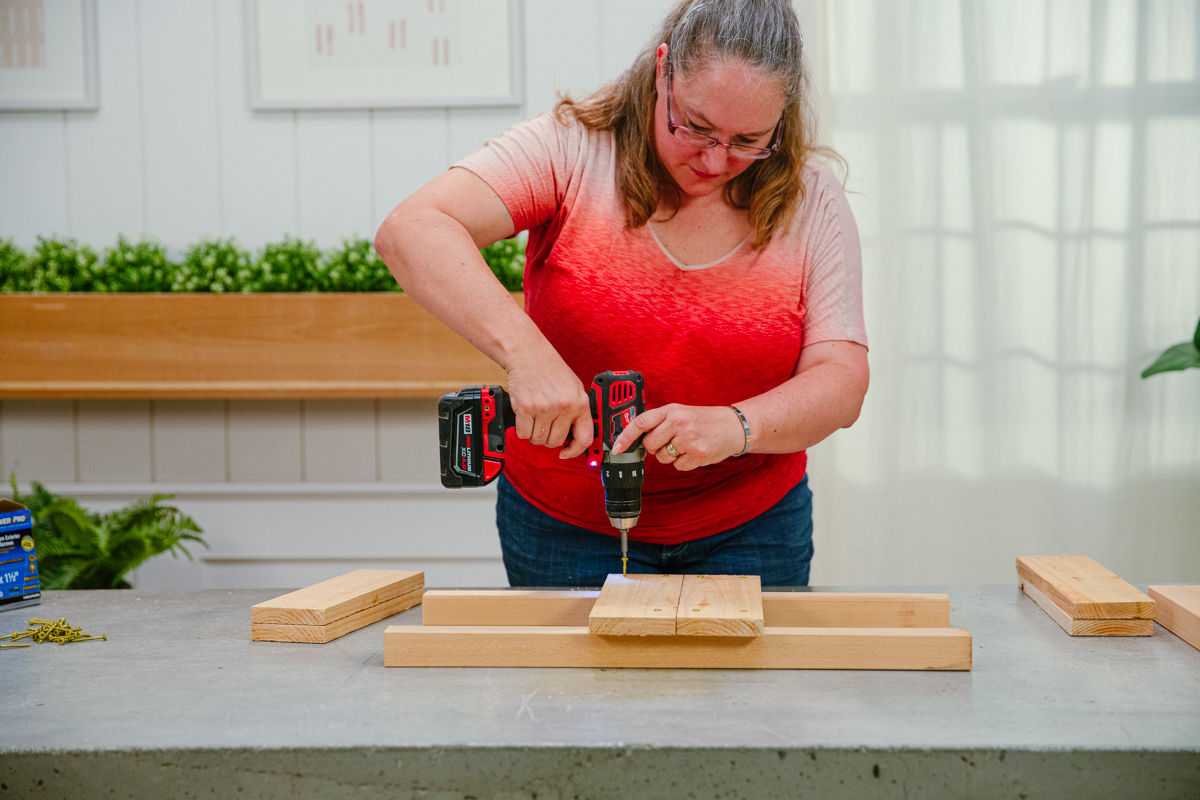
Slowly sink 1 ½” exterior screws into your pre-drilled holes, drilling the bottom left screw first, then top left, then bottom right, then top right, and so on. Do this for both of your 12” boards.
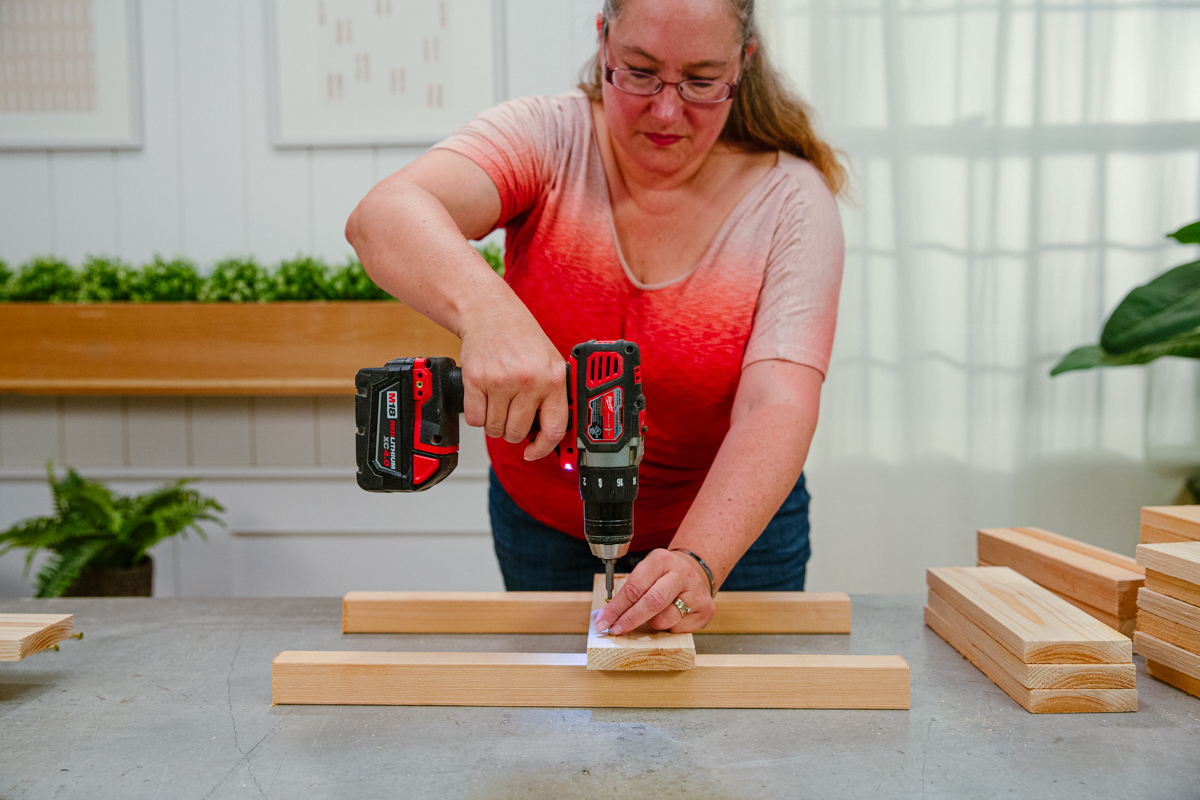
After you’ve screwed in your two centerboards, you can start moving out from the center adding one more 12” board on each side.
You should now have room for one more one-by-four on each side. Place one 15” one-by-four on either end—lining up the top edges with the rest of the boards—and drill your nails only into the inside holes. Leave the outside holes empty for now.
Repeat this step to make the other side of your planter box, making sure to leave those outside holes open.
Step 6: Assemble ends
Using the same method as the last step, drill one 12” one-by-four to either side of the center line on your 9 ½” two-by-two, followed by a 15” one-by-four on each end. Be sure to line up the top edges of the one-by-fours (this will be the top edge of your planter). The longer ends of the outside pieces will form the feet of your planter. Remember to only drill into the inside screws and leave the outside screw holes empty as we did in the last step.
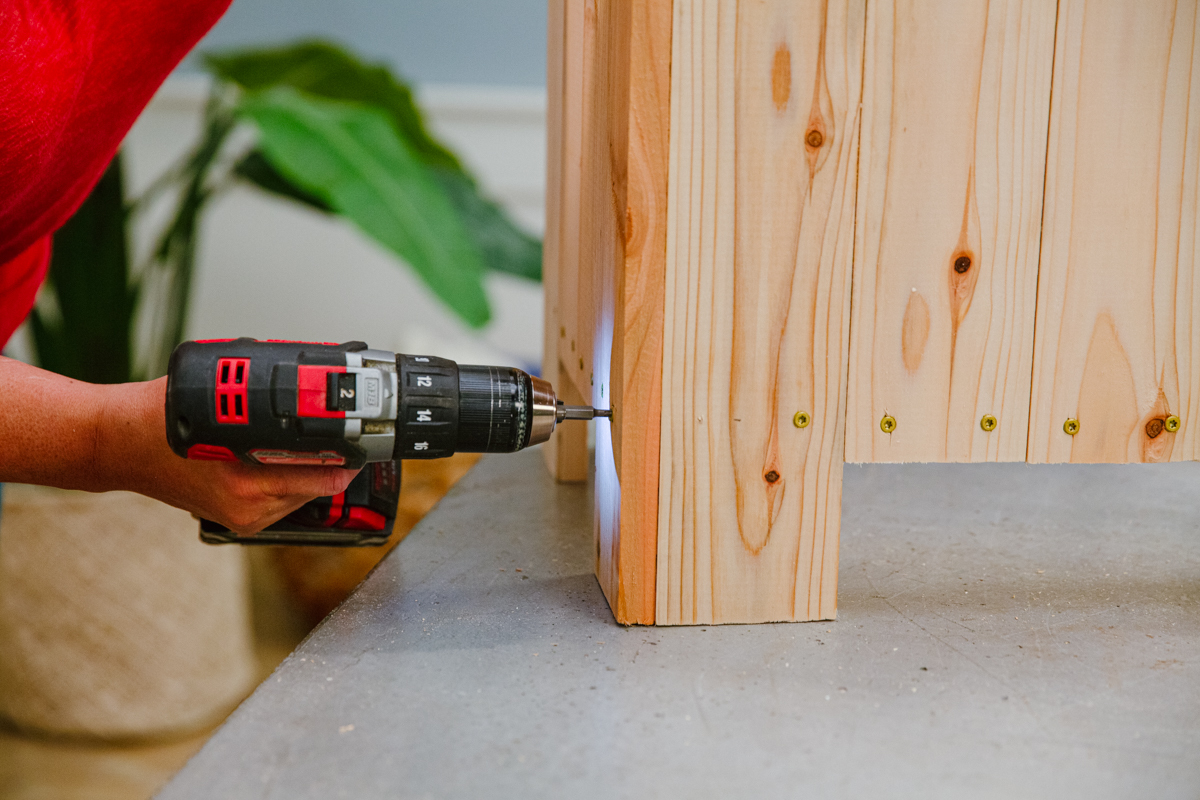
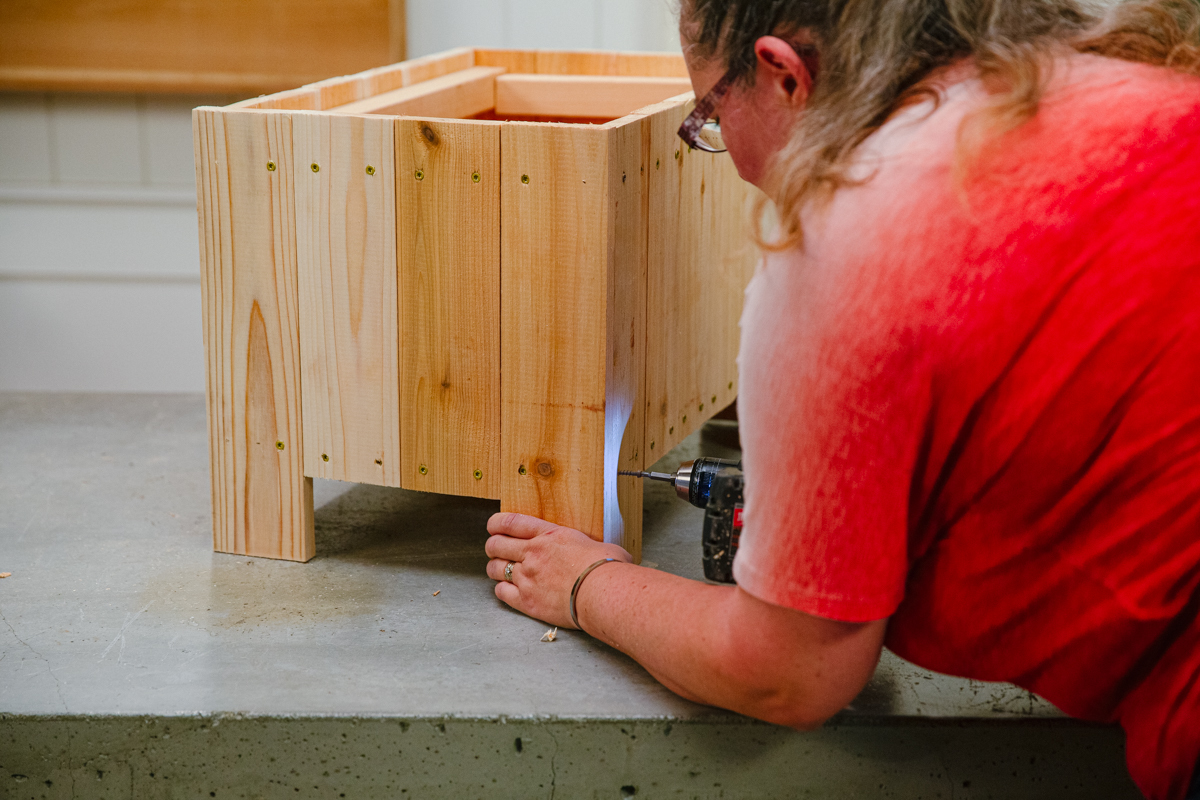
Step 7: Attach sides to one end
Each of your sides should slip together easily with one end panel. Use 2 ½” screws to attach the side panels through the end holes on each side of the corners.

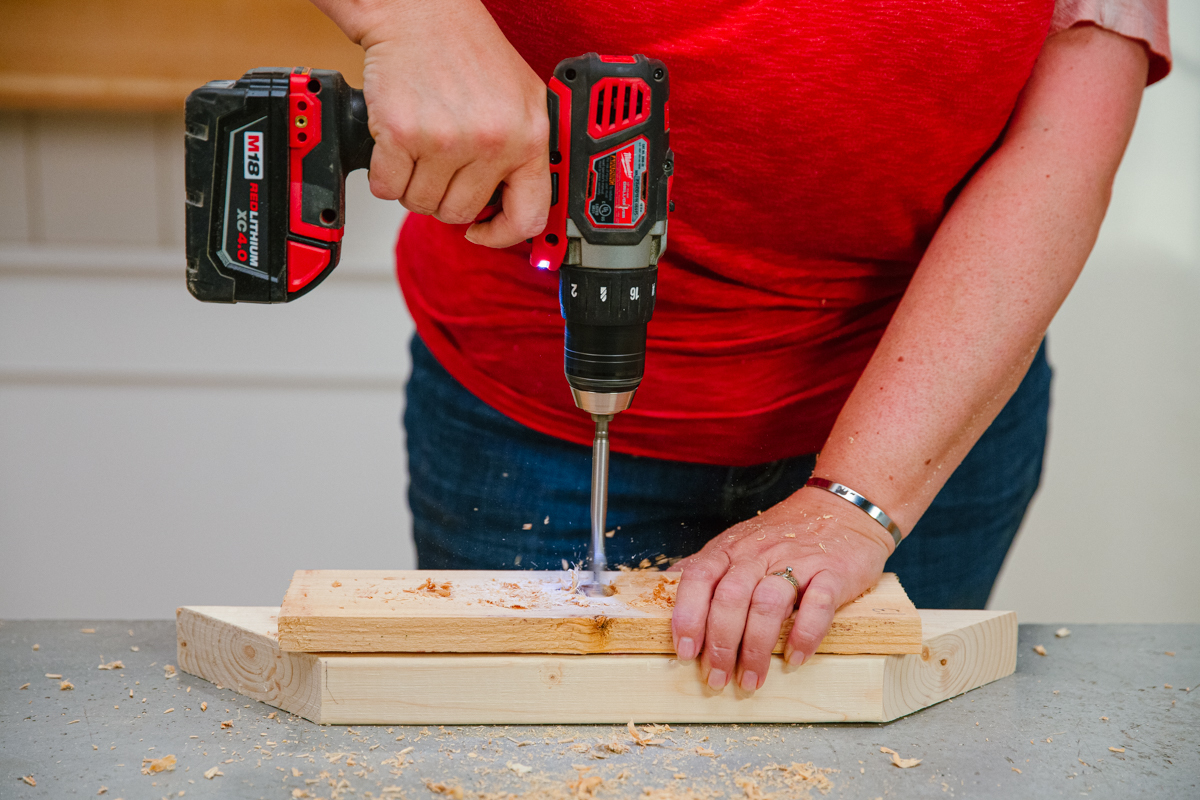
Step 8: Drill and attach floorboards
Grab your remaining 12 ½” one-by-fours, which will make up the floorboard of your planter. Drill a hole in two of the floorboards using a 1” spade bit—these will allow your planter to drain.
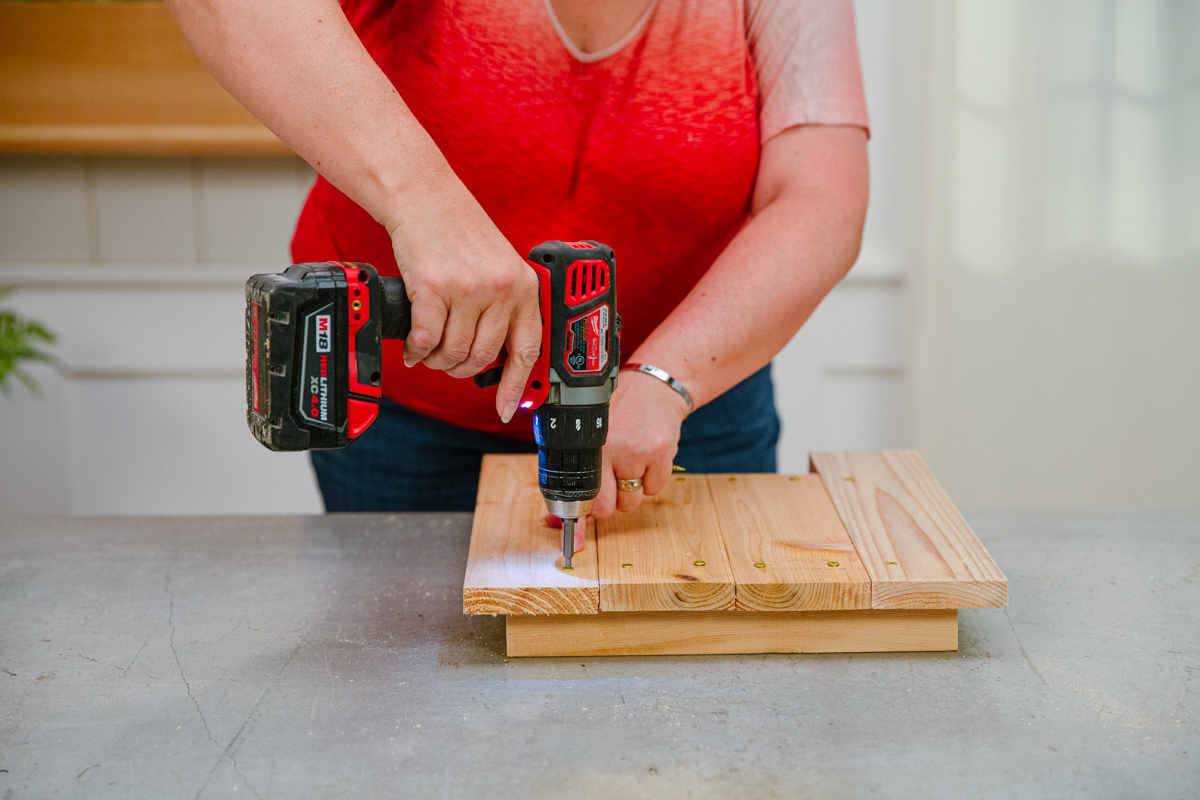
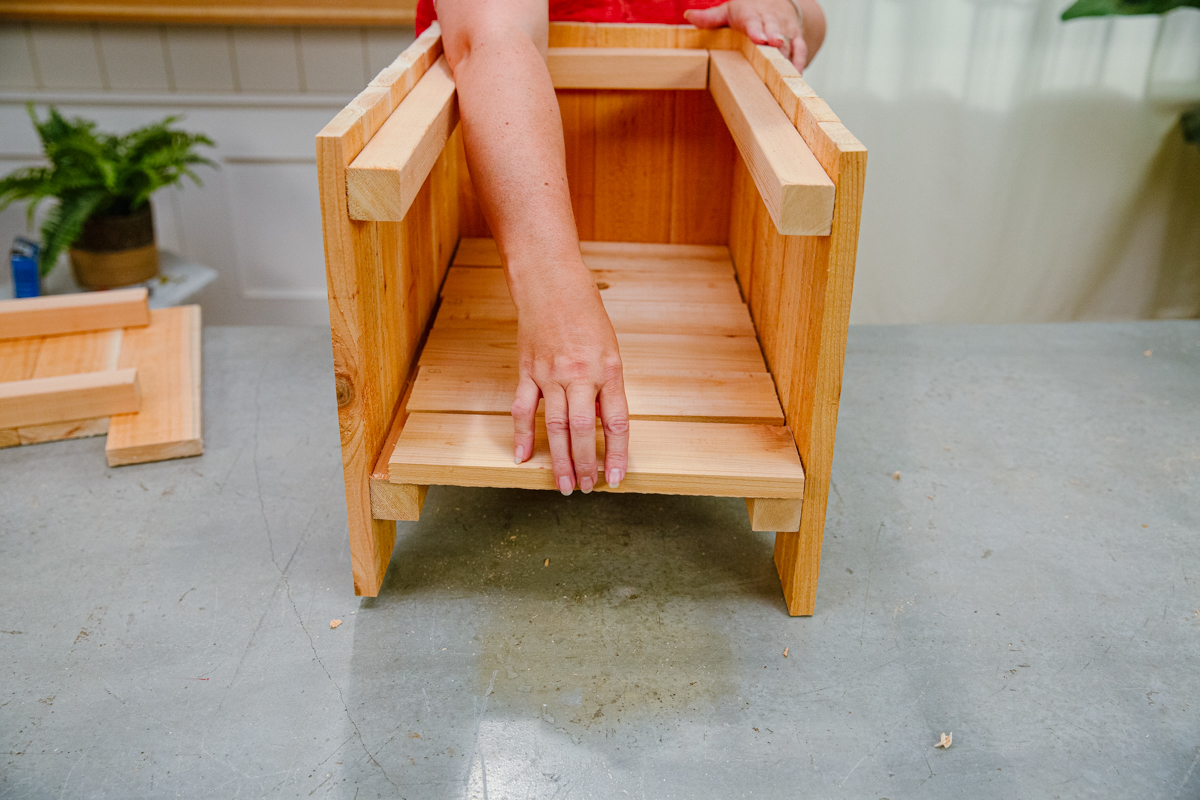
Now you can begin sliding the boards into place side by side, making sure to stagger the draining boards between the solid boards. You should have room for five floorboards. The boards should be a little bit shorter than the width of the planter, and that’s on purpose. Eventually, the dirt on top of the floorboards will cause the cedar to deteriorate, and you’ll be able to easily replace them by sliding in five new 12 ½” one-by-fours.
Step 9: Attach final end
Use your 2 ½” screws to secure the final end to the planter just as we did in step seven.

Step 10: Paint, stain, line with mesh (optional)
The only thing left to do now is paint or stain it if you so desire. You can also line the base of your planter with window screen to keep dirt from falling through your drainage holes.
Congratulations! You've finished building your planter and you're ready to start your garden. For more tips and inspiration, check out how to garden in planter boxes and how to make a vertical planter.


