
How to Make a Wooden Baby Gym

"Even though the finished product is still very bright and colorful, the color palette is pretty—a welcome change from most of the baby gyms on the market."
Materials
- 1 x 2 - 8' White Wood
- 3/4" x 36" Birch Dowel
- 3/4" Birch Button Plugs (2)
- 70 mm Wood Rings
- 55 mm Wood Rings
- 35 mm Wood Rings
- 25 mm Wood Rings
- 1" Wood Square Beads
- 20 mm Wood Teething Beads
- 20 mm Round Wood Beads
- 16 mm Round Wood Beads
- 12 mm Round Wood Beads
- 1 1/4" 3d Finish Nails (2)
- Non-Toxic Acrylic Paint
- Glue
- Foam Brush
- Cotton String
- Sanding Sponge
A friend of mine recently had a baby, and she found the most adorable wooden baby gym online. Unlike most baby gear and toys—which are often plastic (or feature a jarring color palette)—this one was beautiful; it's something you wouldn’t mind leaving out when people come to visit (almost like an art piece). The only problem was that for a simple structure, the price was slightly astronomical—$80. So I decided to DIY one for her at a fraction of the price, using a curated color palette (OK, using my favorite color palette: the Dunn DIY color palette) for an end product that’s an attractive addition to the home. Even better, it’s completely customizable, which means you can tailor it to coordinate with your nursery or your living room. Oh, and have I mentioned how fun it is to present to a mother-to-be at a baby shower? So fun.

Step 1: Cut Wood
For this project, we’re using construction-grade whitewood one-by-twos and a birch dowel. I like the look of light-colored wood—it’s also very inexpensive and lightweight. If you like the look of something else, feel free to go with it.
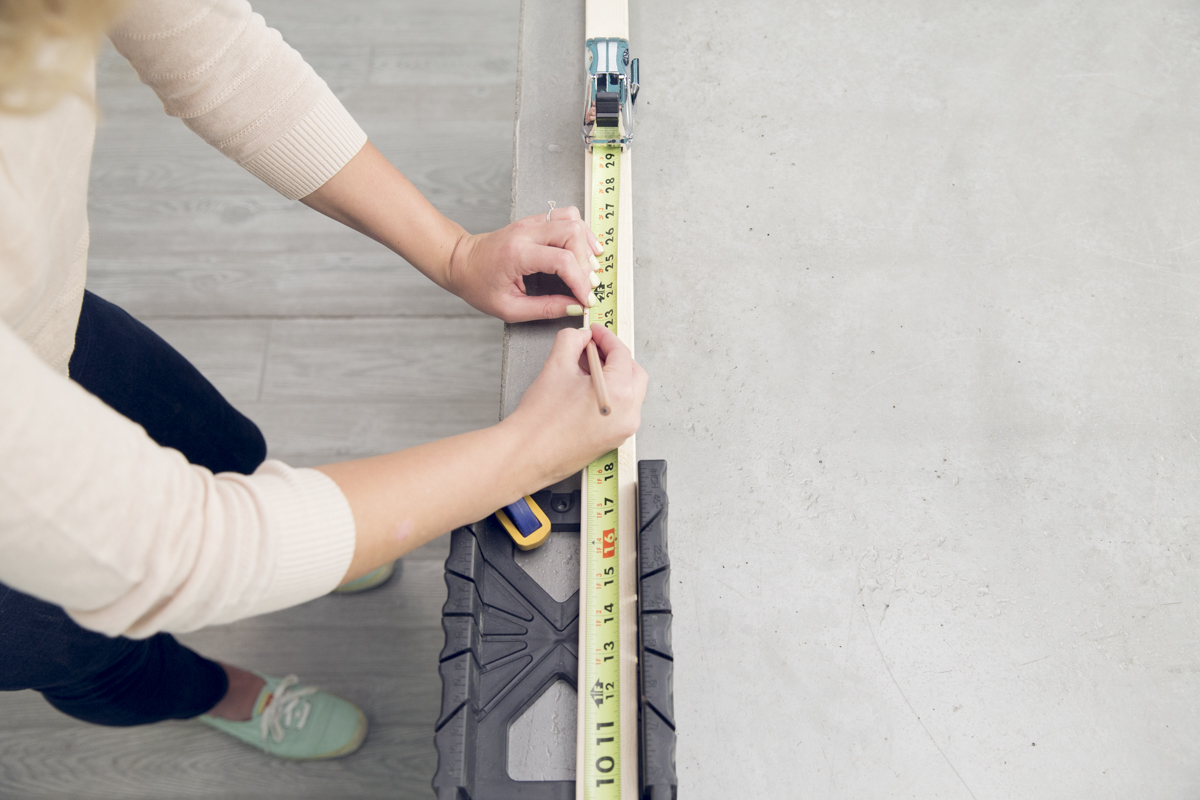
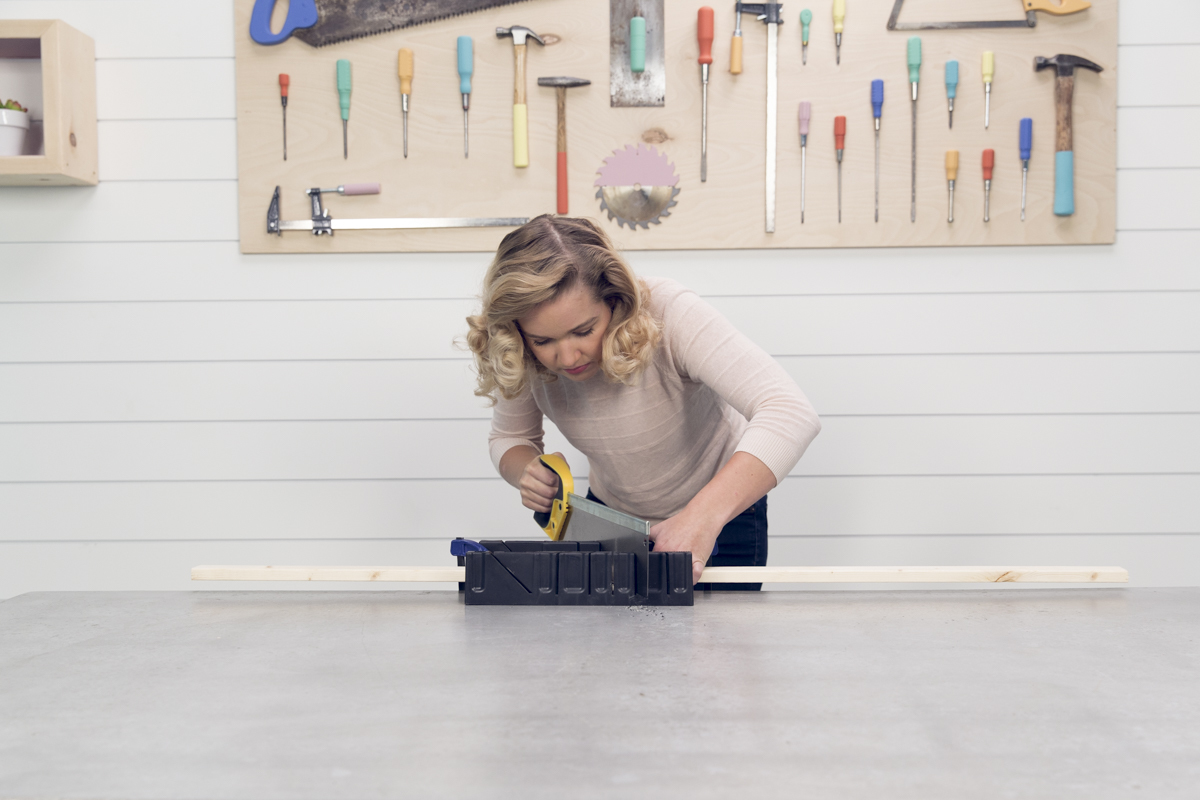
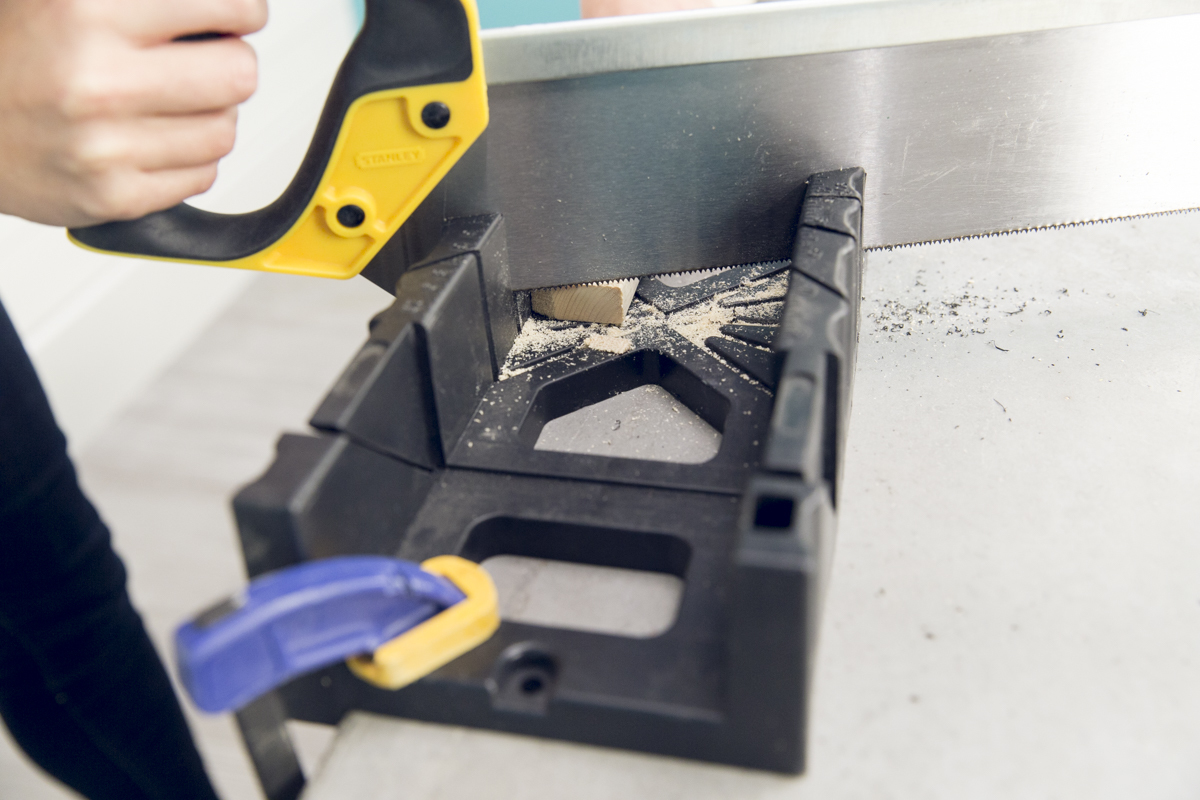
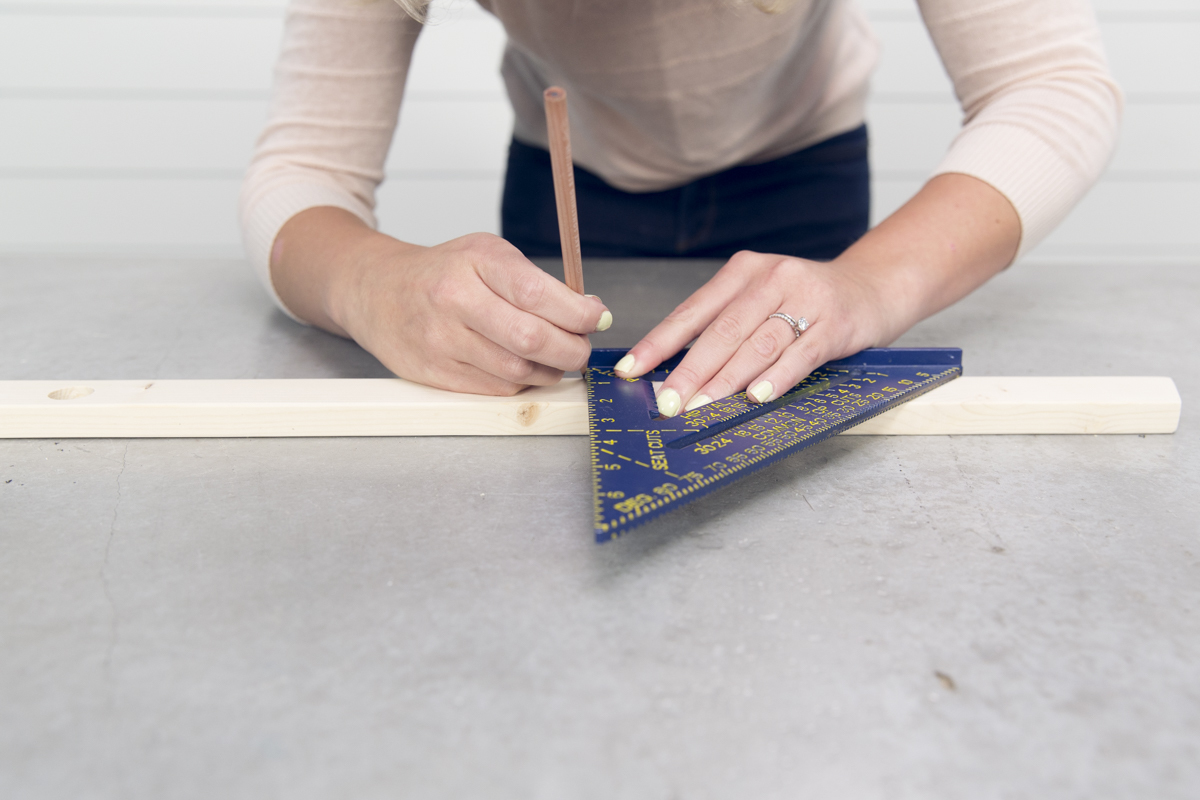
Cut your one-by-twos into four 22 3/4”-long pieces using a handsaw and a miter box. One end of each piece is a straight cut; the other should be a 22.5° cut. You can leave the straight ends blunt, but there’s something nice about a rounded edge—especially for a baby gym. To do this, trim off 3/8” notches at a 22.5° angle on all the straight one-by-two ends.
Cut the dowel to 28”.
Step 2: Drill Dowel Holes
Once your materials are cut, it’s time to drill the holes for the dowel to thread through. Measure 2” from the straight ends of each one-by-two. For a smoother hole (and minimal breakage), clamp each one-by-two down on top of a piece of scrap lumber and drill a hole all the way through using a 3/4” spade bit.

Step 3: Sand
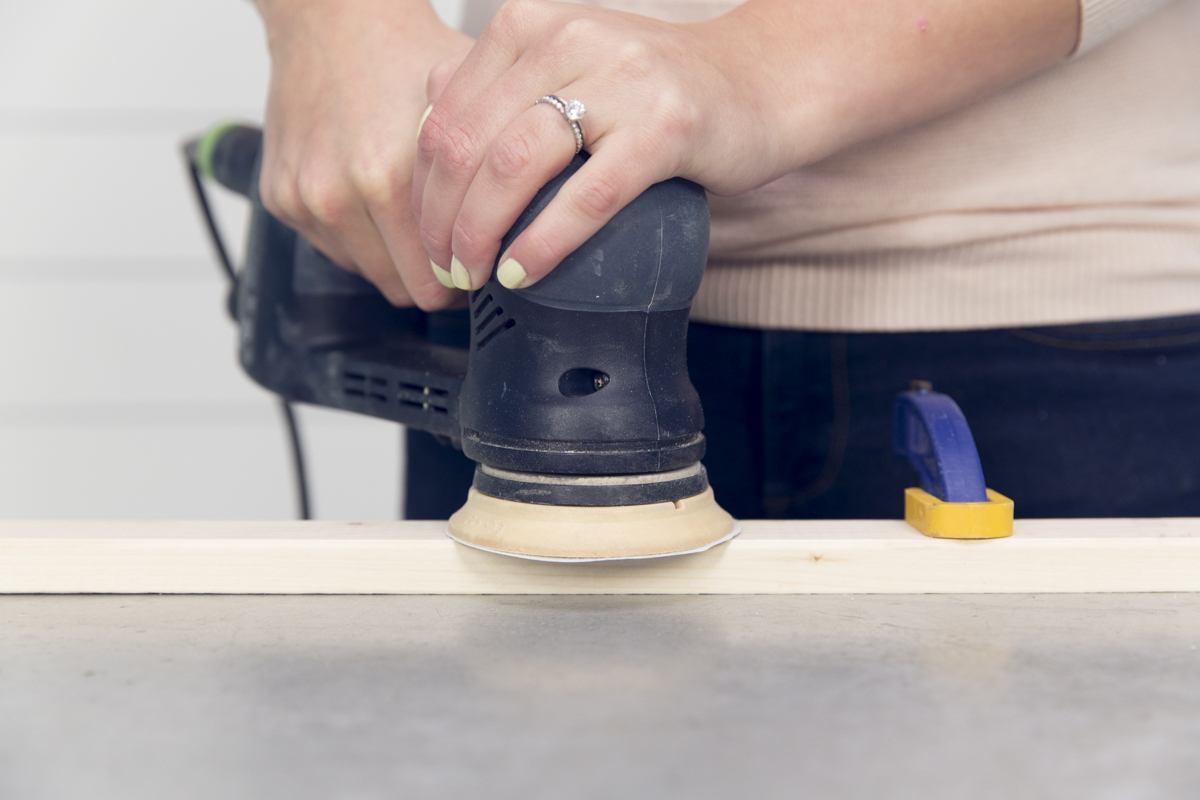
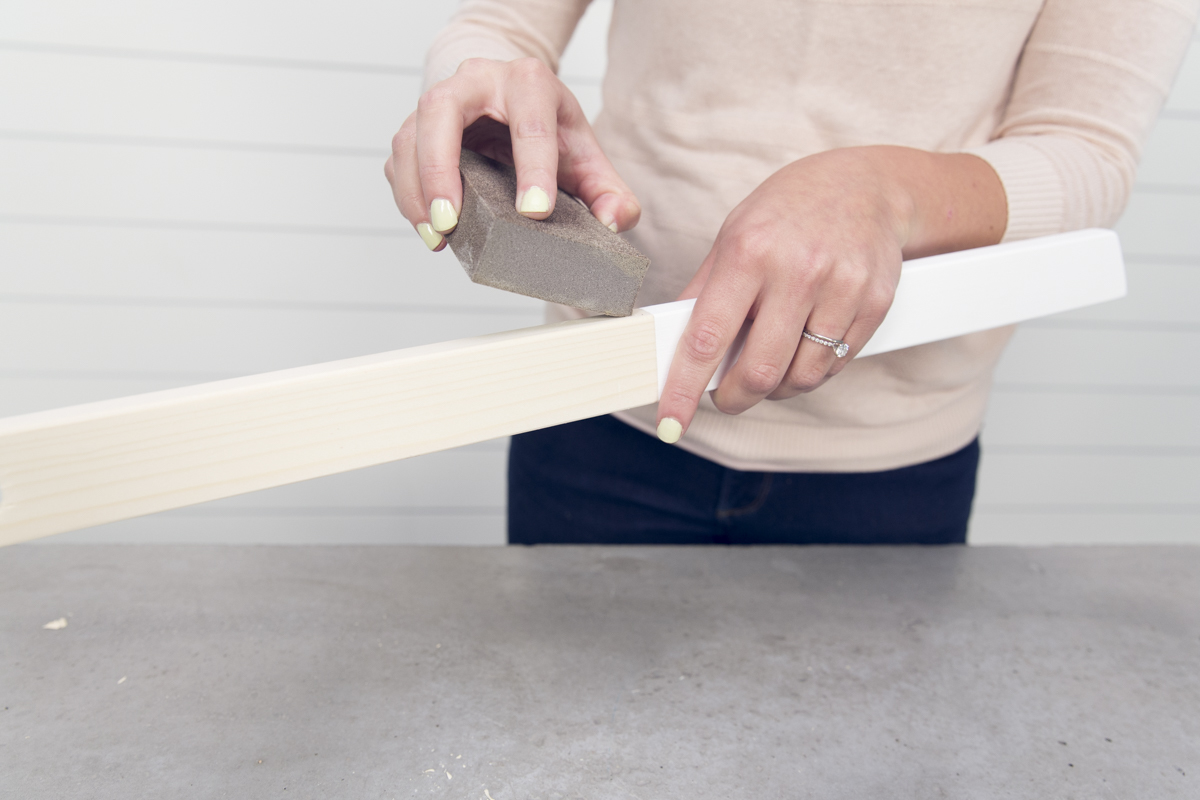
Sand each piece as smooth as possible using a power sander. No one likes a splinter, but it’s important to remember that this gym is for babies—so pay special attention! It’s not a lot of surface area, so you can use a piece of sandpaper if you don’t have a power sander.
Step 4: Paint Legs
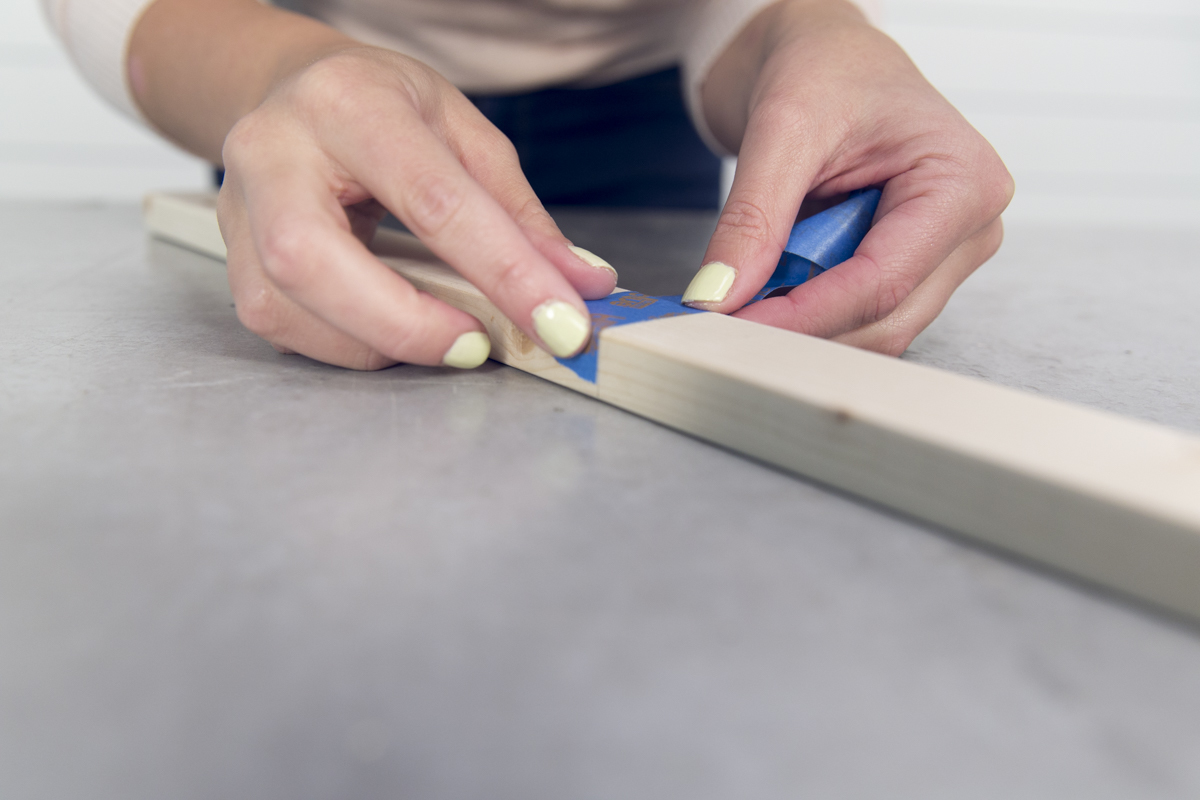
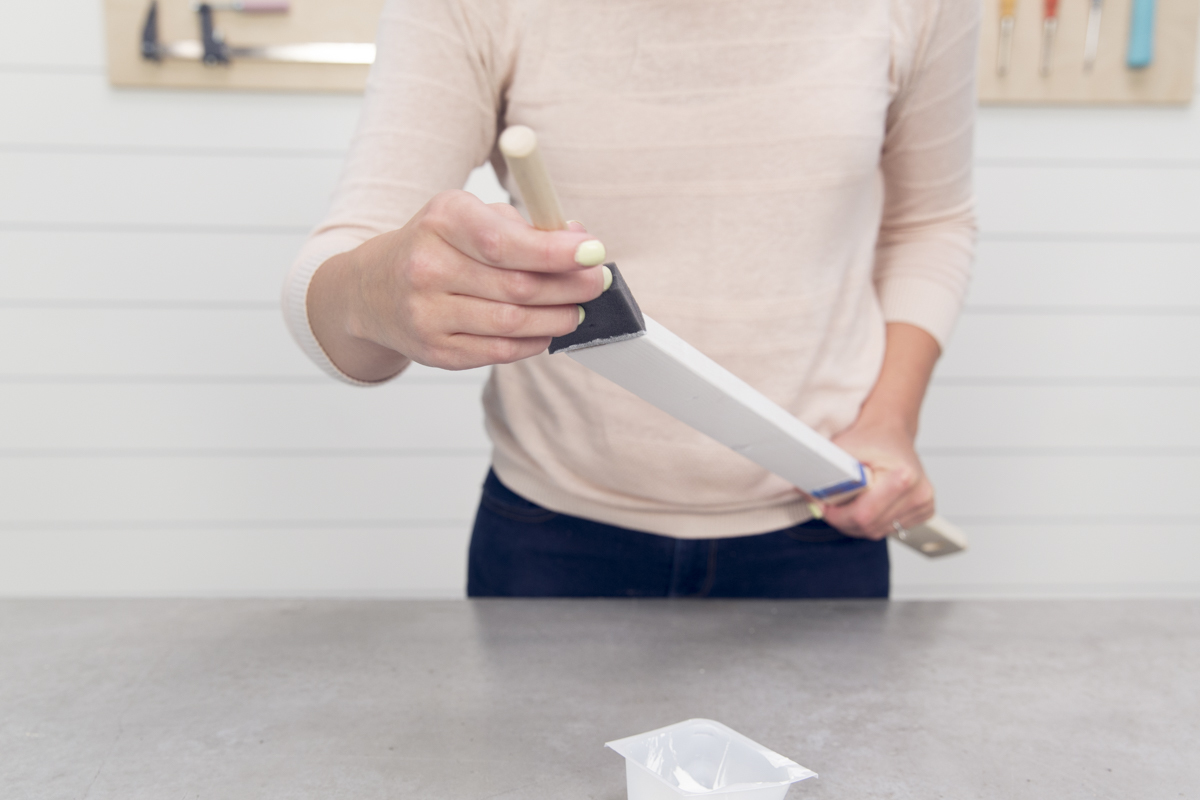
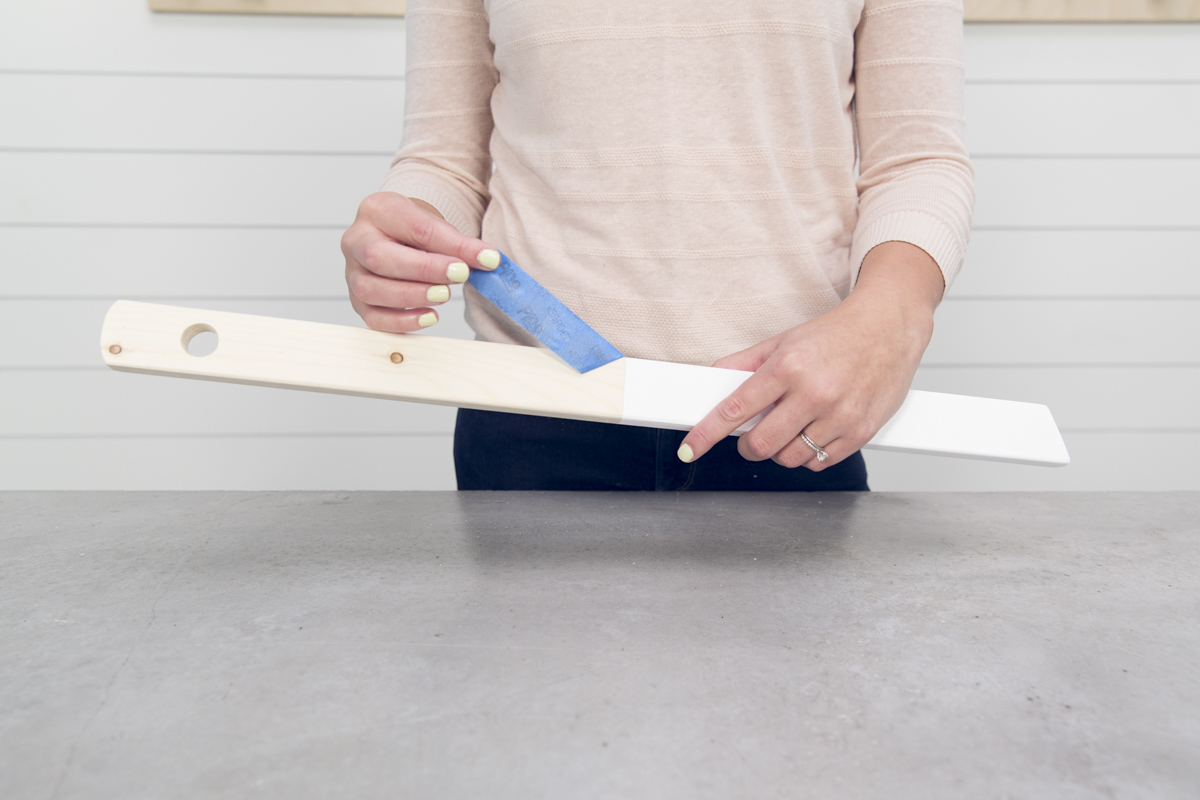
Painting the legs is optional, but makes all the difference! Tape off the upper half of the legs using blue painter’s tape, then paint the bottoms with a sponge brush. We taped ours halfway up—11 3/8".
We used a white, non-toxic acrylic paint: Crafter’s Acrylic by DecoArt. You can use any color. Not all acrylic paint is non-toxic, so do your research and double-check your labels—or use the same one we did! If potential toxicity is a concern to you, you can spray a finish on and let it cure. Dry time and curing are two very different things: curing takes much longer (up to a few weeks) and you know it’s cured when there’s no smell left. If you’re giving it to someone at a baby shower, it won’t be a problem—the baby’s probably still a month or moreout!
Once the paint is dry, remove the tape.
Step 5: Paint Beads
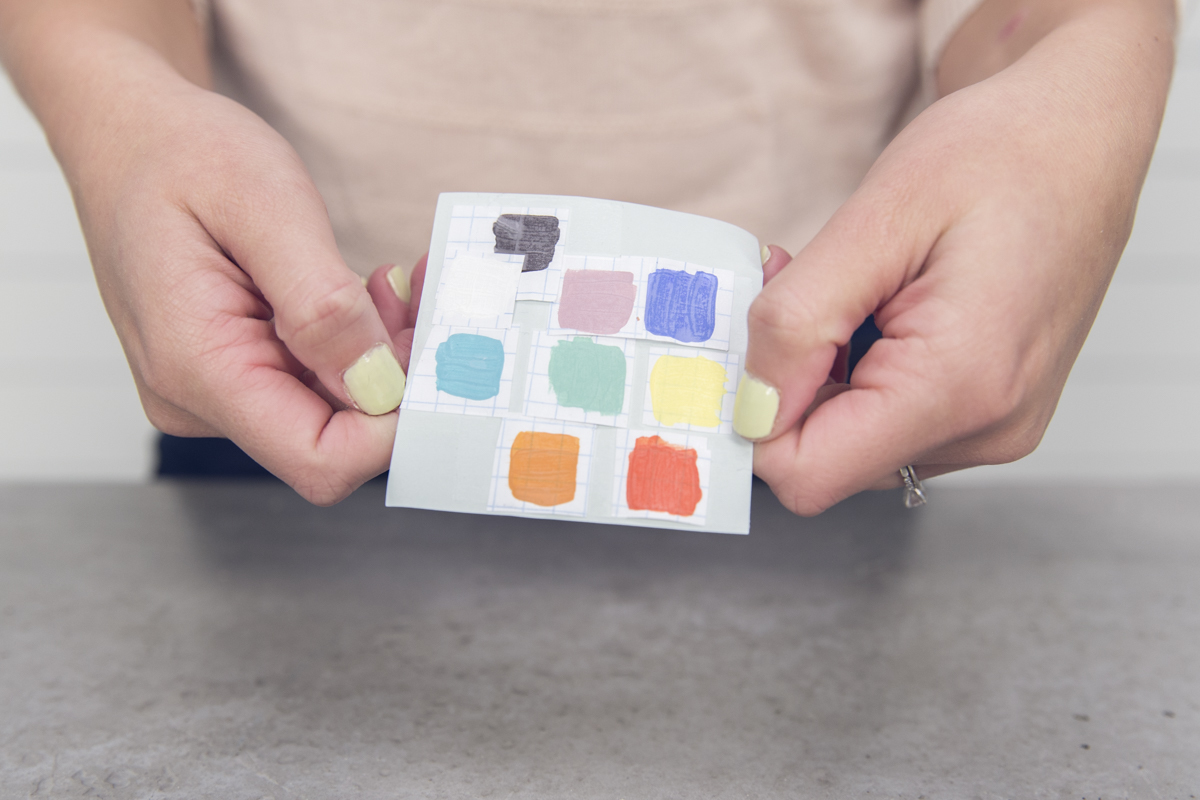
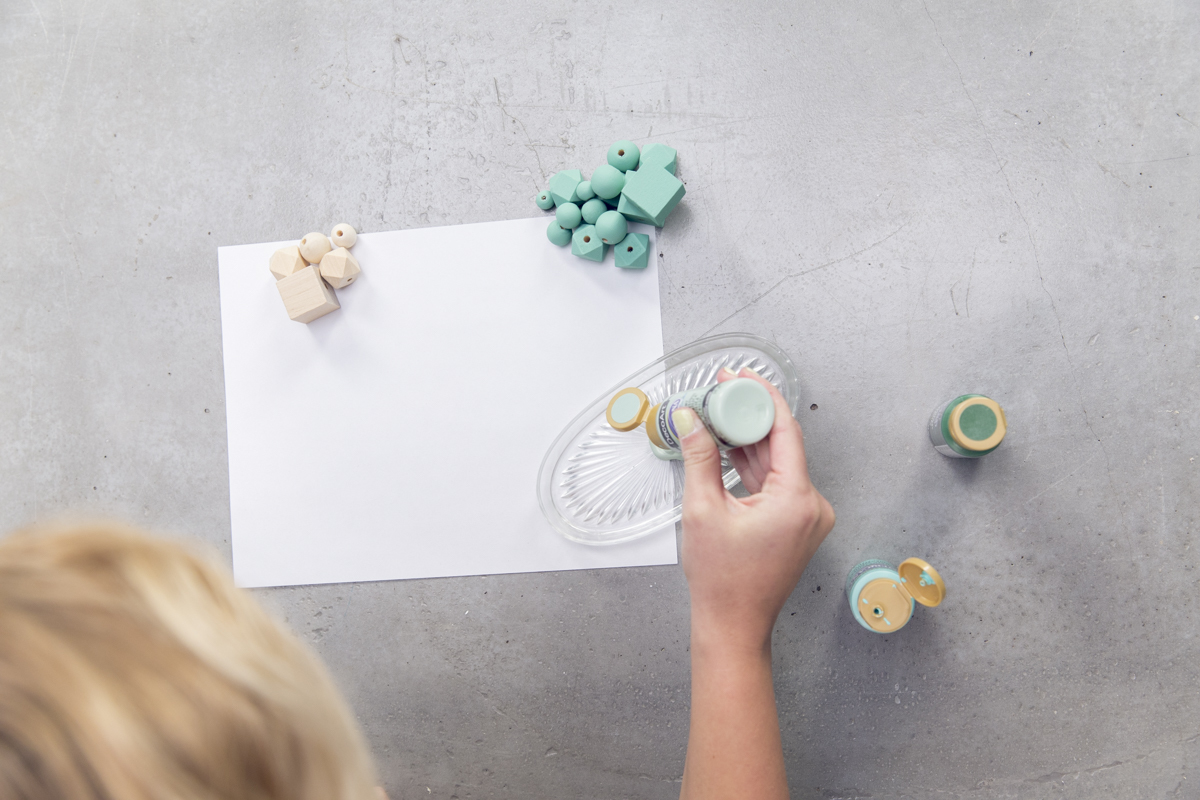
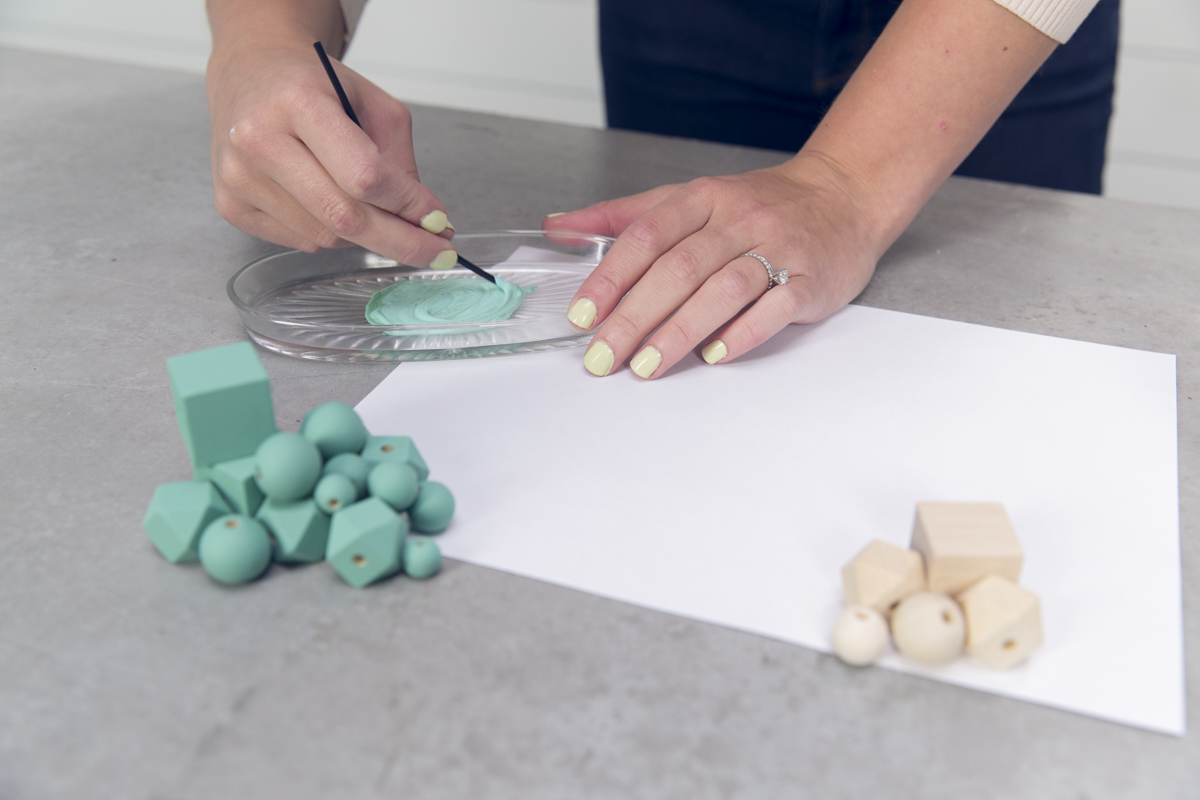
Babies are attracted to bright colors, and this is a tasteful way to bring them into your home. As I mentioned previously, my colors were inspired by the Dunn DIY color palette. To achieve the exact colors, I mixed non-toxic acrylic paints until I got them just right. You can do the same! Remember, not all acrylic paints are non-toxic, so pay special attention to labels.
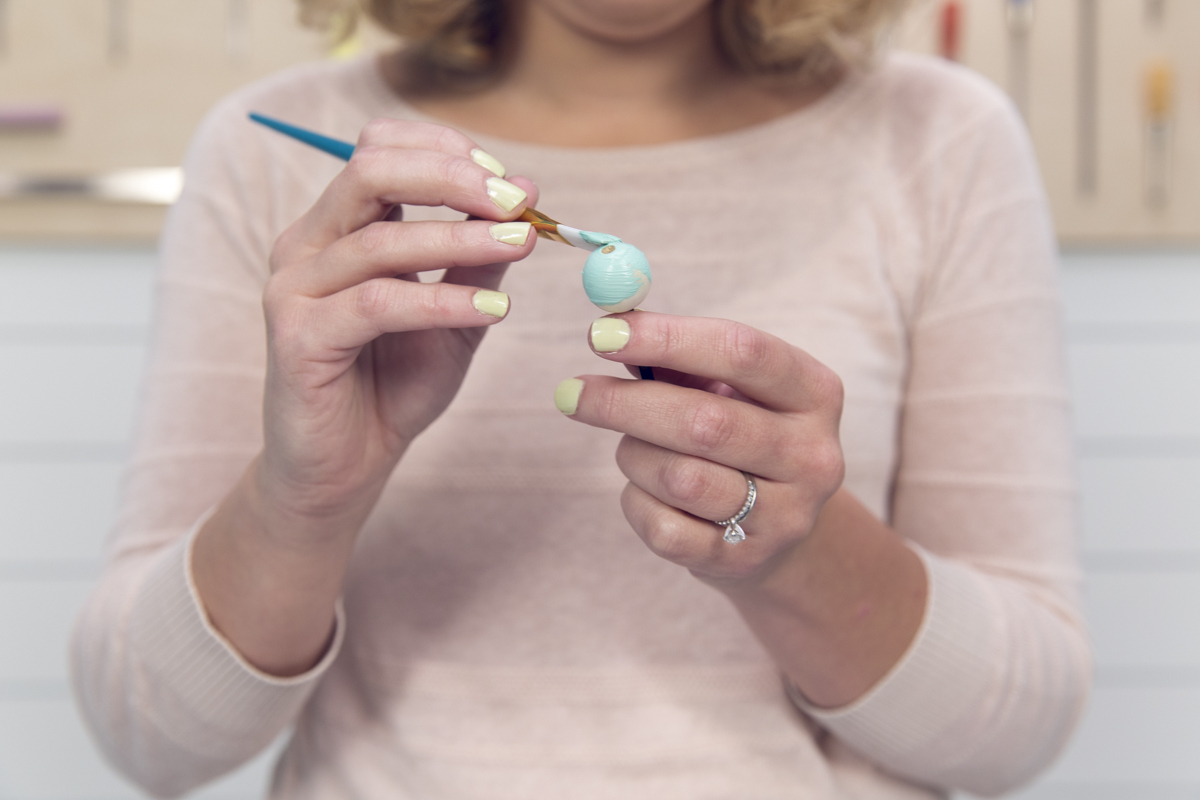
I ordered my beads from Amazon. I prefer my "random" to be organized (I can’t help it, OK?), so I organized my beads so there’d be an even amount of each size, shape, and color (except black, which I kept at a minimum). There’s really no rhyme or reason here—follow my lead or go full random! I left a handful of them natural, and painted the rest with my custom-mixed non-toxic acrylic paints. Be careful not to use too much paint which can clog the holes (a tiny brush is good for avoiding this problem).
In order to paint all sides of the round beads at the same time, use a small plastic straw or a few toothpicks to turn the bead into a lollipop of sorts. You can then prop it up this way to dry.


Step 6: Prep Rings
I also ordered wooden rings—these didn’t come with pre-drilled holes, so you’ll need to drill your own. They’re a bit thin, which means there’s breakage potential—be very careful during this step.
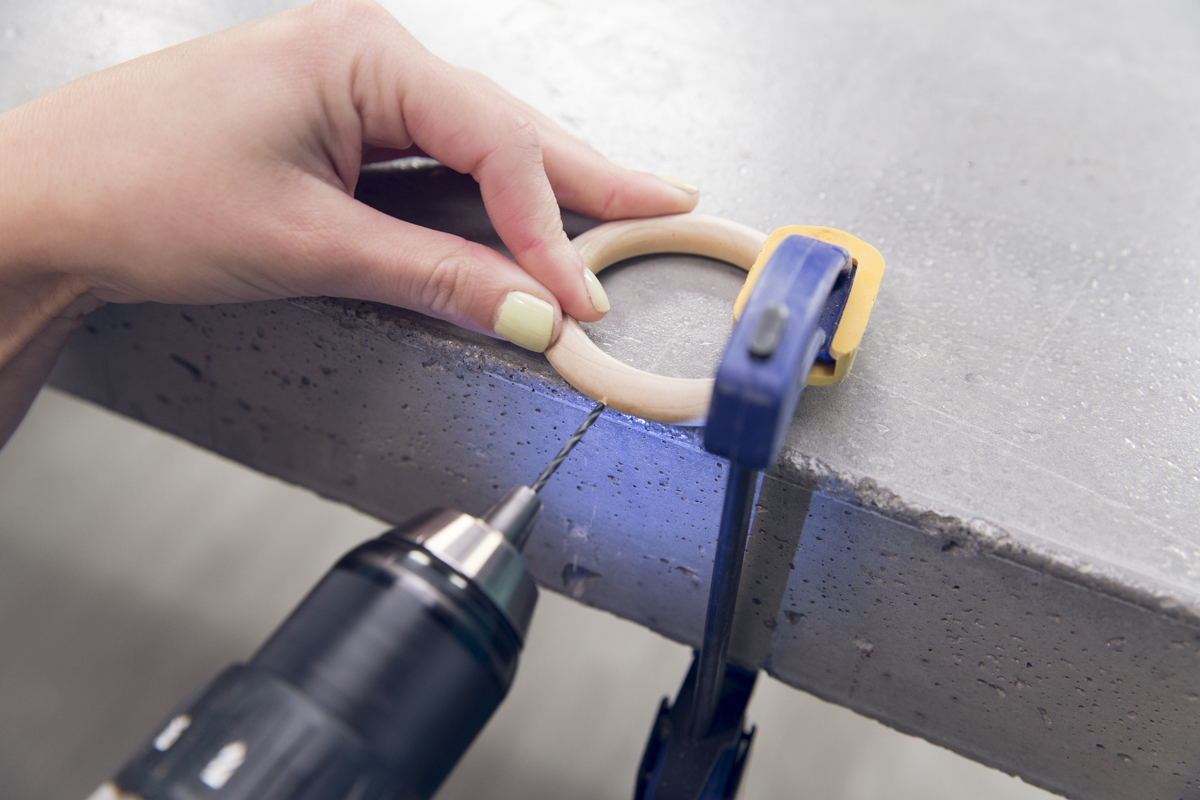
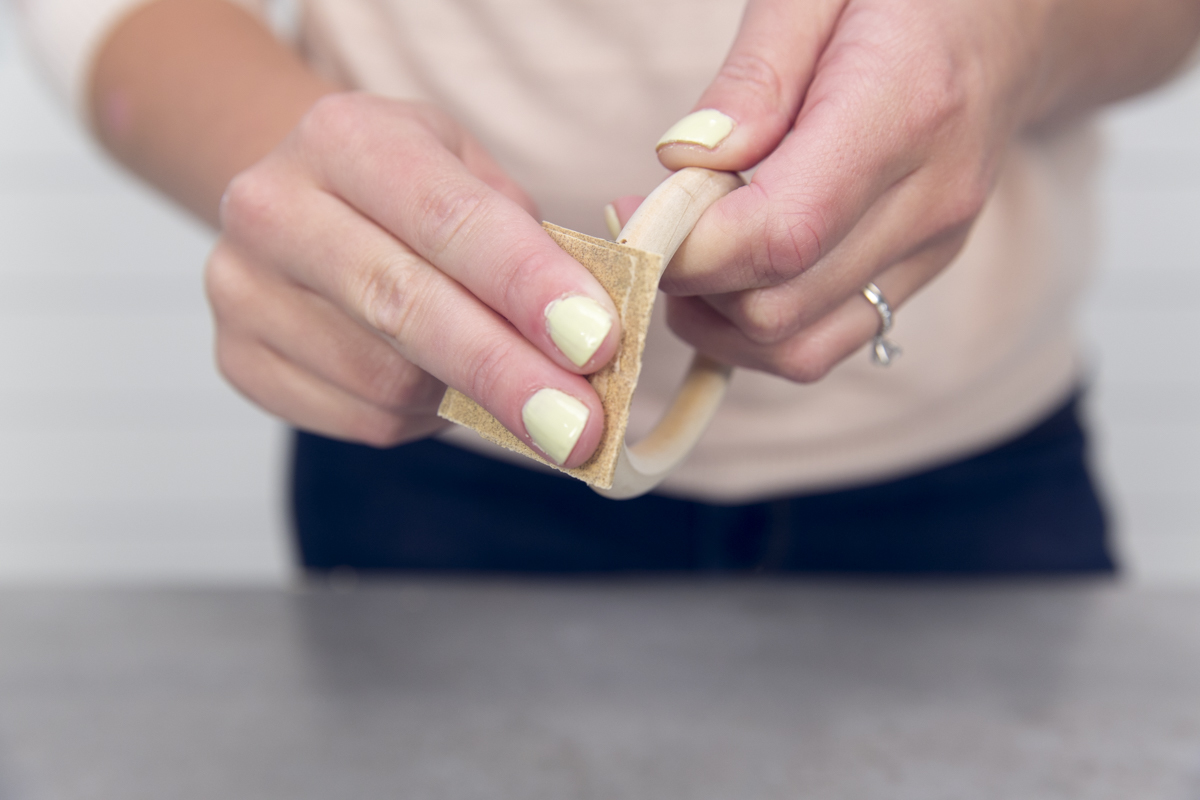
Start with three large (70 mm) wood rings—these will be the start of your strands and will slide over the dowel. Clamp down the ring you’re drilling and support the side. Using a 3/32" drill bit, drill holes through the bottom of the ring only. (It helps to turn the drill on high and let the speed of the drill do all the work—if you force it, it could split.) After the first three rings, vary your ring sizes and pre-drill holes on the top and bottom of each ring. Think ahead and set aside any you want for the bottoms of the strings, or for sitting sideways in between some of the beads. Once you’ve drilled your holes, carefully sand any frayed edges.
When it comes time to string these on, you’ll want to use a needle—the holes are too small to push the string through by hand without a lot of frustration.
Step 7: Cap Dowel
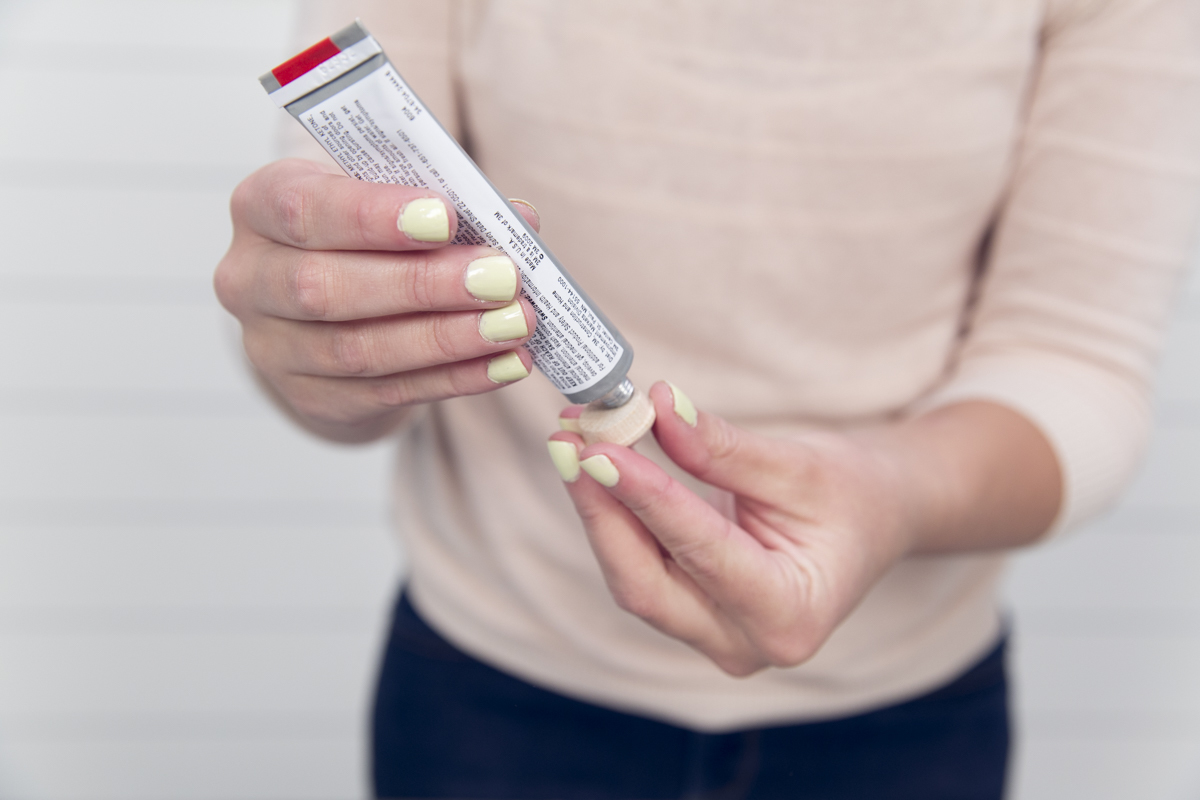
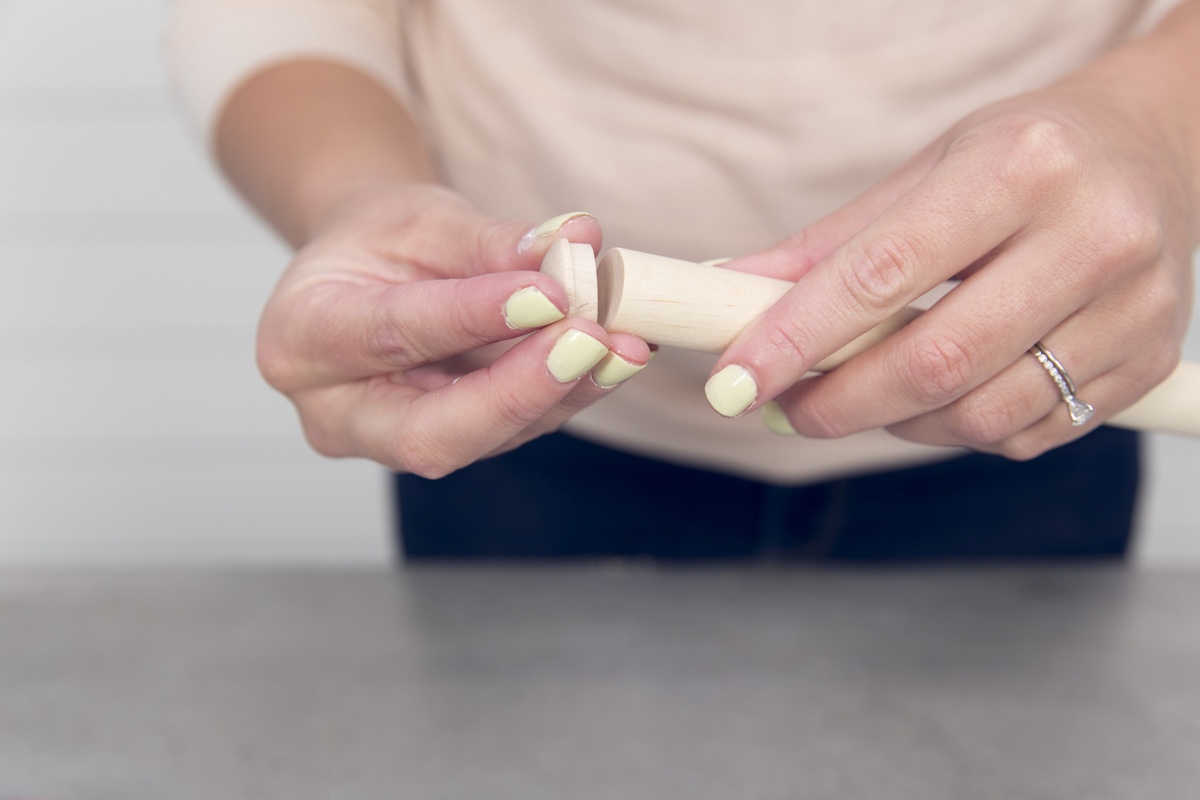
I love the look of a button cap on the end of the dowel—it finishes the project in a nice, playful way and ensures the dowel will stay put. Glue a birch button plug to one end of the dowel using a fast-drying multi-purpose glue. You could use wood glue, but you’ll have a longer drying time. If you’re having trouble gluing it, you can drill a hole and put in a finish nail to attach it that way. Set the dowel aside to dry—we’ll come back to it in a bit.
Step 8: String Beads and Rings
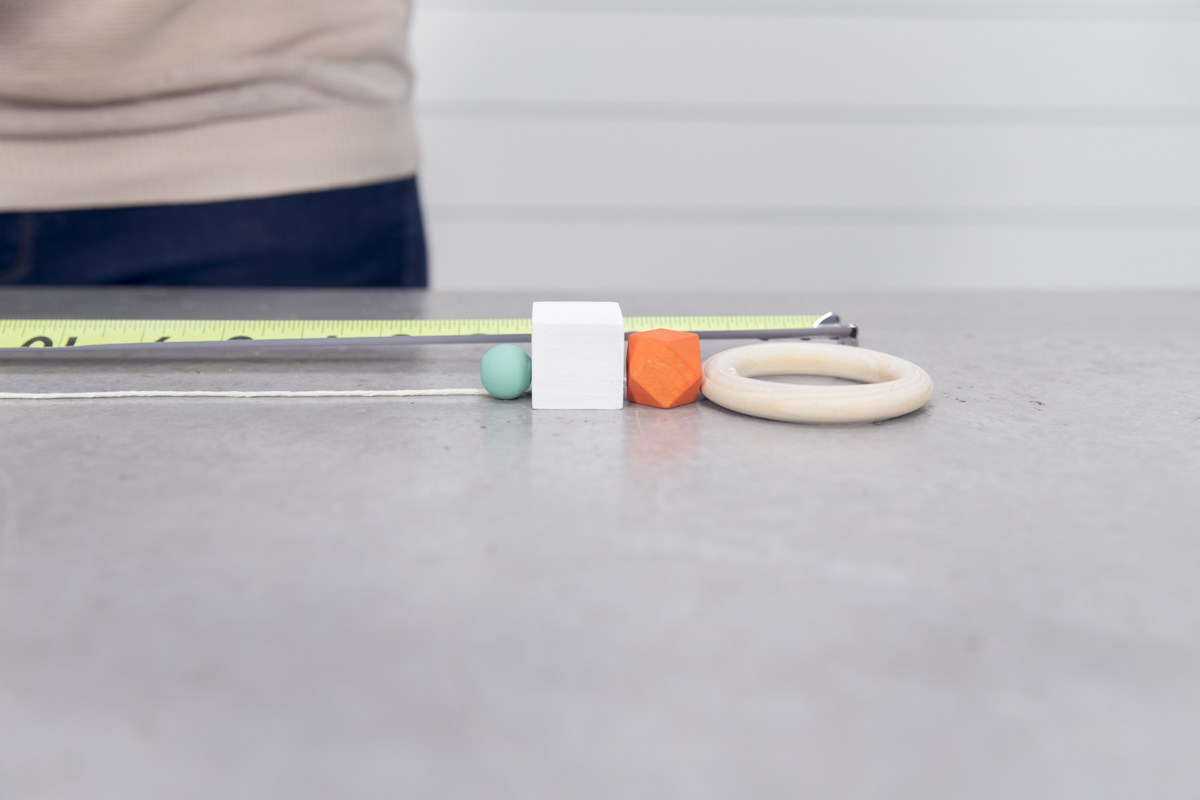
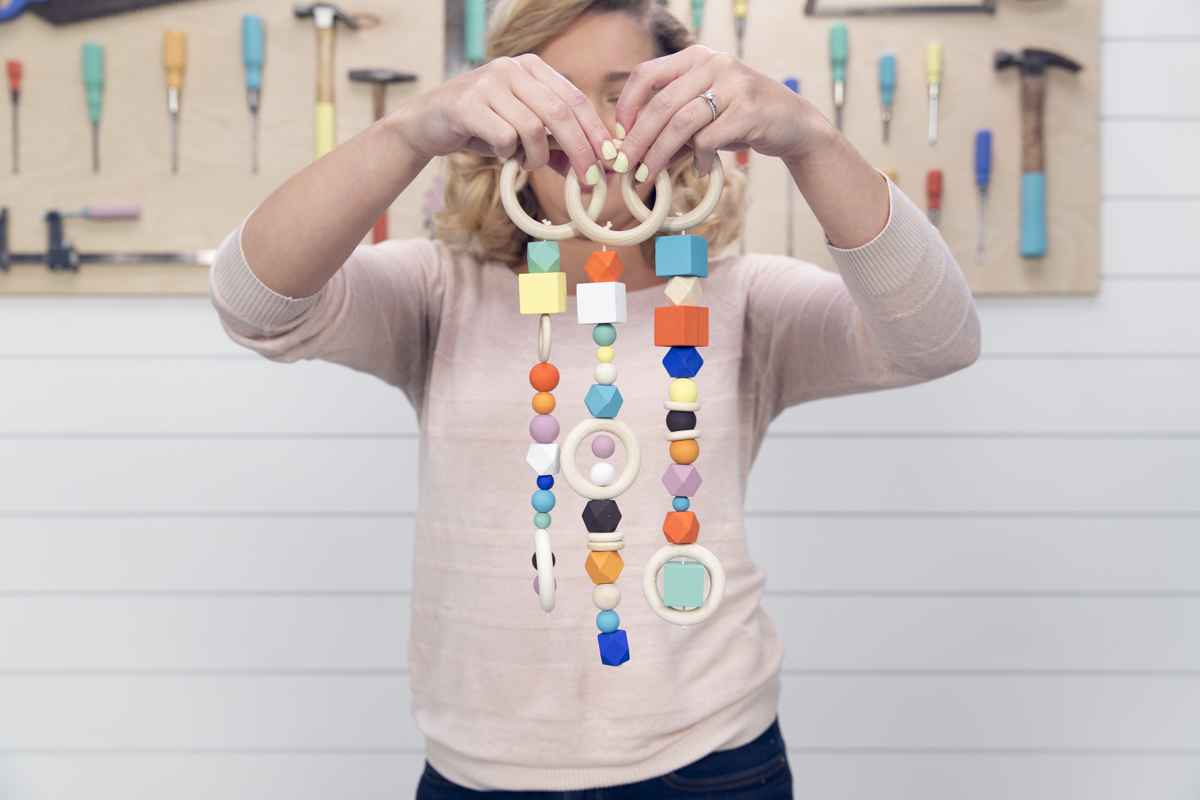
Now’s the fun part! Today, we’re making three beaded strands to hang from the dowel—you can make as many as you want, but we liked the simplicity (and ease) of sticking with just a handful. To start, cut your strings about 12” long. We used cotton string for a natural look and its non-slip nature, but you can use synthetic string—it just might not hold knots as well. If you’d like, you can alter the lengths for variety—keep in mind you want to keep the strands out of grabbing reach of the baby.
For the beginning of each strand, take one of the three large starter rings—these will slip onto the dowel. Thread the string through a needle, and feed it through the hole, top-down. Once it’s through, tie a triple-knot on the top so it doesn’t slip.
From there, alternate the shapes, sizes, and colors of the beads and rings you use. You can even slip beads into the ring. There’s no wrong way to do this step, so have fun with it! I did find that finishing each string with a ring was easier because the holes were smaller than the beads and didn't require a really large knot.



Step 9: Pre-Drill Holes
Pre-drill just above the painted line on all four of the legs using a 3/32” drill bit. Sand if needed. We’ll get to the why for this in Step 10.

Step 10: Fit Together
Once you’ve finished your beaded strands, it’s time to fit the baby gym together. Slide two of the legs onto the dowel so they’re snug against the button end. This is where I ran into a problem—I pushed the outside leg so hard against the button end that it wouldn’t rotate, and it wound up popping off the button. You don’t need to make it snug—it just needs to sit there with enough room to swivel.
Slide a leg onto the other end of the dowel and lay it flat (this will ensure the dowel is parallel against your work surface for the next part). Use a speed square to square off the dowel and the one-by-twos—you want to make sure they’re perpendicular.


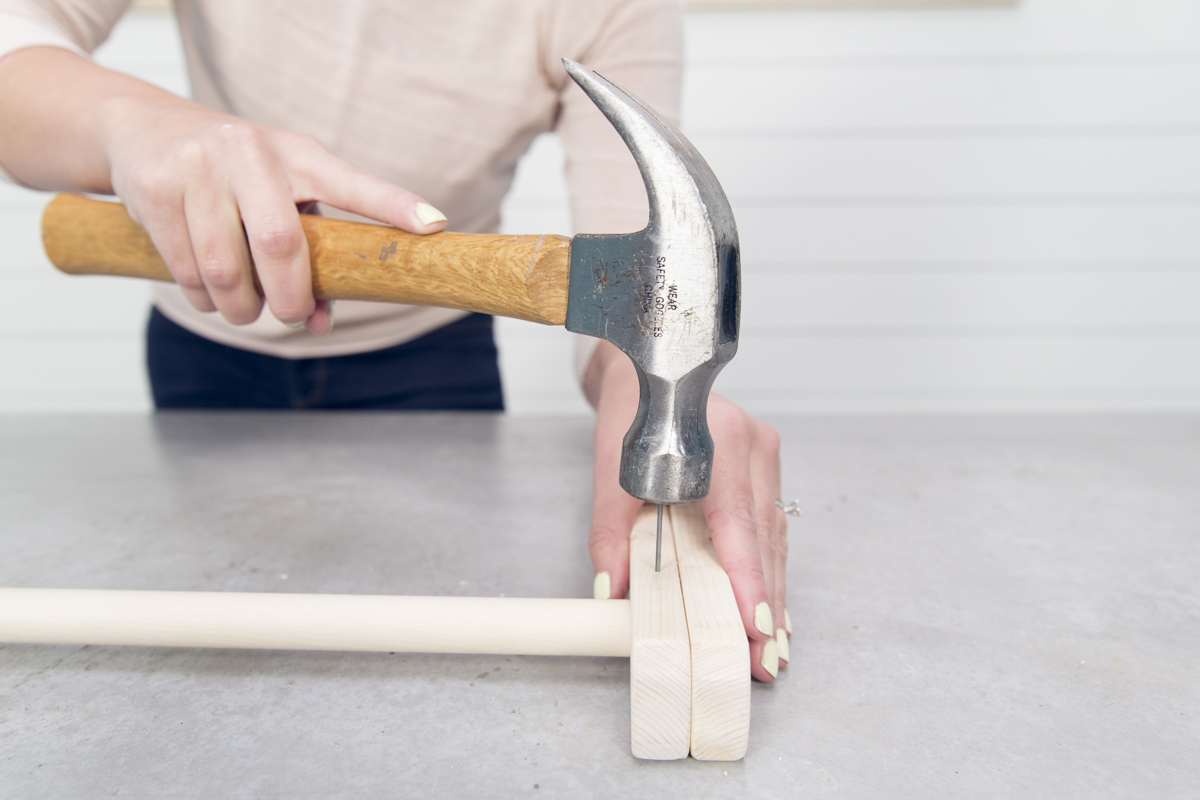
This baby gym is great for a number of reasons, one of which being that it’s completely collapsible. To make one of the legs stable and the other movable on a swivel, we’re driving a small finish nail through the inside one-by-two and into the dowel. To ensure precise placement, pre-drill with a 1/16” bit, then hammer it in.

Next, slip on the rings in the desired order, followed by the opposite two legs. Once the gym is together, glue a button onto the end of the unfinished dowel. Once dry, secure the legs the same way you did for the first two: with a nail that goes through the inside leg and the dowel. The inside legs on either side should stay put; the outer two should swivel.
When you’re putting the baby gym together, keep the angles of the legs in mind: you want to make sure the feet are flat against the ground when it’s set up. (I definitely messed this one up the first time around.)


Step 11: Secure Legs With String
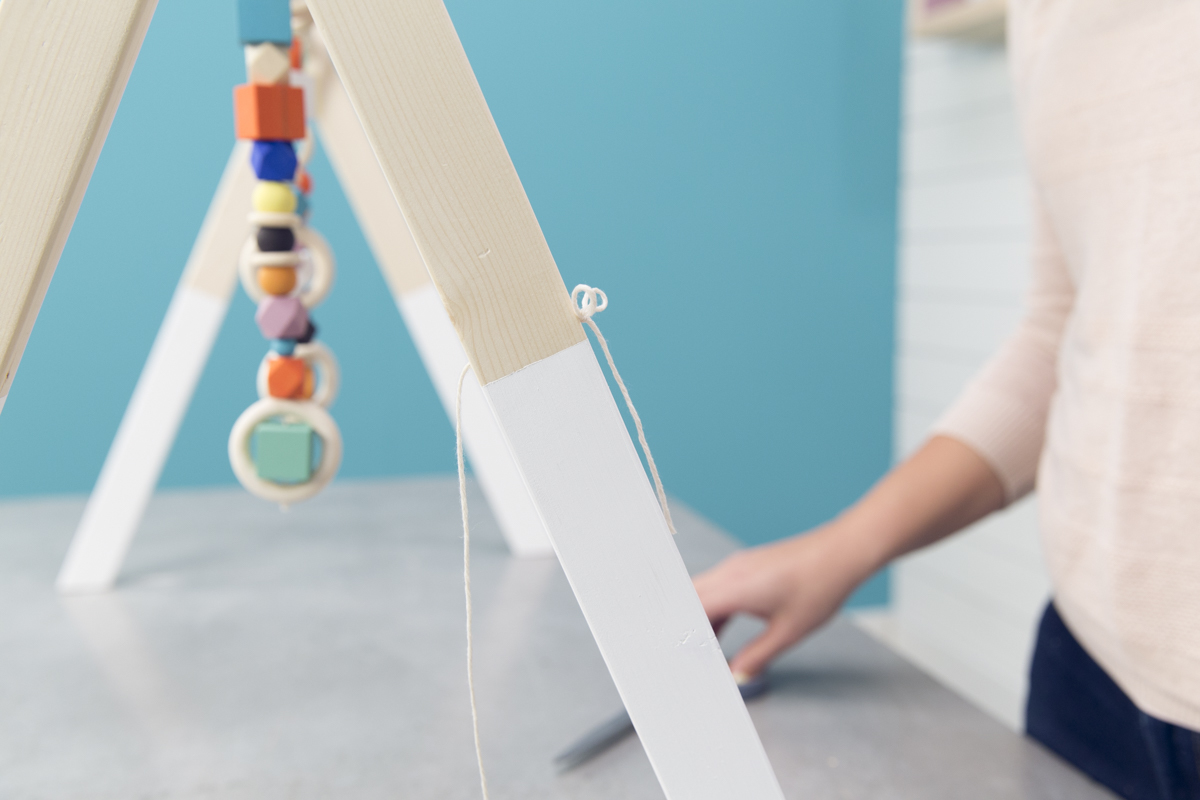
To keep the legs from moving, thread a string through the small holes you drilled in the one-by-twos, and tie it off so the legs only stretch open as far as you want them. The structure is lightweight, but we still don’t want it to fall open. Make sure both legs are at the same height. I did a knot to keep the string from slipping through, and then tied a decorative bow on top of that. (It’s optional, but it’s cute!)


This project was surprisingly easy—painting all the beads took up the most amount of time (but I also painted way too many beads). Even though the finished product is still very bright and colorful, the color palette is pretty—a welcome change from most of the baby gyms on the market. There’s nothing better than a handmade gift, and I’m looking forward to welcoming all of my friends’ babies into the world with one of these—tailored to their home’s color scheme, of course.


