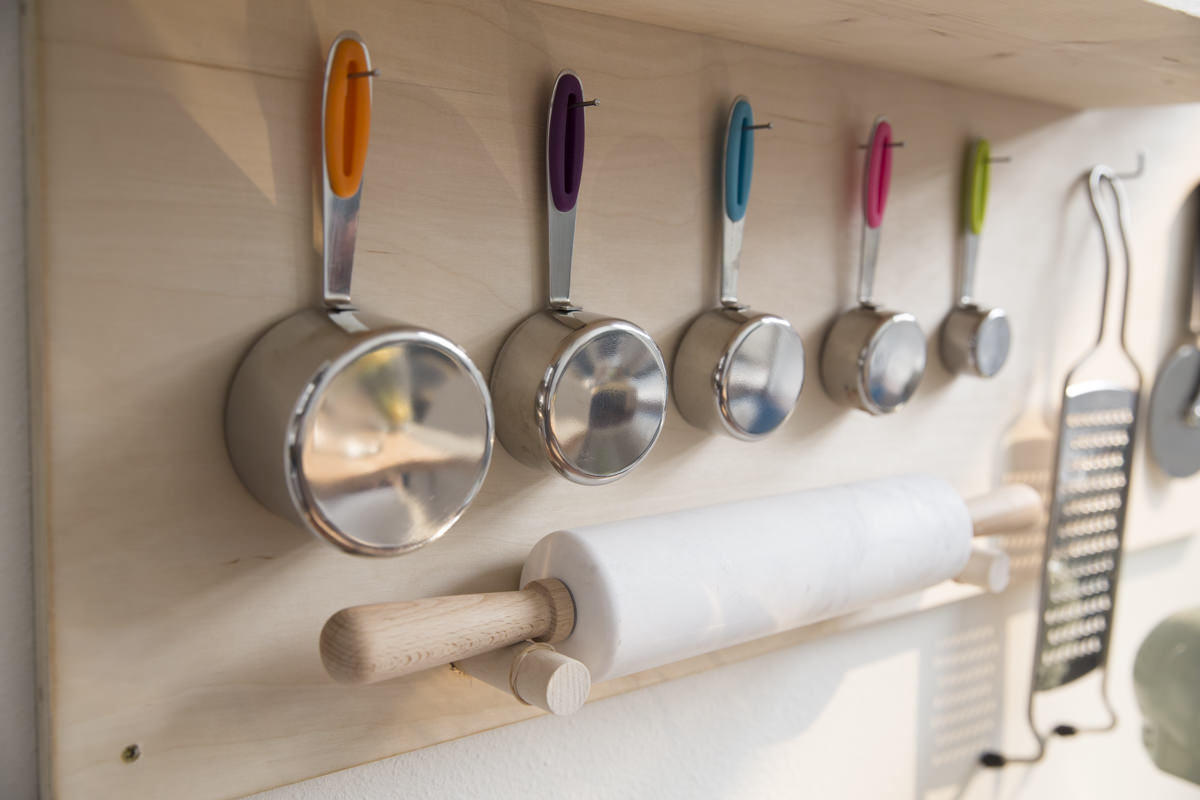
How to Make a Storage Pegboard

"This pegboard is currently hanging in my apartment, and it’s been a total lifesaver—because we have such limited cabinet storage."
Materials
We built a pegboard shelf as one of our very first DIY projects when we started the blog back in April of 2014, and it’s been a popular post that we reference back to all the time. Since it’s been nearly four (!) years since we first created it, I thought it was time to update the DIY pegboard project with a new spin.
One of the things I love most about this project is there’s no finishing involved—I used natural wood, and because it won’t be coming into contact with water, it’s not really an issue. It’s one of those projects you can start and hang up on the wall in the same afternoon, which is always a win.
This pegboard is currently hanging in my apartment, and it’s been a total lifesaver—because we have such limited cabinet storage. Using the walls is a great way to take advantage of otherwise-unused space, and getting stuff off the floor and onto the wall makes such a difference. And beyond practicality, it looks pretty—I love having my favorite kitchenware on display.
Step 1: Cut and Sand Plywood
We went with 4’ x 4’ sheet of ¾” shop-grade birch plywood. You can get a nicer grade, but I personally don’t mind the visible knots in the wood (and shop-grade is the most affordable option).
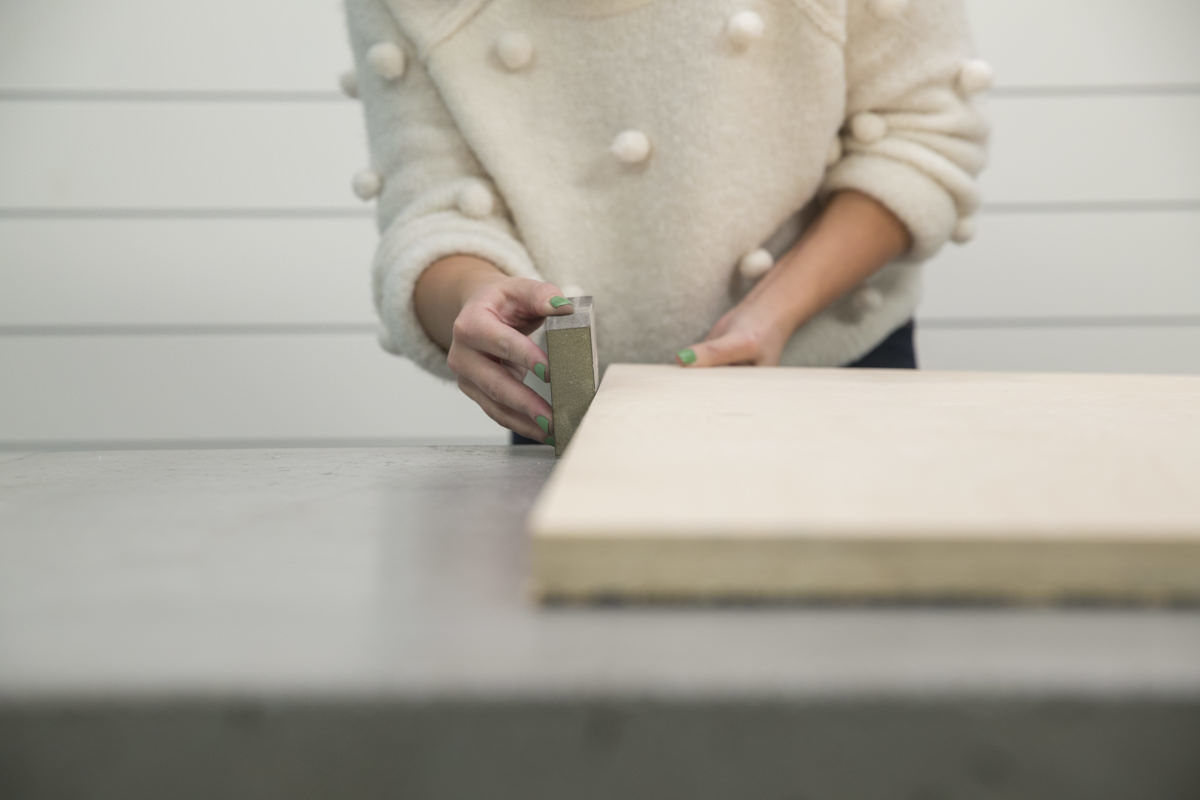
I had it cut down to 3’ x 4’ at Dunn Lumber to fit my kitchen wall, but the dimensions are customizable and really depend on the space. The cut will likely leave some rough edges and corners, so use sandpaper or a sanding sponge to quickly smooth things out.
Step 2: Arrange Items
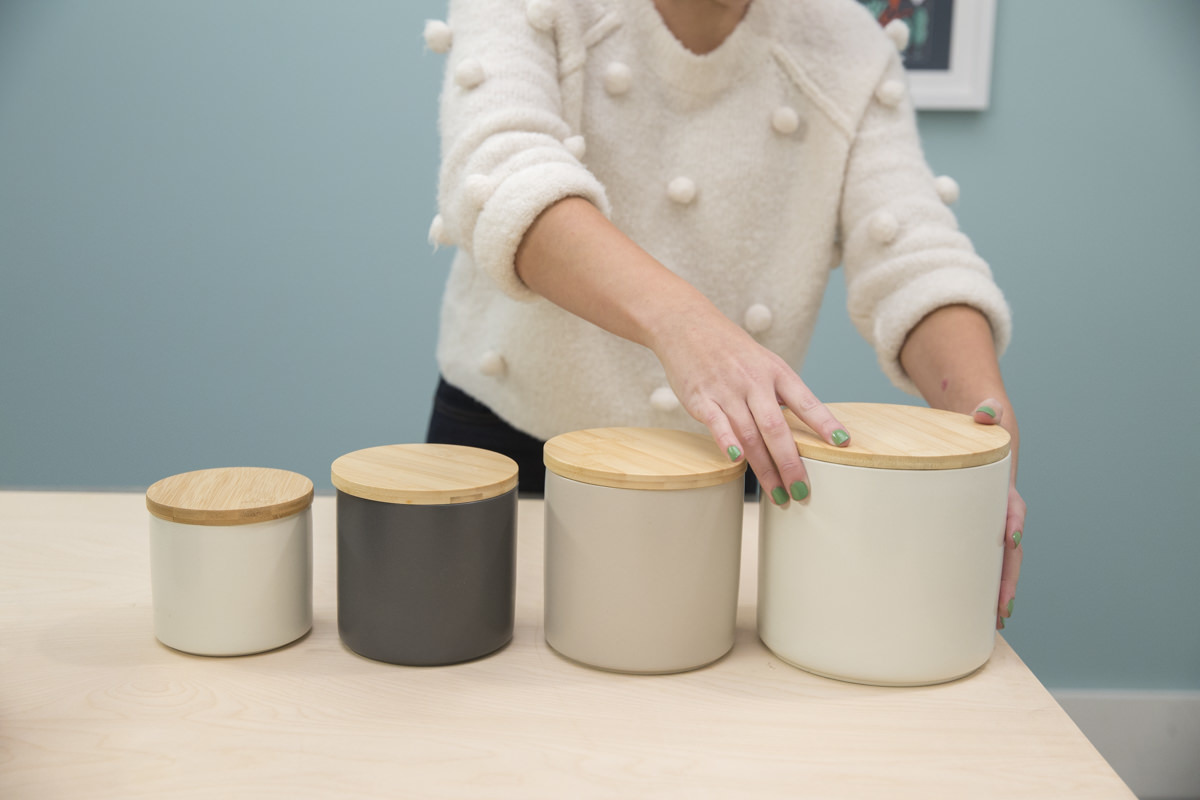
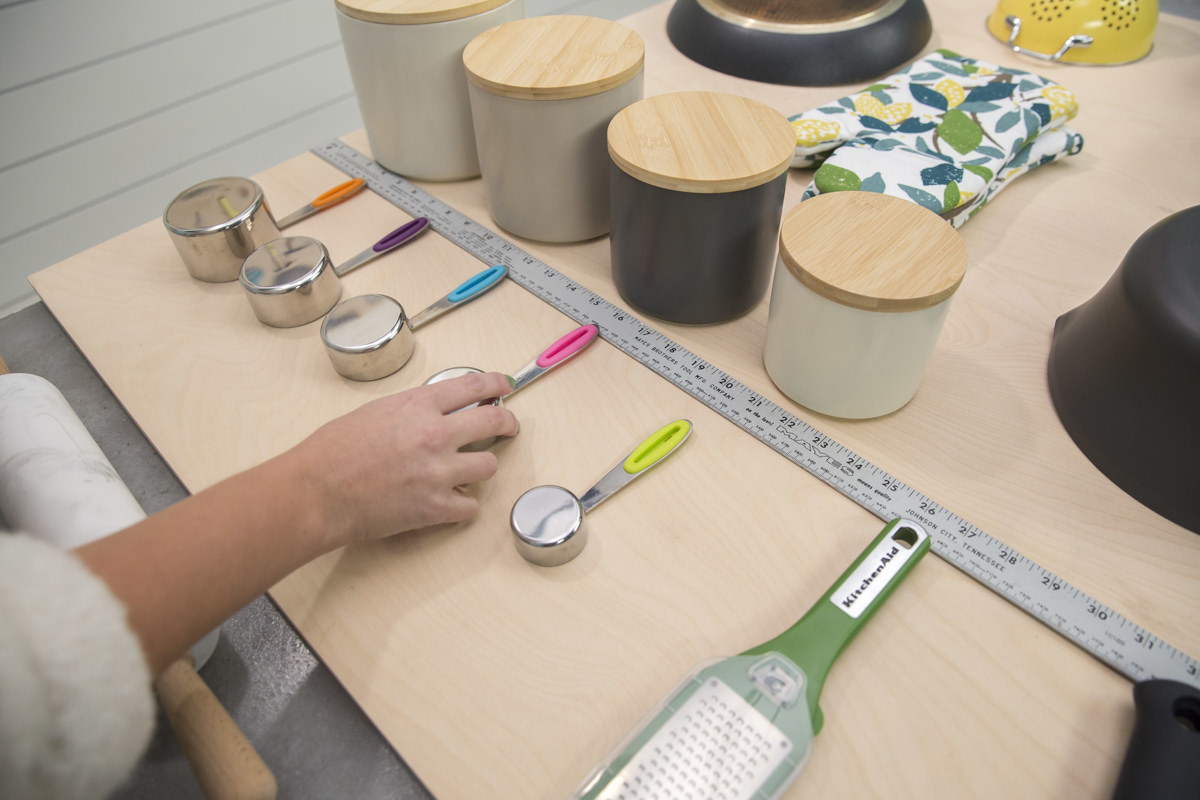
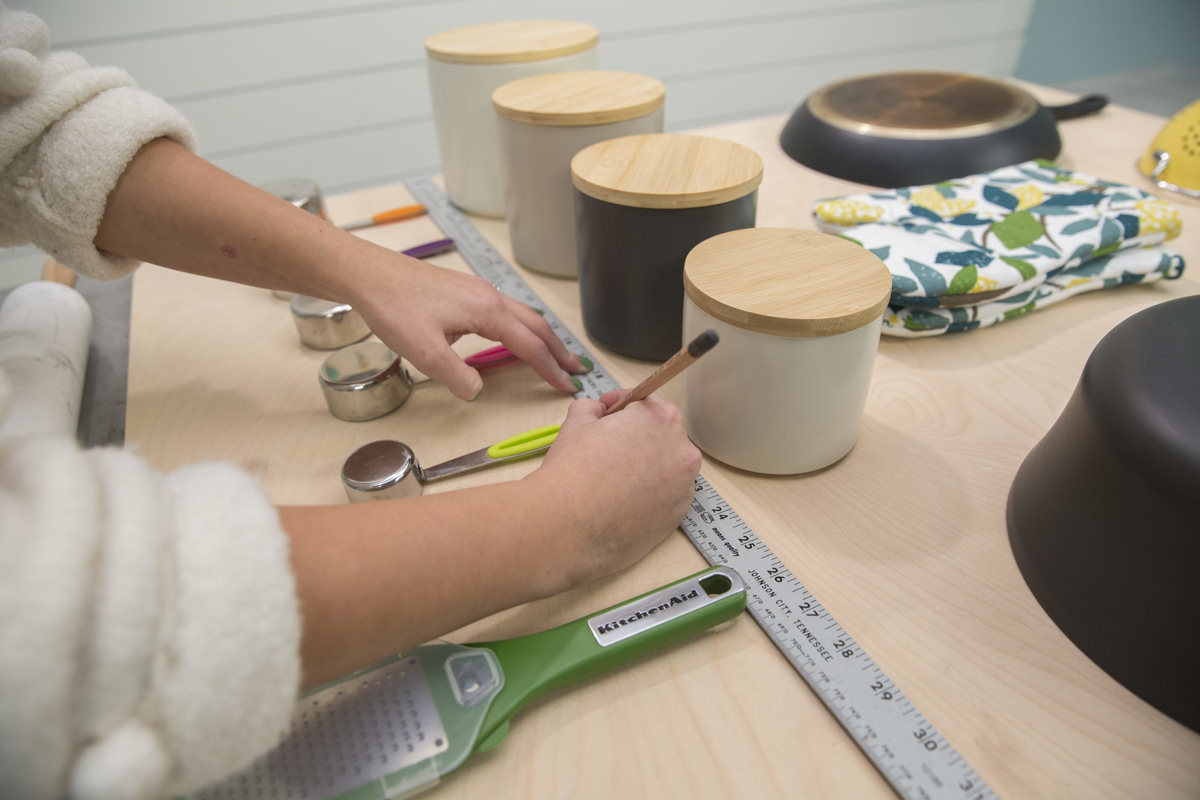
For the original pegboard, we created a series of holes and dowels, which the shelves rested on. This time, we took a more customized approach—actually building the pegboard around the specific items that will be displayed on it. For the most part, this process was part “visual guessing” (putting things where they look nice) and part strategy—the items we use most often went at the bottom of the board, and the lesser-used ones went up top. Then we figured out how everything would be attached—certain things rested on shelves, others hung from hooks or nails.
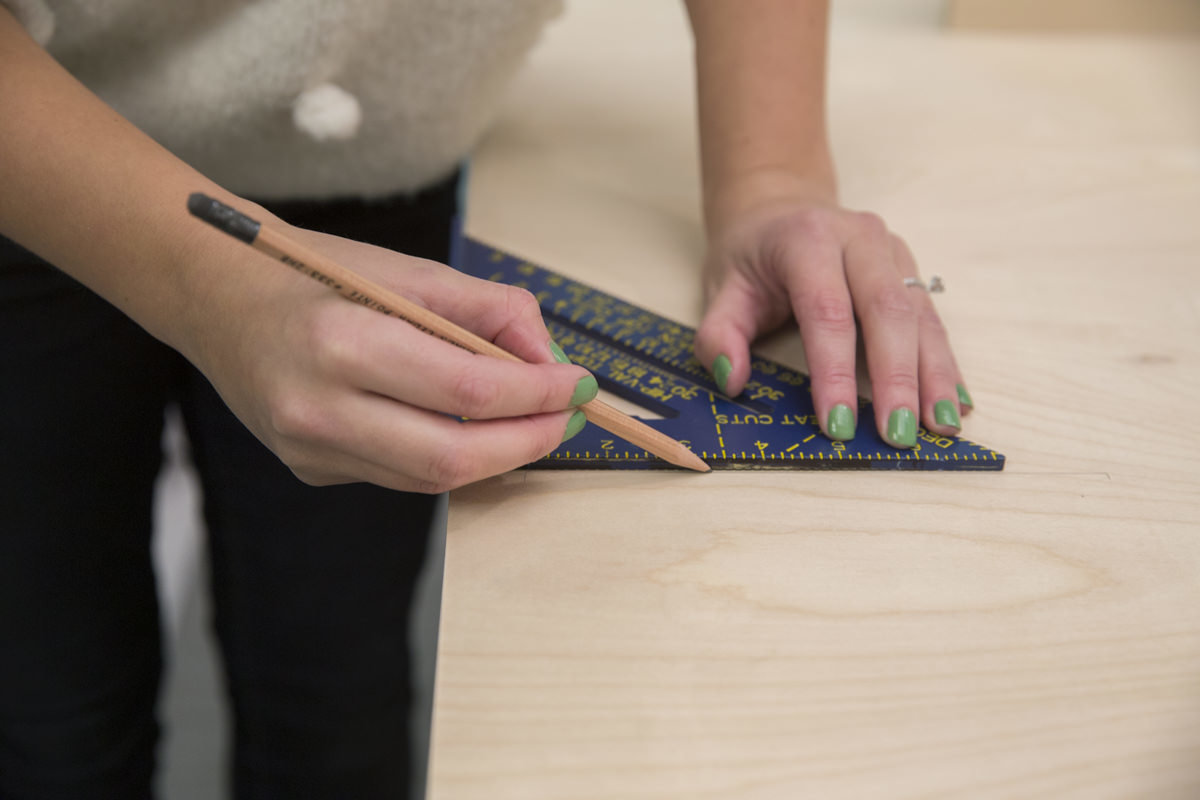
For the hanging items, I fitted the hook in the handle and then marked where the hook would attach to the board. For multiple similar items, I used a straightedge (a tape measure or framing square would also work) to make sure they would all be level and evenly spaced. I did the same when marking for the shelves.
Step 3: Attach Shelf
We cut a shelf for the canisters using a one-by-eight spruce board—it coordinates nicely with the plywood. The board comes in different lengths, so buy the length you need and cut into pieces as needed. You can hang the shelf with dowels (like in the original post from April 2014), or you can do a floating shelf, which is what we chose to do here—I love how clean it looks.
To get this look, we’ll be drilling into the back of the pegboard through to the board on the face.
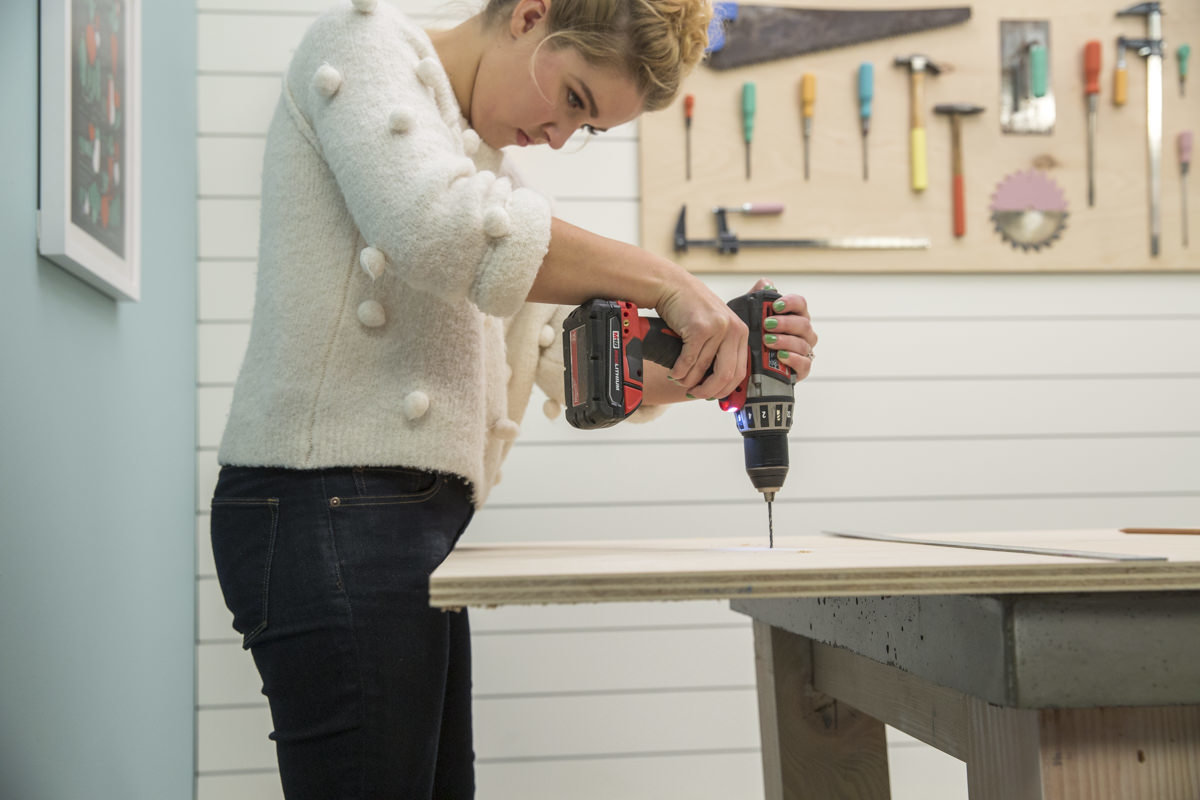
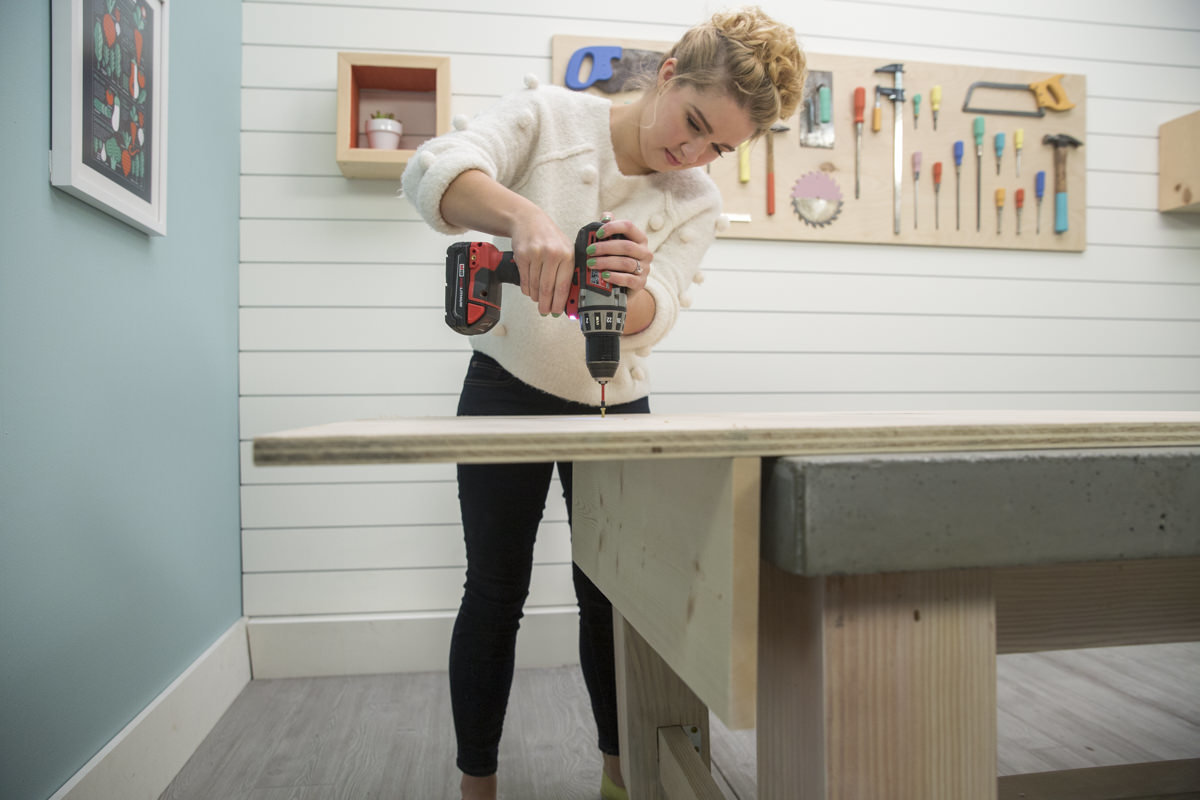
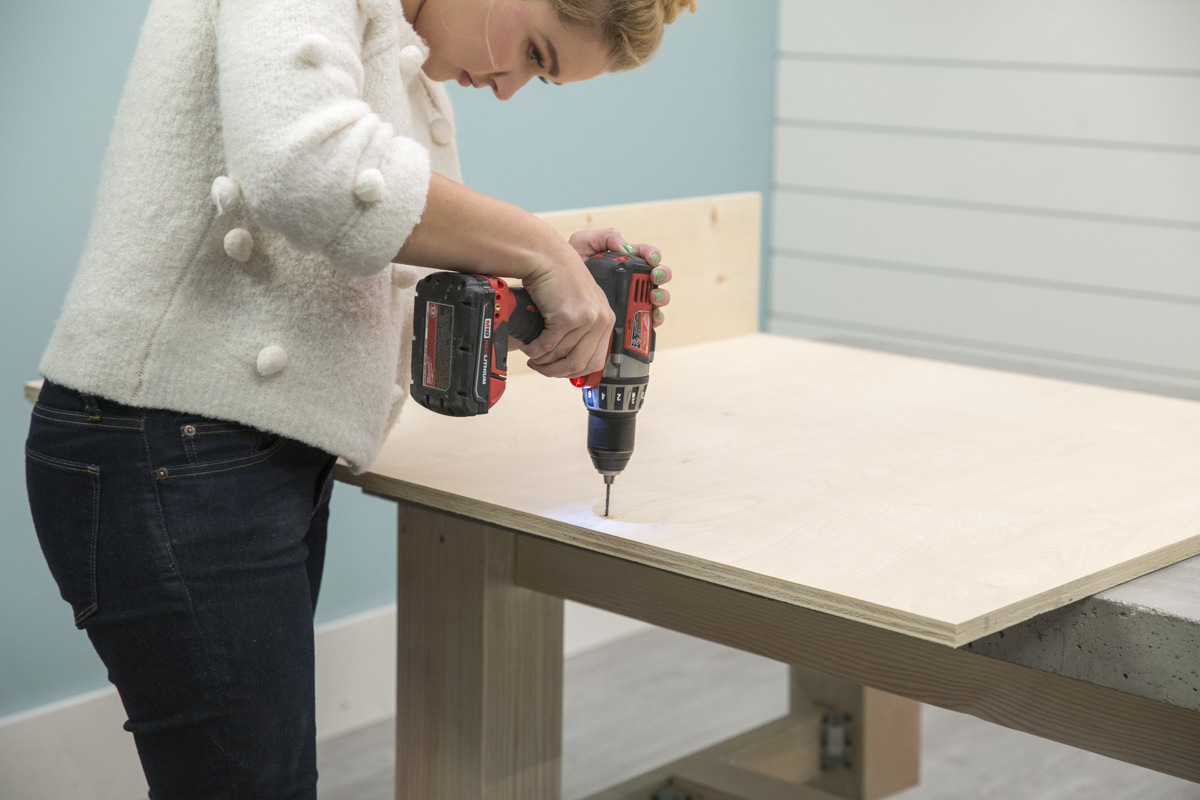
To start, mark drill holes in a level line on the face of the pegboard (you'll want four to five), then pre-drill. This is where we ran into a little bit of a challenge—when you’re drilling through, the wood grain has a tendency to lift up and then lay back down once you’ve taken the drill bit out, making the hole hard to find. When we went back for the real thing, we ended up drilling a screw in the completely wrong place and wound up with a hole in the middle of our pegboard, which was unfortunate. Thankfully, the fibers that made the hole hard to find in the first place also easily hid it. The point? Make sure you've located the drill marks correctly before you actually start drilling.
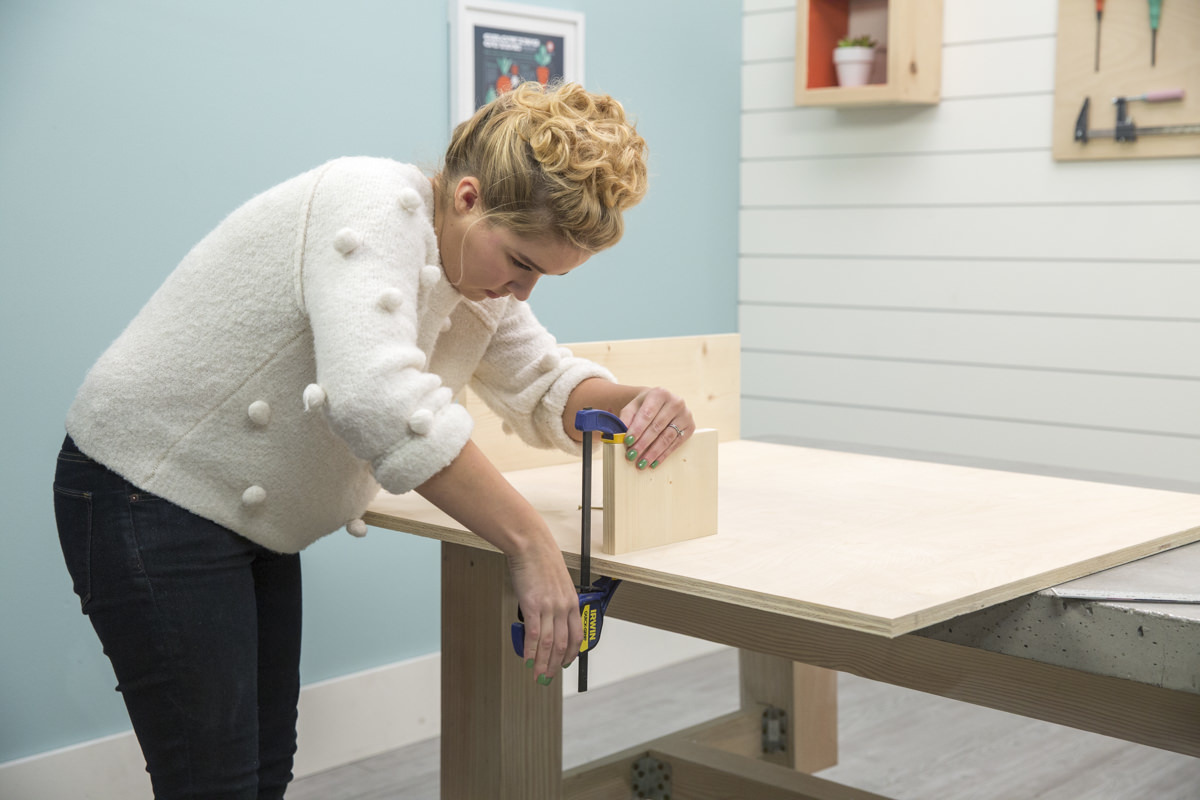
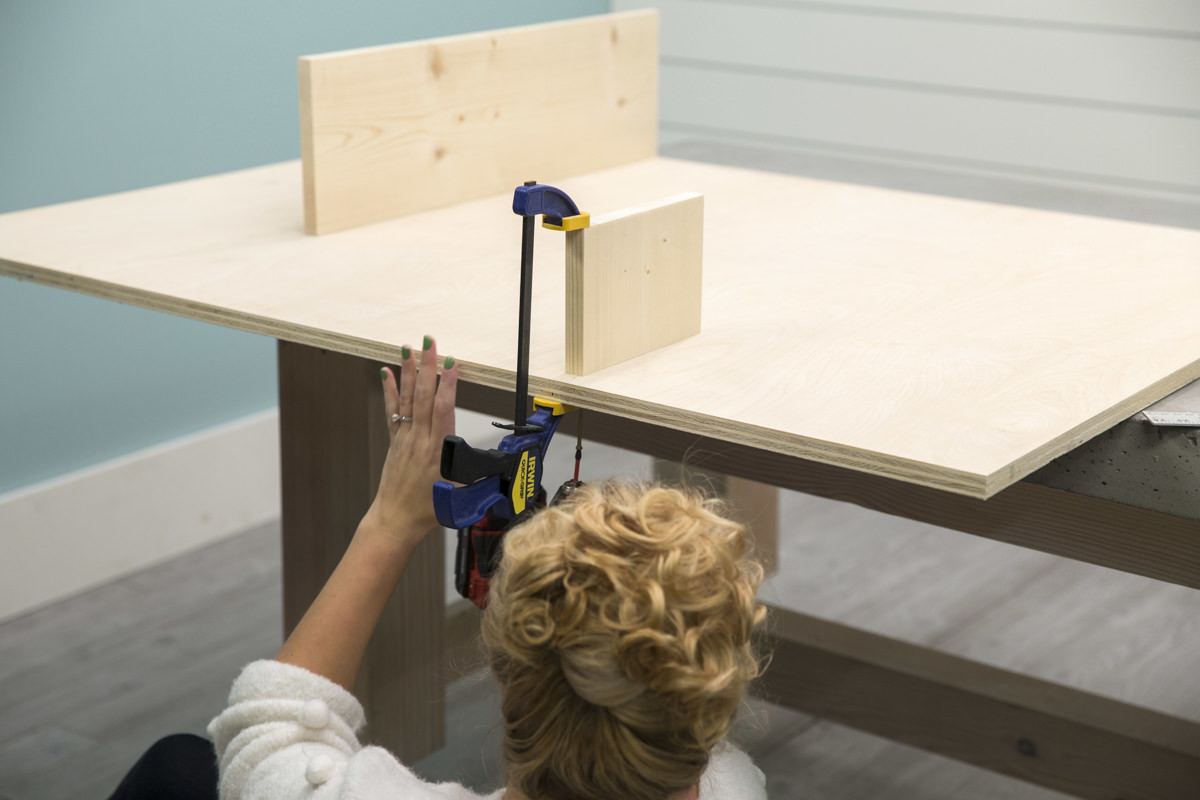
Once you’ve pre-drilled the holes, flip the plywood over (the back of the pegboard should face the ceiling) and drill a 3” screw through the back of the board and into the shelf. For this part it’s best to have another set of hands to hold the shelf in place.
We cut a 5" piece of the one-by-eight as a smaller shelf for a recipe box. We flipped this sideways so that end grain was facing the pegboard, then repeated the steps for the first shelf. This time, the pegboard was lying face-up and I didn't feel like flipping it, so I drilled from the bottom up. It’s easier drilling the other way, but I will say—it’s a great ab workout.
The great thing about this project is that it’s totally customizable. We used one-by-eight spruce secured with 3” screws because they were deep and sturdy enough for canisters full of flour and sugar. You can get away with something shallower if you’re storing something lighter.
Step 4: Attach Heavy Duty Hooks
The next step is really easy, because we marked everything in step one. Pre-drill your hook marks, then attach the heavy-duty hooks with 3/4" screws. I went to Dunn Lumber two or three times throughout the process to find the perfect hooks—there’s an aisle with tons of them, and I found that it was a trial-and-error process to get the right ones for everything I needed to hang. My advice? Buy a bunch and return the ones you don't use. We wound up using two heavy-duty hooks: one for the frying pan, and one for the sauce pot.
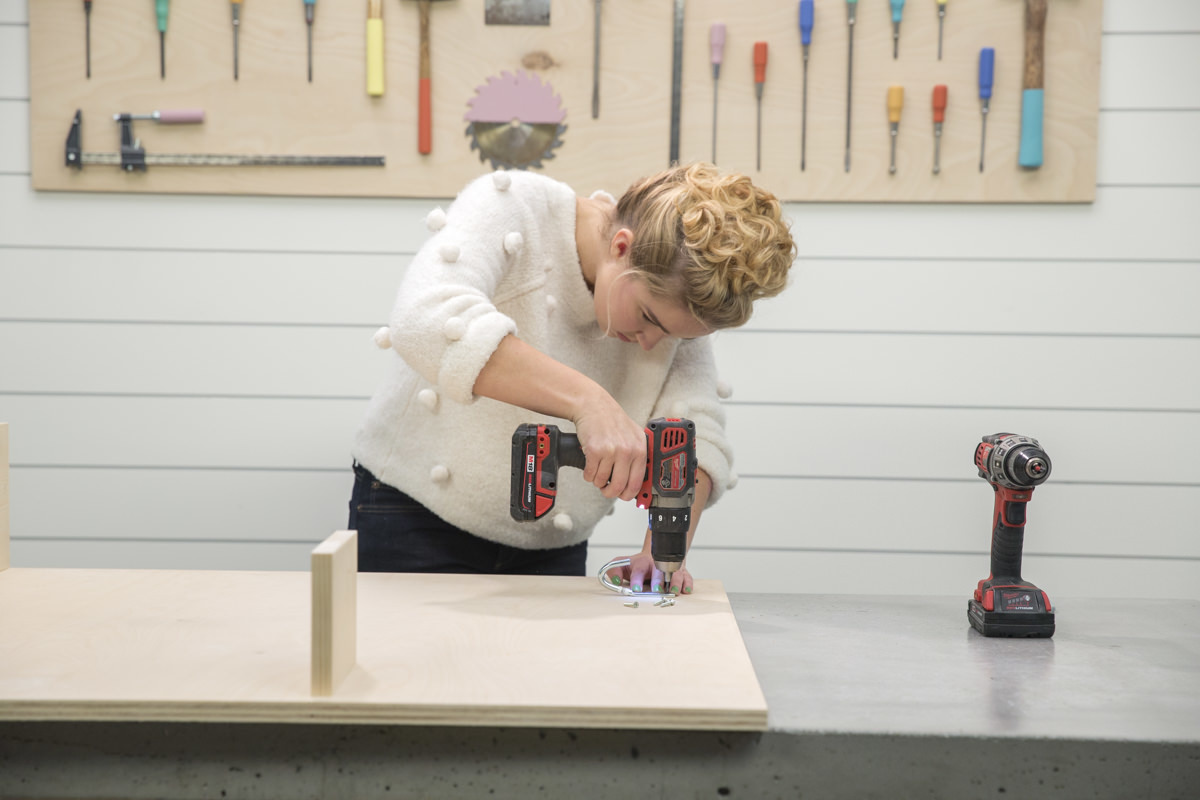
Step 5: Attach Small Hooks
For the small hooks, we chose an L-shaped hook instead of the classic C-shaped hook—they fit a wider variety of items and were easier to take things on and off from, especially when they’re high up on the wall. Pre-drill the holes, then screw in by hand. If it gets too tight (or if your hands get tired), use a pair of pliers to drive them home—just don’t go in too far or you’ll poke through the back.
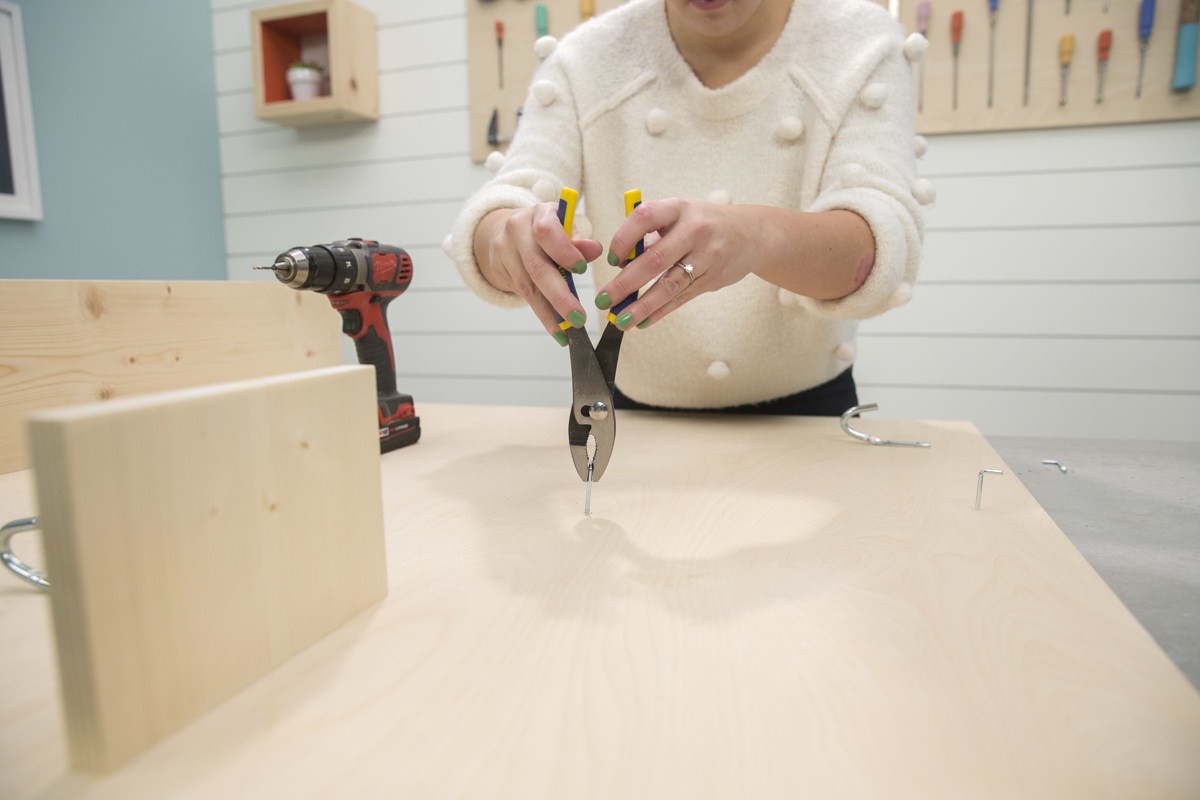
Step 6: Add Nail Hooks
When L-shaped hooks just aren’t quite right, go with nails. Nails worked best for hanging things with small holes in the handles such as measuring cups and a pizza cutter. Hammer in at will.

Step 7: Add Dowel Hooks
Dowels are great for resting things on or hanging things from—ours has a rolling pin resting on two birch dowels, and a sifter hanging from another dowel. Actually, I planned on getting a 3/4" dowel for this project, but the colors of the 3/4" dowels just weren't quite right and wouldn't have blended with the rest of the pegboard, so I ended up using 7/8".
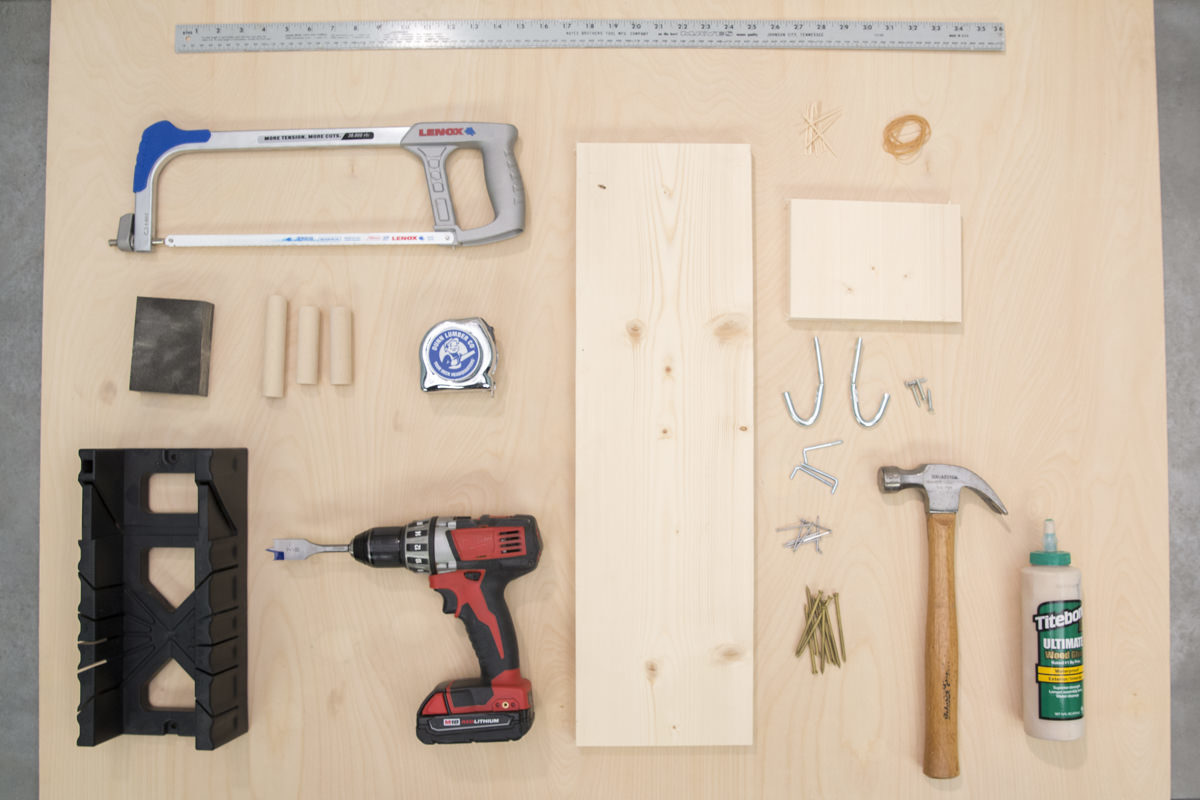
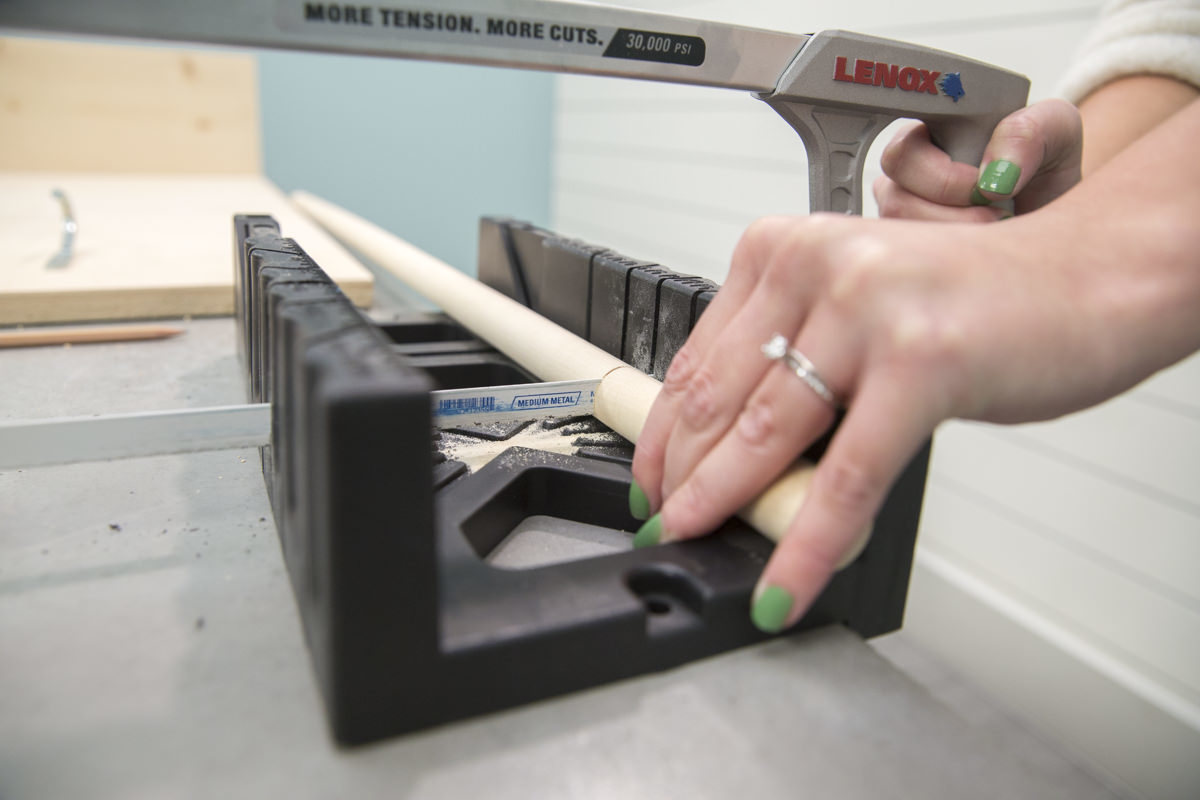
You can cut them with whatever you have on hand— chop saw, circular saw—we used a handsaw and a miter box.
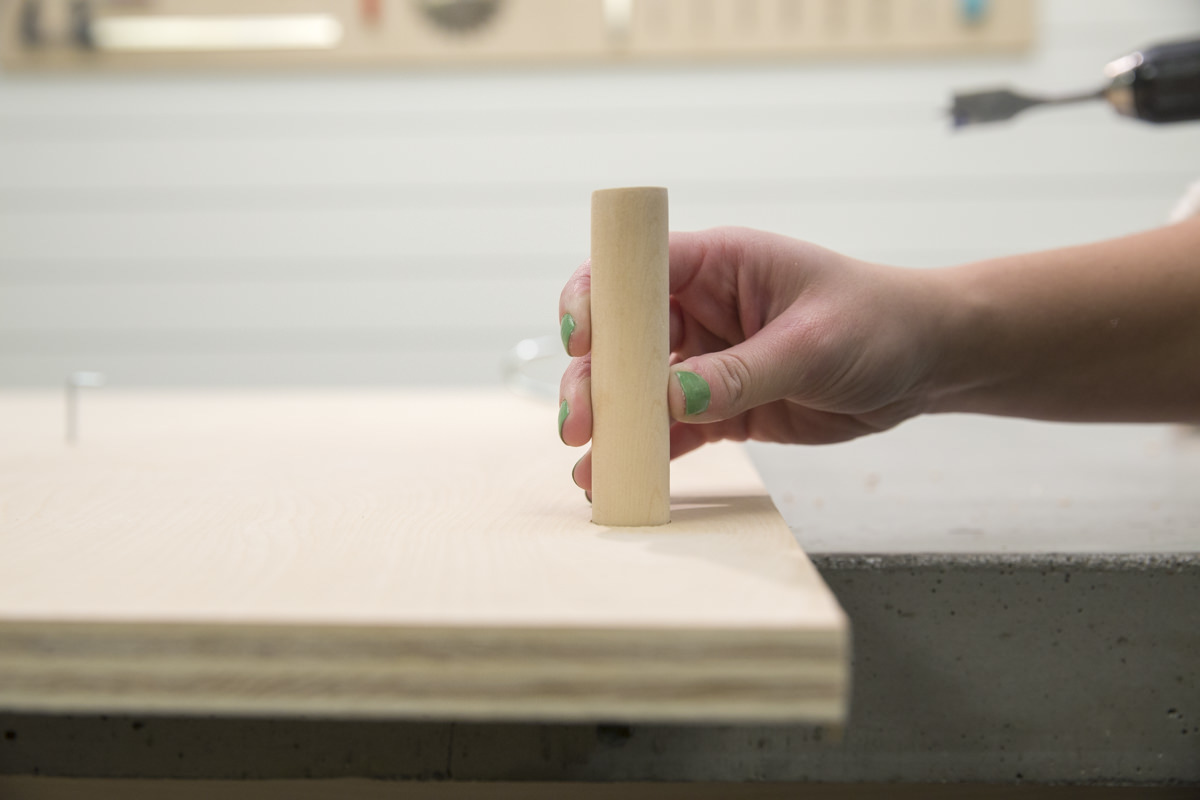
Following the marks made in the first step, drill using a spade bit the same size as your dowel. As you’re drilling, you’ll want to continue until the point in the middle breaks through the backside of the plywood but the rest of the spade bit hasn’t—the idea is that you’ll have a very thin back to your hole.
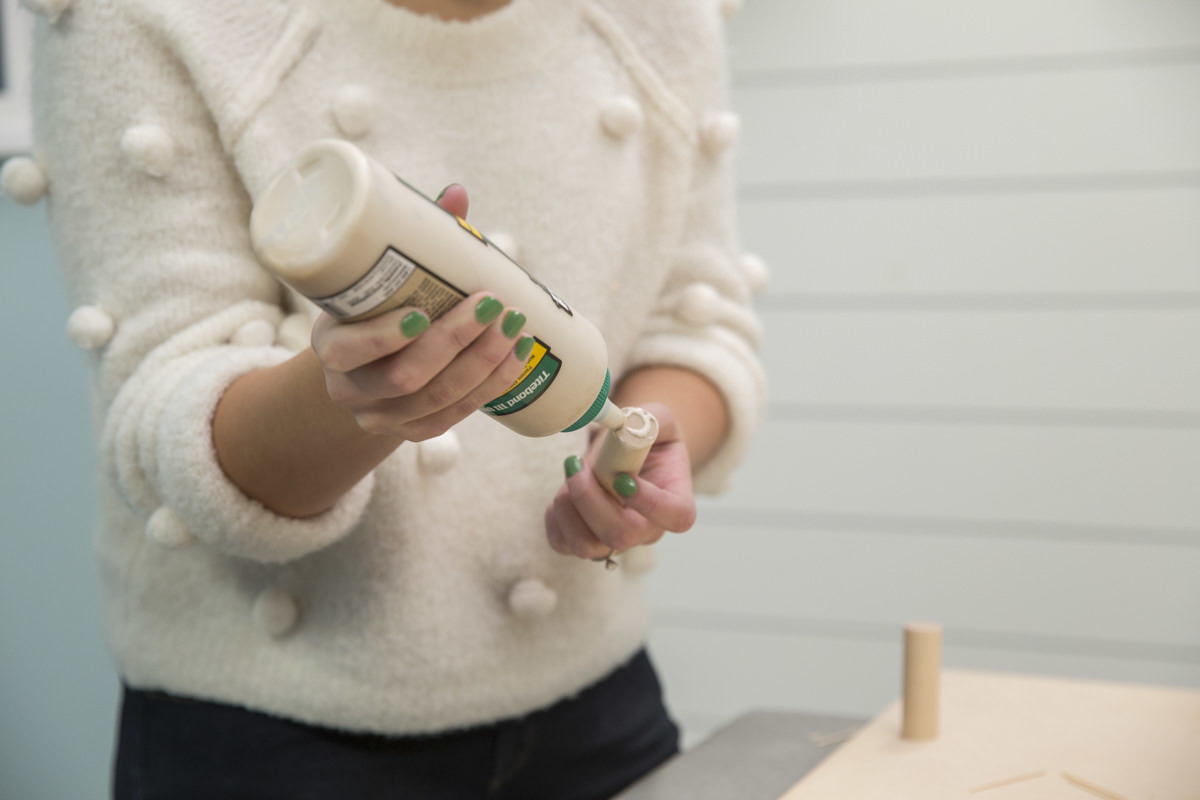
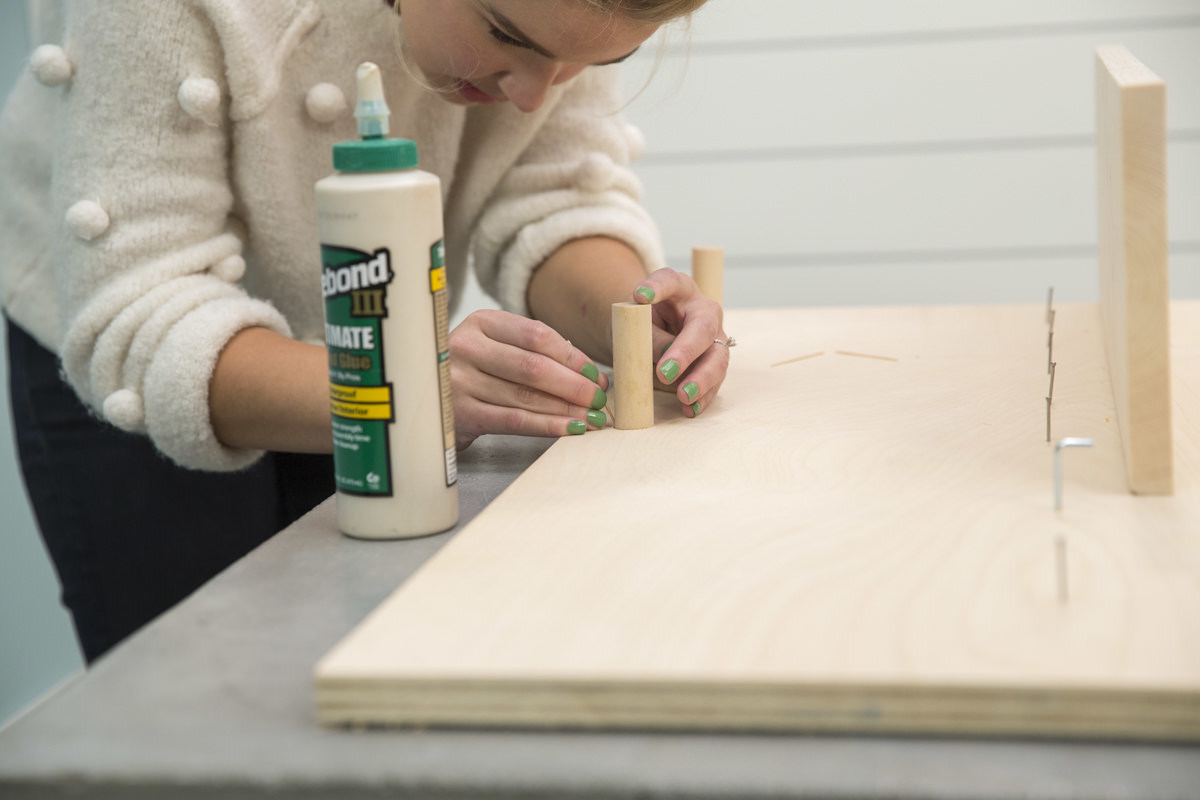
The advantage of having a back is more surface space for the next step—gluing, which anchors the dowel better. We used a waterproof wood glue, but any wood glue you have on hand will work.
The dowel should fit snug enough that it’ll hold itself while it glues, but if not, add Step 8.



Step 8: Add Toothpicks to Dowel Gaps
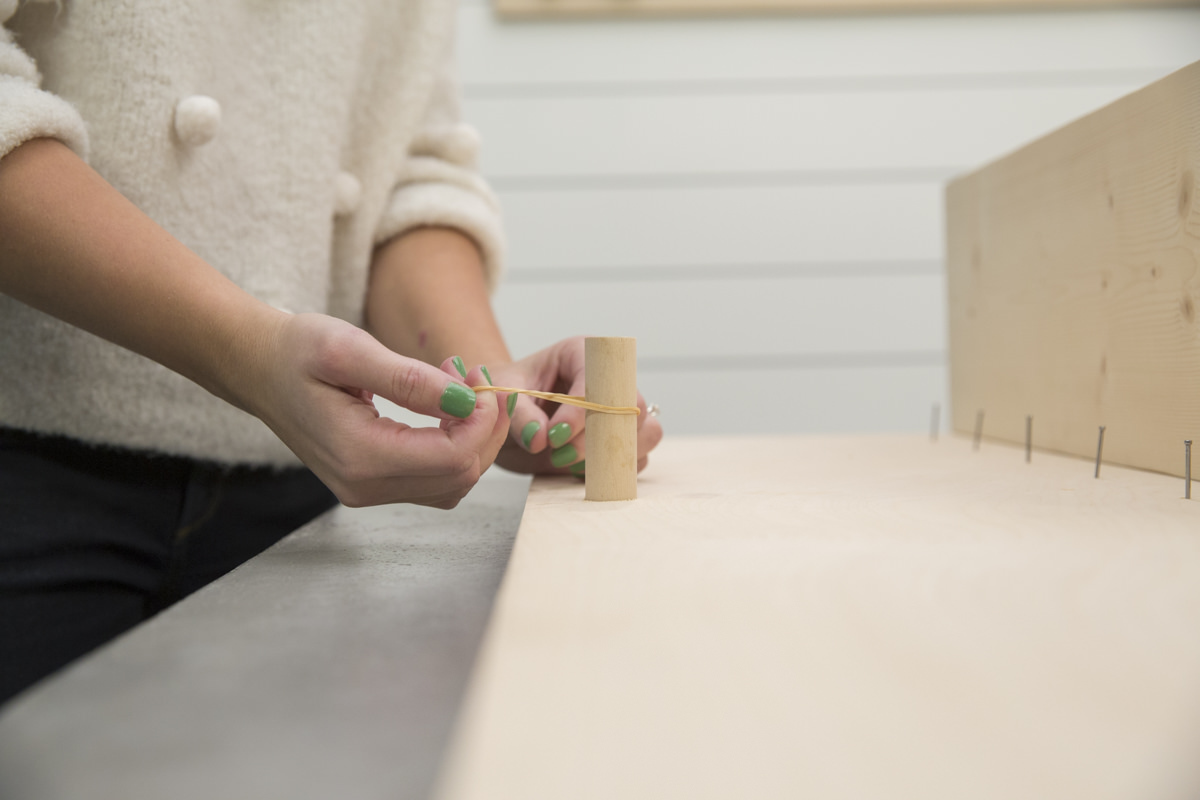
A dowel won’t always be the exact diameter it says it is, so if you find yourself with a dowel that’s slightly smaller than the hole you drilled, add toothpicks. To keep the dowels from tipping downward, put the toothpicks on the bottom side so they turn up slightly. This is important especially when hanging things that could slide off, like a rolling pin. For added security, wrap a rubber band on the ends of the dowels as a guard.
This project is one of my favorites, because it’s made my kitchen so much more organized—plus it’s beautiful and I love looking at it. It’s the perfect balance of form and function just bare, but you could also personalize it with paint, stain, contact paper, wallpaper—the list goes on. It’s a simple concept with endless directions you can take to make it fit your needs and aesthetic.
