


How to Make a DIY Pencil Holder

"Here's a great back-to-school project that any kid or adult can enjoy!"
Materials
Step 1: Gather Your Supplies
You'll need to precut your Douglas Fir. They typically come in several sizes ranging from 3' to 6'. Use a chop saw to cut an 8" piece of Douglas Fir, or have it cut to size at Dunn Lumber.

Step 2: Print and Cut Your Template
We created a template that you can download and print, which will help you get all the holes correctly spaced. Print out the template, tape it to your piece of wood, and use a sharp object or pen to mark where the holes will be. Then remove the paper, or it will tear as you drill.


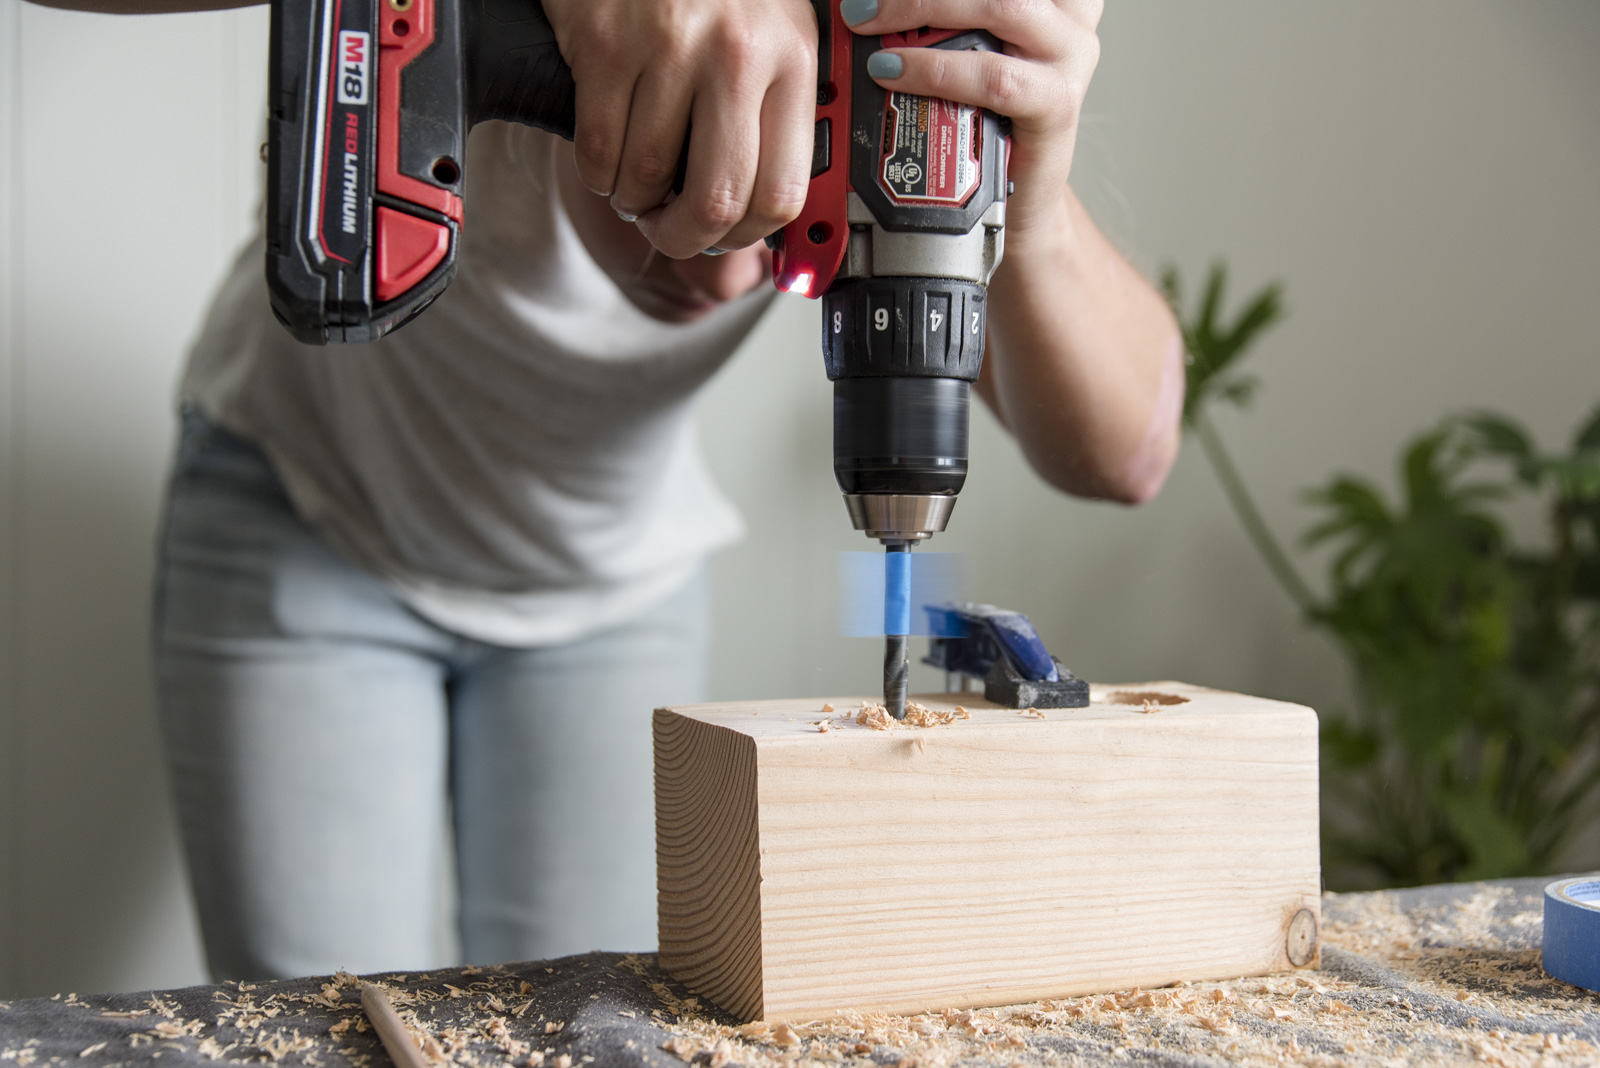
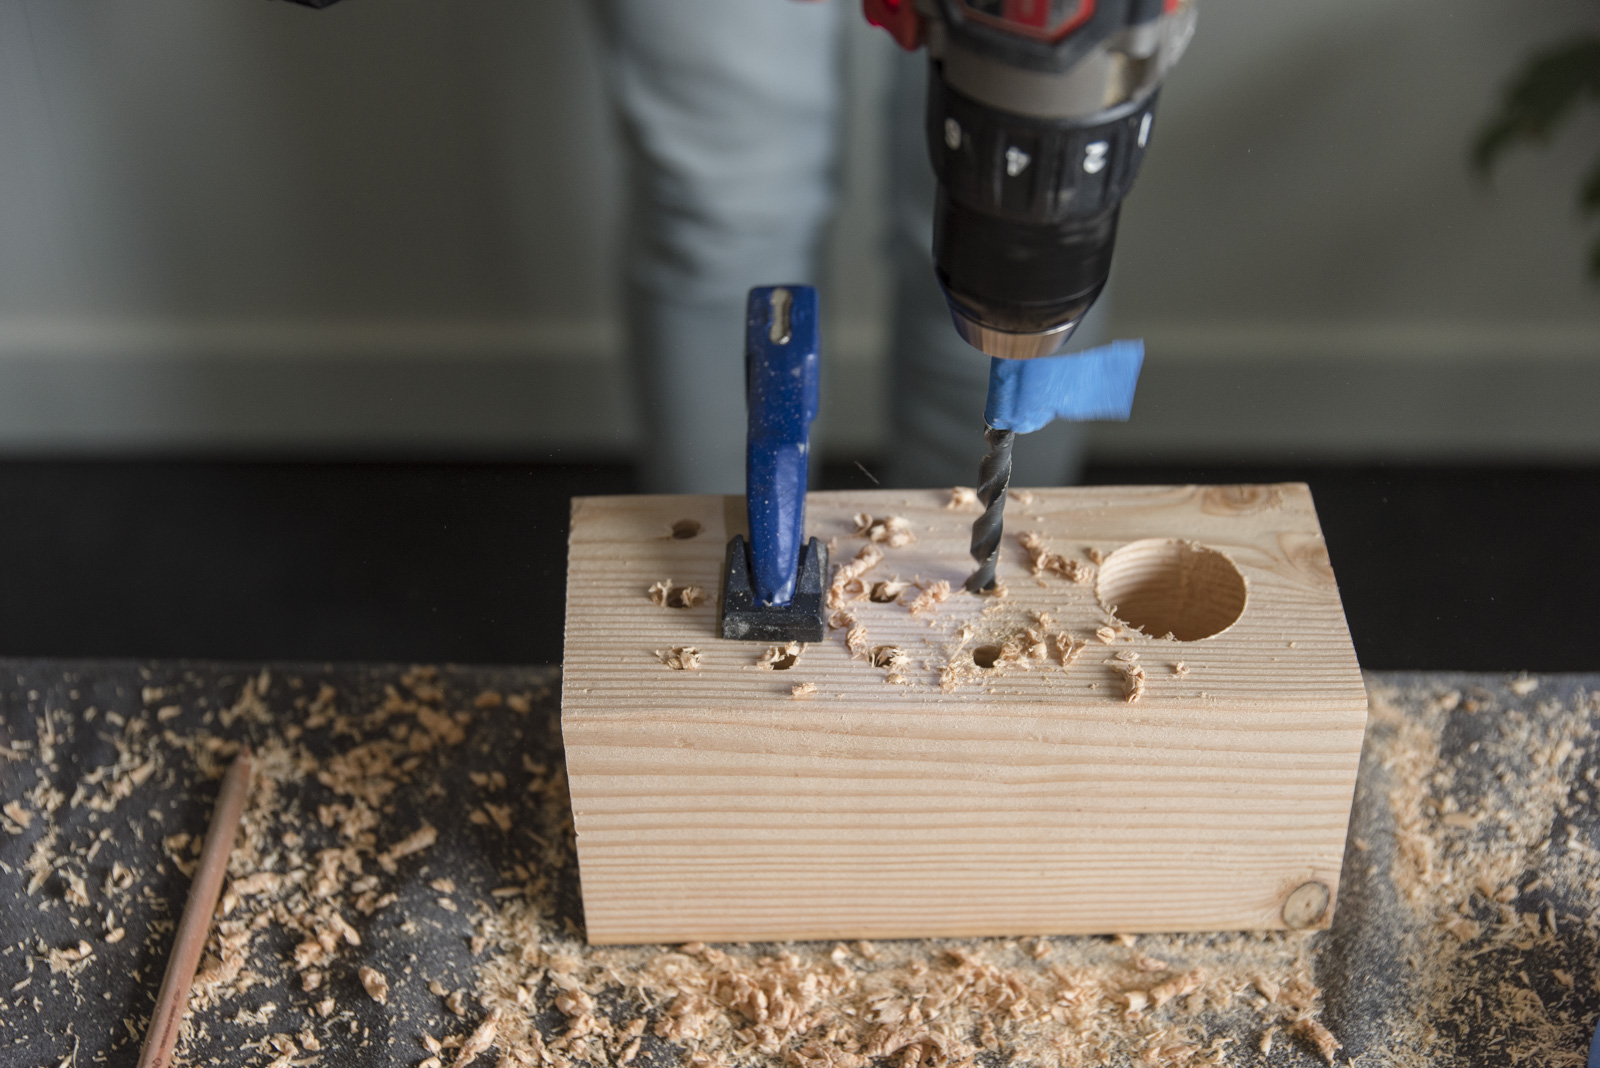
Step 3: Drill the Pencil Sharpener Hole
Now it's time to drill a space for your pencil sharpener (if you're adding one). We chose the pencil sharpener shown below. You can order it here or find one that fits your dimensions. Choose a spade bit that's slightly larger than the pencil sharpener. You'll be securing it with glue so it won't wiggle around. Attach the piece of wood to a sturdy surface using a clamp. Then, use a spade bit to create your hole for the sharpener. We measured the height of this pencil sharpener and drilled a hole just deep enough so that the top would rest barely above the wood. This way it could be unscrewed to empty the pencil shavings.


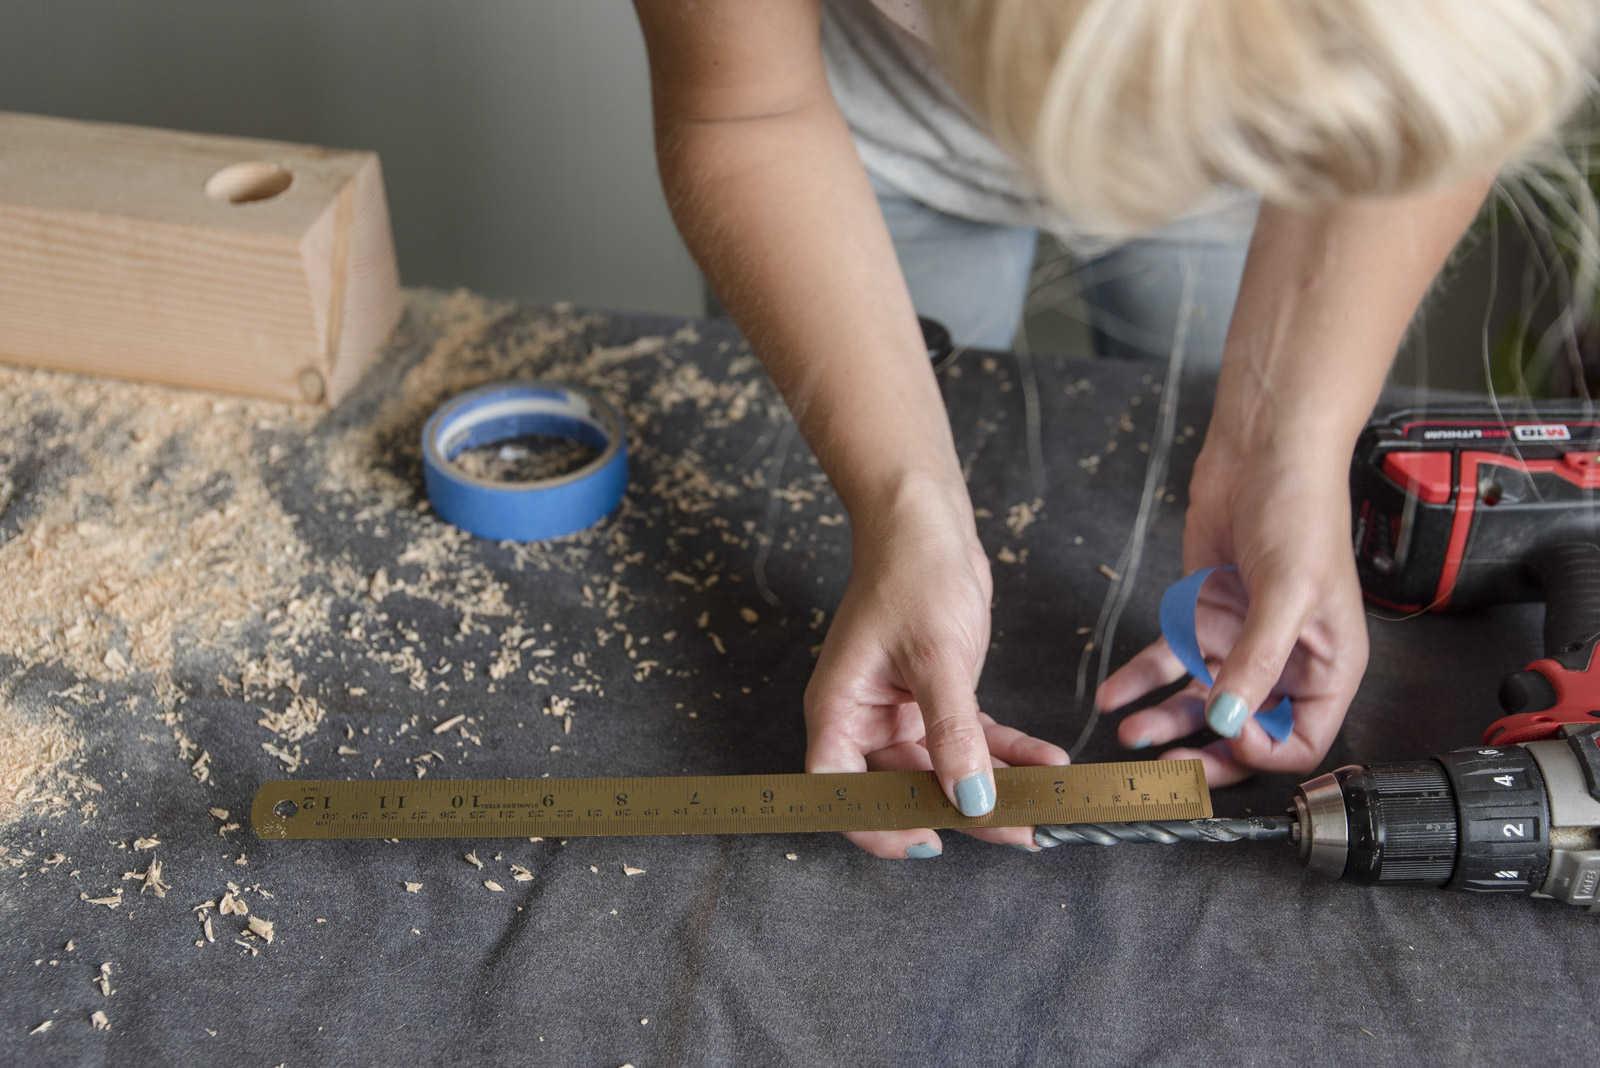
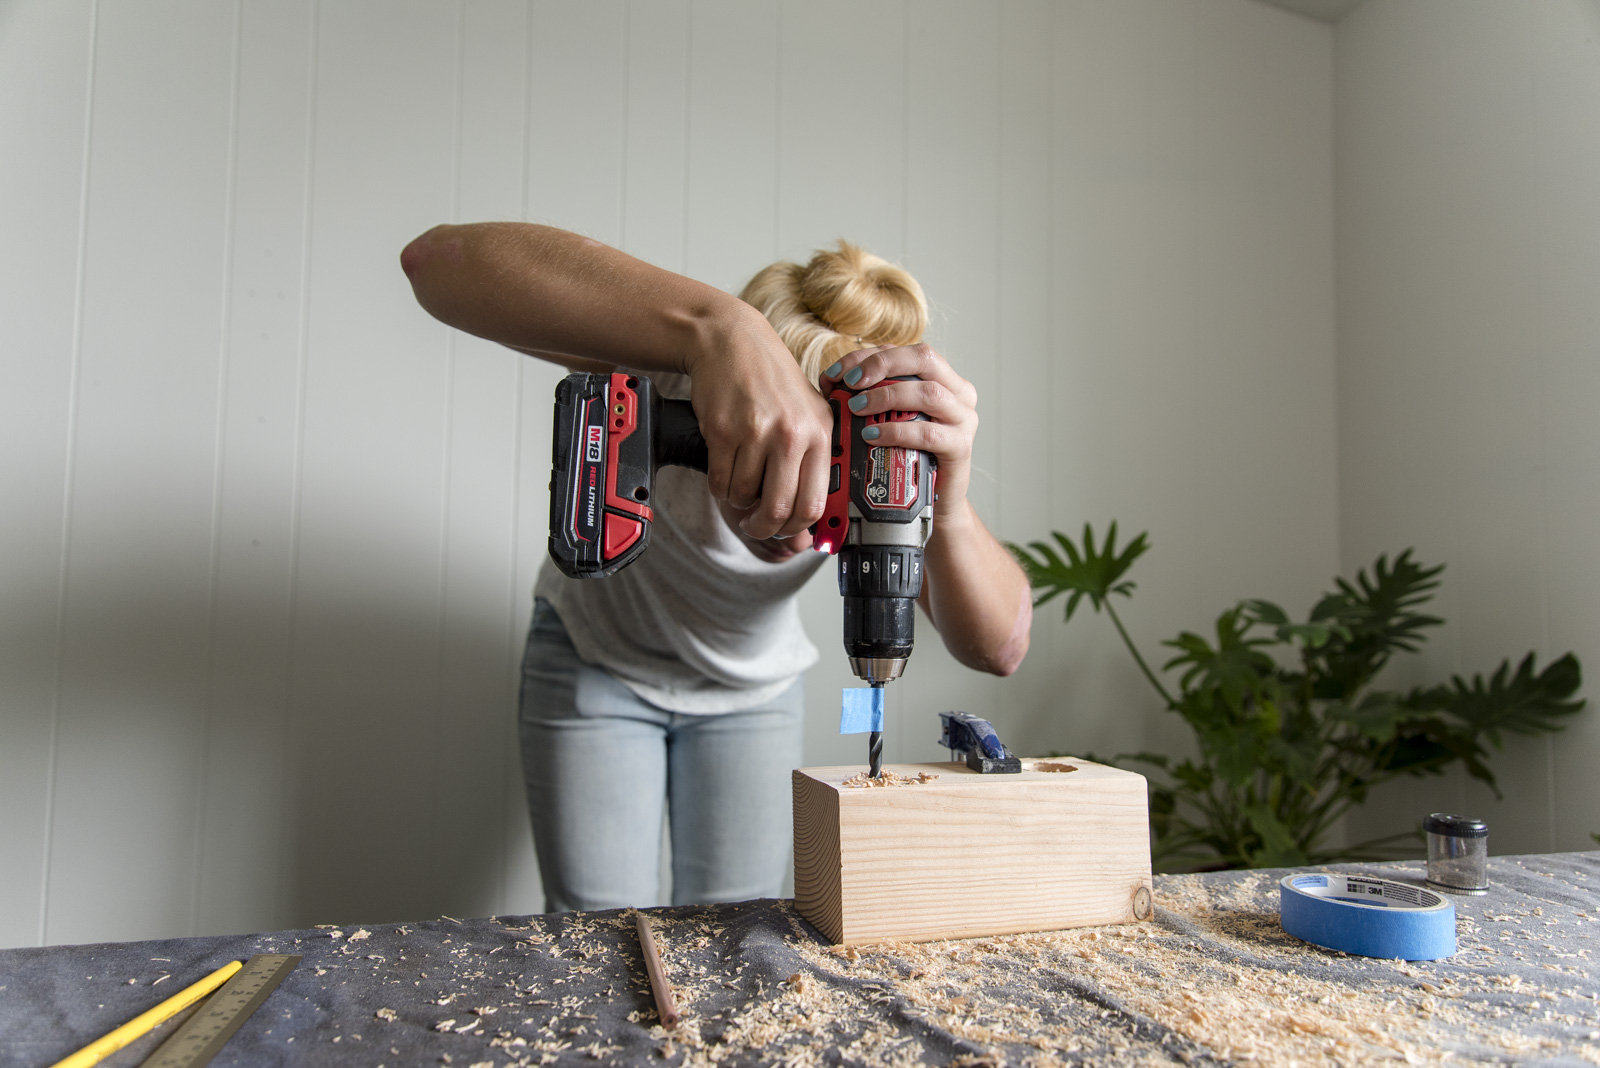
Step 4: Measure Length of Pencils
Now, it's time to drill holes for the pencils. We wanted our pencils to sit 2.5" deep, so we marked the length on our drill bit using painter's tape and drilled 12 holes following the imprints made from the template.

Step 5: Sand Surfaces
It was time to sand. We worked with 100-grit sandpaper, as the drilling left some jagged edges. As you sand, be sure to sand the inside of each hole to eliminate the chance of splinters.

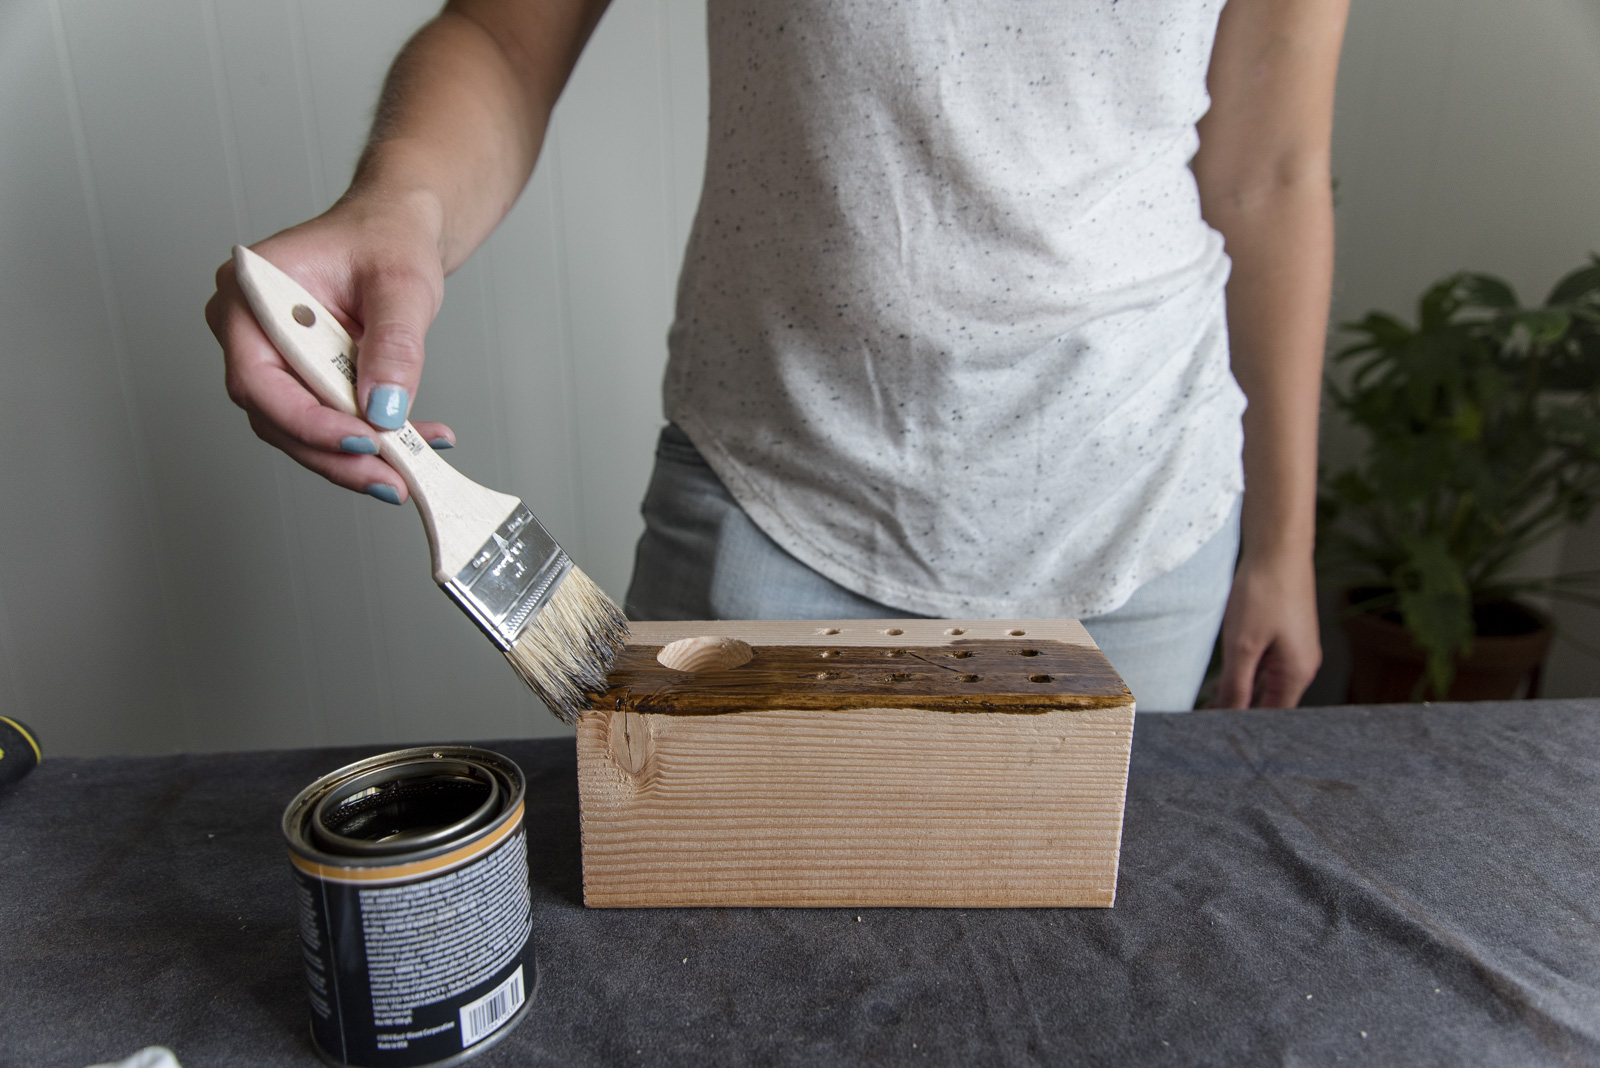
Step 6: Stain the Block
Then it was time to stain. We stained the block, allowed the wet stain to soak in for five minutes, and then wiped off the excess. Apply extra stain around the holes so that it runs down the sides and coats the inside of each hole. Be sure to read this article to ensure you correctly dispose of your oil-soaked rag!

Step 7: Glue Pencil Sharpener in Place
After you've allowed the stain to dry (refer to the instructions on your stain for details) it's time to secure your pencil sharpener. We used a hot glue gun to glue the bottom and set it in place (hot glue is what we had on hand, but some gel super glue might be a better option long term). This allowed for easy sharpening, but also meant we had to remove the pencils when we emptied the sharpener. This is where DIY-ing gets fun! You get to decide how you'd like your project to function. 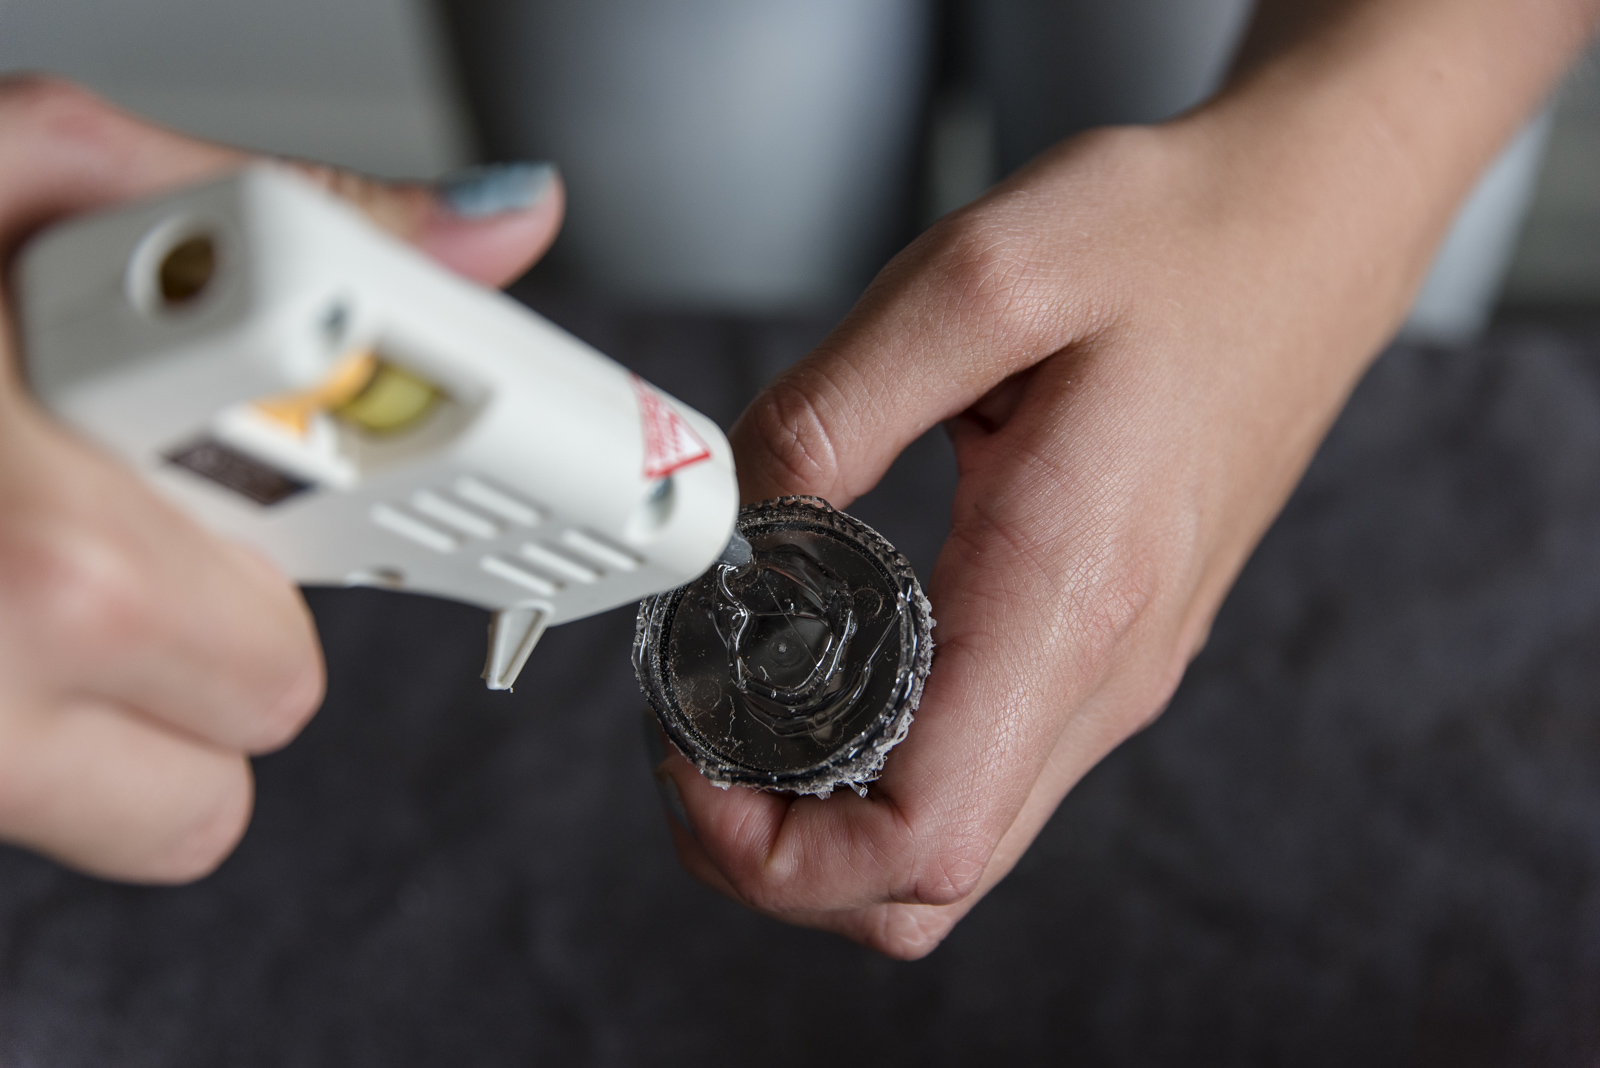
Step 8: Enjoy Your Pencil Sharpener
Now it's time to get organizing!


