How to Make a DIY Lightsaber

"May the force be with you!"
Materials
- 1" x 48" PVC Pipe
- 1" PVC Coupling
- 1" PVC Cap
- Four 2" Zinc Mending Plates
- 3/8" Clear Adhesive Vinyl Rounds
- Black Spray Paint (Gloss)
- Gold Spray Paint (Metallic)
- Red Spray Paint (Gloss)
- 1 1/4" Hose Clamp
- LED Flashlight
- Black Vinyl Threshold Door Insert
- 7/16" Zinc Nut
- 1/4" Dowel
- Amazing Goop Household Glue
- Super Glue Gel
- 2" Foil Tape
- T8 48" Light Blue Fluorescent Light Tube Guard
- Canvas Drop Cloth
- Plastic Drop Cloth
- Disposable Gloves
Star Wars: The Force Awakens came out earlier this year, so we couldn't resist celebrating Halloween with a Star Wars-themed costume, complete with a pretty realistic looking lightsaber. After reading about lightsabers, we discovered a lot of the props from the early movies were made from things you'd easily find in your local Dunn Lumber, like common plumbing and hardware.
Challenge accepted.
We contacted a friend of ours who loves doing cosplay and builds amazingly technical costumes out of hardware store products. Following a trend we saw around the internet, we ordered colored fluorescent light bulb guards for the lightsaber blade. The rest came together from wandering up and down aisles in Dunn Lumber and comparing products on the shelves to pictures from the movies. We succeeded in our goal of every item coming off our own shelves (aside from the colored tube) and you'll have to be the judge on appearance, but we think we succeeded with that goal too.
Step 1: Cut PVC Pipe
Cut the piece of PVC pipe to 9 ¾” long with a chop saw or hacksaw. Cut coupling at a 30° angle with a miter saw or hacksaw (putting the coupling on the end of the pipe will give you something to grip while cutting). If you cut with a power saw, cut very slowly and be careful because the plastic has a tendency to break.

Step 2: Clean & Sand
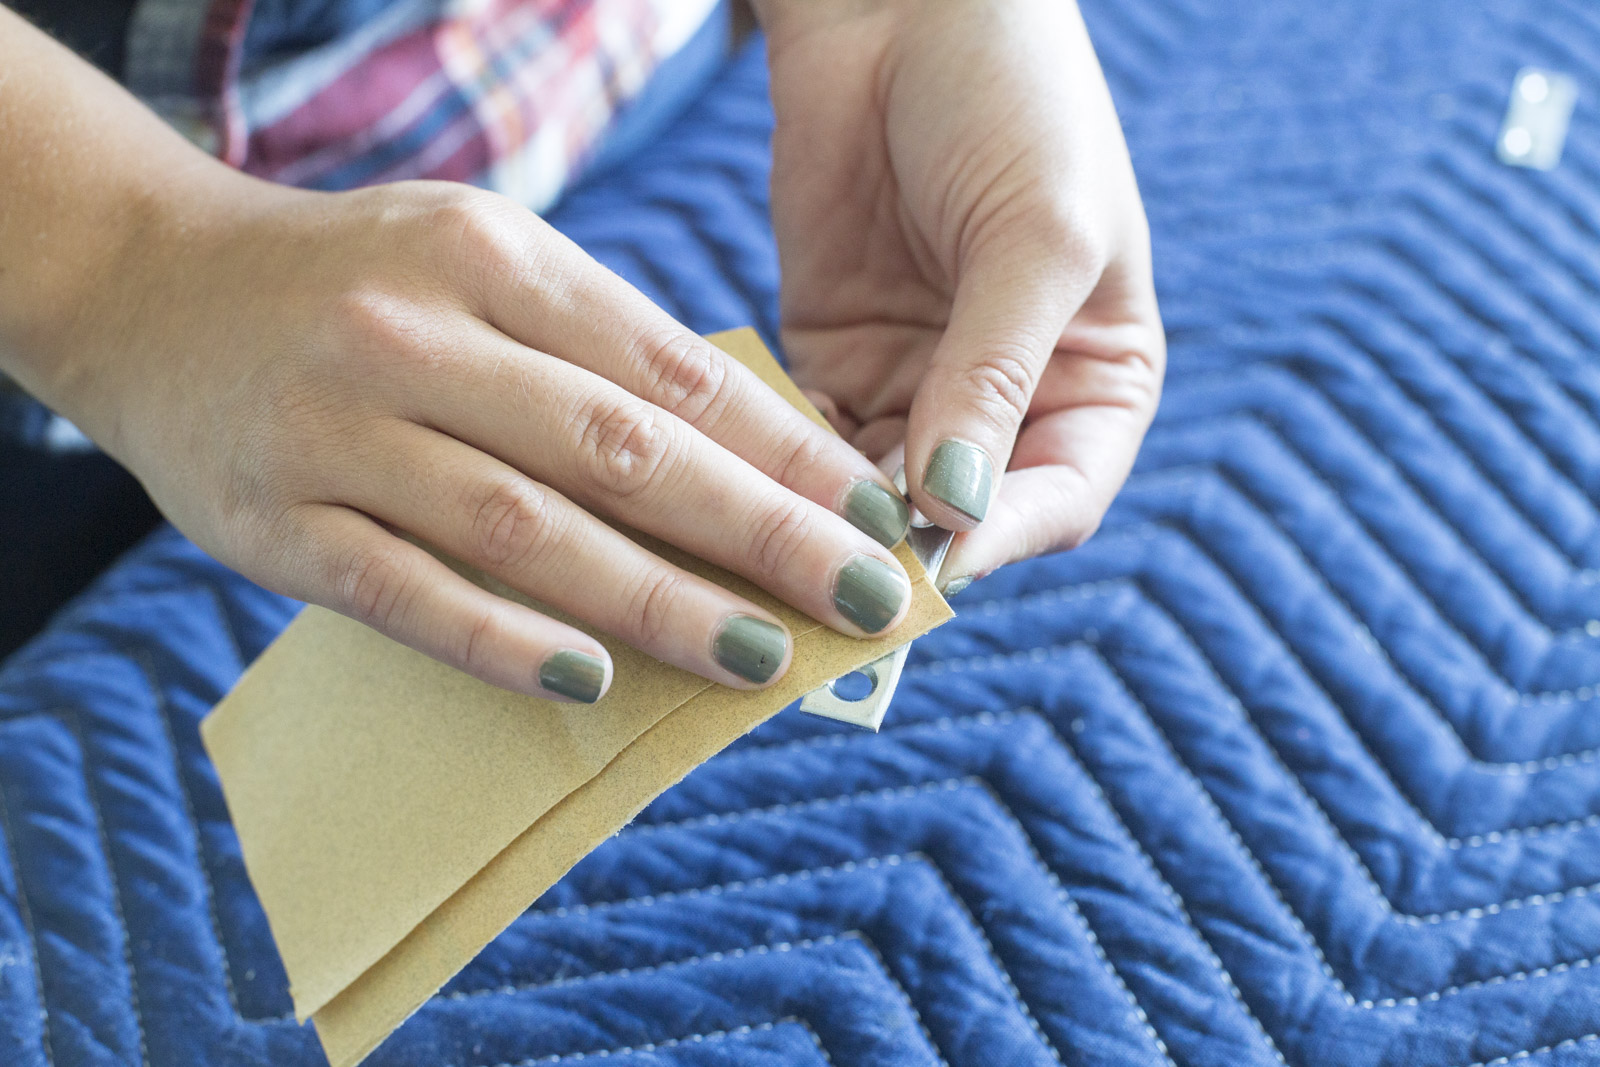
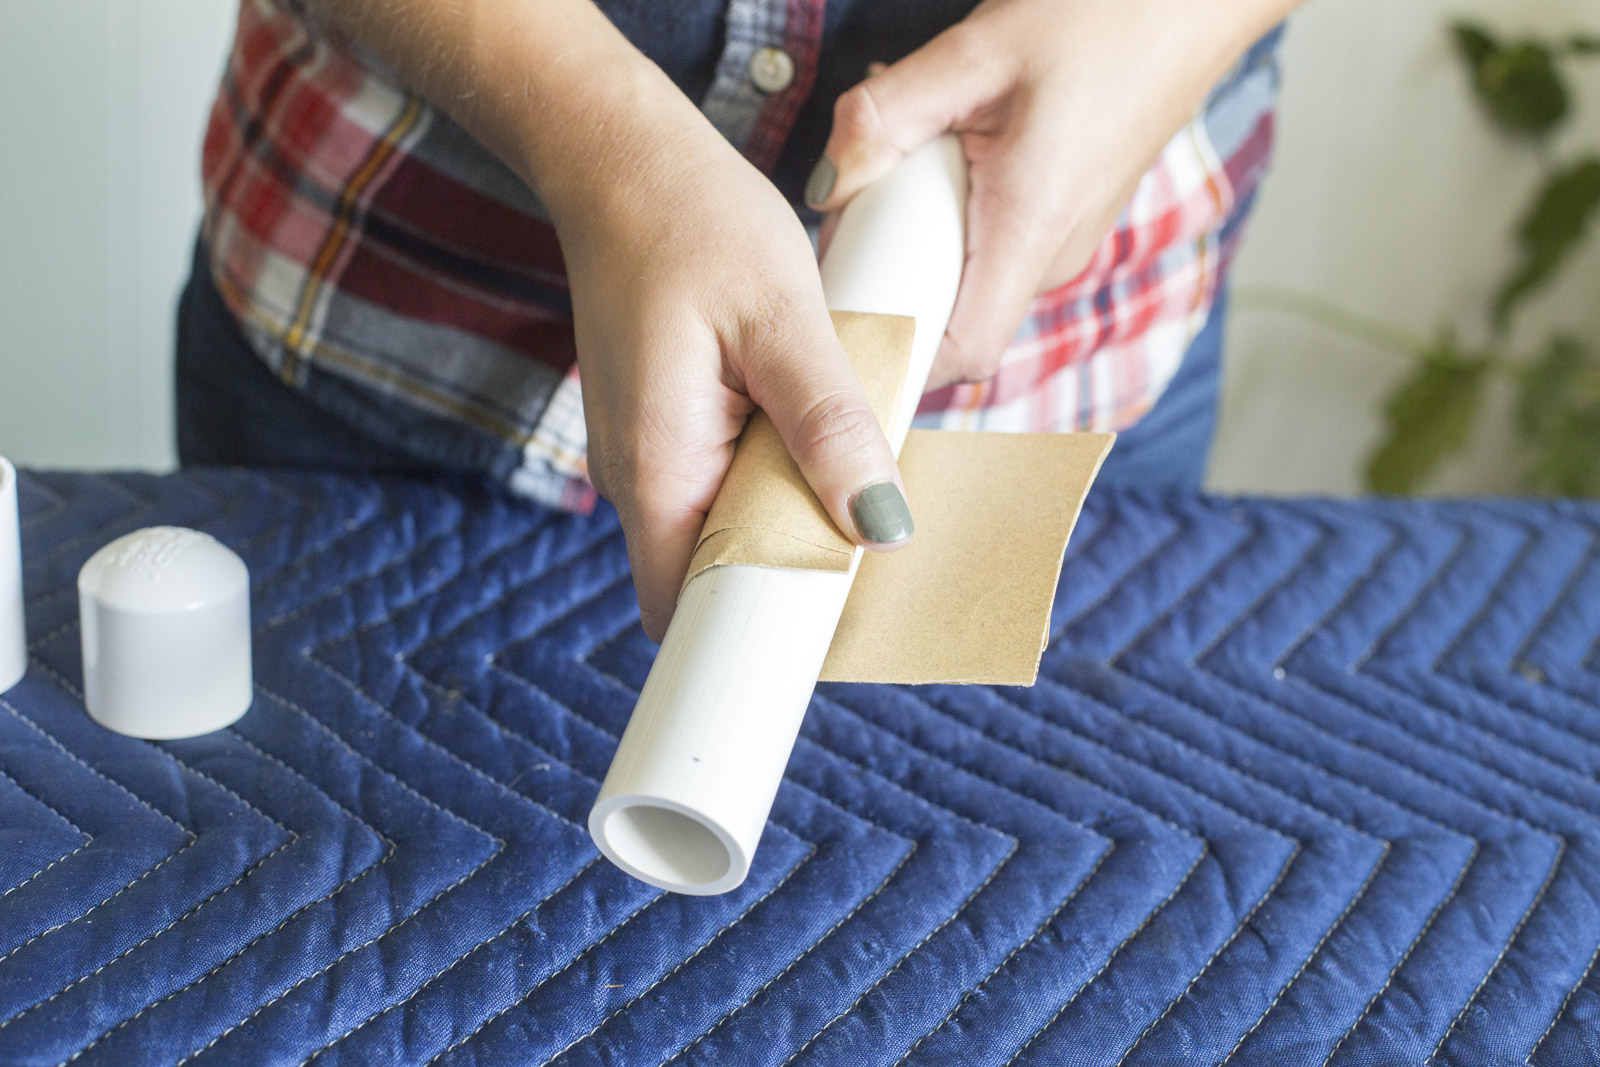
Prep materials for painting by first cleaning and then sanding the pipe, cap, and coupling with 220-grit sandpaper. Use lighter fluid or Goof Off to remove any sticker residue, but make sure you wash it off completely before painting. Also sand the 2” zinc plates. Sanding gives a smooth surface texture, allowing the paint to grab on to something.

Step 3: Apply Paint
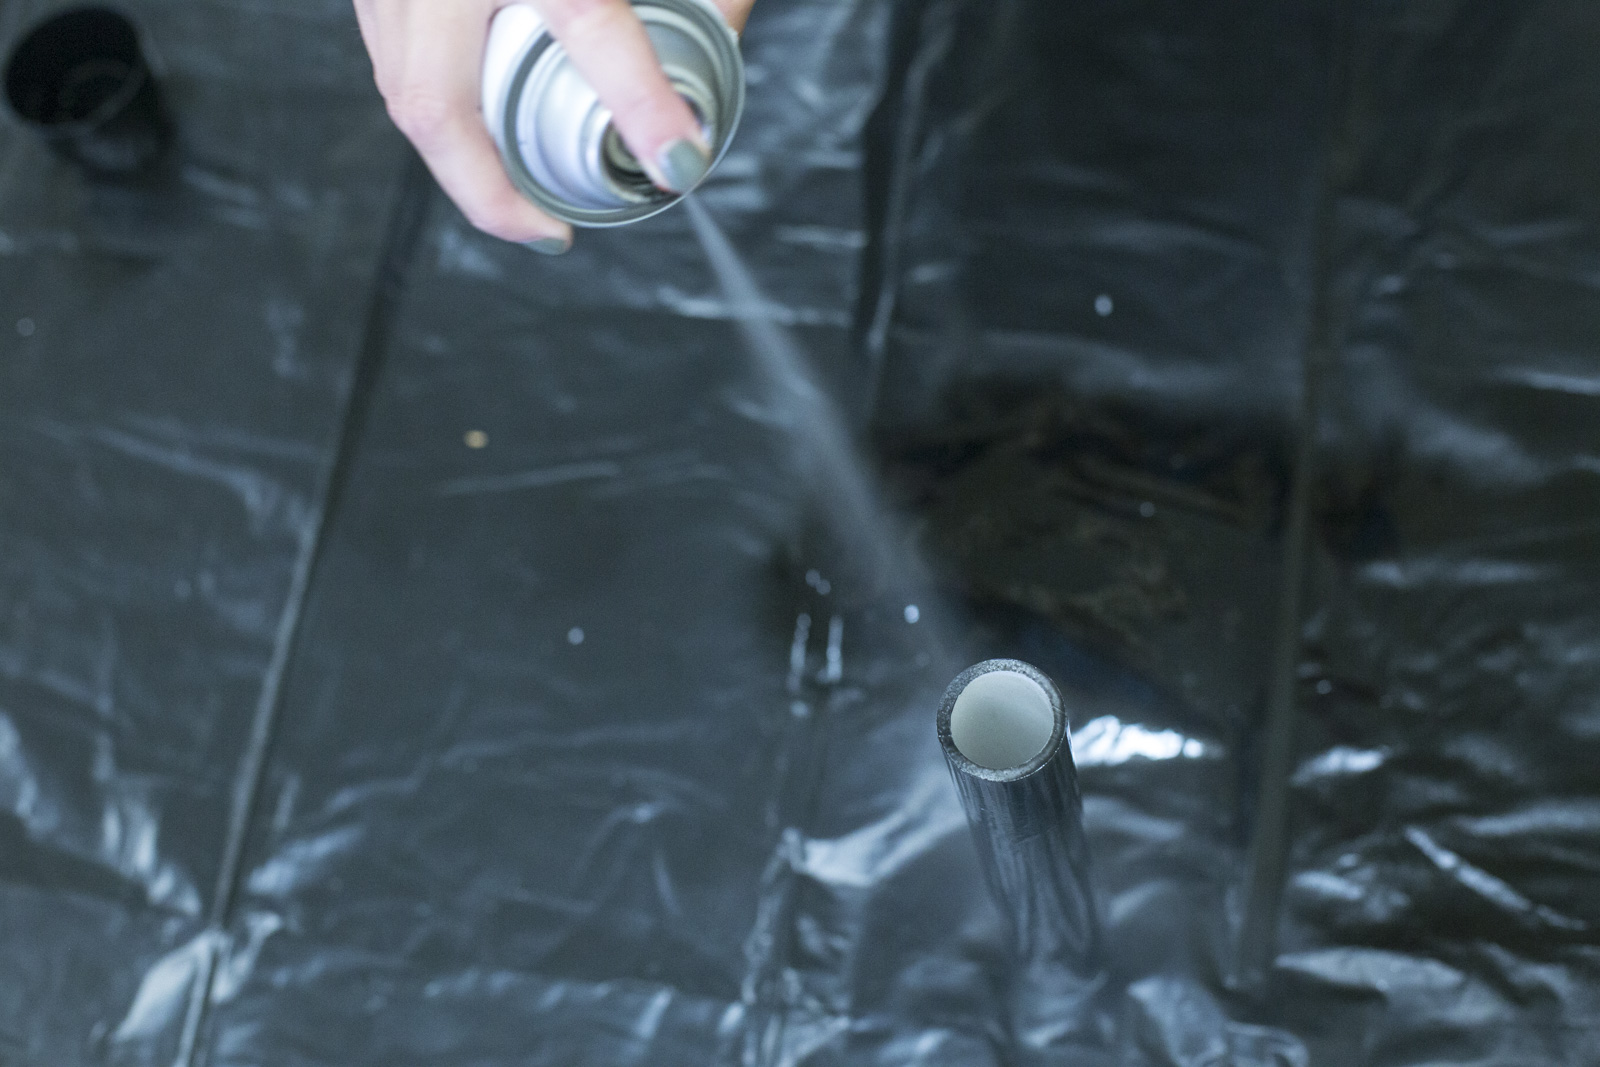
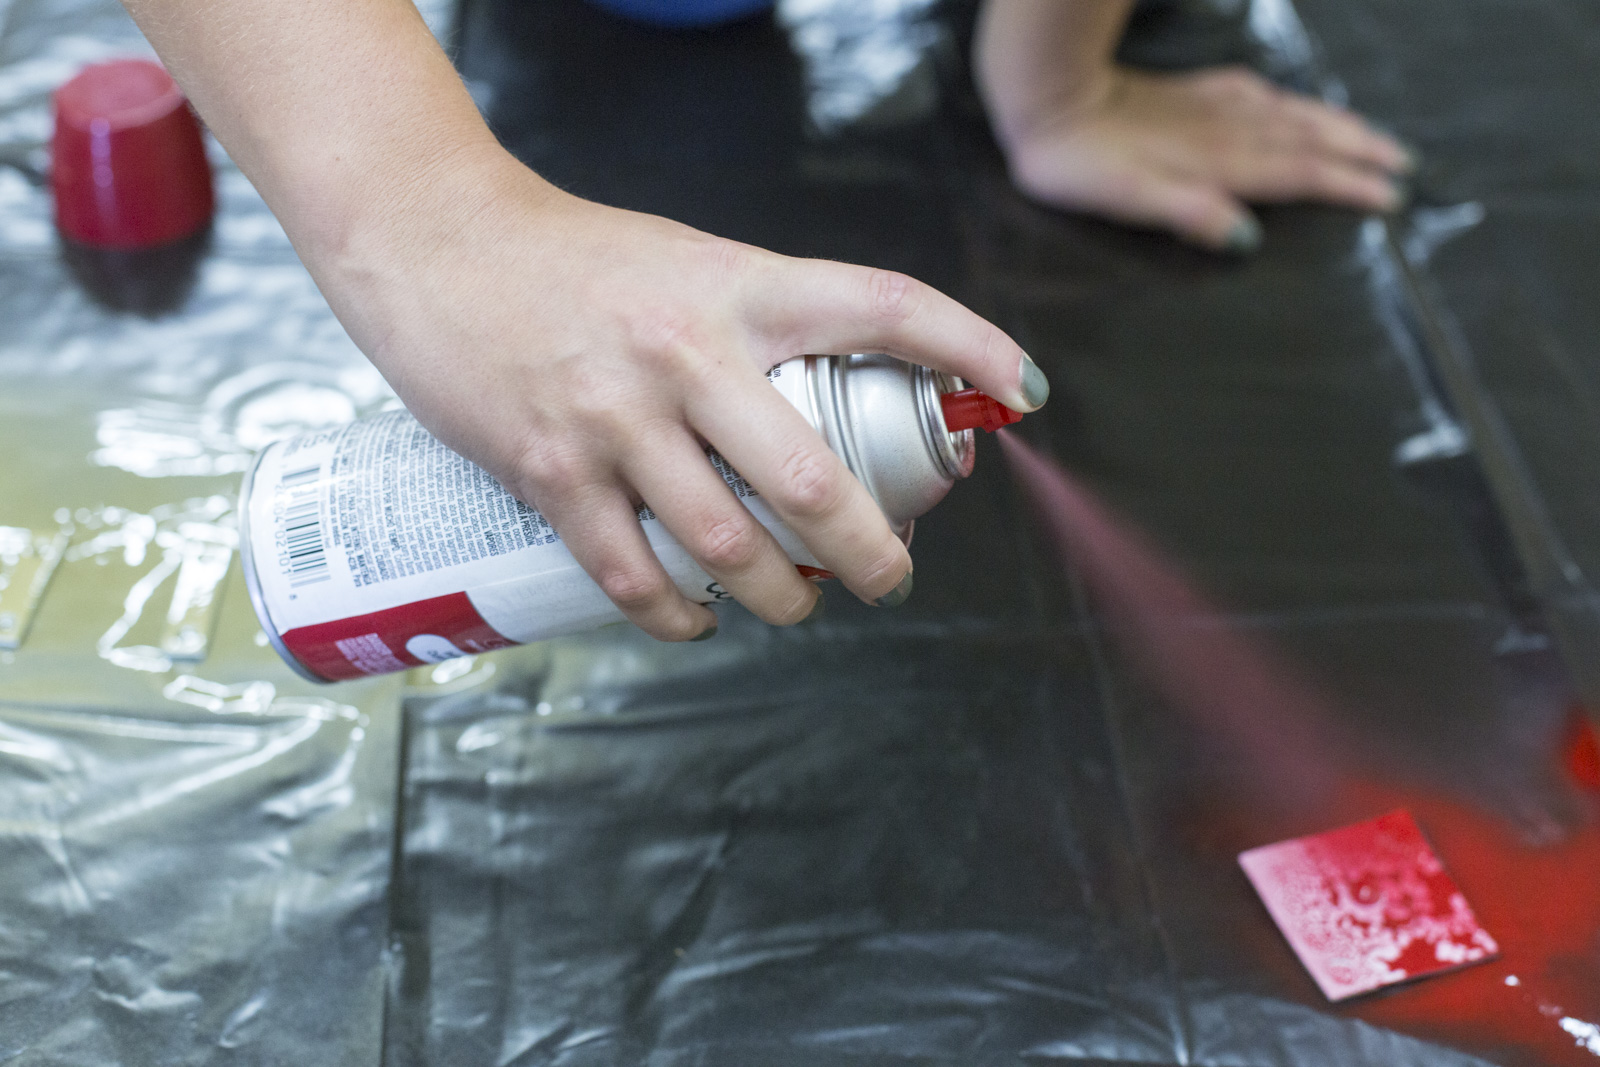
Spread out a plastic tarp or dropcloth. Wearing disposable gloves will allow you to handle the objects you're painting without wearing the paint yourself. Follow the directions on the can and paint the pipe, cap, and coupling black. Paint the four zinc plates gold. Paint one clear vinyl round red.

Step 4: Drill a Space for the Button
We got a flashlight that has a button on the side of the body. We saw this as a really cool opportunity to create a button on the side of the lightsaber that actually works! 2 1/8" from the end of the pipe, drill a hole with a 3/8" drill bit. Drill with light pressure so that when you break through the one side of the pipe, you won't pierce the other side.
If you have a flashlight with a button on the bottom, skip this step. The flashlight will simply slide inside the pipe and kept in place by the cap on the bottom. The button added on to the side of the saber hilt will just be for decoration and you'll need to remove the cap to turn the flashlight on, so don't glue it in place!

Step 5: Insert Flashlight
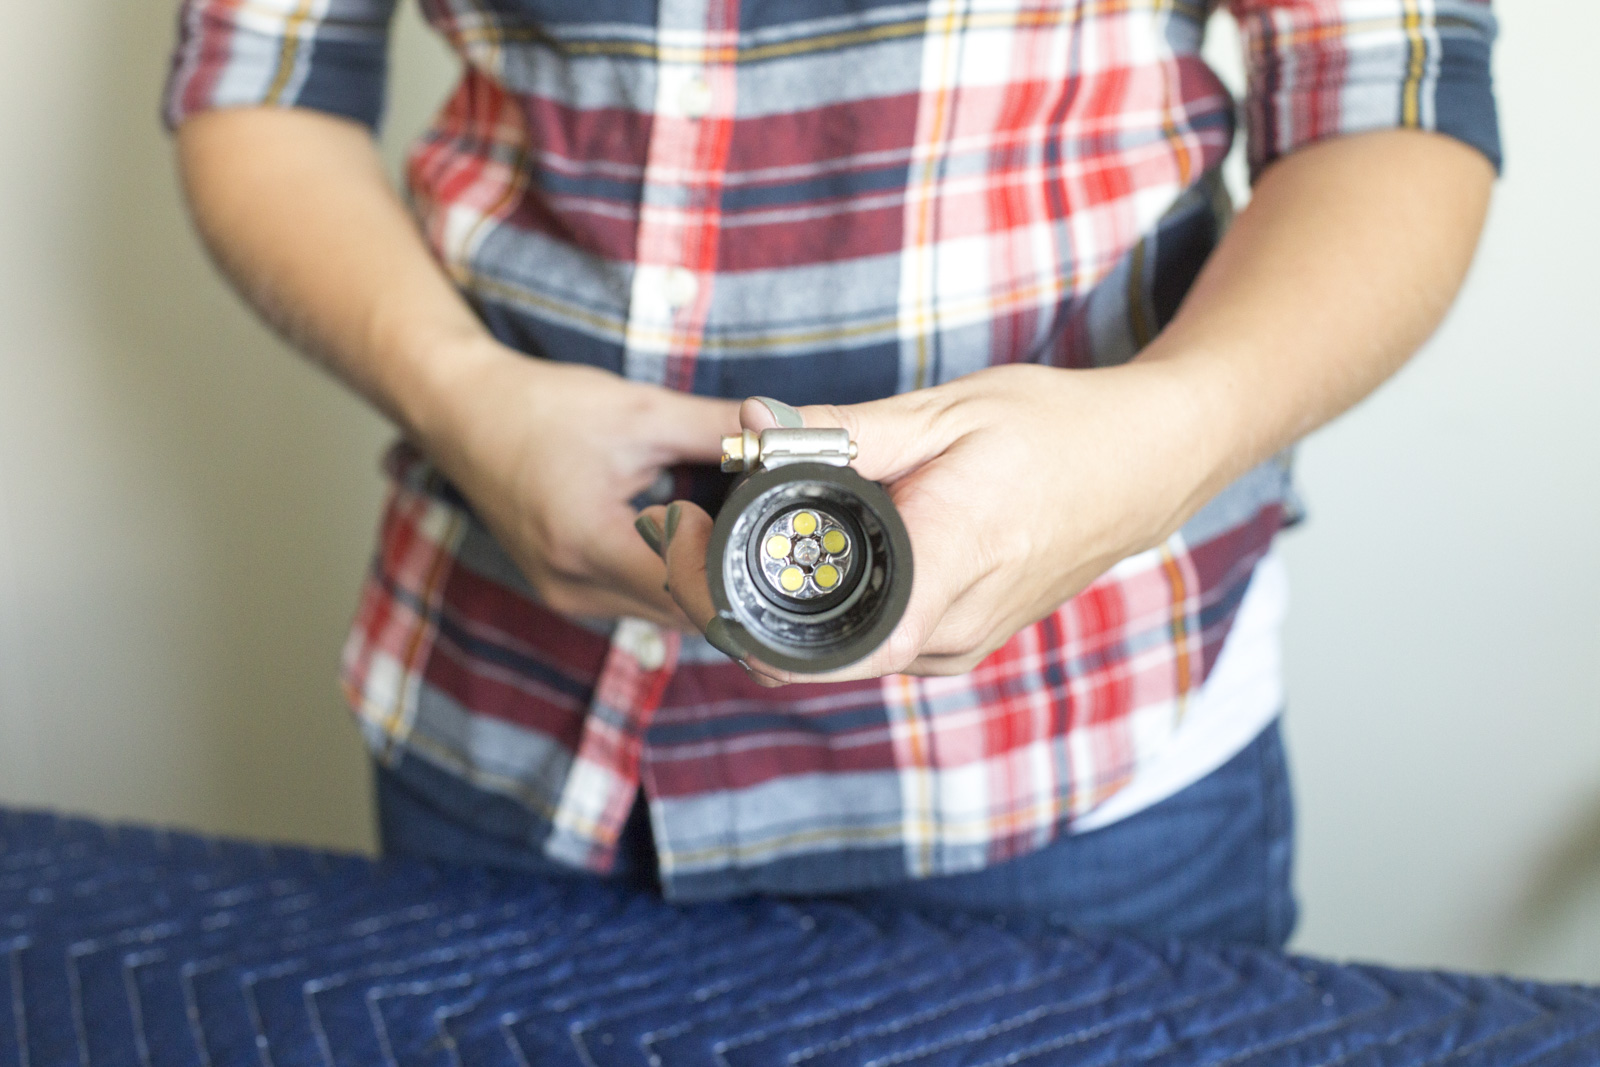
Fit the flashlight inside of the PVC pipe so that the button lines up with the drilled hole. Our flashlight has two buttons, one on other side. One button is for a white LED light, the opposite one for a red LED light. The buttons engage upon being released, so the red button will be permanently pushed down by the pipe wall and therefore won't be operable (which is what we want). If you're having trouble lining up the button with the hole in the pipe you can do what we did and draw a line with a red sharpie down the middle of the flashlight underneath the button. Line this up with the hole before inserting the flashlight.

Step 6: Apply Cap & Coupling
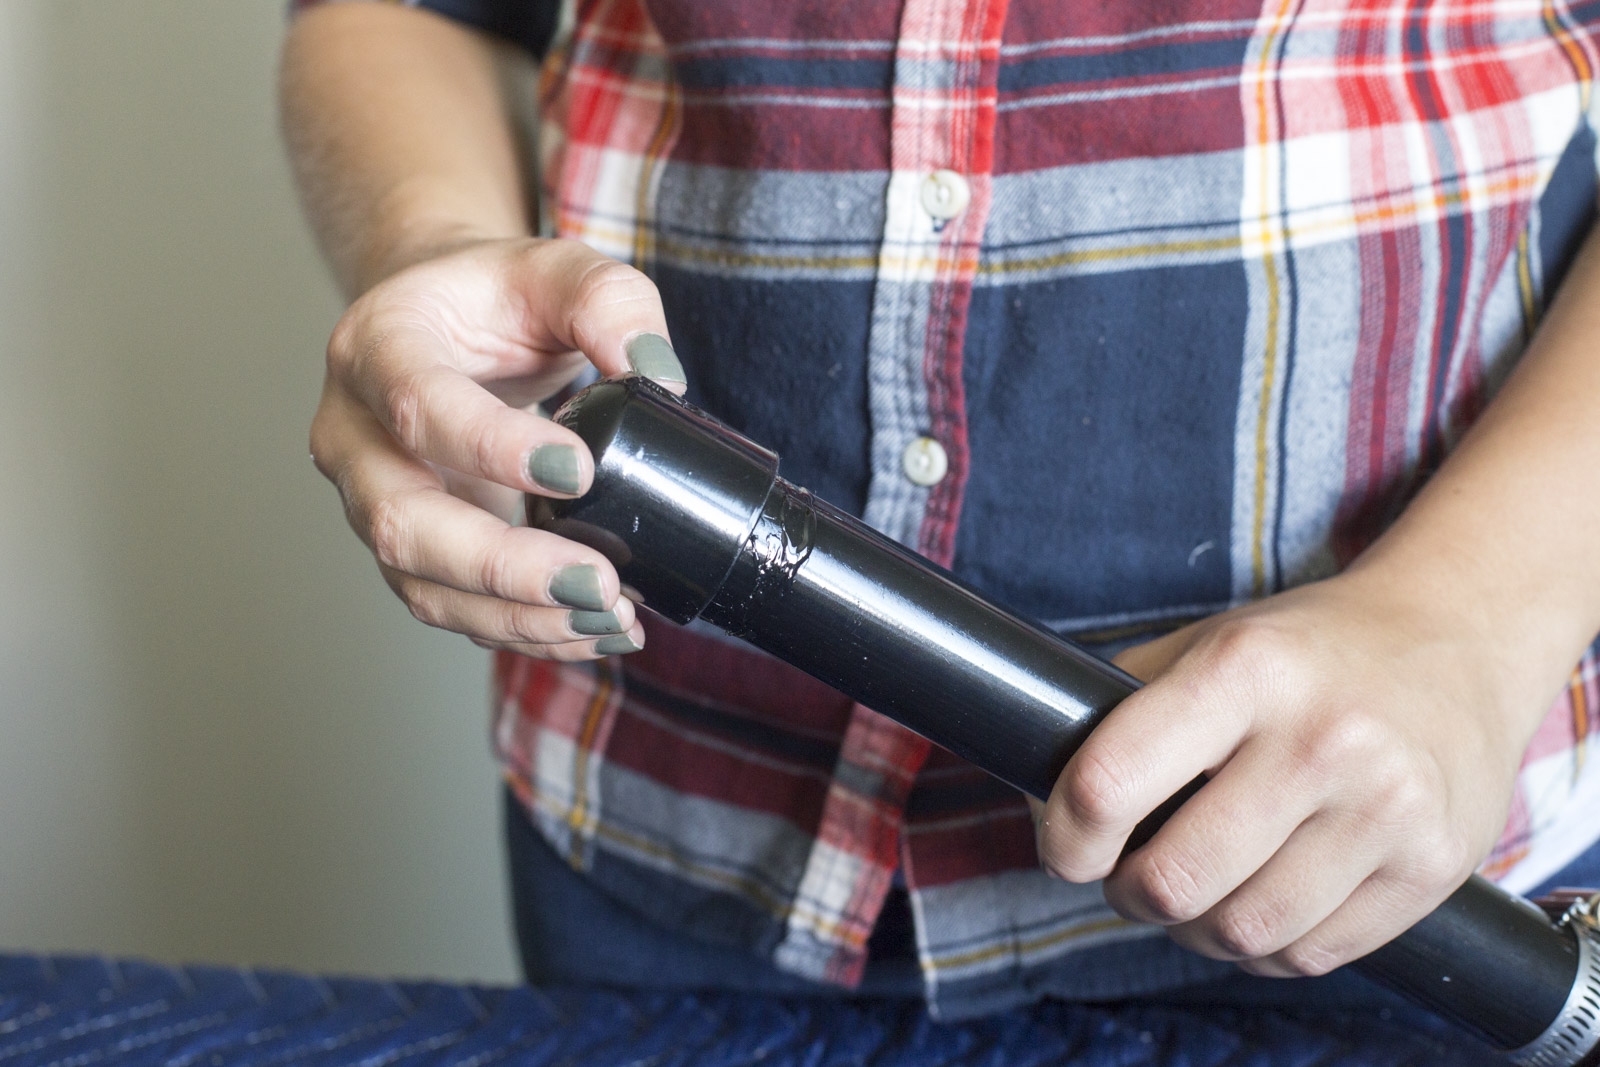
Place the cap and coupling pieces on either end of the pipe. We glued these in place, but after the flashlight broke and the whole saber had be torn apart to access the flashlight we wouldn't recommend doing that. Learn from our mistake. Use a flat-head screwdriver to secure the hose clamp just underneath the coupling at the top, lining up the screw on the clamp with the lowest point of the coupling. This will be the front of the lightsaber.
Step 7: Add Silver Accents
Measure out and tape two layers of foil tape around the base of the hilt, just above the bottom cap.

Step 8: Add Button
With a hacksaw, cut a small piece of 1/4" dowel approximately 1/2". With the adhesive-back side of the red painted vinyl round, attach to one end of the dowel (if the adhesive has lost its stickiness, use a dab of glue to secure). Following the directions on the side of the tube of Goop, attach the 7/16" nut over the hole in the pipe. Fit the red button and dowel through the nut. Glue the dowel onto the button of the flashlight so that when you push the red button it works the flashlight. Be very precise with the glue so you don't end up with glue in the works of the flashlight. We used a super glue gel for this step because the Goop is too, well, goopy. It got the button stuck and we had to carefully peel it off and try again.

Step 9: Add-ons
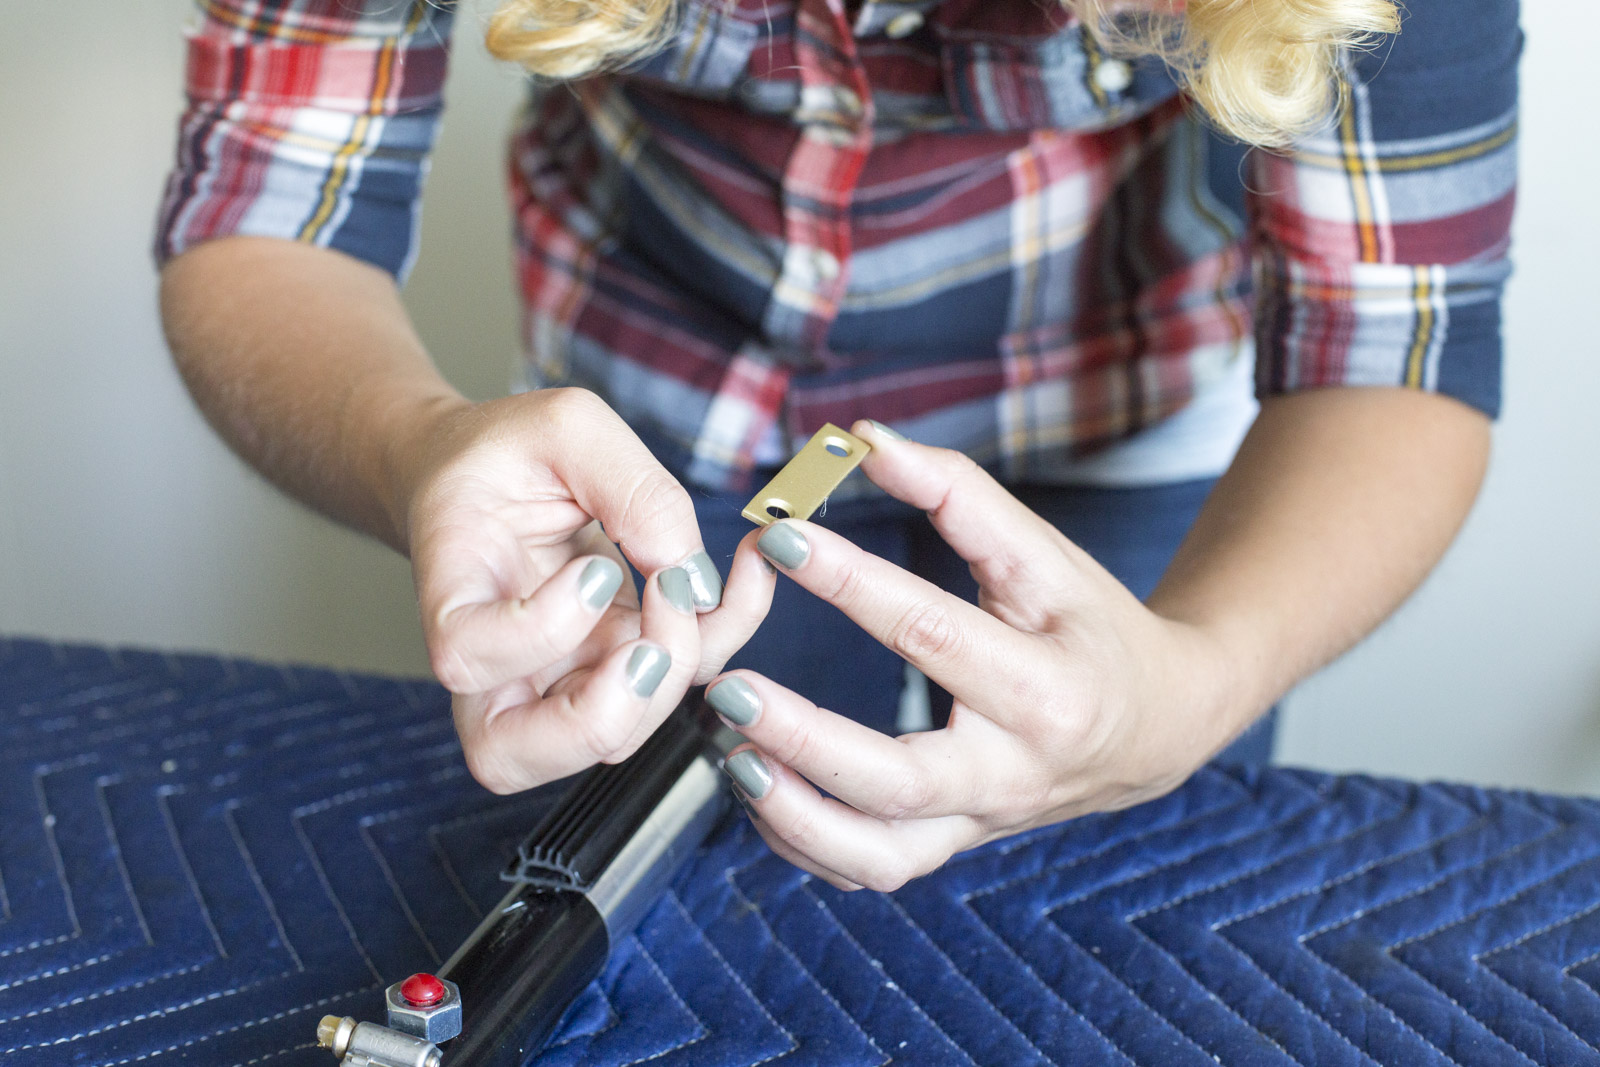
Cut the vinyl door insert into 4" long strips. Glue onto the base of the hilt, above the bottom cap with goop. Use rubber bands to hold them in place while they're drying. Attach the (now) gold plates directly above each vinyl strip. You can also attach these plates with screws; we glued them down because we liked the look more. Allow each side to dry before moving to another side, or the pieces will start to slide around.
Step 10: Cut the Blade
A standard lightsaber energy blade is approximately 36" long, so you'll need to cut your tube guard down to size. We found it really challenging to get a straight cut with a utility knife, so we started the cut with a hacksaw and then finished it up with the utility knife.

Step 11: Sand
Yes, we're going to tell you to sand the plastic tube. Using 600-grit sandpaper, twist up the length of the blade and then back down to get an even coating of scuff. What's the point of this step? Light distribution and diffusion. Just like how a light box has better lighting than a bulb, the clouding on the plastic tube helps the flashlight look less like a flashlight and more like a lightsaber blade.

Step 12: Add Reflector
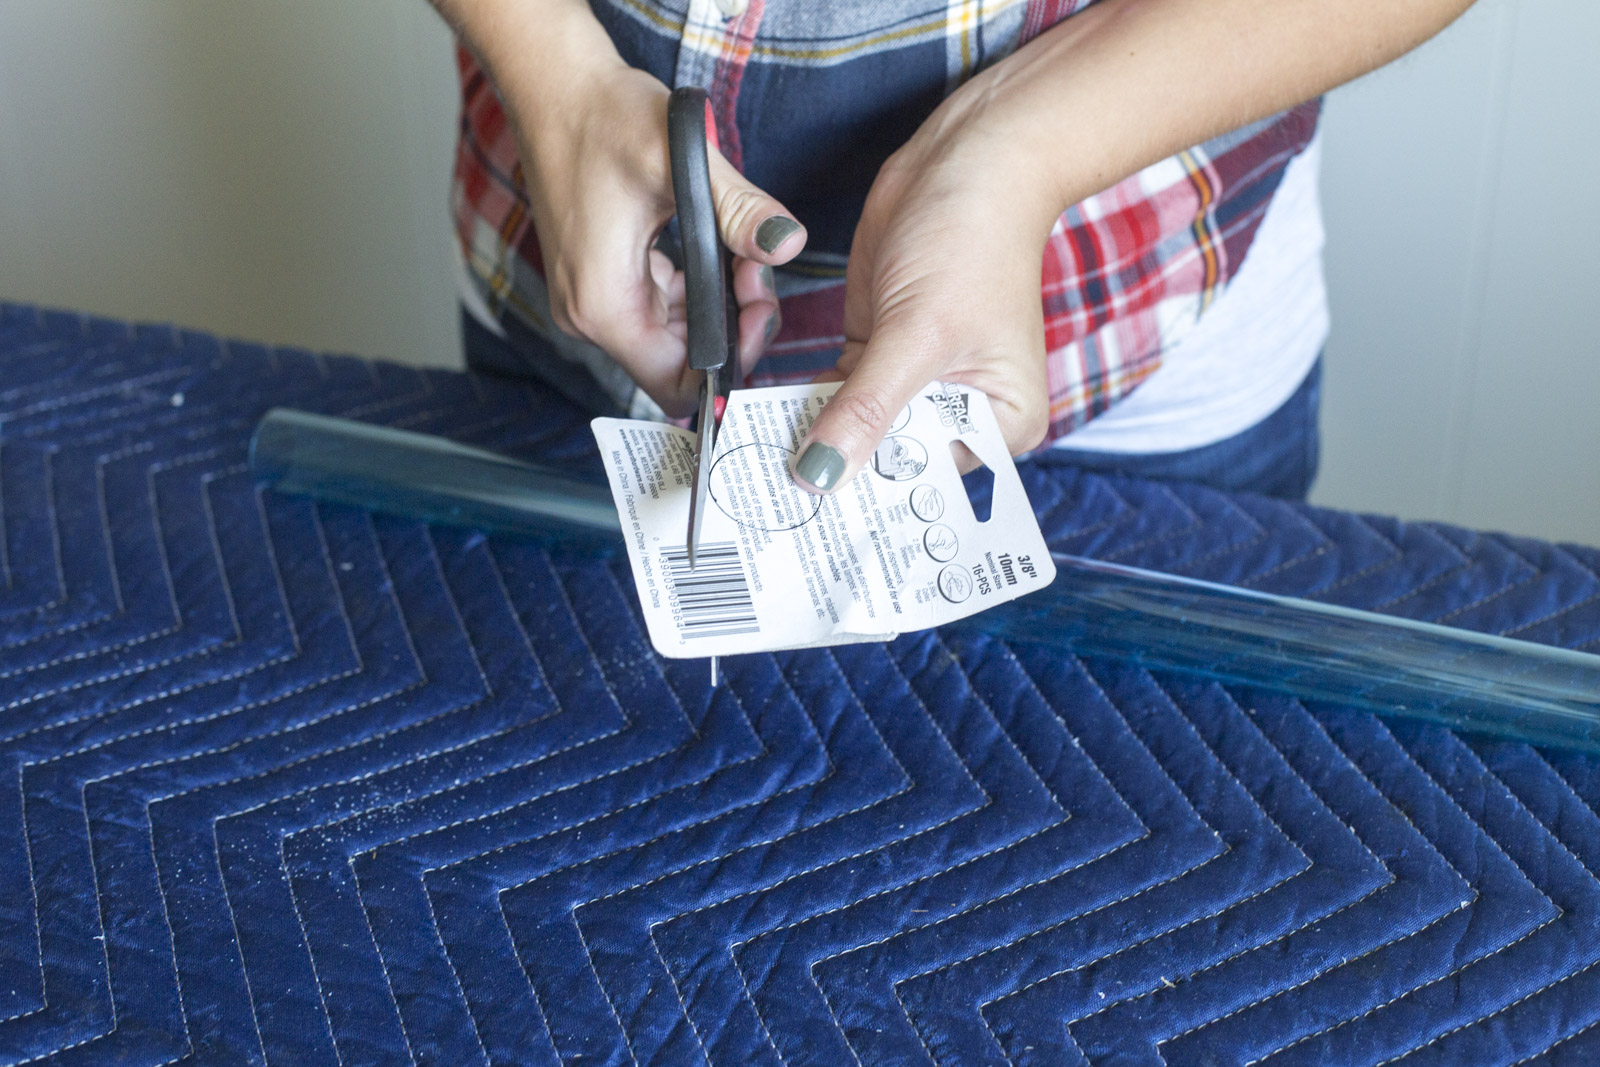
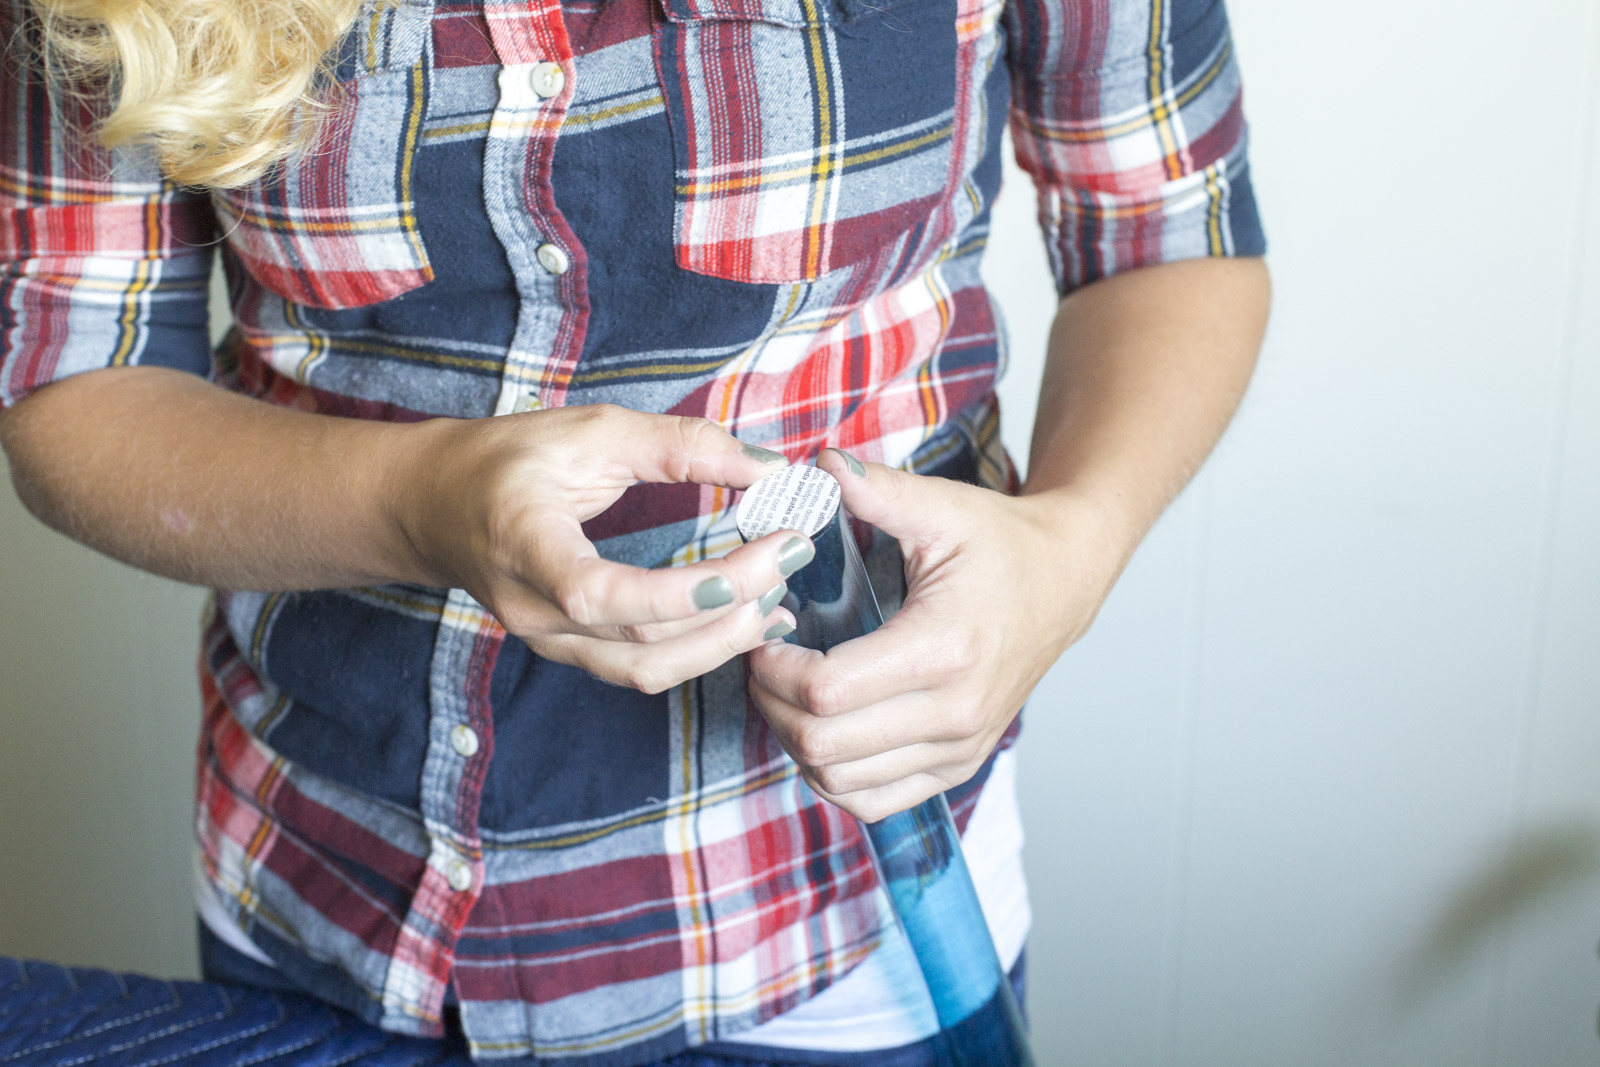
To continue to help encapsulate the light and to make this look as real as possible, add a reflector to the tip of the blade. Use the end of the plastic tube to trace a circle onto a piece of cardboard (we used cardboard from the vinyl rounds packaging). Cut out the circle and trace another circle, the same size, out of foil tape. Attach to one side of the cardboard. Cut out a third circle, slightly larger than the first two out of foil tape. Attach the other side of the cardboard circle to the middle of the tape and then use the edges to secure to the top of the plastic tube (we recommend taping to the factory-cut end because it's a cleaner cut). Use a small strip of foil tape around the top of the tube to clean up the edges of the foil circle.
Step 13: Attach Blade
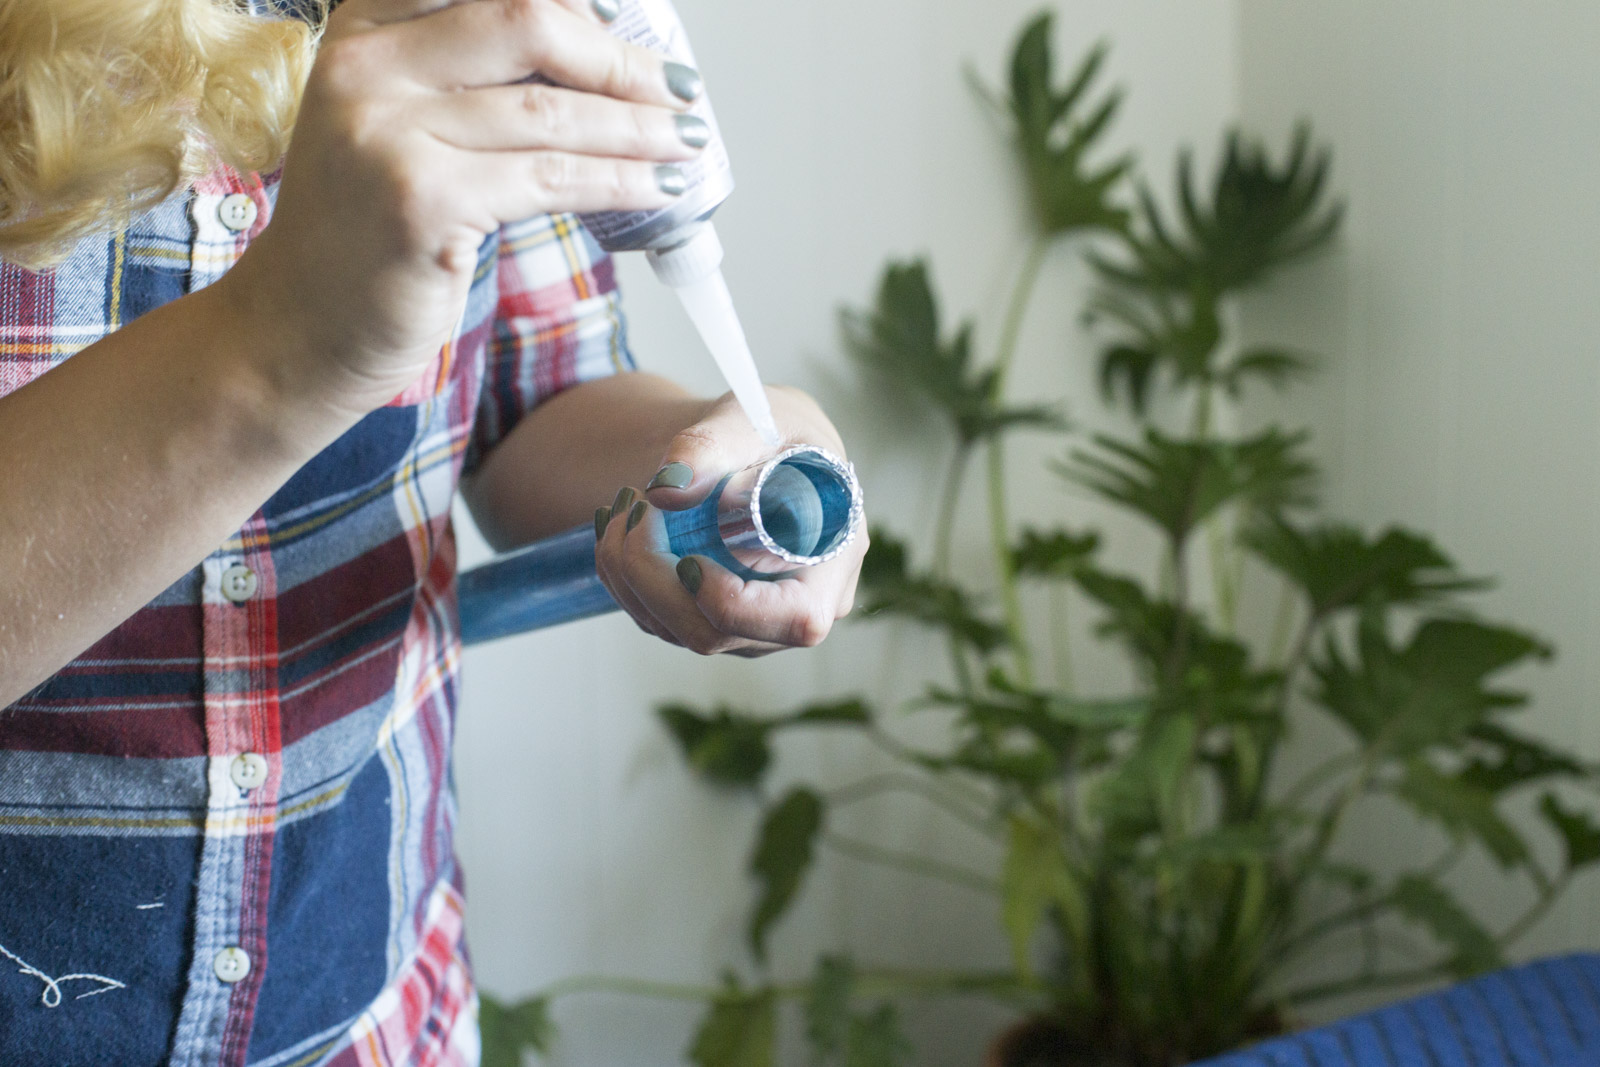
Wrap a 1" wide piece of foil tape around the base of the tube. Use Goop to secure the end of the lightsaber into the coupling at the top of the hilt. Make sure you fit it in there straight and give it support while it dries so it doesn't end up askew.

Step 14: Jedi Costume
This is a really simple costume idea to go along with your awesome lightsaber. Grab a canvas drop cloth and, using your child (or a mirror; all-ages of Jedi welcome) as a guide, cut two strips to fold over their shoulders and cross in front and back. Cut a third longer and thinner strip to use as a belt. Pair this with a white t-shirt, tan pants, and boots for a quick and easy costume, or get creative and embellish it with other accessories.


Step 15: Trick-or-Treat


