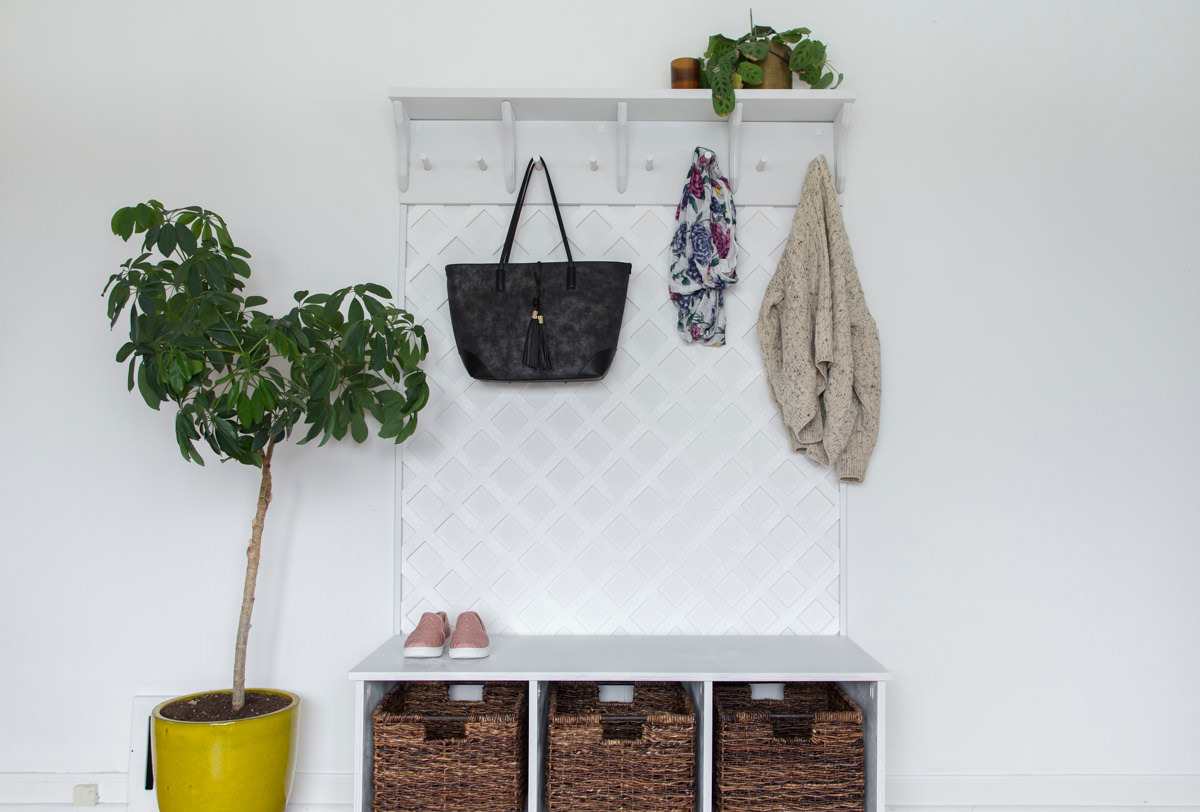
How To Make A Bench

"There’s nothing like the moment when someone walks into your house and says, Oh! Where did you get that?, and you say, “I made it!"
Materials
- One Sheet of ¾” Birch Shop Grade Plywood
- ¼ Sheet of ¼” Birch Plywood
- 3/4"x3/4" - 8' Hemlock Square Moulding
- 1 ¼” Kreg Jig Screws (Coarse Thread)
- 1 ¼” Truss Head Screws
- Wood Glue
- 3M Spackle Compound
- 150 Grit Sandpaper
- White Primer
- White Spray Paint (Semi Gloss)
- Pocket Hole Wood Plugs
- 16 - 3/4" Floor Glides
We've come to the end of our three-part spring organization series, and this piece is the icing on the cake. In case you missed them, check out:
I’m going to start by saying I love the way this project turned out! To me, it looks more like something you would buy in the store and less like a DIY project, and there’s nothing like the moment when someone walks into your house and says, "Oh! Where did you get that?" and you say, “I made it!”
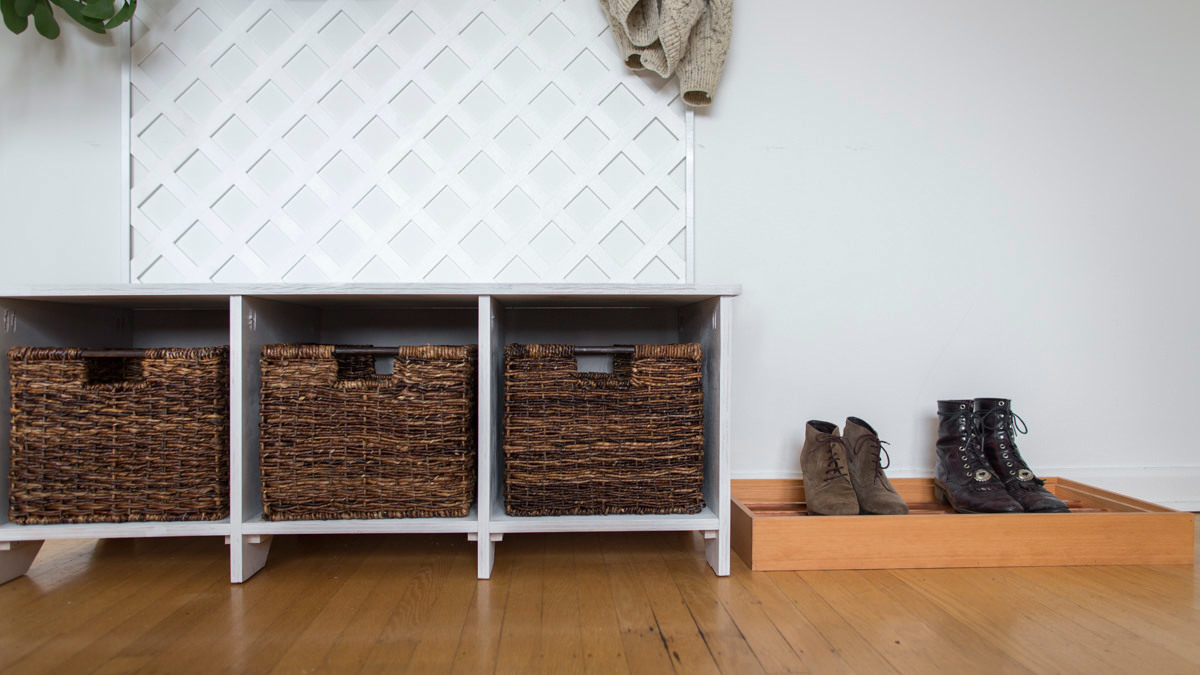
This bench started as part of the lattice coat rack project, but it can stand alone as a lovely piece for storage. I wanted to build a bench with space for slide-in boxes, so you could store mittens and scarves, or flip flops and sun hats (depending on the time of year), ensuring that your entryway looks organized year-round.
As I was doing research on DIY benches, I looked up the Americans with Disabilities (ADA) design standards. I’ve consulted ADA regulations in the past, and have found them to be extremely helpful. I learned that an outdoor bench (this is indoor but it's the same principle) should be between 17-19 inches tall. We went right in the middle of that range, with a height of 18 inches.
Step 1: Make your cuts
This entire bench is made out of a single sheet of plywood. I have a small car that's only three feet wide on the inside. I went to Dunn Lumber to pick up the supplies and had them cut the plywood into two 36”x48” pieces, which leaves a 24"x48" piece left over. You can get all the cuts needed from the first two, and the leftover 24" piece can be used as backup in case something goes wrong.
All of the pieces for this project can be cut with a circular saw and a jig saw. If you also have a chop saw, it's a lot easier to use that for cutting the hemlock moulding, but it's not required.
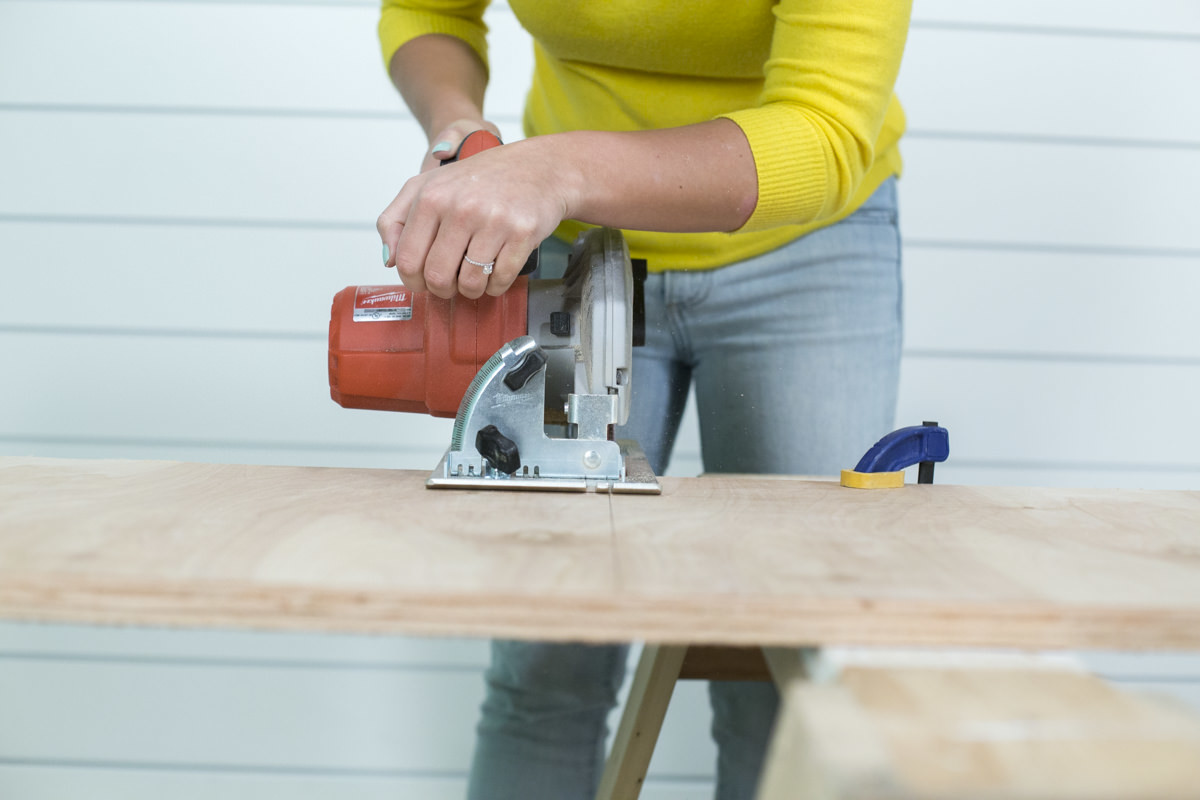
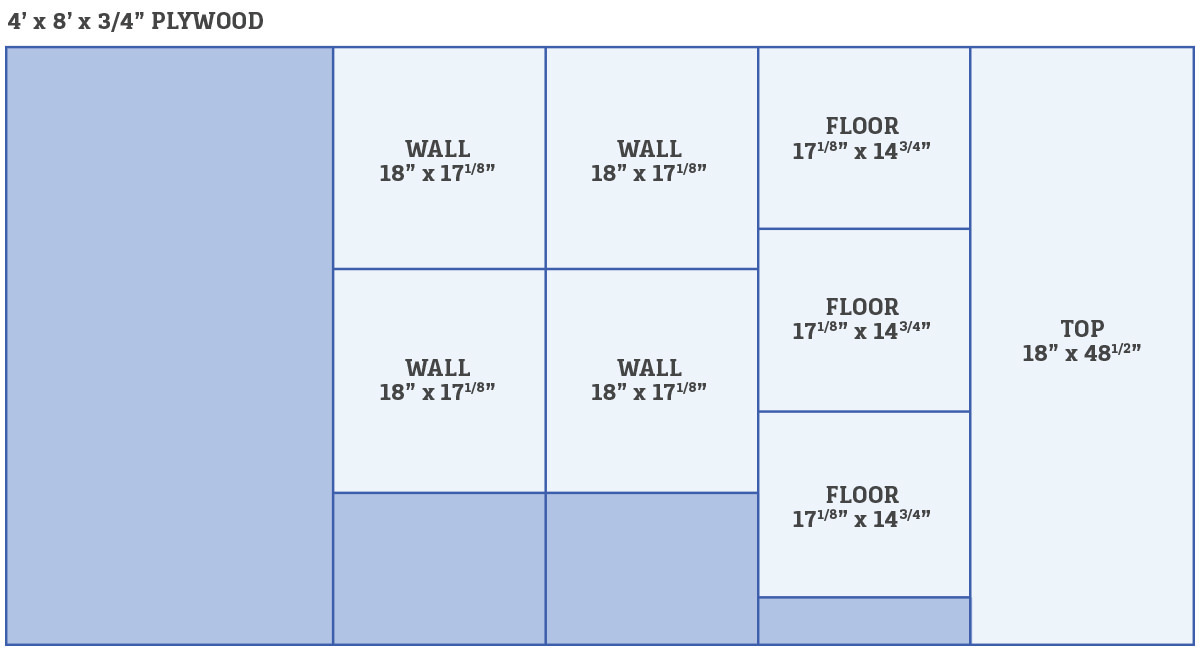
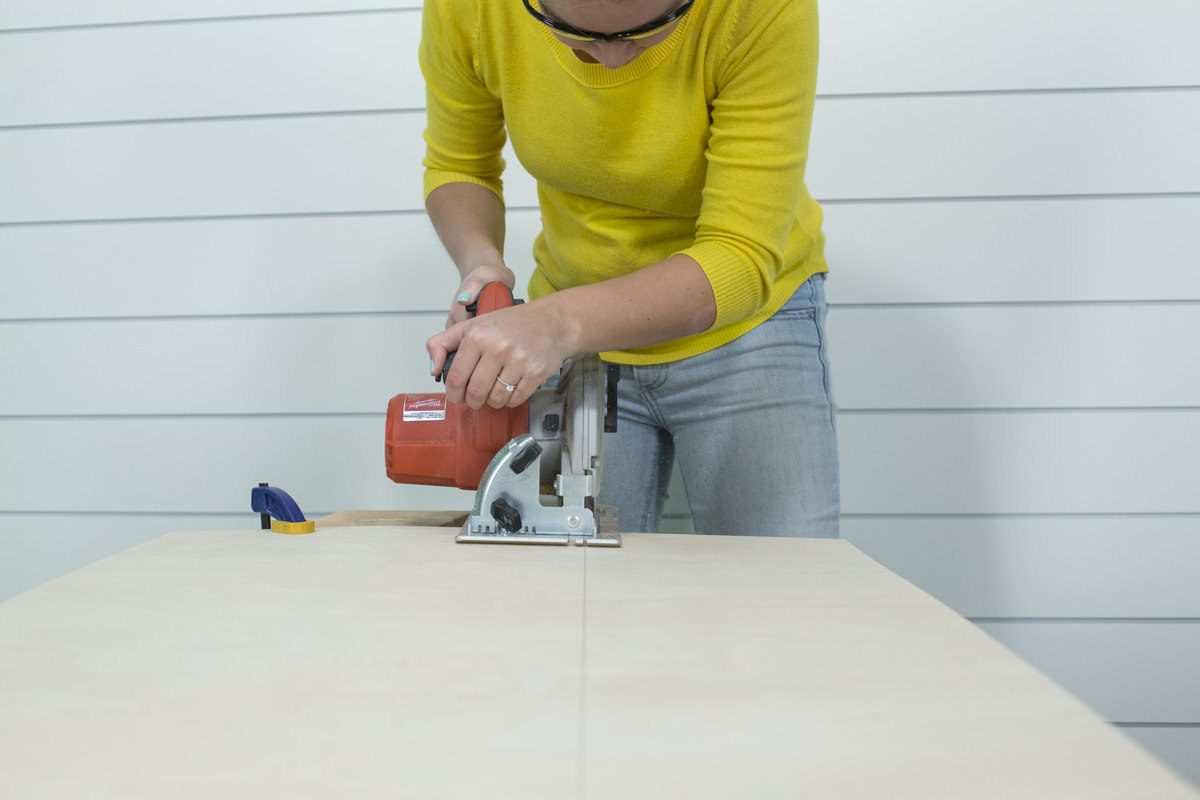
Clamp the pieces down to a workbench or pair of saw horses, and cut with a circular saw according to the diagram below. Here’s a trick I recently discovered:
Generally the rule with cutting with a circular saw is not to cut a board supported on two sides, because it will cave in and sag. However, if you support it between two sawhorses and clamp down both sides well, you can get a really clean cut, and both sides will stay where they were when you finish the cut—as opposed to having one side suspended and fall off.
Plywood is made up of thin layers of wood glued together. The plywood we chose has a layer of birch on the top, giving it a more attractive appearance than regular plywood. This thin layer of birch will splinter easily at the edges. This can be avoided by getting new, fine-tooth blades for your circular saw and jigsaw, so you end up with really clean cuts. You can also use masking tape on the plywood and cut right through it. The tape helps to minimize the splinters caused by cutting.
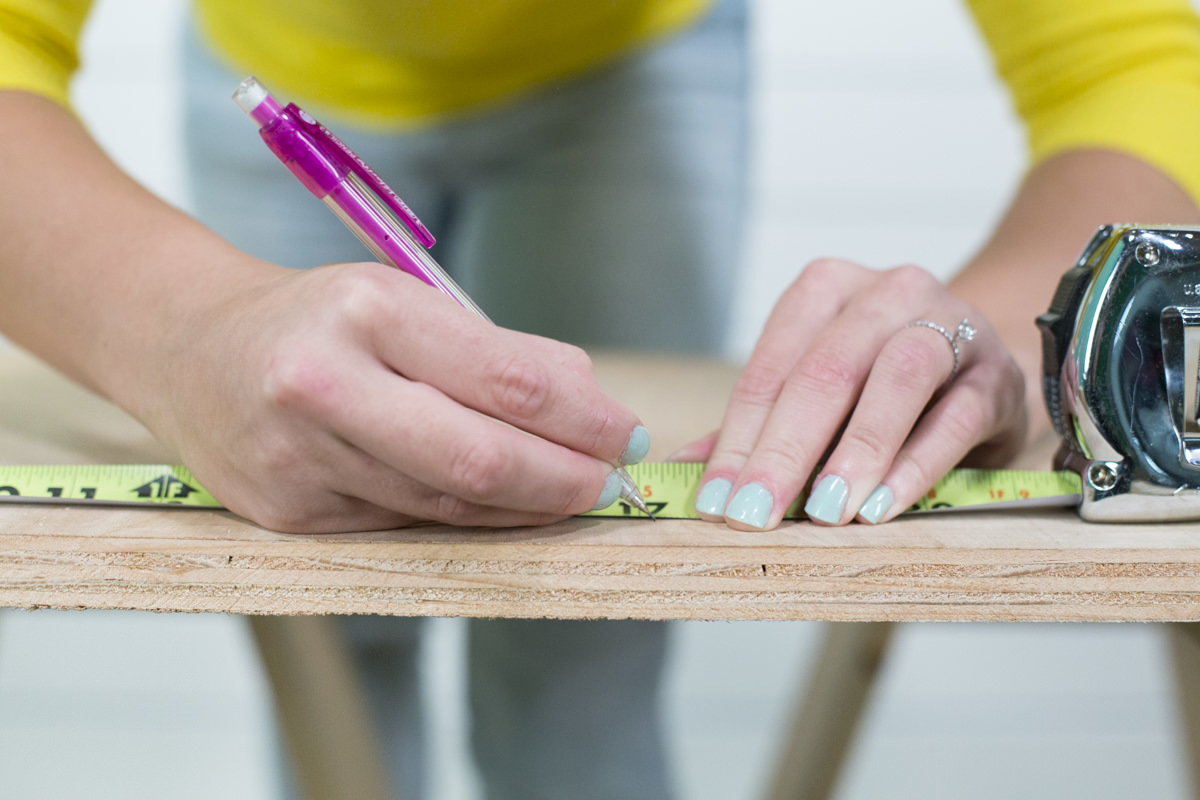
Here are the cuts you’ll make:
- The first cut you’re making is the bench seat, and that’s the biggest piece:
- 18” x 48-1/2”
- Then you cut the three pieces for the three parts of the floor:
- 14 3/4” x 17-1/8”
- Finally, cut the floor walls (the ones that will have the notches in them):
- 18” x 17-1/8”
Step 2: Cutting the notches
These notches were a personal challenge. I added them because I like the look of having a notch, and I wanted to figure out how to make them. You can skip this step if you’d like. I love the design element they add.
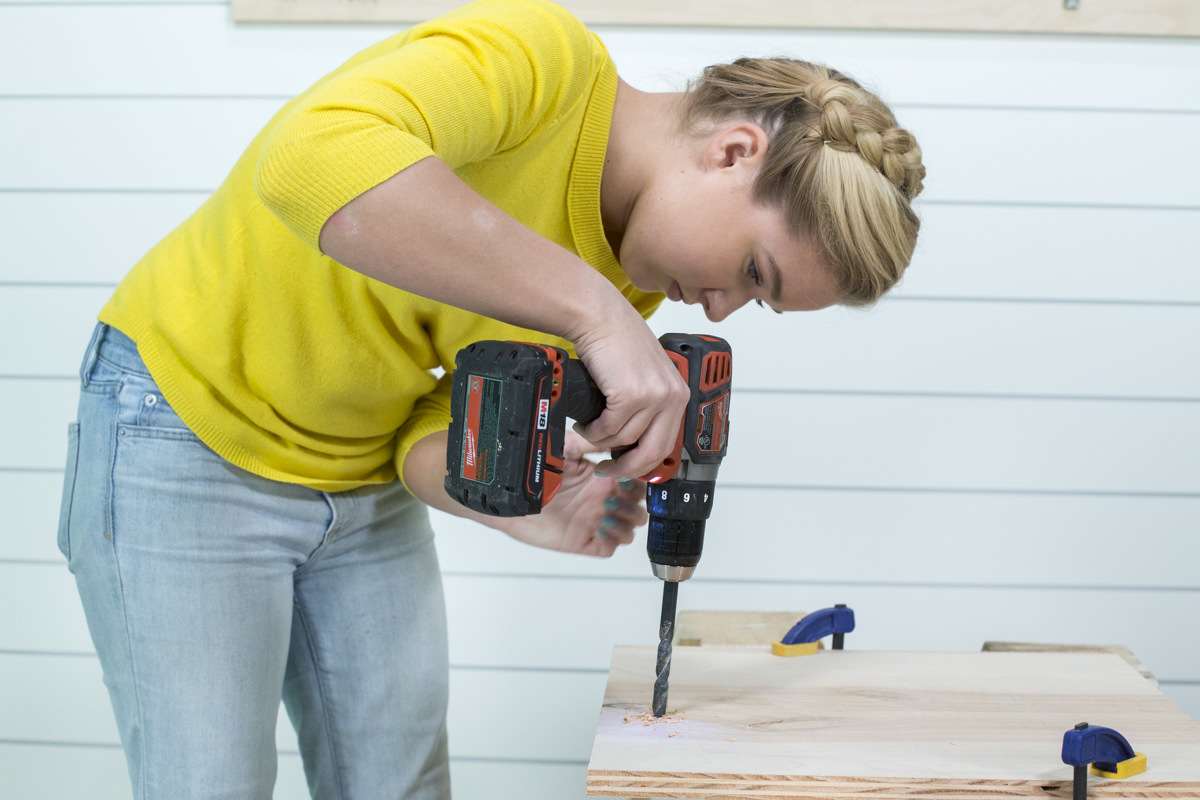
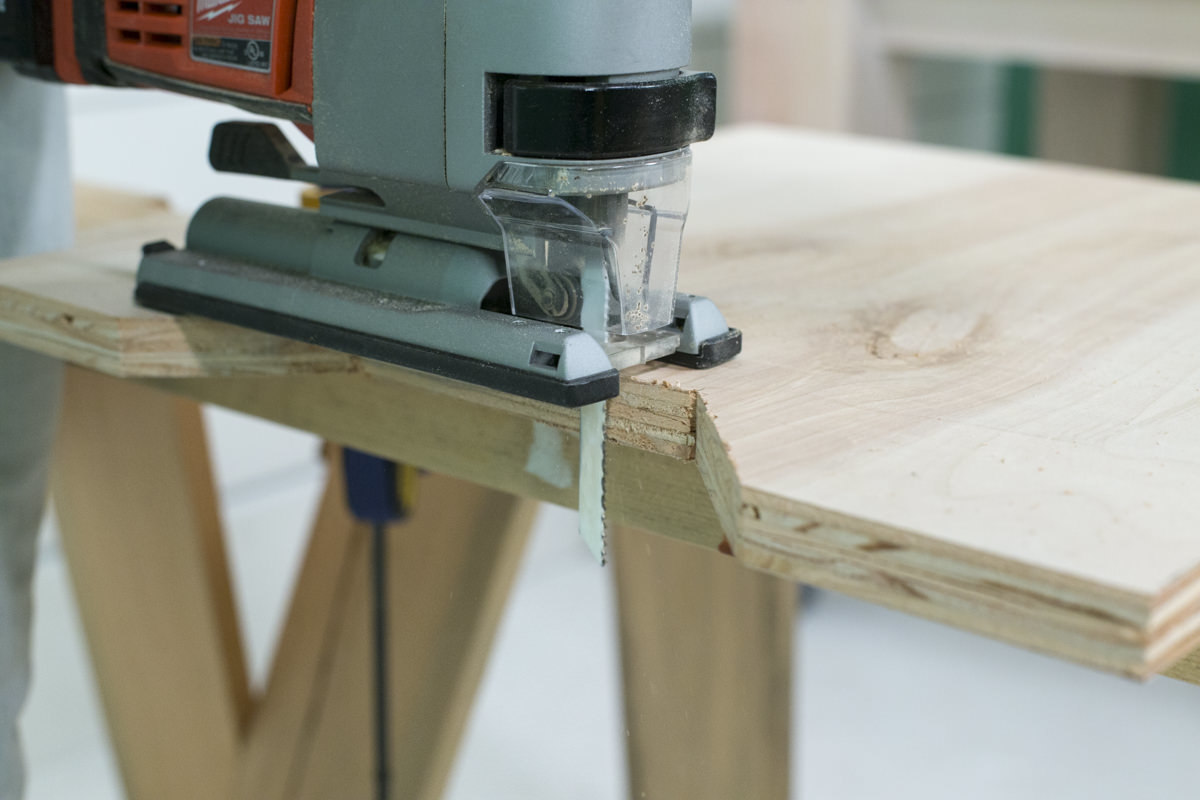
Using the drill and the jigsaw combination worked really well for this sort of cut. It takes a bit to get used to, so try it out on scrap wood first. You can’t drill too closely to the pencil lines, or you won’t get clean edges; drill within the pencil lines. Using the jigsaw, make your initial cuts and do the best you can, then go back with the jigsaw and smooth out the edges.
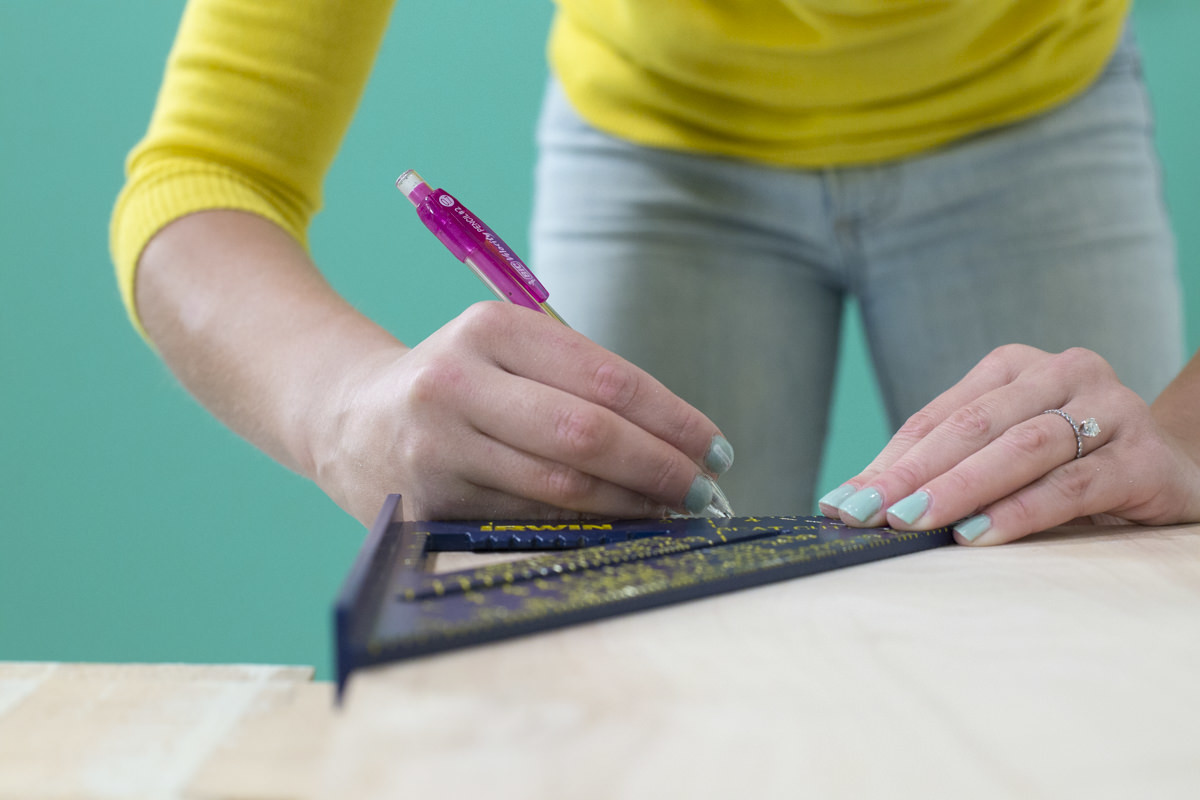
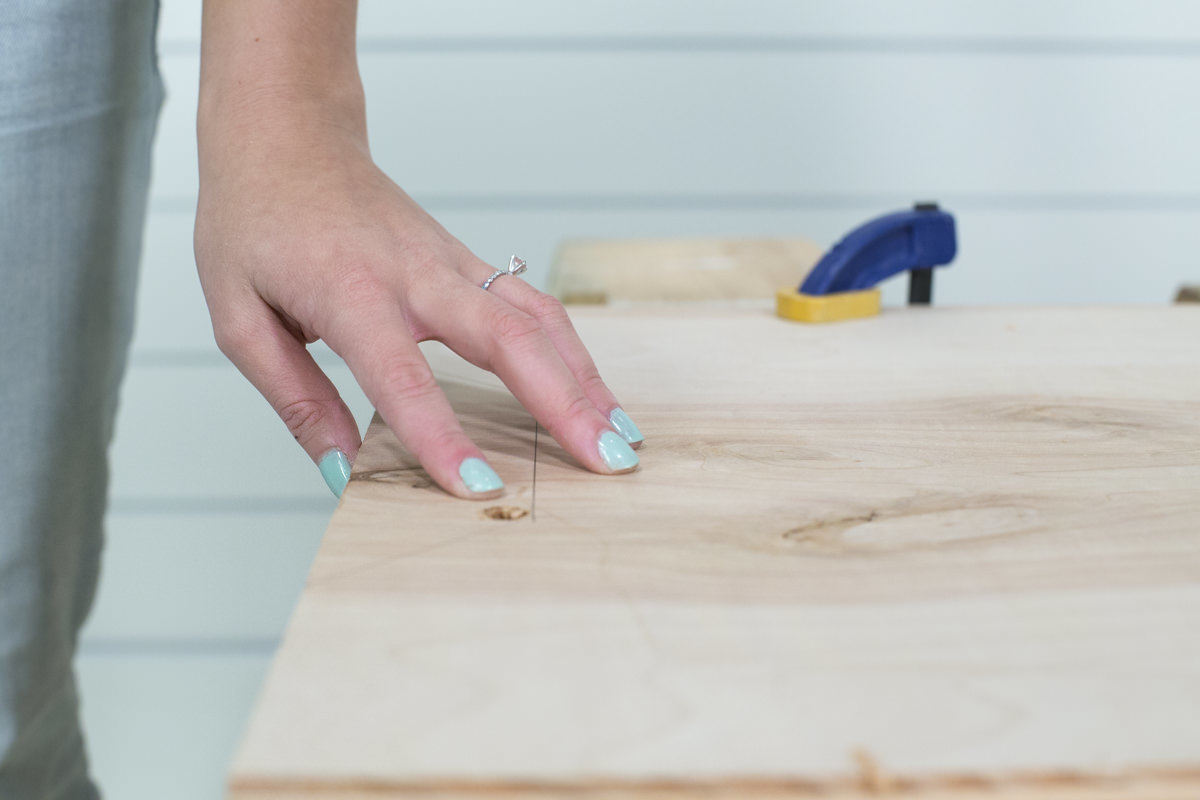
First draw the lines to cut. With a square, measure in from either side four inches. Then measure up two inches from the bottom, and six inches from either side. Connect lines to form three sides of an isosceles triangle. Drill near the corners of the lines with a large drill bit (we used a 7/16” bit), being careful not to drill over the pencil lines. Clamp down the wood, and cut out the notch with a jig saw.
A few things to keep in mind:
- I picked the prettiest edges to go on the bottom of the walls to cut the notches in, because if there are splinters in the edge at the top it will be hidden by the bench seat.
- I also picked the two prettiest sides to be the outside walls of the bench.

Step 3: Sanding the pieces
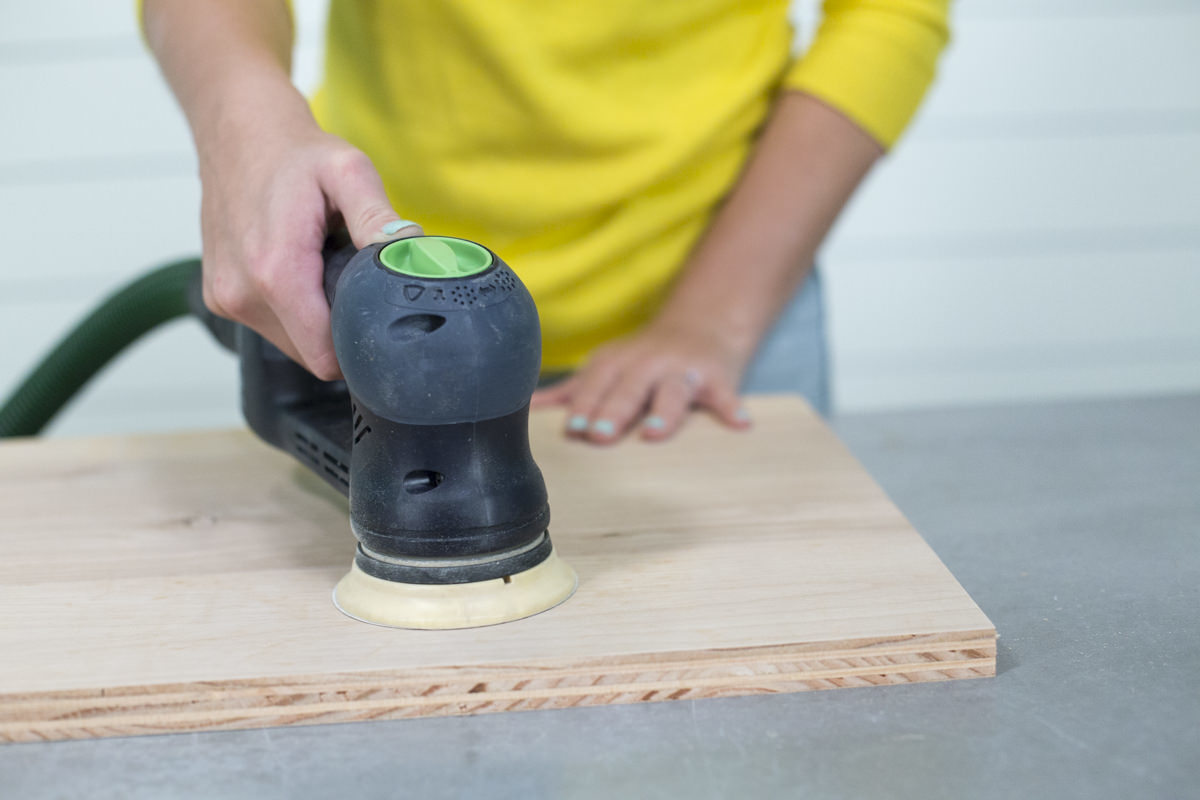
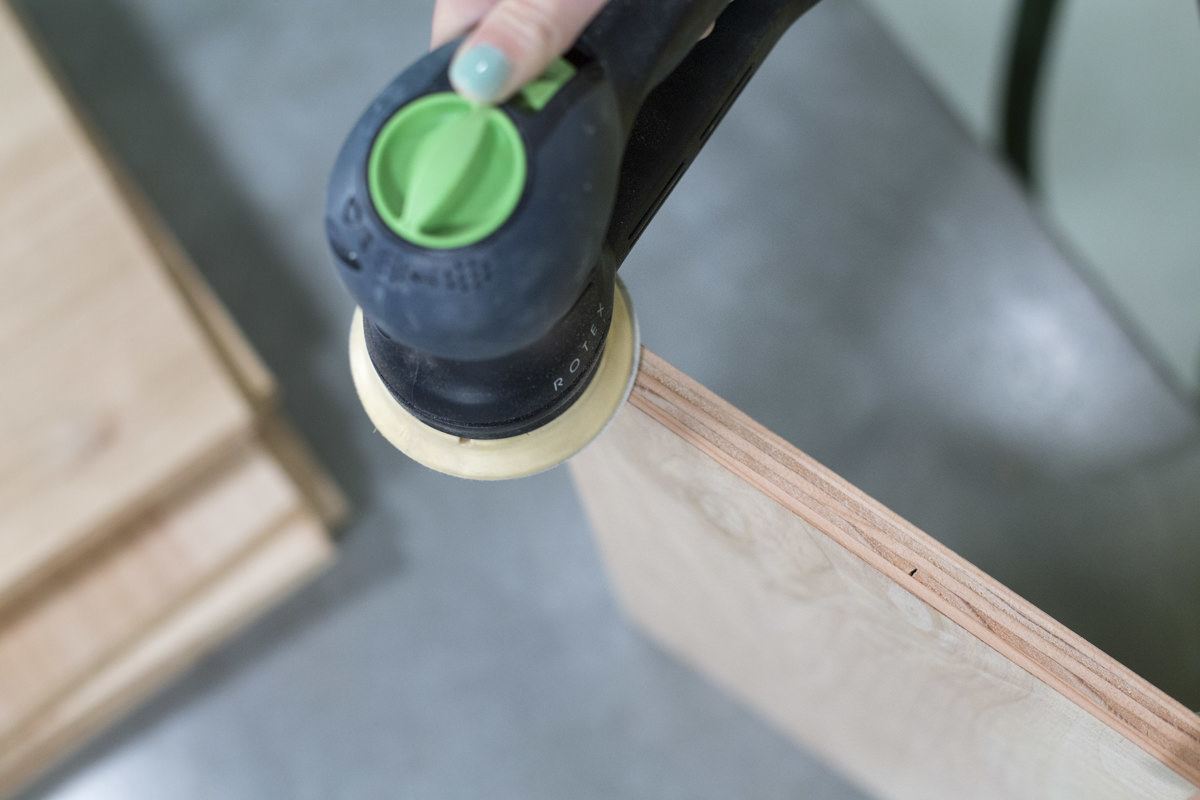
Sand all the pieces with an electric sander to get smooth, even lines. The surface of the plywood is already fairly smooth, so you'll want to concentrate mainly on the corners and edges. They probably won’t be perfectly smooth, but that's the cost of using plywood—and in the end the edges are just not all that noticeable.
There are often little splinters sticking out on the edges of the plywood, so smooth those down. While smoothing out all of the sharp edges, you can also use your sander to straighten any cuts that need it. I also chose to round out the corners of the bench top with the sander, so nobody would kill their knee on it.
If there are any big pieces of ply that are peeling back, you can glue them down and tape them in place to set.
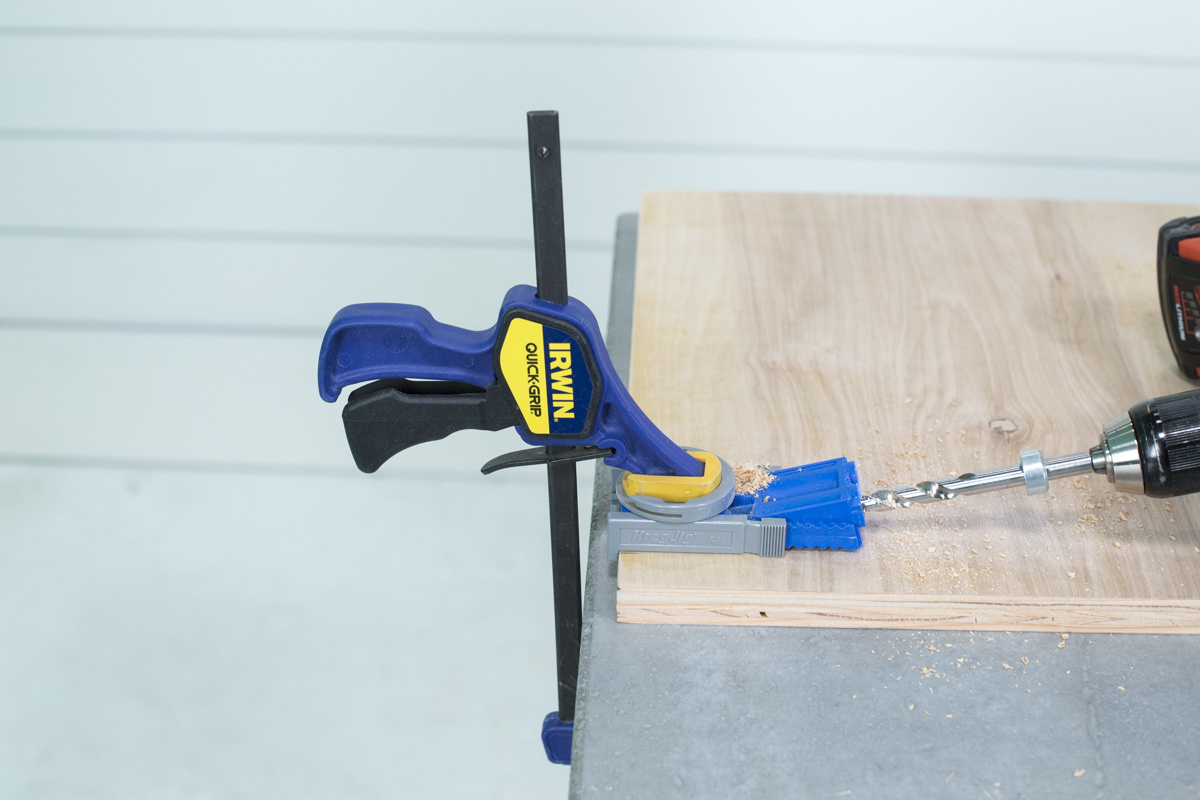
Step 4: Using the Kreg jig
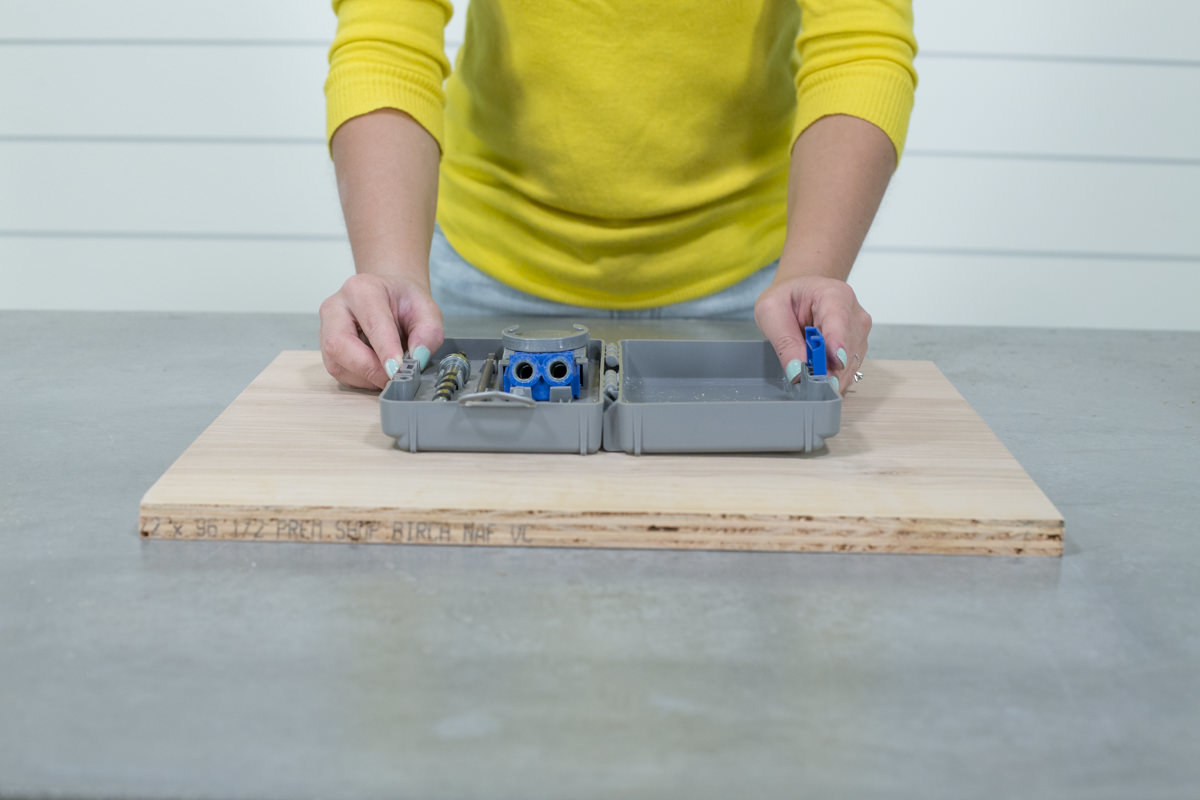
Plywood can be a very utilitarian and minimalist material. This bench has clean lines and a simple design. Part of what makes it look so clean is the fact that you can't see any screws. A Kreg Jig allows you to do that. Most of the screws supporting the bench are underneath it, or in the walls, which you can’t see when you’re standing up. The Kreg Jig is an easy way to make something like this look as if it were professionally made.
Before you start, remember to offset all of the screws, because a lot of the time you'll be drilling from two different directions into the same piece of wood and don't want them hitting each other. Everything is either 1" or 2 ½” inches from the edge, so everything is offset and hidden from view.
Set the Kreg Jig to drill through ¾” material.
- Drill pocket holes in the bottom of two of the floor pieces 1” from either end of both of the long (17 1/8”) sides.
- Drill pocket holes in the bottom of the third floor piece (this will be middle piece) 2 ½” from either end of both of the long sides. This way the screws will be offset and won’t run into each other.
Pick two of the wall pieces to be the outside walls of the bench.
- Drill pocket holes at the top on the inside of both of these pieces 1” from the edge.
- With the remaining two walls drill two sets of pocket holes 1” from the edge on one side and 2 ½” from the edge on the other side.
Trick: You can use an impact driver instead of a drill with the Kreg Jig driver drill bit. Sometimes you hit a rough piece of wood that’s a lot harder to drill through, and the impact driver can make it easier.

Step 5: Assembling the bench
I would recommend measuring up from the bottom in four different places on each piece. Make those marks, then take a ruler and line up as many of those as you can because there are slight deviations with any cut you make. It’s rare to line up all those, but if you mark it in four places you can get as consistent as you can now, which will help prevent the bench from being shaky later.
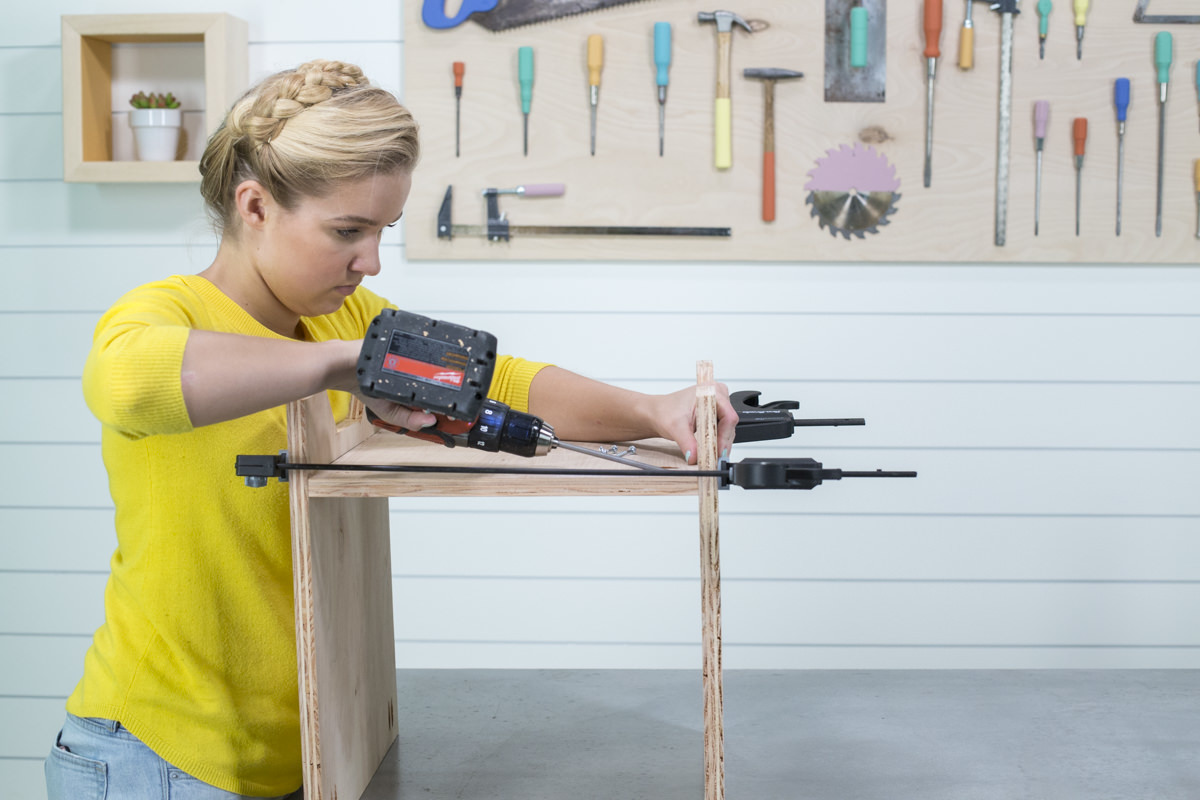
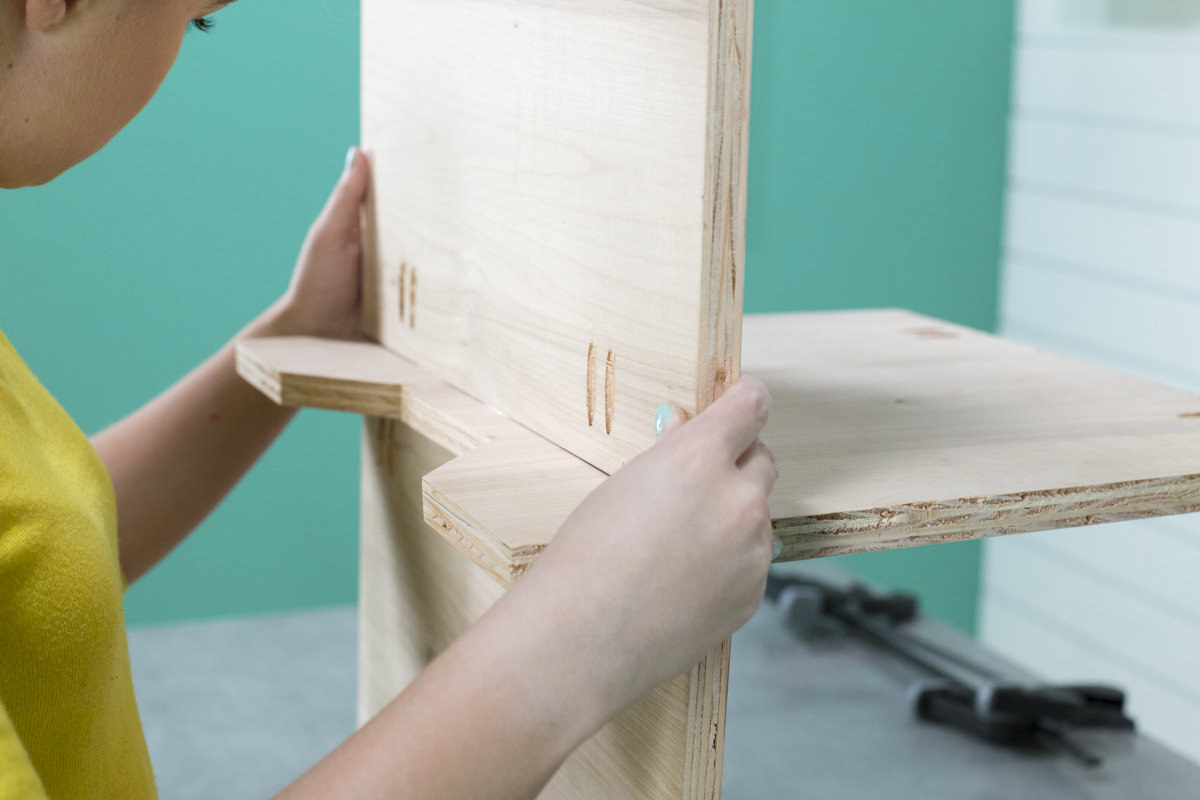
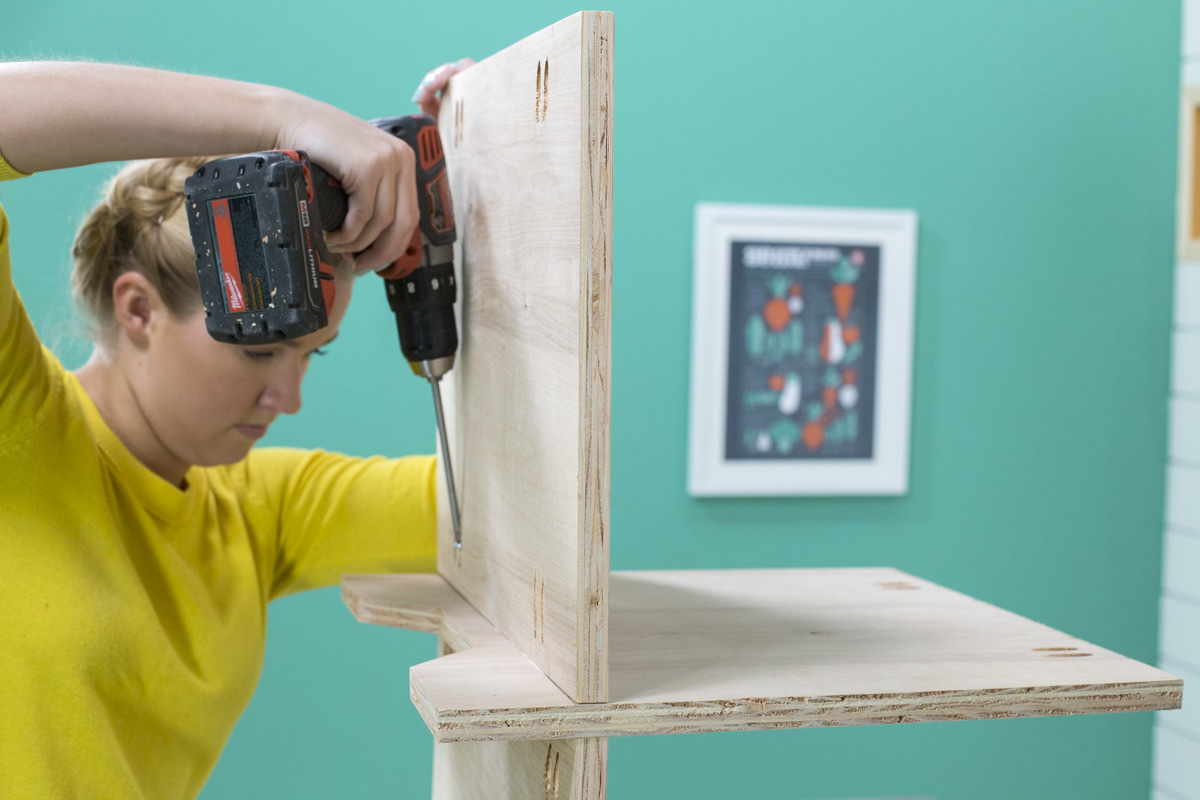
Measure up from the floor on both sides the wall pieces and draw a line across at three inches. Only draw this line on the inside face of the two outside walls. Attach the floors to the walls above these lines. Secure with 1 ¼” Kreg Jig screws. Build out from here using gravity and clamps to get everything lined up.
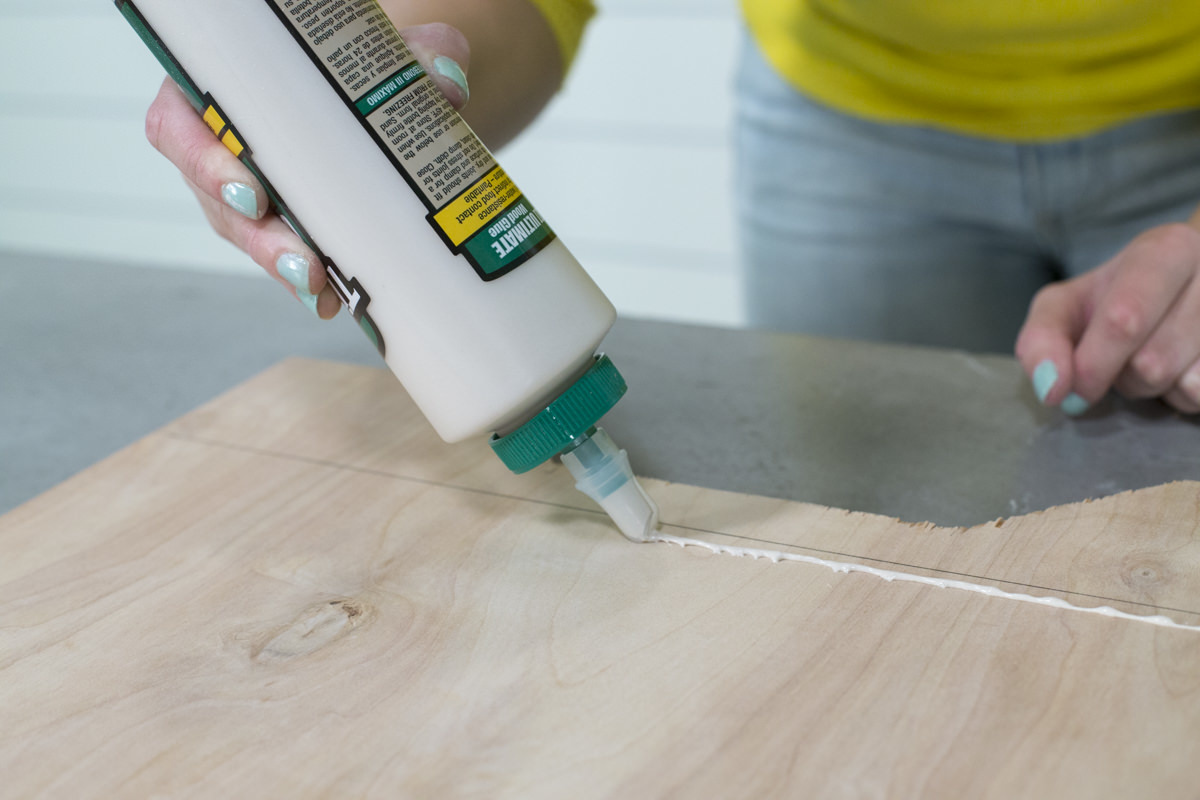
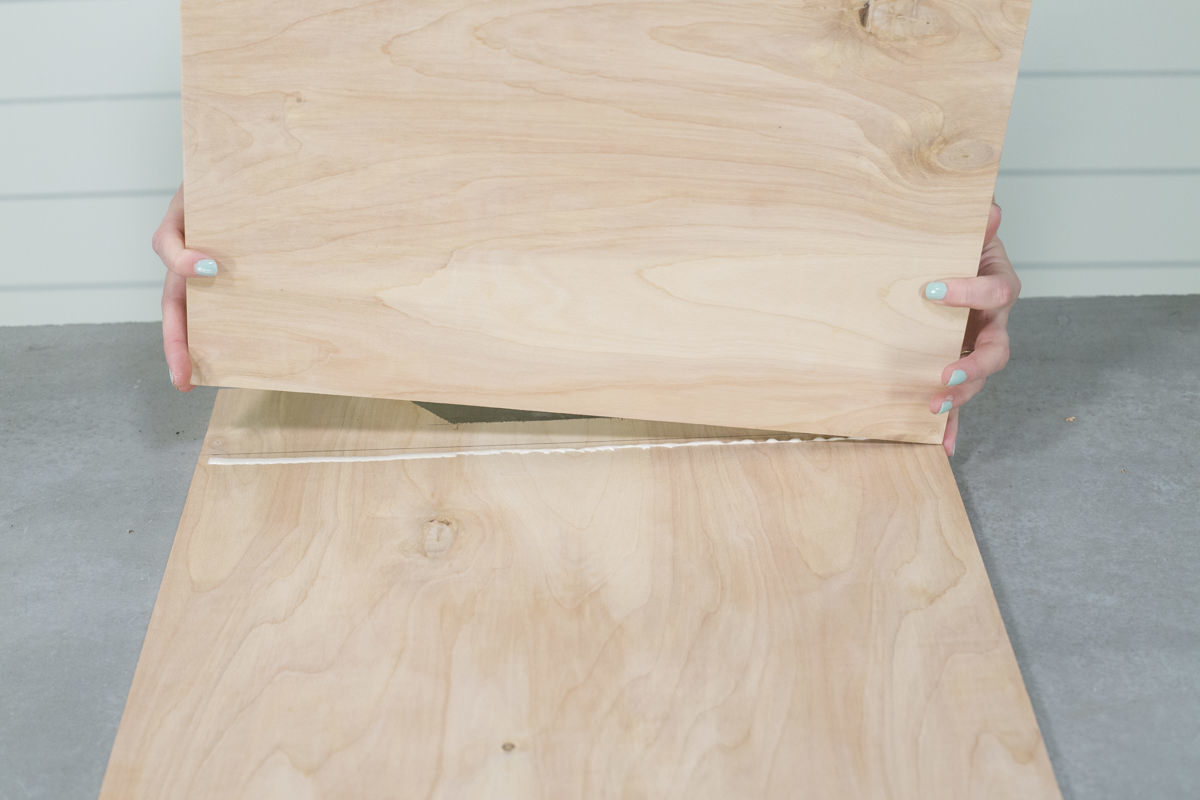
Glue is not necessary for this bench, but add extra strength to your projects.
Step 6: Securing the top in place
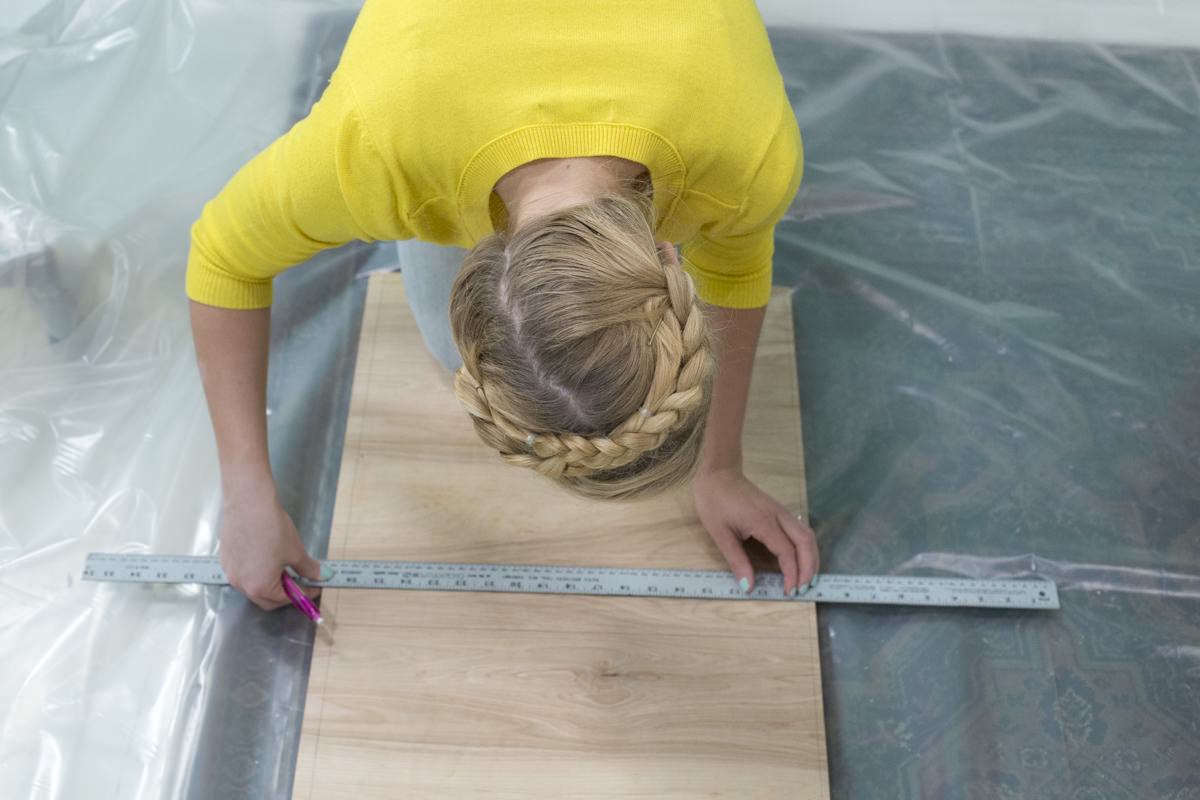
Pick the top and front side of your bench seat. Flip the bench upside down, and measure from the front and sides 5/8” and from the back ¼”. Mark these with a pencil. These marks will be the guidelines for where the walls will meet the top of the bench. Measure in from either end 16-7/8", and draw a line across (this is the inside measurement of the middle box, so your two inside walls should be outside of those lines).
Flip the bottom of the bench upside down and position it on top of the bench seat, lining up with all the pencil lines. Make your way around, securing with 1 ¼” Kreg Jig screws, lining up the pieces as you go.
Pro Tip: I find with something like this, using your own weight, kneeling or sitting on top of the box is an easy alternative to using clamps, and often works a lot better in a scenario like this. You’re trying to clamp something that needs to be clamped vertically, and the bench seat is already sitting on the ground; it’s awkward to clamp but really easy to kneel on top of it.
Step 7: Adding support
Our bench was just a little unsteady at this point, so we added in some small support pieces on the bottom to square everything up.
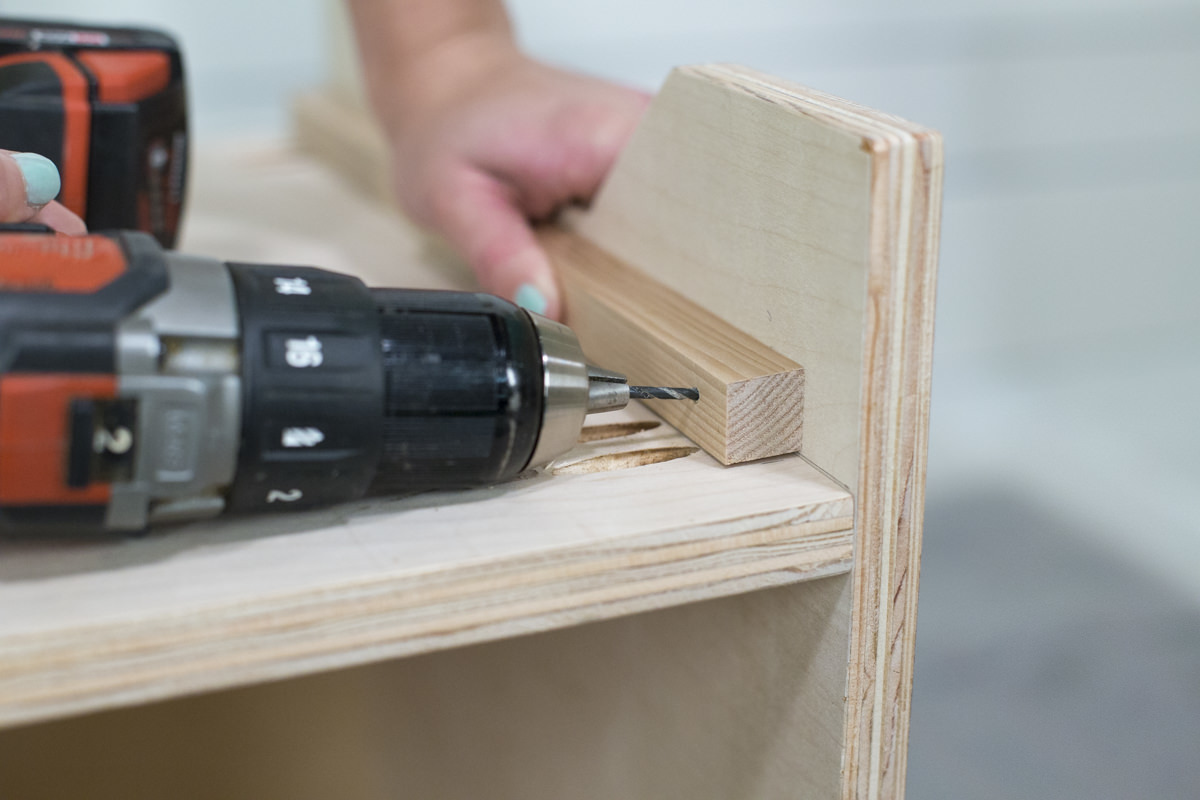
You'll need six pieces of moulding for all the corners. I cut six pieces approximately 16" long out of an 8’ length. 16” x 6 adds up to 8' exactly, which means because of the saw kerf (the width the saw cuts out of the wood) there's not quite enough. But don't worry about it, it doesn't need to be exact, just cut six pieces. We used a chop saw, but you can also use a circular saw if that’s what you have.
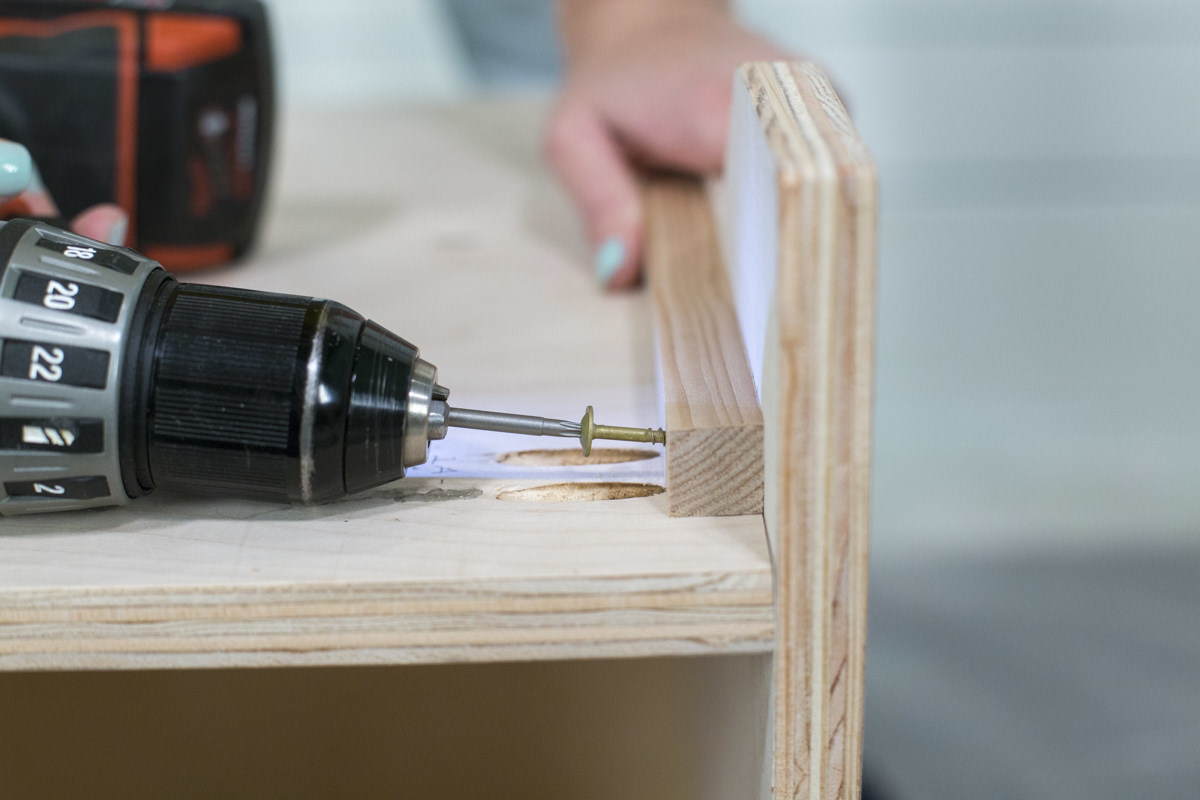
Attach ¾” square moulding into the bottom corners between the floor and wall of the bench. Pre-drill with a 7/64” drill bit and secure with 1 ¼” truss head screws. I used the same 1” mark (on the front side of the bench) from the use of the Kreg Jig to line up the moulding pieces so that they were even, and tucked away out of sight.
I used moulding because it’s small and square. I wanted something that would be small enough that you wouldn’t be able to see it easily. Though they may not seem like much, these little supports make a big difference. Before this the bench would sway back and forth a little bit, but after adding the moulding, it was solid.
Step 8: Securing the back in place
Normally we make all the cuts in the beginning instead of along the way, but for this step, I waited until the bench was built. Then I measured the back, and subtracted ¼” off the length and width before cutting that out of the 1/4" plywood. Because it’s no more difficult to cut it later (and because there’s always some little variable in the construction process), I find it easiest to wait and know that it's accurate and that I won't have to recut it.
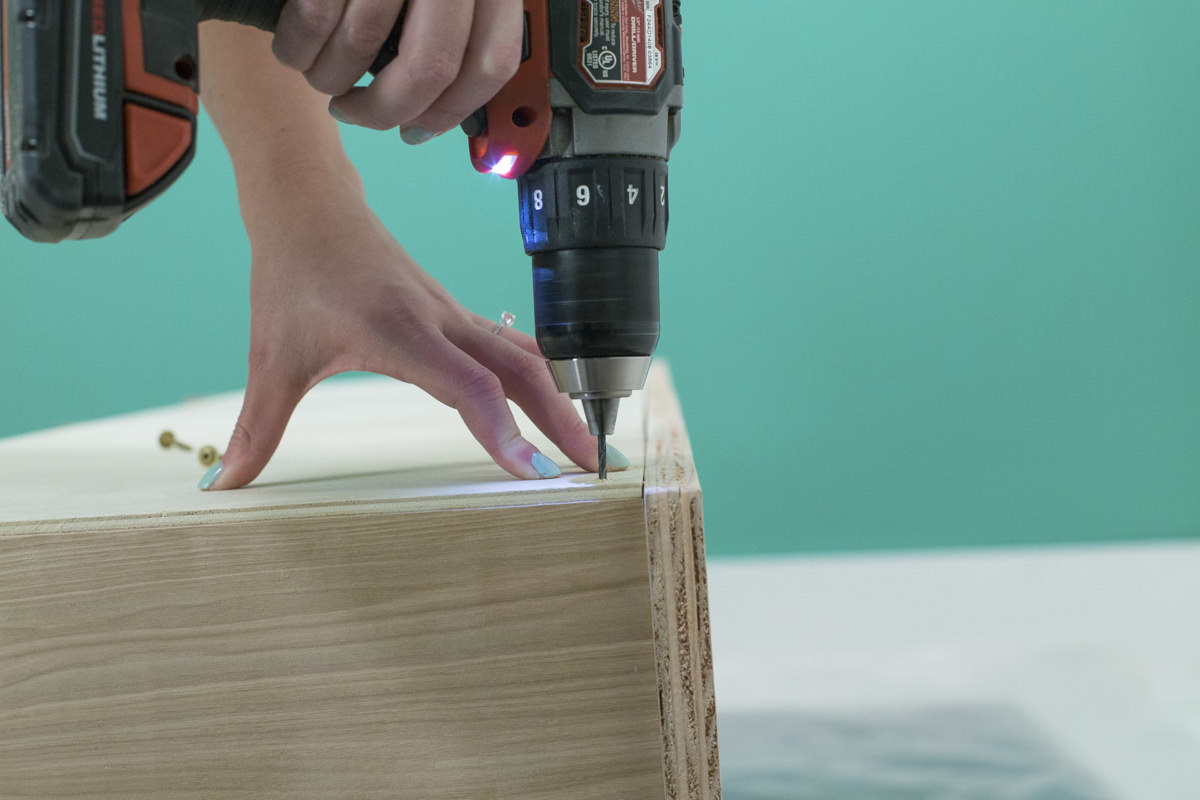
Attach your back just below the bench seat. Pre drill with a 7/64” drill bit, and secure with 1 ¼” screws.
Step 9: Applying putty
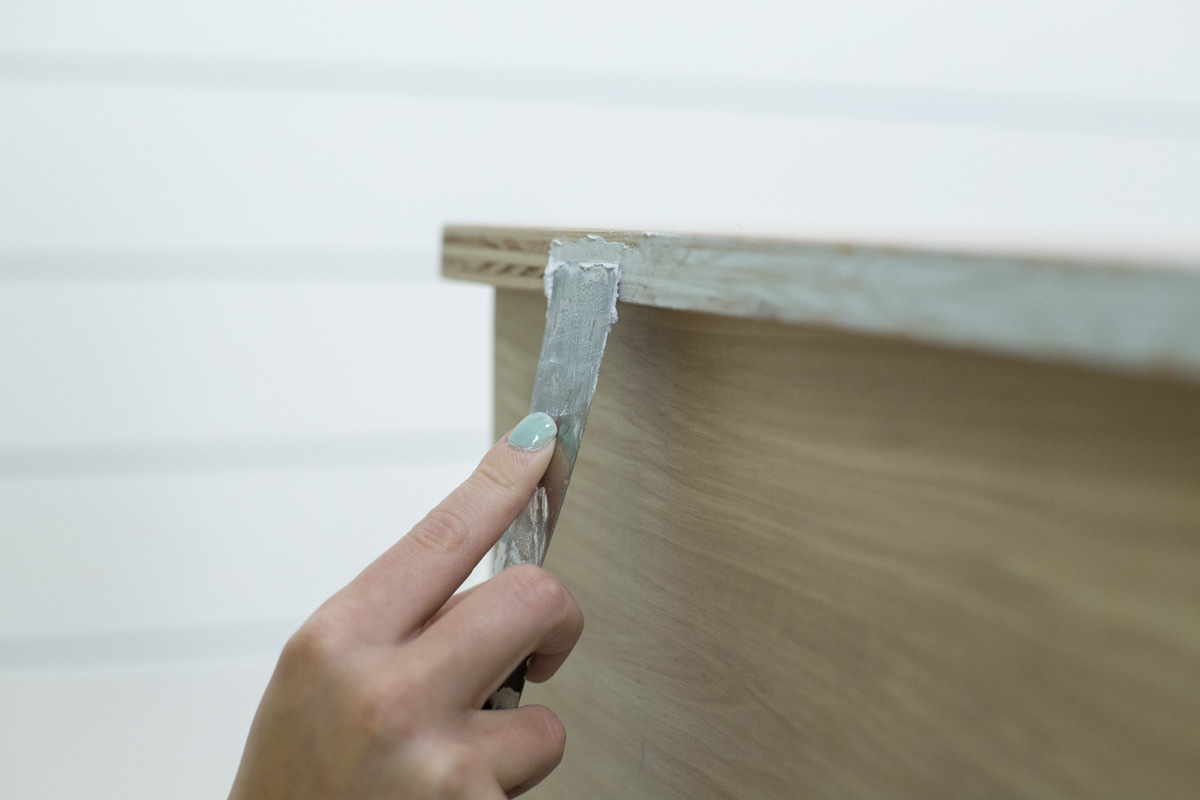
The plywood occasionally has small voids in the edges. If you’re staining it or doing a clear finish it’s not a big deal, but if you're painting—you will want to fill those holes to get a clean edge. We used a spackling compound, and I really like it because it only takes thirty minutes to dry before you can paint over it. Apply with a putty knife, and use fingers to smooth it out. Before you paint, go over the putty with 220 grit sandpaper to get it really smooth. If you're not painting, you can also use wood filler that is the color of the stain, or something that will match the natural wood tones.
Step 10: Finish
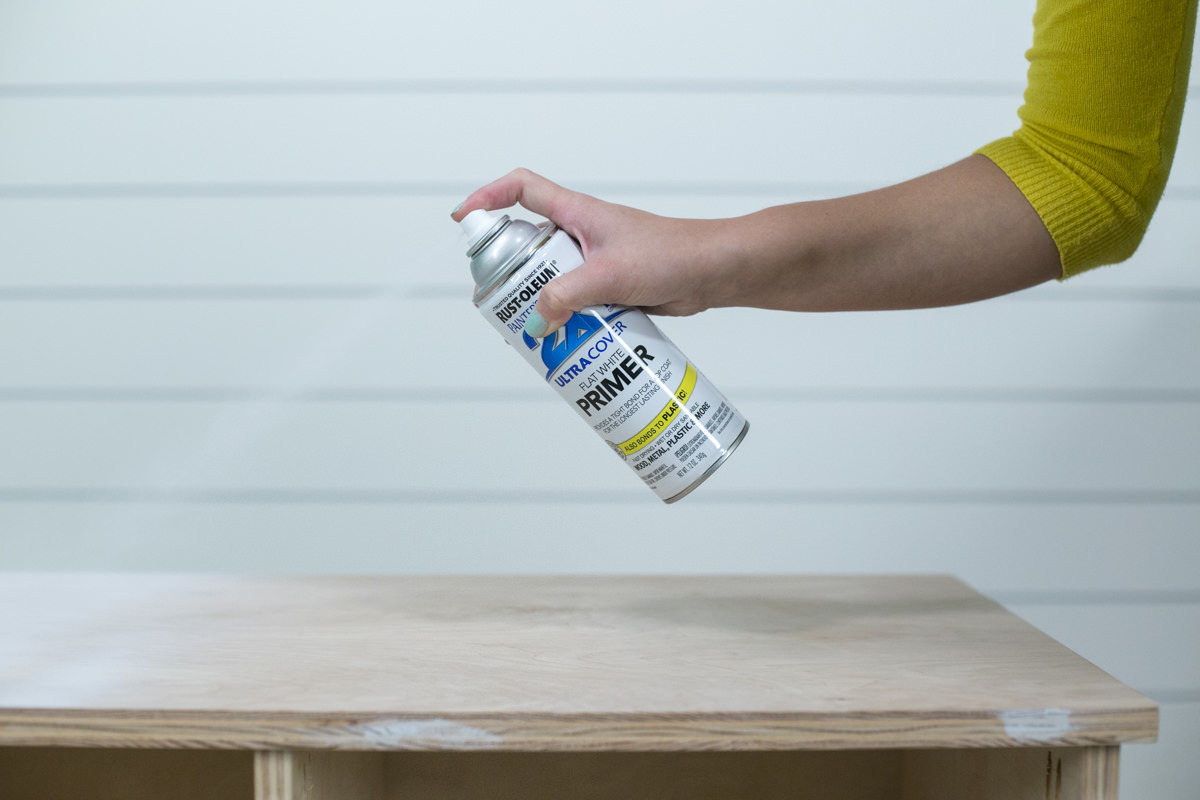
You can finish your bench in whatever way suits your home and personality best. We primed and painted ours to coordinate with the lattice coat rack project we just built. You can stain yours, or to keep a natural look—use a clear finish like Daly’s Benite. Here are some more tips on priming and painting.
I was hesitant about spray painting after it was already built, but the cavities are all big enough that it was surprisingly easy. I would recommend painting after assembly—especially if you’re using spray paint.
You can buy wood plugs—little beveled pieces of dowel that fit into the holes from the Kreg Jig. I didn't feel like that was necessary, because you can’t see them when you're standing up, but if that sort of thing bugs you, they're an option.
Step 11: Adding feet
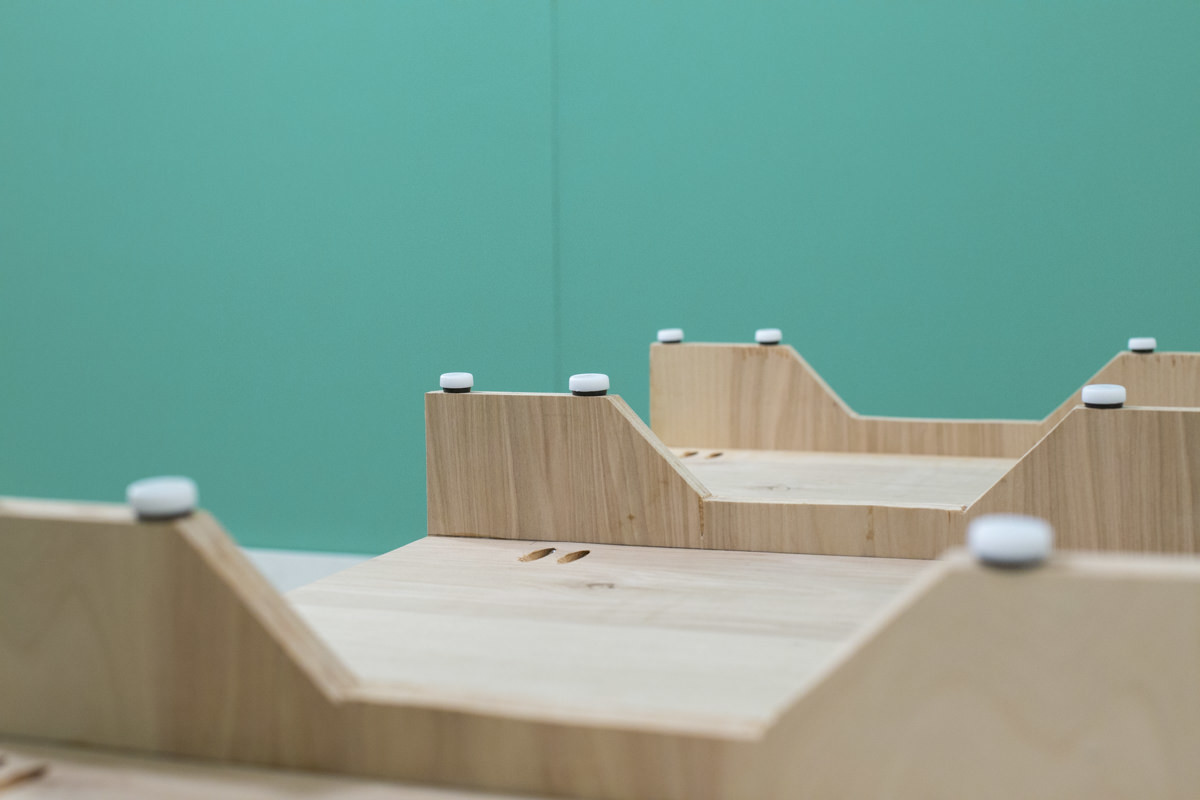
Adding feet (or floor glides) is an easy way to protect your floor from scratches, and if your bench is a little wobbly, this is a great way to fix that with strategic positioning or shimming.

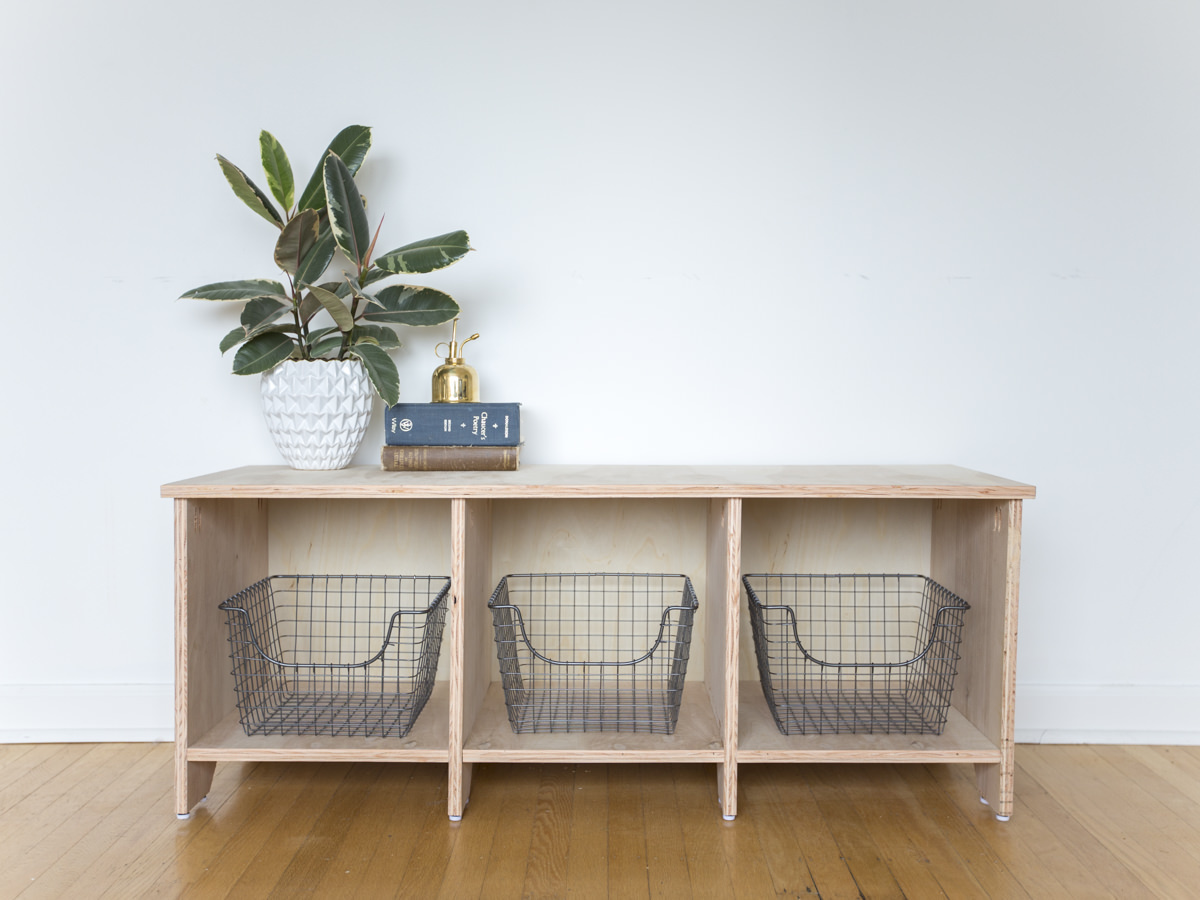
This was one of those great projects that played out exactly the way I wanted it to, and those don't come around every day. This project was definitely a confidence booster. There’s something about furniture that is inherently intimidating to me, so getting passed that was a big deal. I’ve felt this before a few different times. The first year of DIY was the Piano Bench project (one of the first projects I designed completely on my own); the next year it happened again when I built the Adirondack Chair.
No matter where you are in your DIY experience, there's always that moment of doing something that intimidates you—but then it goes well, and it makes you want to keep going and keep trying harder things. That's what DIY is all about, really.
