
How To Make a Back-to-School Lunch Box

"This lunch box is something I’ll totally use, and it serves as major motivation to pack a lunch!"
Materials

It’s back-to-school season, and there’s something really nostalgic about it. Even though it’s been awhile since I’ve actually been in school, the preparation and anticipation for a new school year is something I miss—I was always the kid who really wanted to go back to school. Granted, that feeling would usually die out after a month or so in class, but by the end of each summer, I was ready for school all over again. That may have had something to do with the fact that fall is my favorite season, or the fact that there’s something rejuvenating about a fresh start—and fresh supplies!
I once saw photos of a Kate Spade lunch tote and quickly fell in love with it. I resisted purchasing the lunch box for quite some time, and then decided I really wanted to try to mimic that look, and see if I could recreate it for less than the price of the original. (Spoiler alert: I succeeded!) This is subjective of course, and depends on the cost of the materials you use, but I used a fairly standard priced cotton fabric for the outside, and insulated fabric and oilcloth lining for the inside. With a zipper, it was still only half of the cost of the original lunch box. Plus, I got to do it exactly the way I wanted to, and I love it when that happens. In total, this lunch box cost about $15—not including the blood, sweat, and tears that went into making it.
All of the materials were purchased from Pacific Fabrics which is a local business that's been around almost as long as we have. They're always a go to for us with fabrics, and if you've been paying attention I'm sure you've seen us mention them in past sewing posts.
This project was definitely more involved than I anticipated, so I wouldn’t recommend it for a novice sewer. If you’re looking to brush up on your skills, check out some simpler projects like our DIY cat hammock or bench cushion before tackling this one.
This project is suited for everyone, whether you’re headed back to school, have a kid who’s headed back to school, or simply want to up your lunch box game (no shame in that). Not to mention I'm pretty sure I'll be giving lunch boxes to everyone as Christmas gifts.
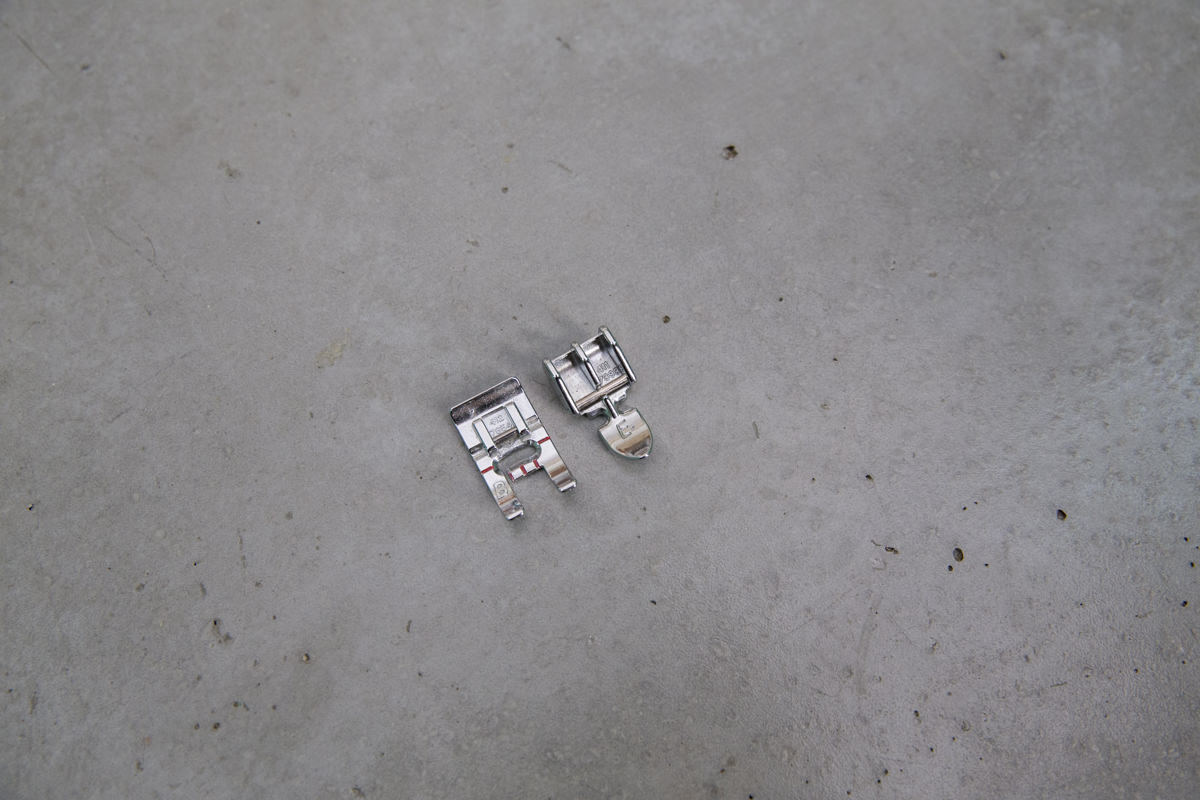
Note: I used two different feet on the sewing machine for this project. One is just the basic foot that should already be on your sewing machine—it’s the one with two prongs, located on the left. The second, on the right, is a zipper foot. This foot allows you to sew nice and close to the zipper teeth. They’re very simple (and snap into place). What’s cool about the zipper foot is it has two different sides you can snap into, depending on whether the zipper teeth are on the left or right side of the needle, and you can move the foot to get as close to the teeth as possible. Your sewing machine may have come with a zipper foot already, if not we linked to a foot on Amazon that fits a variety of brands. Just make sure that yours is included before you order!
Step 1: Cut fabric
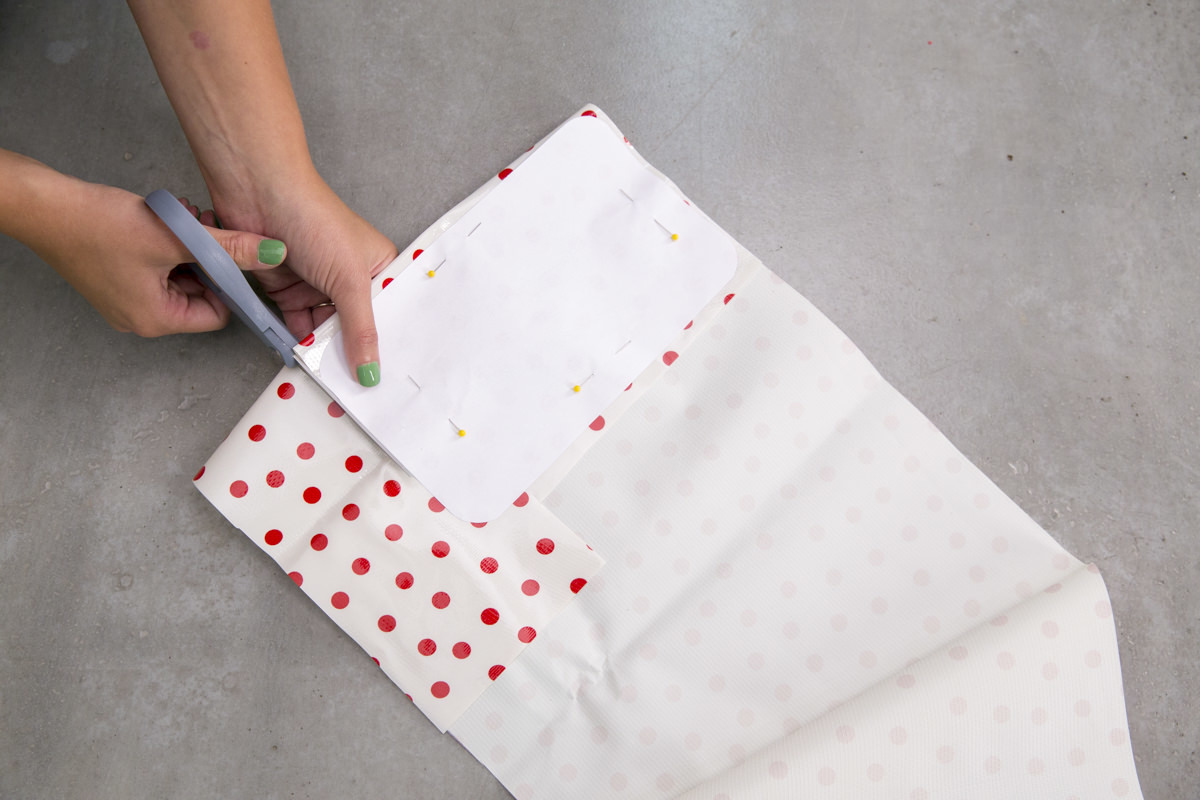
We’ll be following a pattern for this project. To start, print out the pattern pieces.

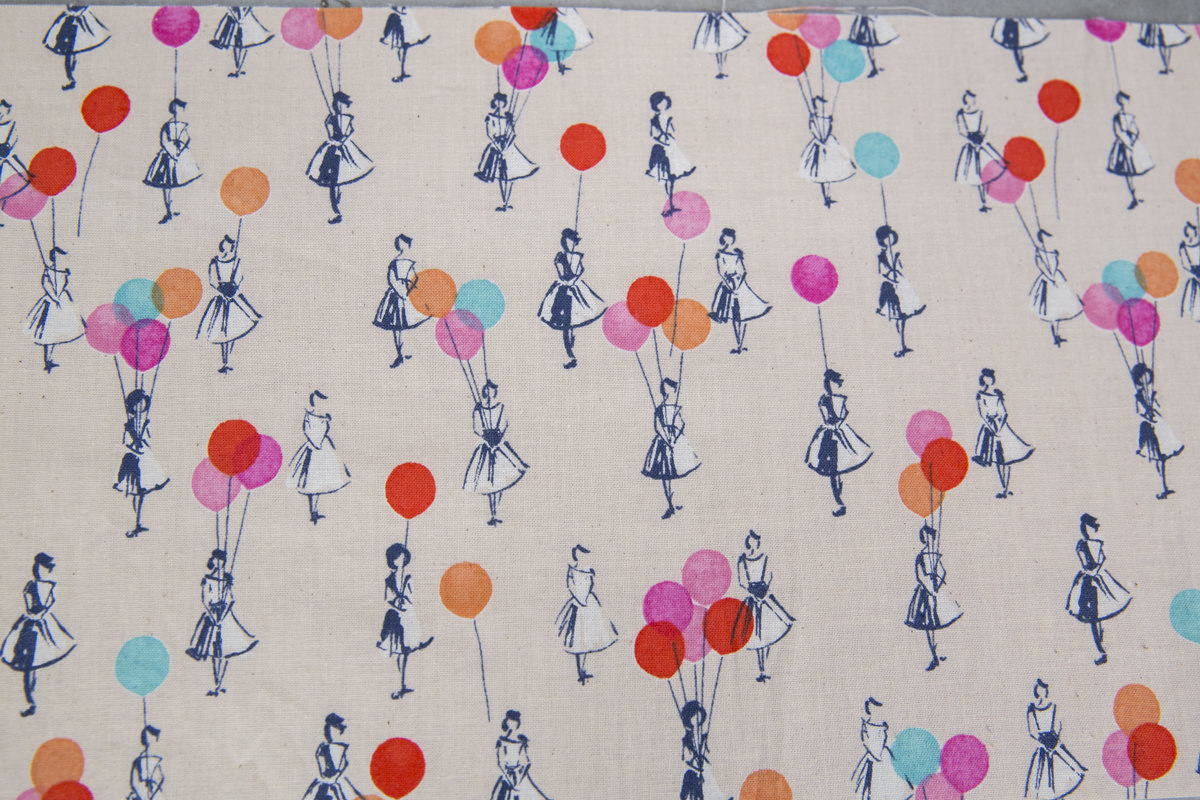
I picked the outside cotton fabric based completely on physical appearance. Cotton is a great basic fabric to use, because it has enough structure and stretch that it’s easy to work with. If you find a print you like that’s in canvas or another medium-weight fabric (anything that isn't too slippery or stretchy), that will work great too.
Beginning with the cotton fabric that’ll make up the outside of the lunch box, measure and cut a 29 1/2” by 8” rectangle. (Disclaimer: this isn’t one of the pattern pieces.) You can do this with a straight edge and pen, or you can cut out your own pattern from paper. From the cotton, cut two large top/bottom pieces, one hinge piece, and one strap.
From the insulation fabric, you’ll also want to cut a 29 1/2” x 8” rectangle, and two large top/bottom pieces. Insulated lining is very simple—it’s essentially batting attached to a reflective material—and you can pick it up at any fabric store. The purpose of the insulated lining is to keep your lunch cool. I listed that you only need half a yard of this material, and that is all you need, but you will have to cut the 29 ½” x 8” piece into two different strips and sew them together if you want to take the cheapest route. If you’re making two lunch boxes, you can buy a full yard and cut one long piece, but if you’re making only one, you’ll have to cut two smaller pieces and join them together.
On the very inside is something called oilcloth. It’s a very thick plastic outdoor tablecloth material. The appeal for us is that it’s waterproof, and a lot more attractive than the reflective material that would have been on the inside of our lunch box. The oilcloth keeps things from leaking out of—or into—your lunch box. You can throw an ice pack in there, and it’s not going to leak through—even if there’s condensation. From the lining material, cut a 29 1/2” x 8” rectangle, two of the smaller top/bottom pieces, and one hinge piece.
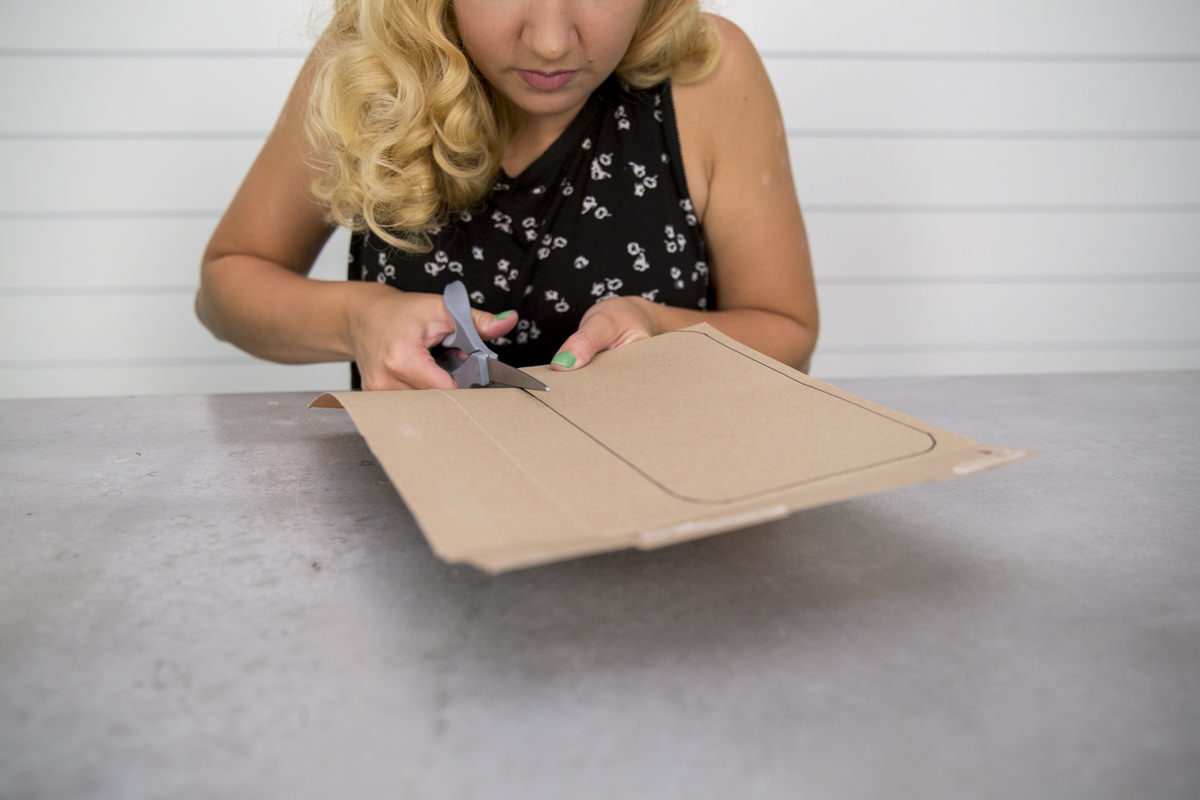
For the base of your new lunch box, cut a small top/bottom piece out of piece of cardboard—we used an old cereal box.
Lastly, cut a strap out of interfacing (if you don’t have interfacing, you can just double up on the cotton).
Step 2: Sew outside
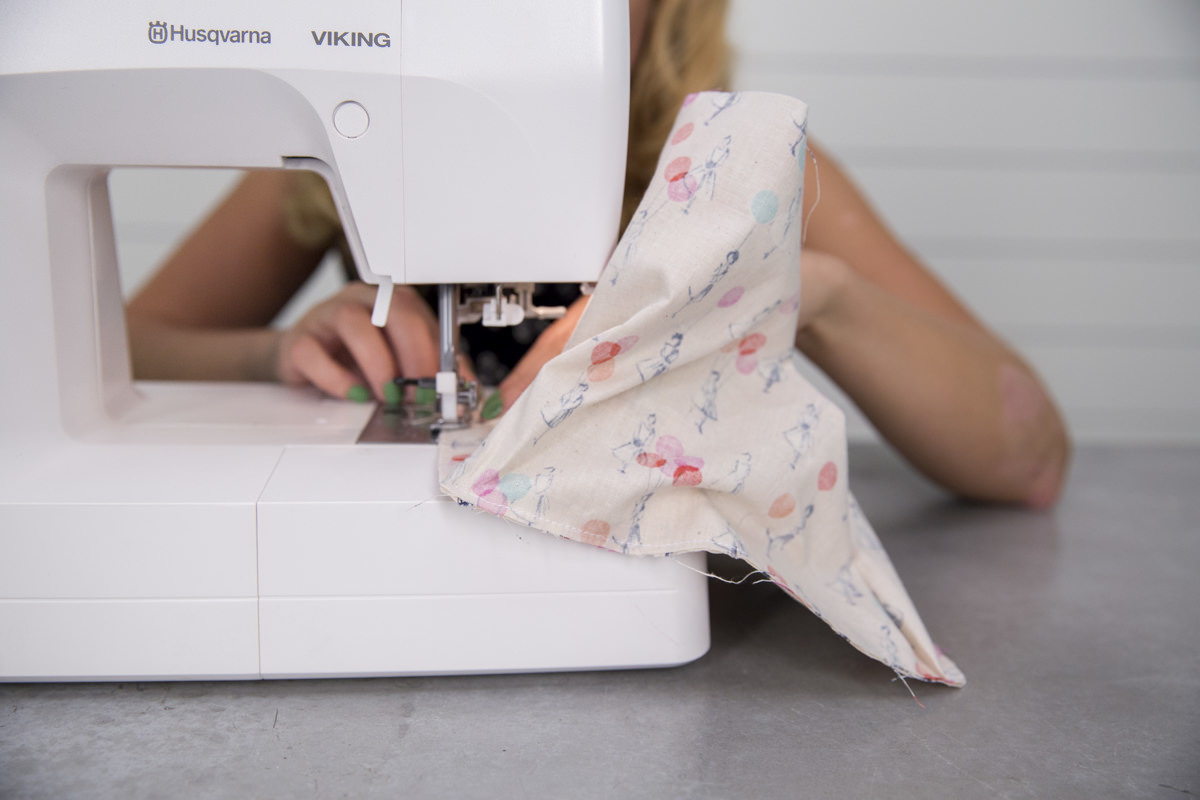
Sew together the bottom and sides of the cotton fabric with right sides together and a 1/8” seam allowance.
I found the easiest way to do this was to match the middle point of the side and the middle point of the bottom, start pinning, and then work my way around the bottom rectangle. When you get to the other side, mark the middle of the bottom on that side, and mark where the side overlaps with the middle. I lined up the ends of the side panel with the right sides together, and I sewed that where I had marked it, as it met up with the middle point. That makes the side continuous, and a piece that then fits together with the bottom piece.
Instead of just sewing that seam beforehand, I found that matching it exactly, measuring it out, and making sure it fit worked best, especially because we’ll be repeating this with the insulation and oilcloth (and they’re three different materials that have different stretch and work differently).
Step 3: Sew insulation
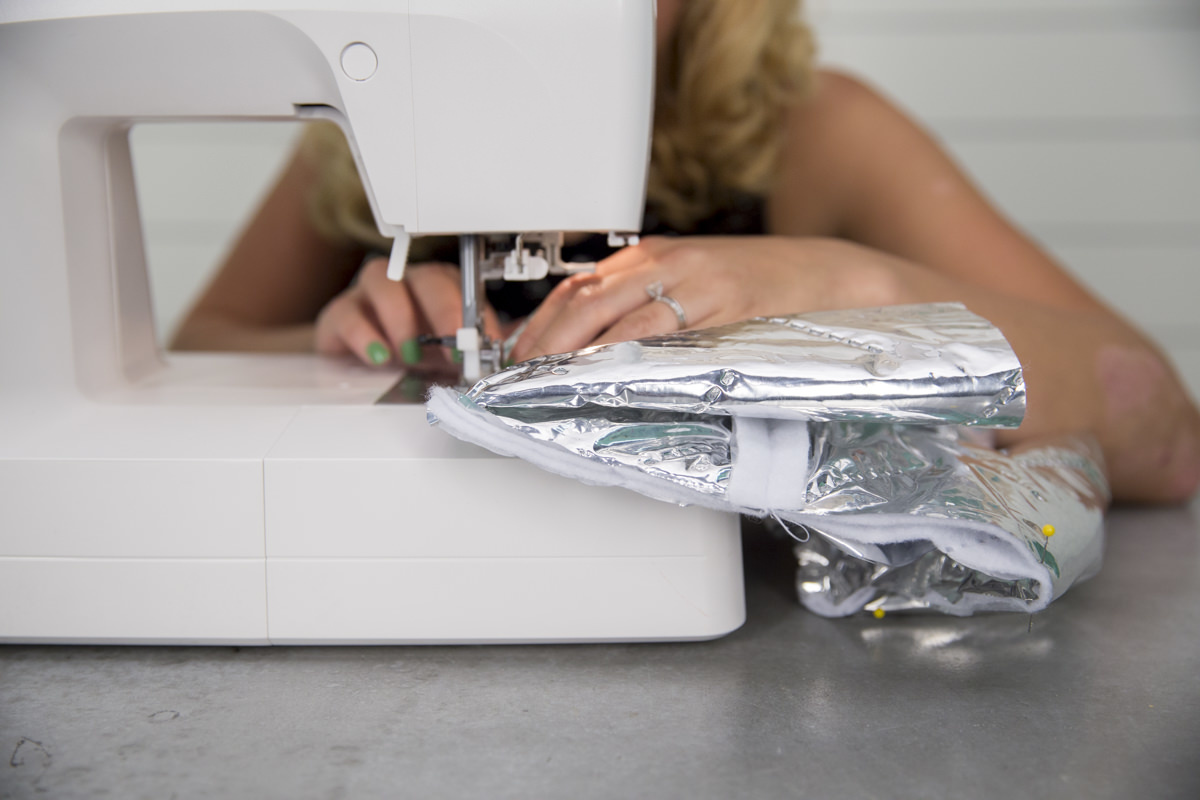
Sew the bottom and sides of the insulated fabric together, with the wrong sides (batting sides) faced together and a 1/4” seam allowance.
For this step, follow the same steps as we did with the cotton (just with a wider seam allowance).
Step 4: Insert cardboard and attach outside and insulation
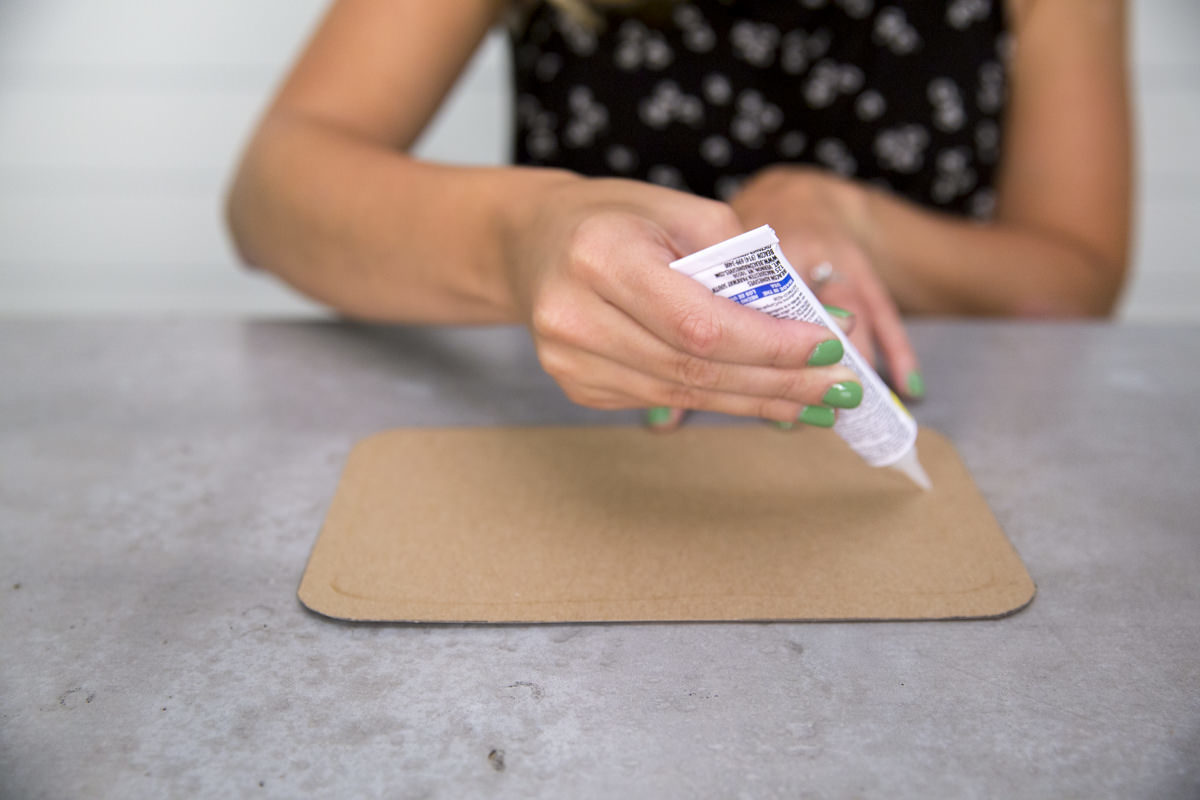
We covered cutting this in step one, using cardboard from a cereal box. Fit the cardboard into the bottom of the cotton “form,” then glue in place with fabric glue. Fit the insulation inside the cotton—with the metallic side facing in.
Line up the top edges of the two different materials and pin together, then baste. (Basting is a sewing term that means you’re using long stitches, best for sewing something that’s just a temporary hold.) We want the cotton and insulation to act as one fabric when we’re sewing it into the zipper, but once they’re sewn into the zipper, those stitches will hold it in place. So right now, we’re just going to baste. It’s a technique that saves time, and if those stitches end up exposed on the outside of your lunch box and you have to seam rip them, it’s a lot easier to accomplish if they’re bigger stitches.


Step 5: Sew lining
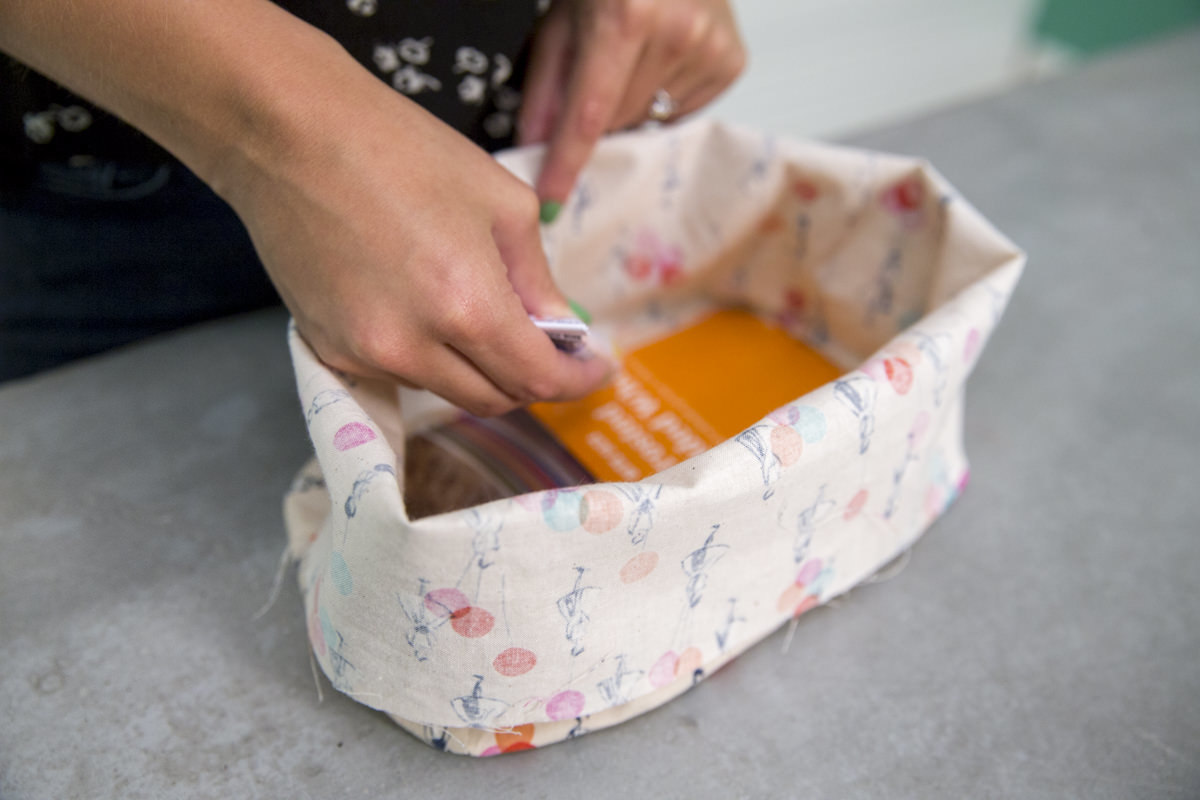
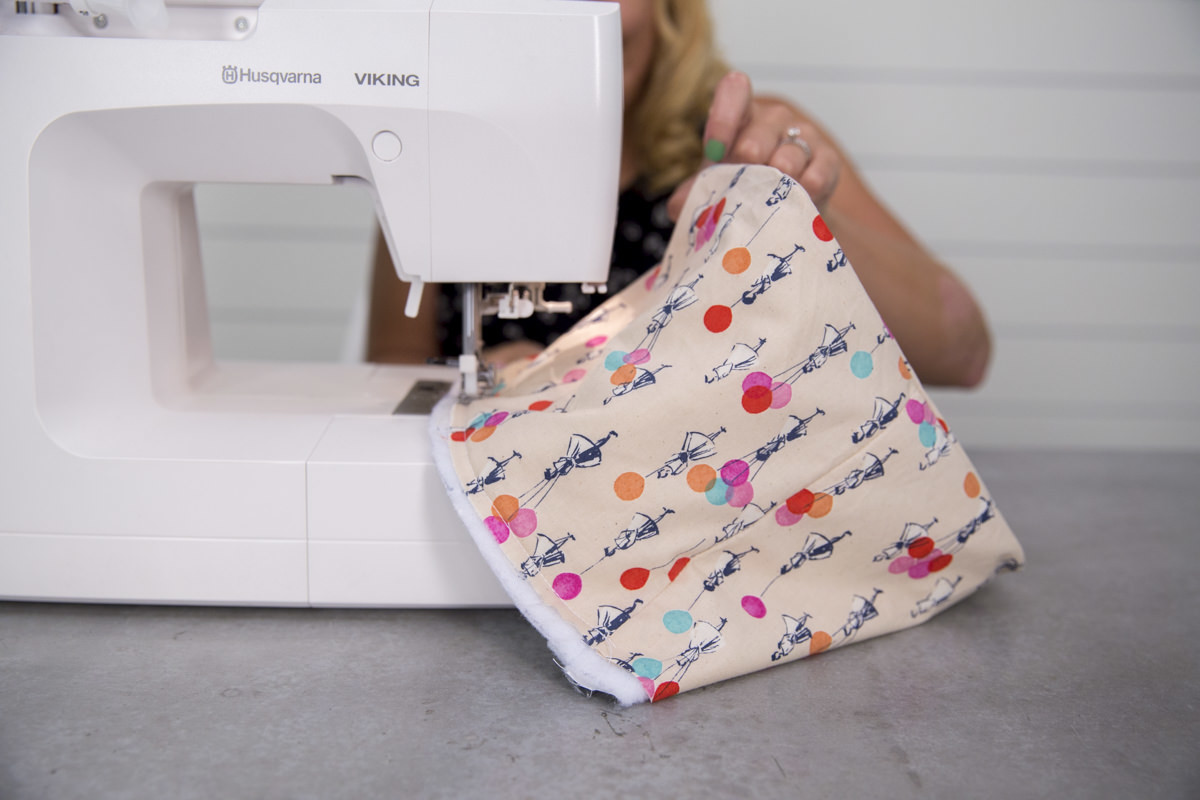
Sew together the bottom and sides of the waterproof fabric with right sides together and a 1/8” seam allowance, then fit it inside the cotton and insulation fabrics.
Follow the same thing we did with the cotton and insulated lining. It’s like making nesting dolls. Because of that, we cut this out of a smaller rectangle.
Step 6: Sew top
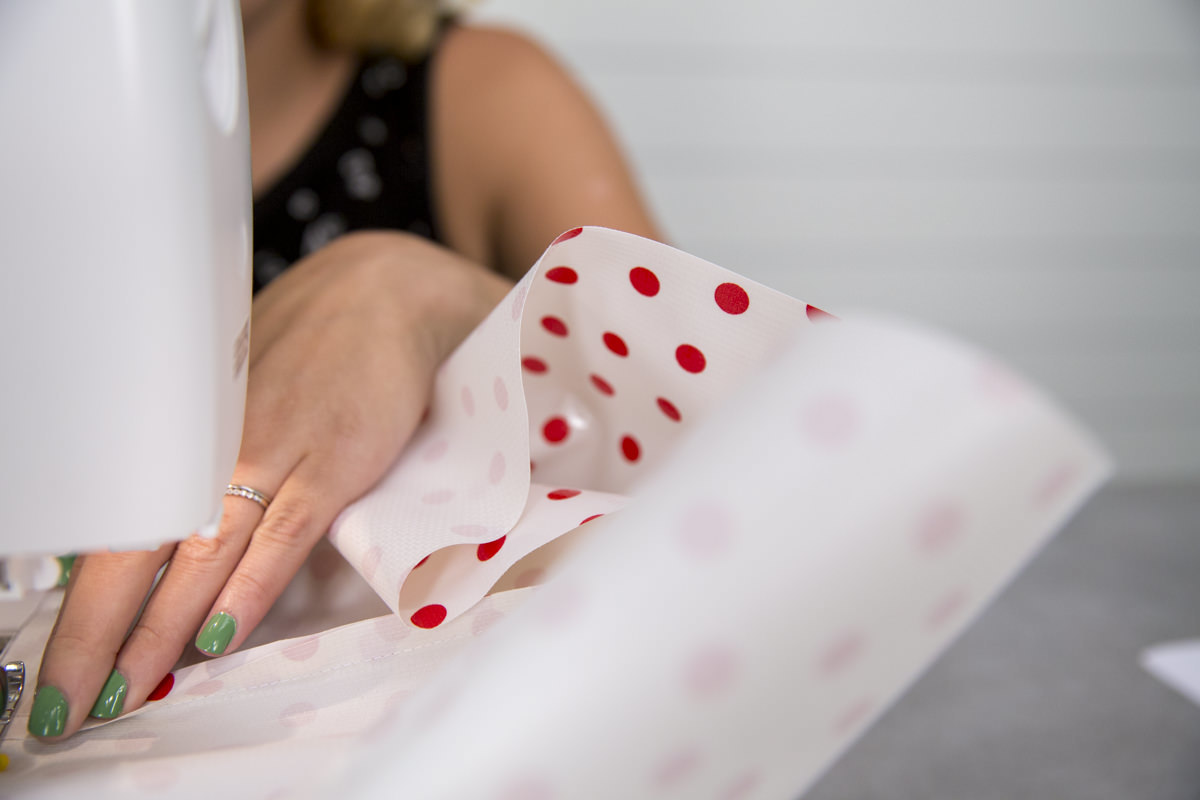
Pin together the cotton top and insulation top wrong sides together. Take the hinge piece and fold over the short ends 5/8”. Iron or pin in place. Now match the middle point of the hinge piece with the middle of one of the long sides. This will be the back of the top piece. Pin and sew with a 1/8” seam allowance.
Step 7: Add handle
Interfacing is an iron-on material that makes the fabric stiff, so the handle won’t wrinkle as it keeps its shape.
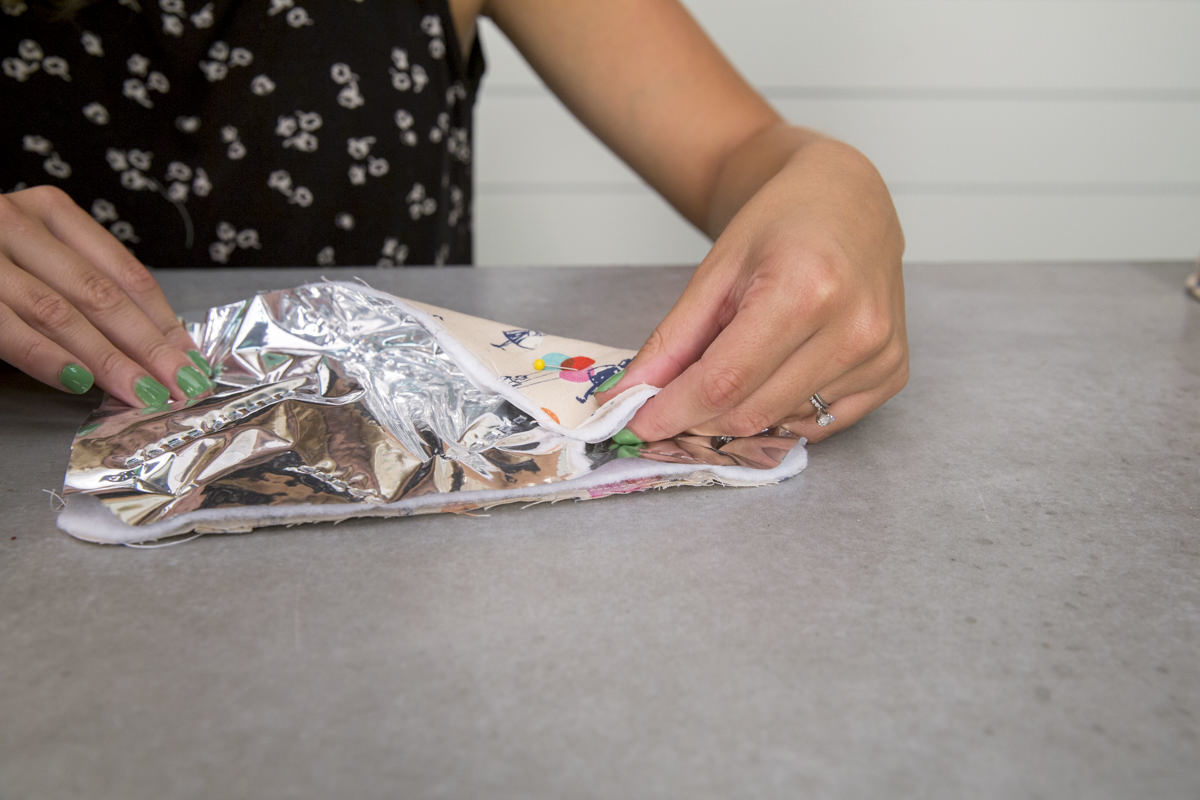
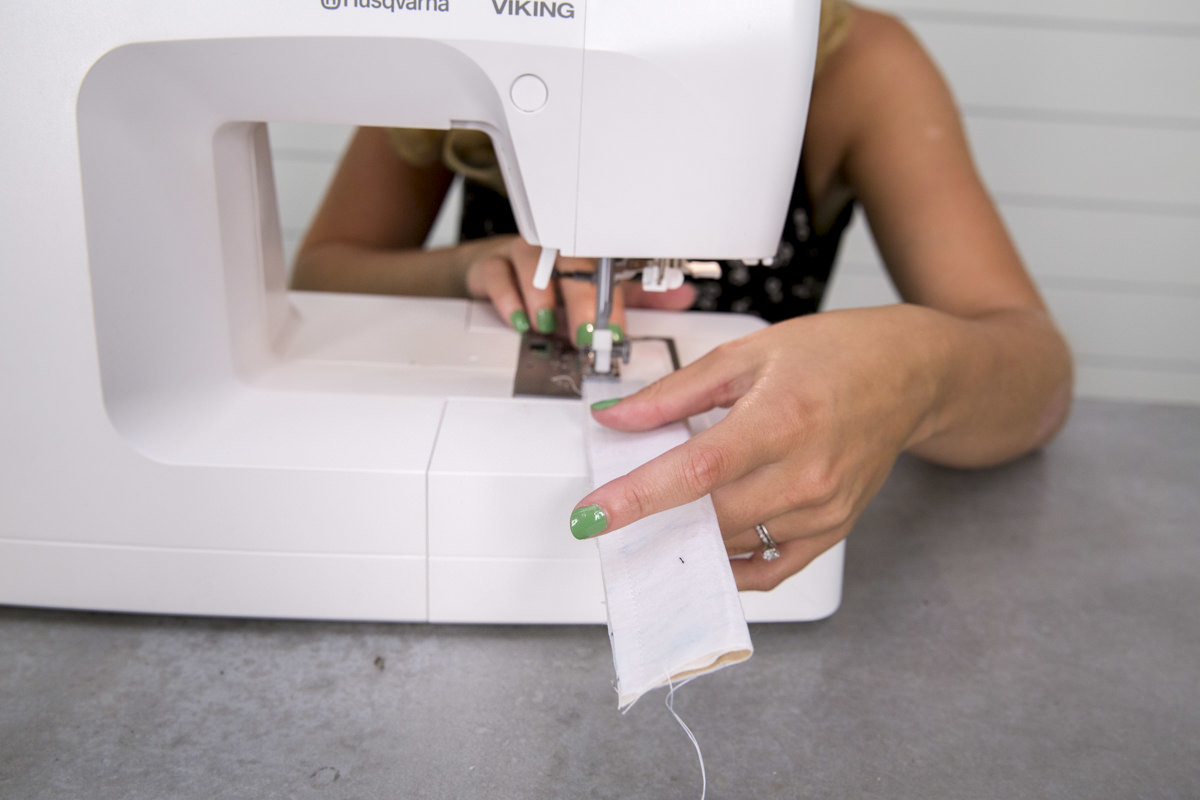
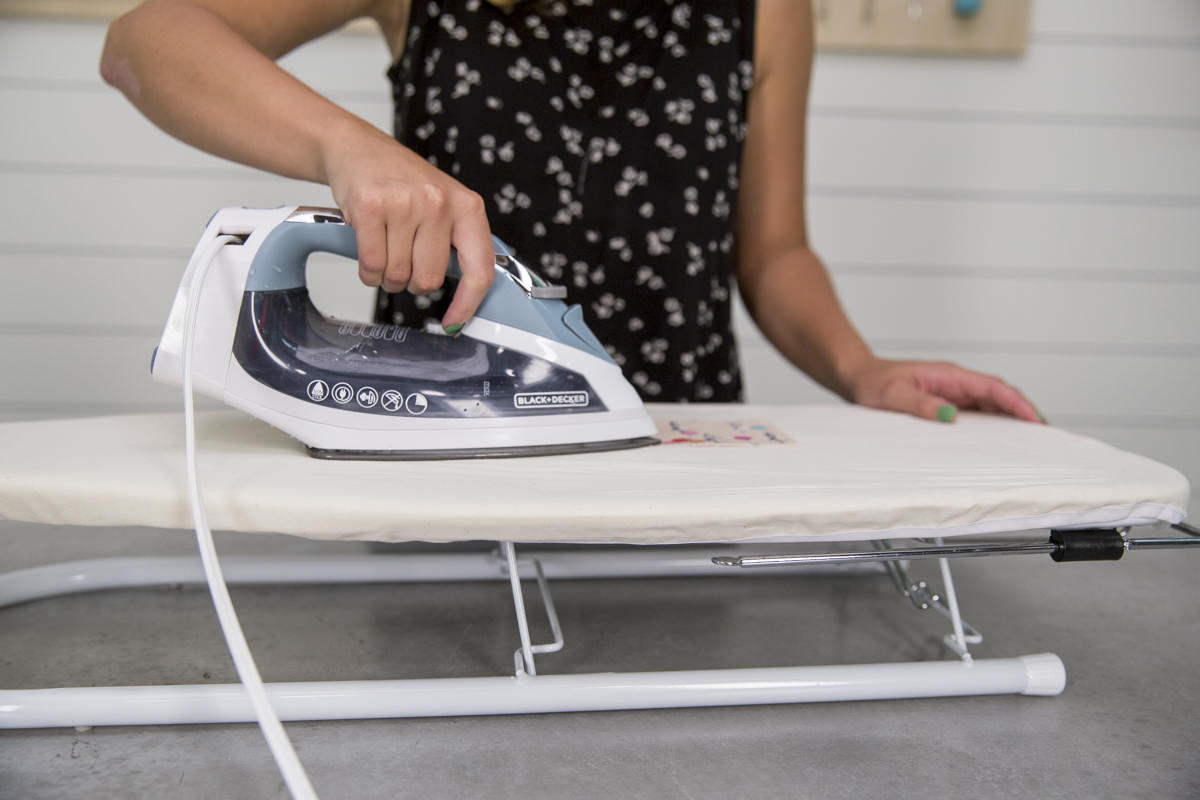
To make the handle, iron the cotton handle and the interfacing (or pinned fabrics) together. Fold over with right sides together and pin. Sew with a 1/2” seam allowance. Turn inside out and iron flat. Pin the handle across the top piece with the seam of the handle facing down.
Step 8: Attach zipper
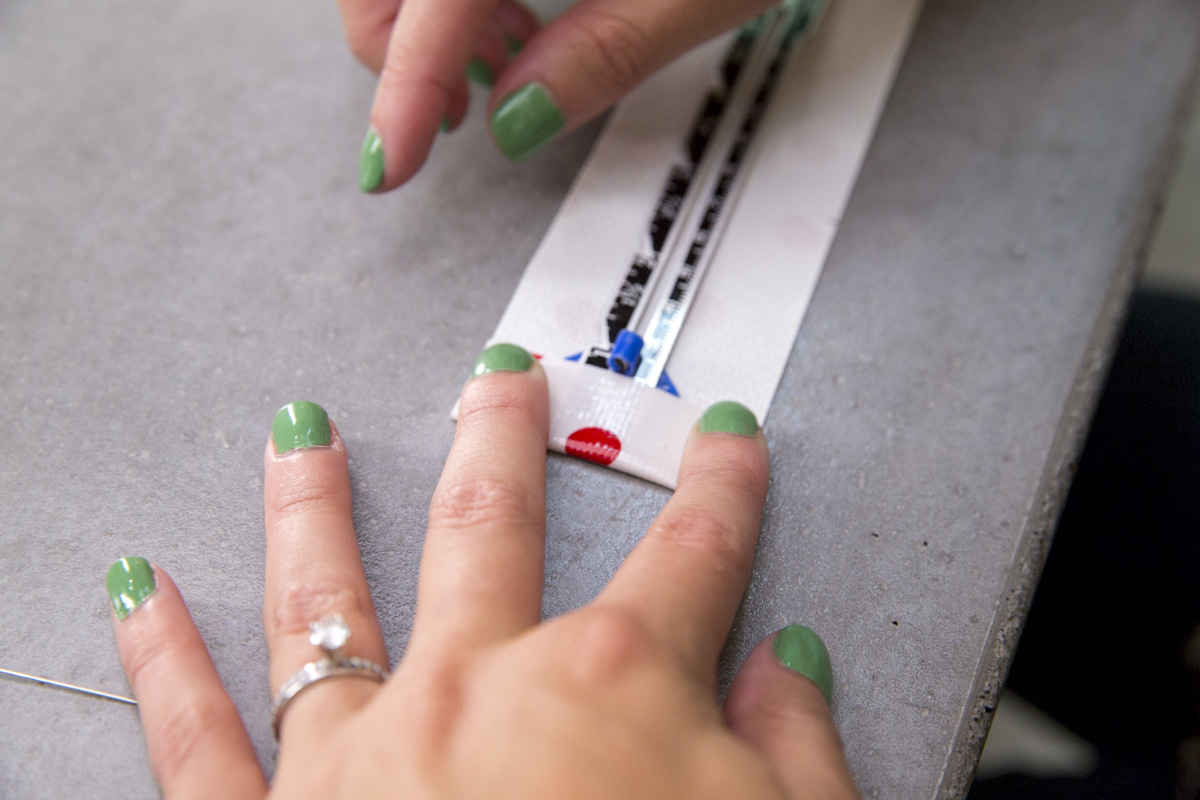
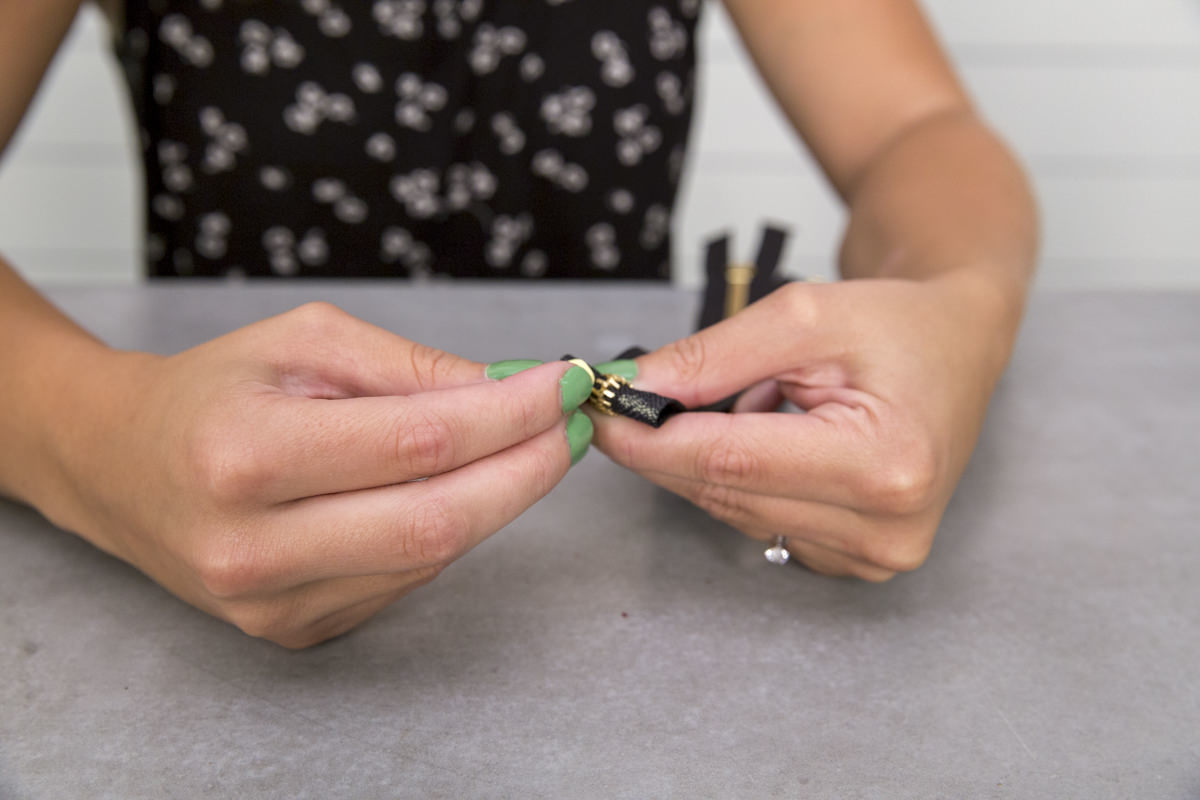
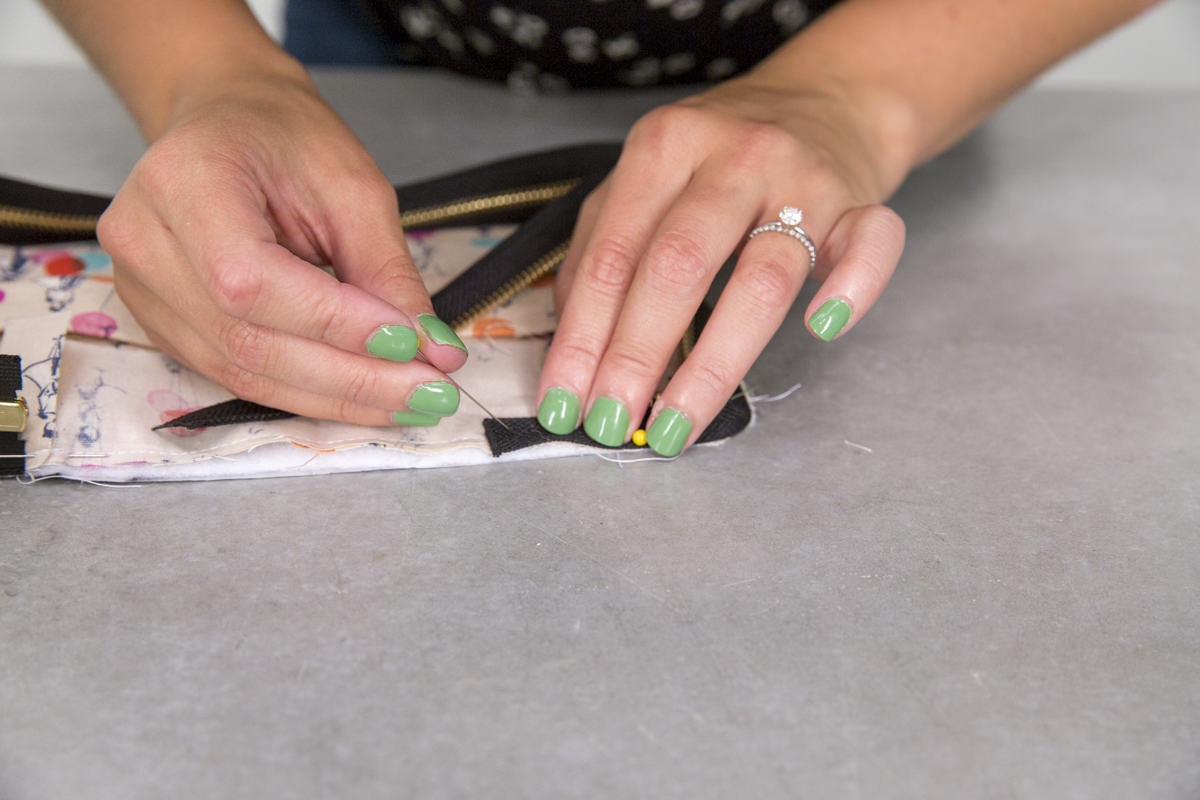
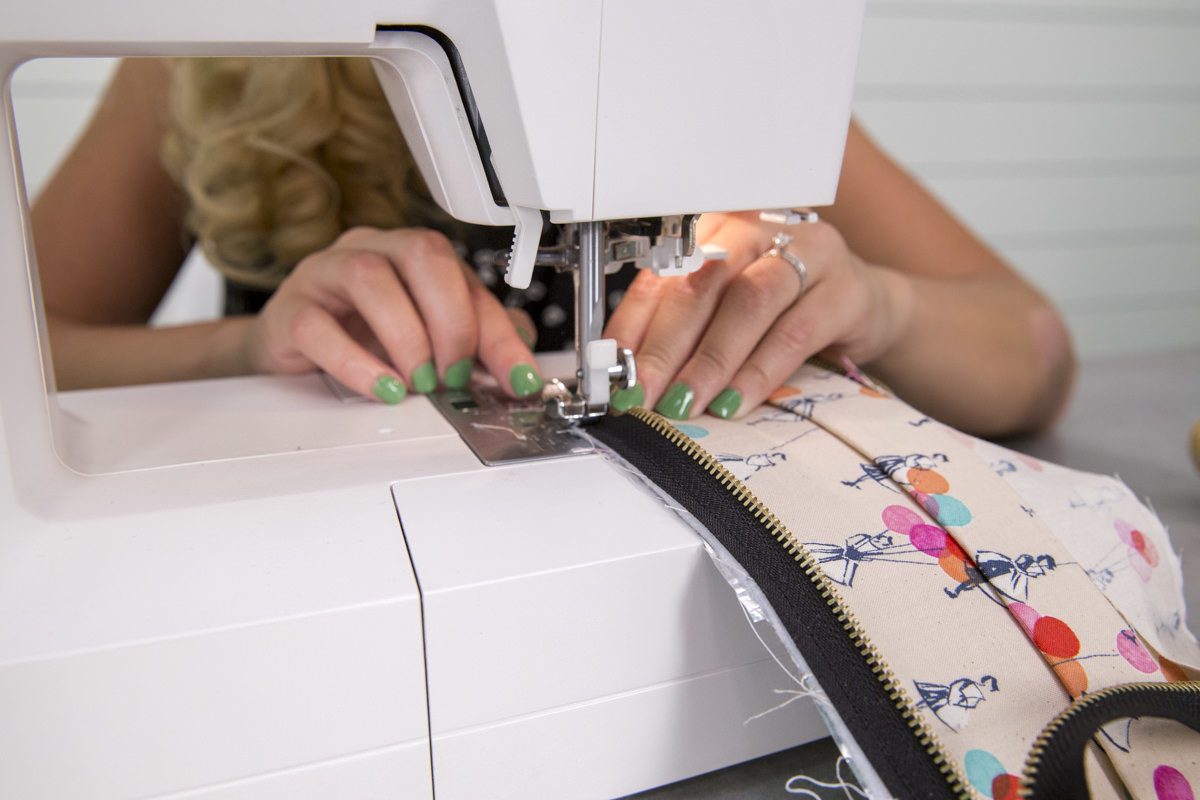
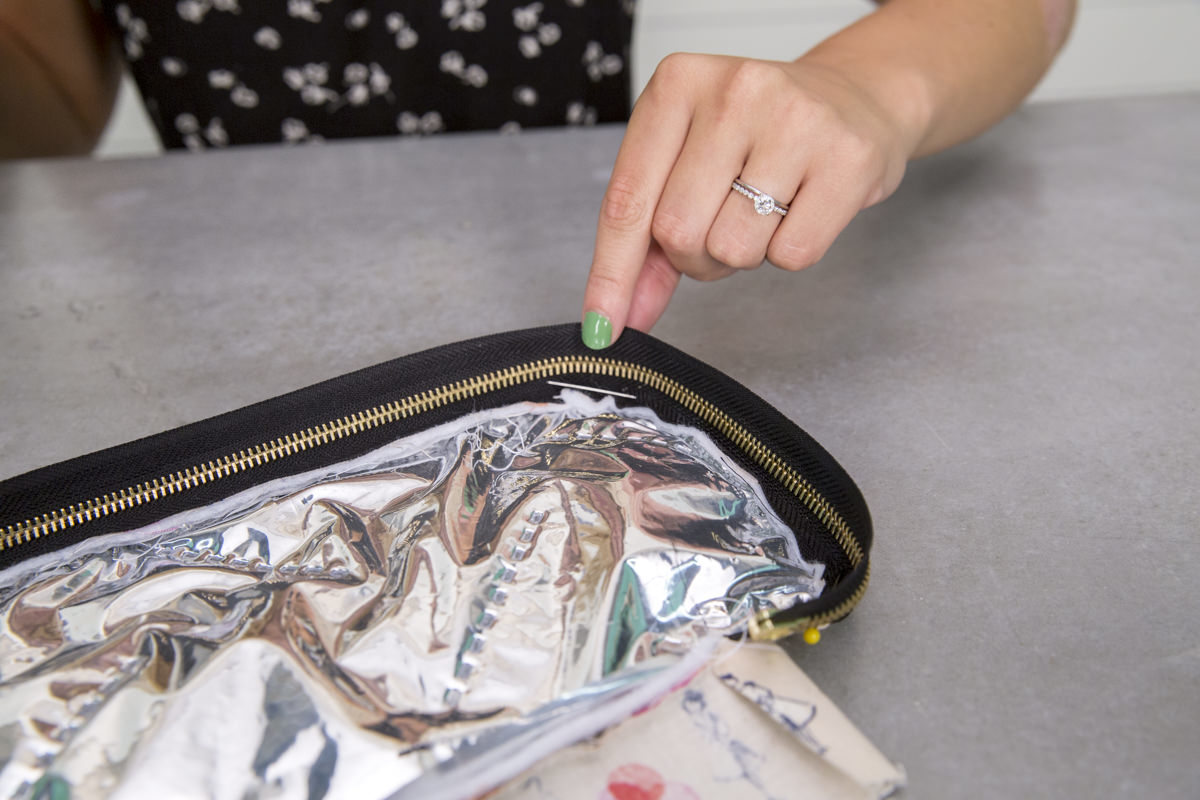
Match the middle point of the zipper with the middle of the front of the top piece. Pin with right sides together. Sew together using a zipper foot and with a 1/8” seam allowance.
Pro tip: to make things easier, sew it with the zipper open instead of closed.
Step 9: Attach lining top and hinge
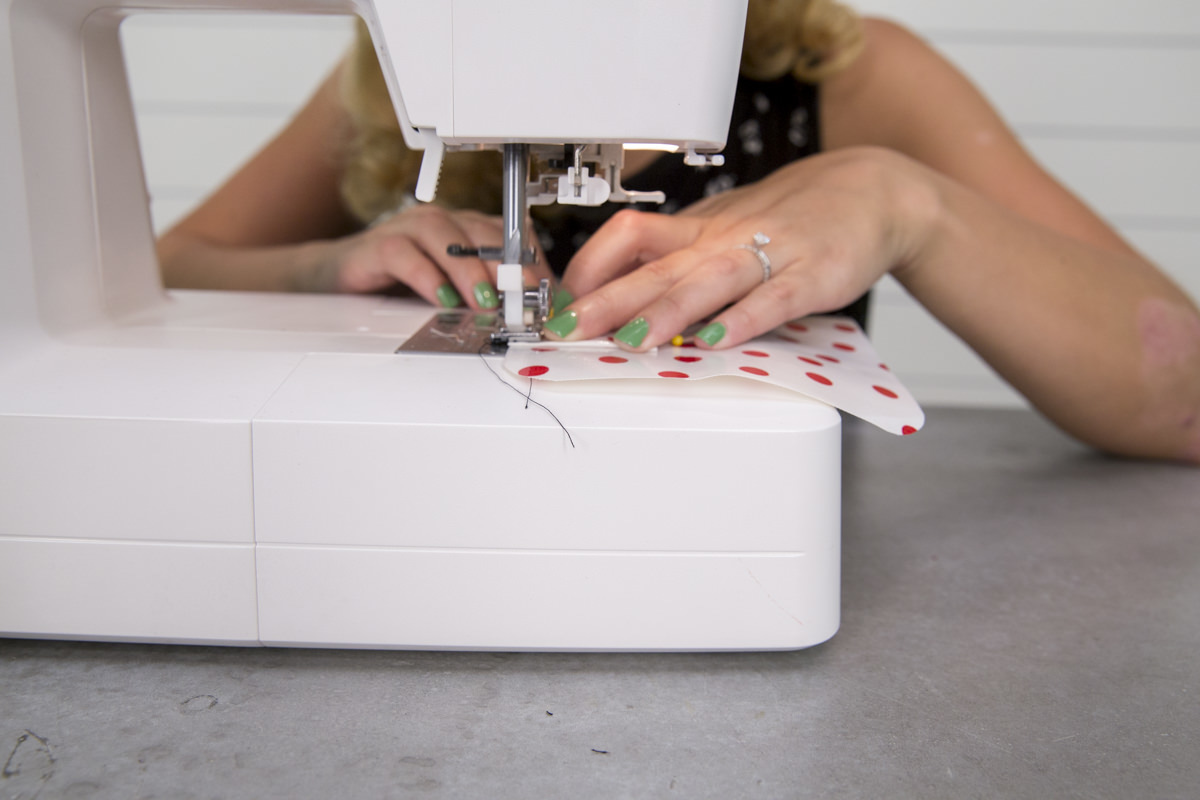
As with the cotton, take the oilcloth hinge piece and fold over the short ends 5/8”. Pin in place. Match the middle points of the top lining and the hinge lining, and sew together with a 1/8” seam allowance.
Step 10: Attach lining to top
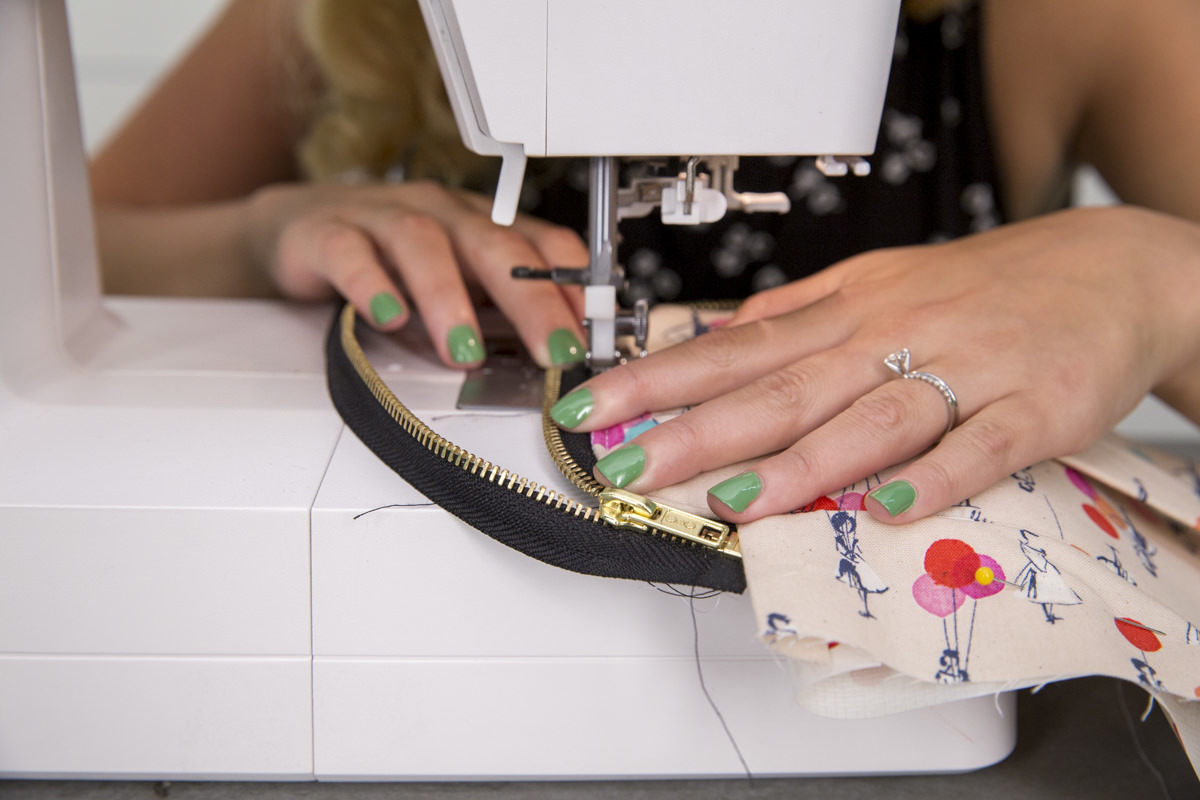
Lay the top piece of lining on the inside of the top of the tote. Flip over and sew along the edge of the cotton fabric 1/8" edge away from the zipper.
Pin the lining down in the middle of the top where the sewing machine won't run into the pins. Put pins in the corners to fold down the edge of the zipper so that the lining can lay on top of it. The key to doing this is to make sure that the zipper edge is laying flat underneath the lining you’re sewing on.
We call this kind of sewing topstitching because you’re stitching on top of the finished product. It’s stitching that you’ll see, so pick your thread color accordingly. We picked a subtle white, but you can also choose a fun accent color.
Step 11: Attach top to bottom
Turn the bottom of the lunch box inside out, so that the insulation is on the outside. Match the middle of the hinge piece with the back seam of the bottom piece. Pin the zipper along the top of the lunch box, matching the edge of the zipper with the basted seam. This will ensure these stitches don’t end up being visible in the end. Sew with a 1/8” seam allowance along the edge of the zipper.
Once you complete that seam, the lunch box is now completely sewn together, and the zipper is on the inside of the fabric and is zippered shut—you have to open the zipper from the inside, in order to turn the lunch box right-side-out again. It’s not as difficult as you may think! But it’s important to know because there were definitely a few times that I thought to myself as I was sewing the seam "I hope this works and that I can get it open again!" I wondered if I might accidentally sew this permanently shut! If you think that too, don’t worry—you’re not.
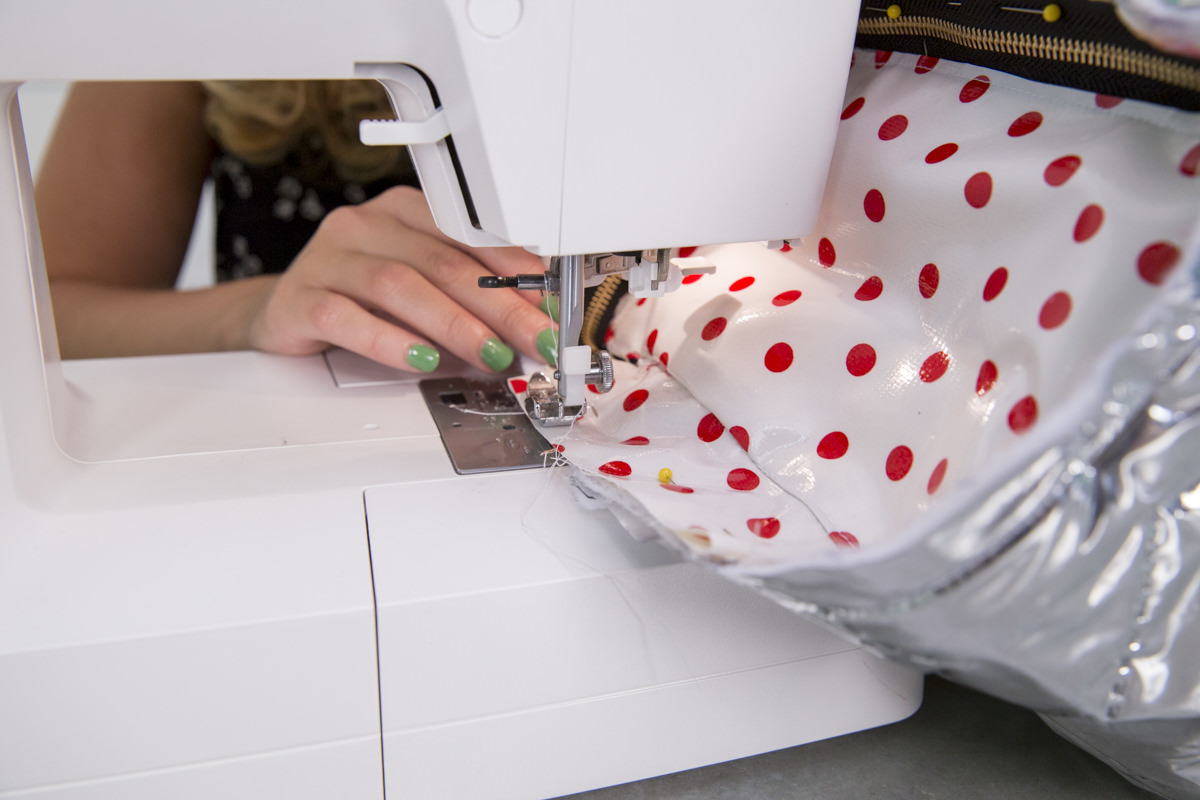


Step 12: Secure lining and hinge
Fit the bottom part of the lining into the lunch box and fold down to fit below the teeth of the zipper. Pin the bottom lining to the hinge lining and remove lining from the lunch box. Sew lining and hinge with right sides together.


Step 13: Fit in lining
Fit the lining back into the lunch box. With black thread, sew from the beginning of the zipper to the end with a 1/8” seam allowance. The thread on the outside will be hidden by the black zipper material, just be careful to not sew the outside fabric.
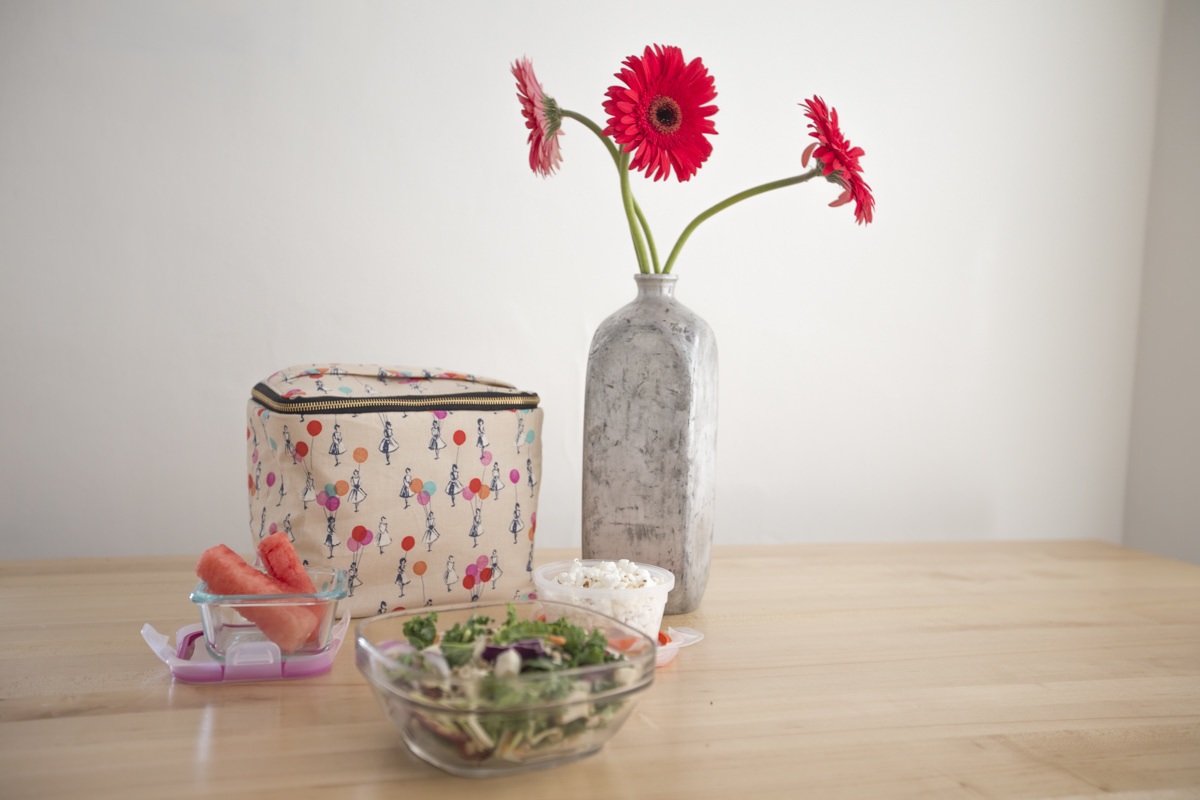
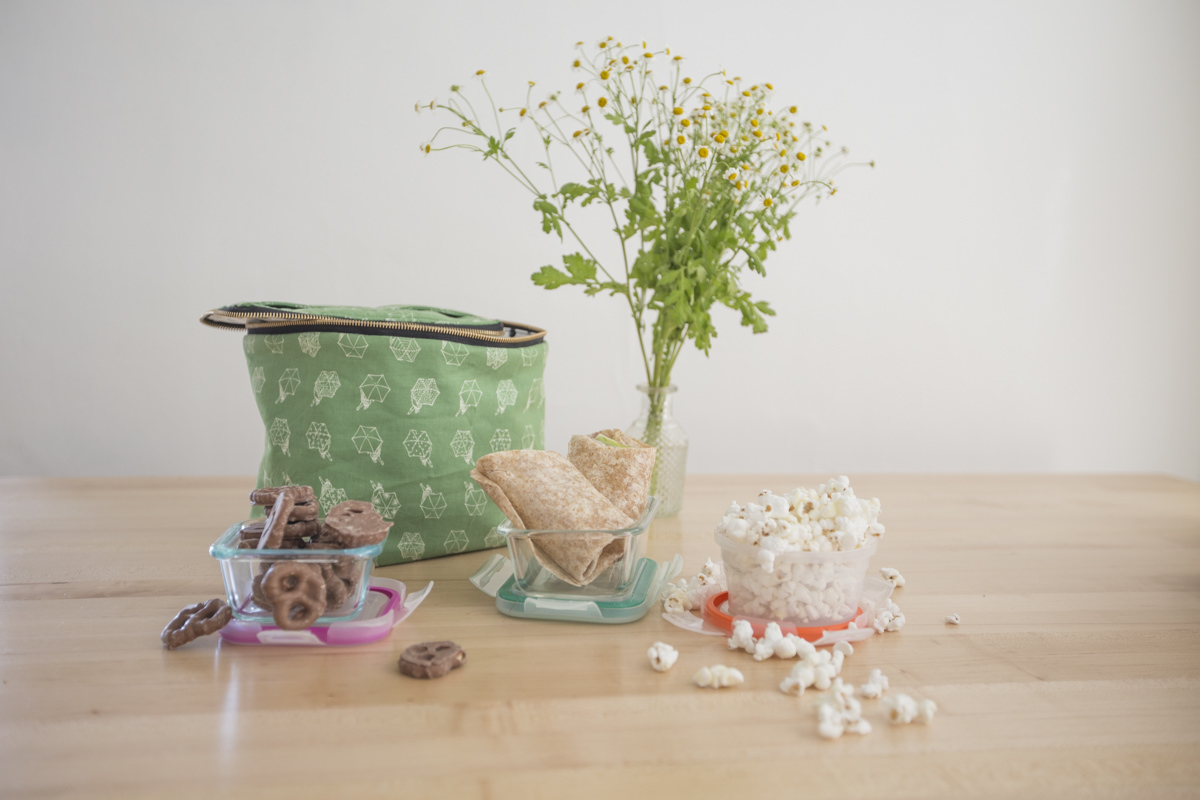
I thought that this was a worthy competitor to the Kate Spade, with the bonus that it combined all the elements I wanted. It has the same look, but it also has the insulated feature and waterproof lining inside—all things I think make a quality lunch box. This lunch box is something I’ll totally use, and it serves as major motivation to pack a lunch!
 For more back-to-school fun, check out these projects from Dunn DIY: Back to School DIY Magnets DIY Pencil Holder


