How to Build an Inexpensive Cedar Birdhouse

"I love this design because it’s so simple—all of the pieces come from a single board of cedar fencing."
Materials
Tools
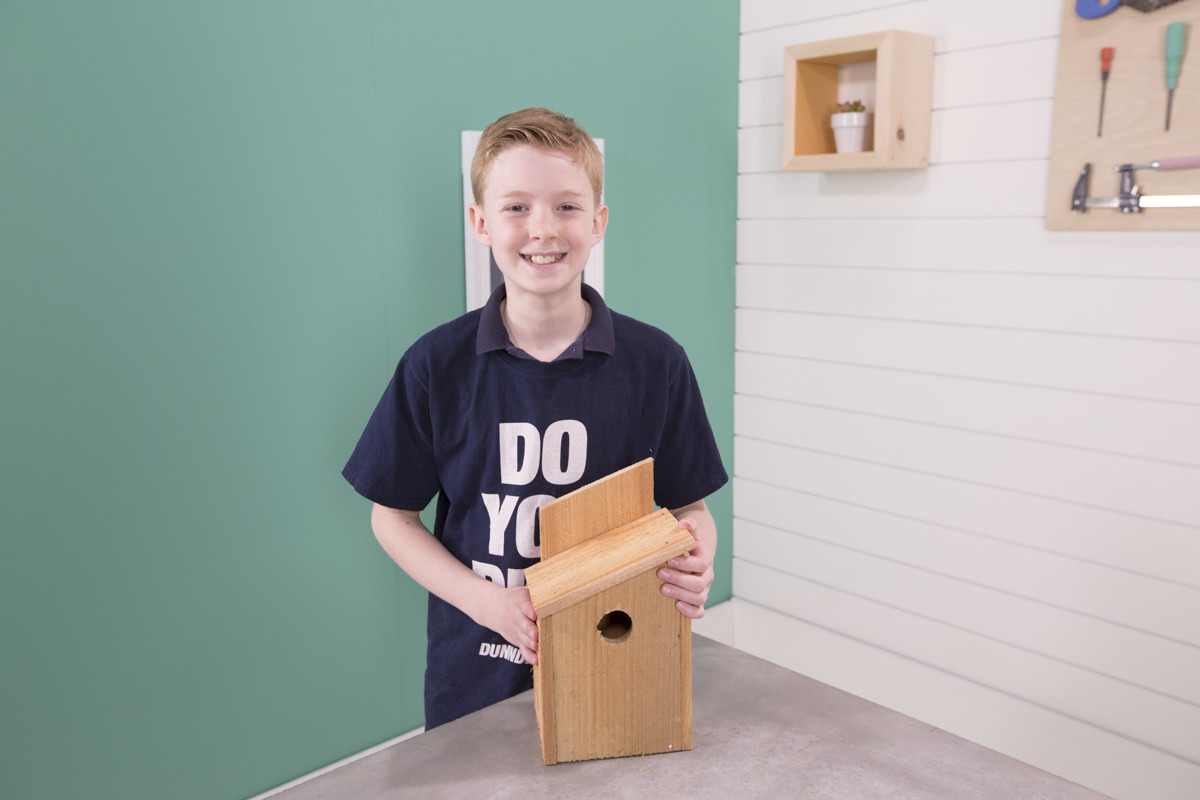
This Father’s Day, we wanted to come up with a project that was easy, kid-friendly, and dad-approved. Behold! The $5 birdhouse.
I love this design because it’s so simple—all of the pieces are cut from a single board of cedar fencing, which is wonderful for many reasons. First, it’s fairly thin, which means it is not only easy to work with, but it’s lightweight and therefore easy to hang. Second, because it’s fencing material, it’s perfect for the outdoors. A cedar fence board is naturally rot and bug-resistant, which means you don’t have to finish it. Finally, it’s inexpensive! This project (which Todd discovered) only cost us $5.
Before we got started, I did some research on Birds and Blooms, where I learned that bluebirds, house wrens, chickadees, tree swallows, and sparrows are the most common birds that use a birdhouse. I also learned that birds are far less picky than bats (but we've DIYed a house for bats, too). You know the perch that’s often added below the hole on a birdhouse? Yeah, it doesn't seem to be necessary—birds are better at landing in a vertical hole than anyone gives them credit for. You can add a dowel for a perch if you feel like it, but it’s not needed.
Ready? Let’s get started!

Step 1: Cut the Pieces
Cut the cedar fence board as shown in our handy cutting diagram (below). You’ll end up with 6 pieces plus a bit of scrap. You can use a handsaw for this project, or a power saw. A miter saw makes this work easy thanks to its ability to do angled cuts, but a circular saw works just as well. After you’ve cut each piece, mark it with a pencil (“front,” “back,” etc.) so you know which piece is which during assembly.

Step 2: Dry Fit
Once the pieces are cut and marked, it’s time to do a dry fit to familiarize yourself with the pieces and how they work together. Set the bottom of the birdhouse on a flat surface, and place the four sides around (but not on top of) the bottom. The bottom piece is secured last, and will remain loose until the end.
Bats are more high maintenance than birds, which means this project doesn’t need to be perfectly sealed or temperature-regulated. If everything doesn’t fit together completely seamlessly, it’s not the end of the world. The biggest thing is making sure the bottom fits inside the four sides.
Step 3: Drill a Hole
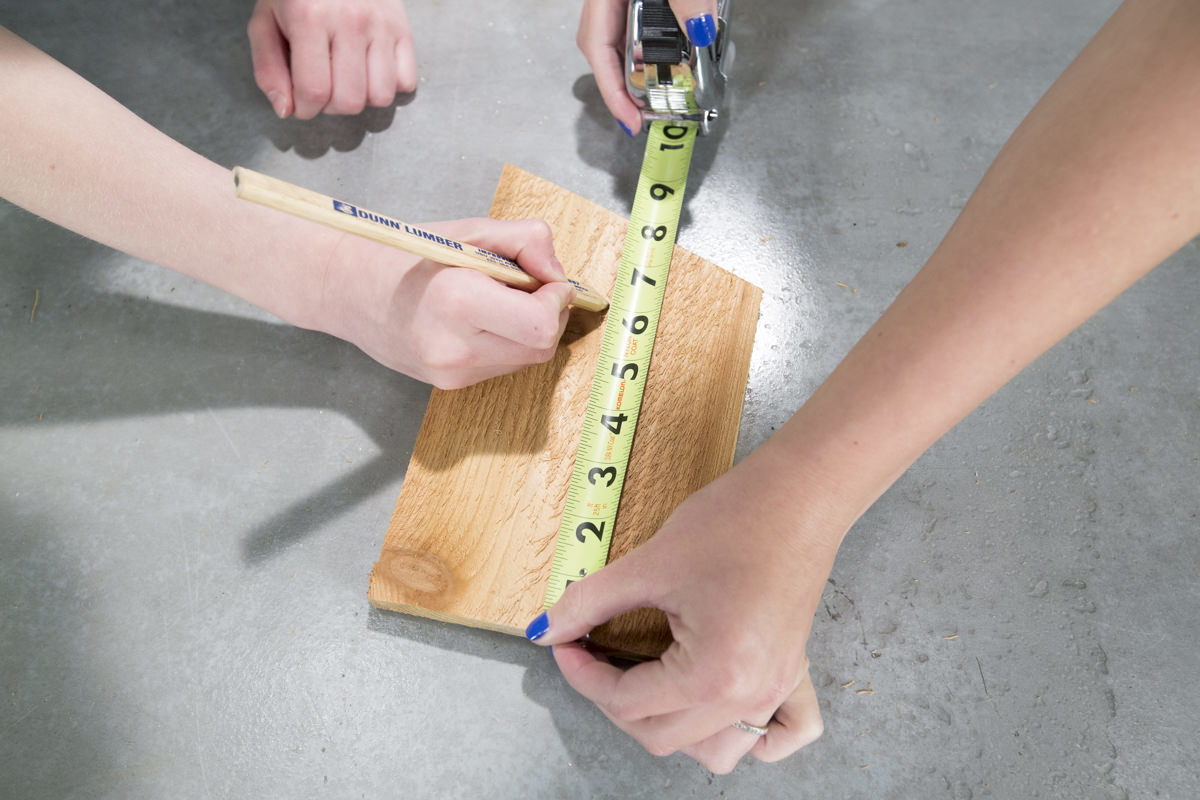
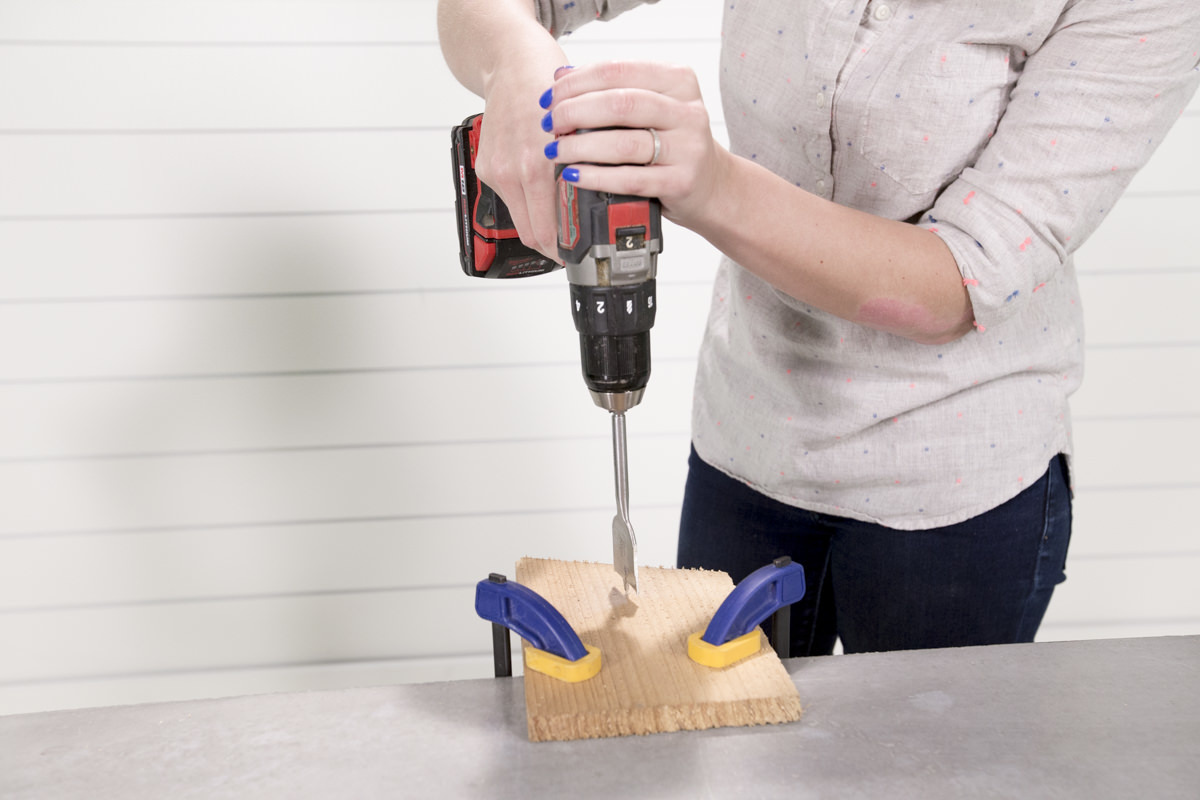
To create the front door, grab the piece labeled “front,” measure 6” up from the bottom, and mark a spot equidistant from each side. The height of the door is important—it allows the birds to hide down below in their nest, away from the outside world. Using a 1 ¼” or 1 ½” spade bit, drill a hole over the marked spot.
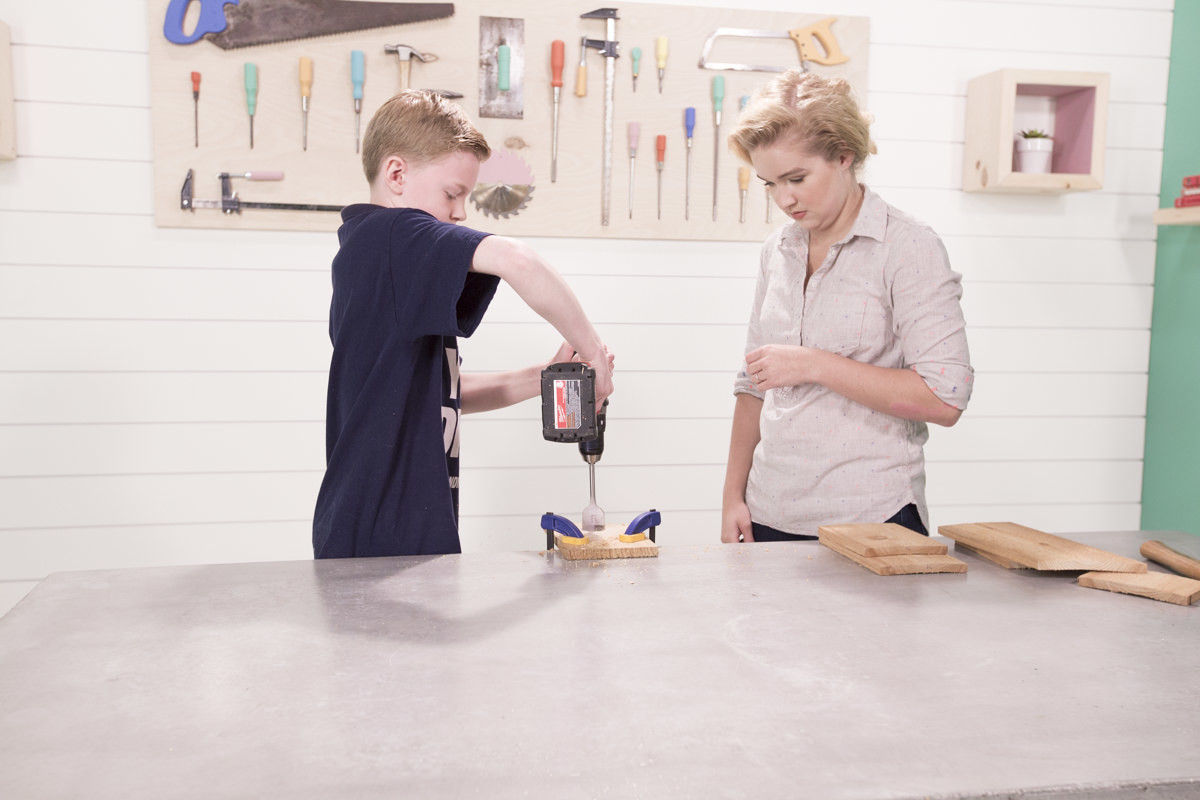
Pro tip: Watch for knots. Things went horribly wrong for us here on our first try. First of all, when you’re drilling a hole that’s big, you absolutely want to clamp down your wood in more than one place. Why? The drill can have some kickback, which is good to know before going into it, especially if you’re working on this project with kids. We were drilling, ran into a knot in the wood, and the whole board snapped in half. Whoops.
Cedar’s a pretty soft wood, and a knot is generally a lot tougher than the rest of the wood you’re working with. As a result, a knot can be pretty difficult to work around. If you’re drilling a screw through a knot for instance, the head won’t sink into the wood the way it’s supposed to and instead kind of sits on top. Unless you have a really good saw, you can run into problems with cutting, too. And, as we learned, drilling can split the wood, or at the very least causes the drill to kick back and hurt your wrist. No good.
We were able to make it work using a different, leftover portion of our 5' board, but if you're running into too many knots you can start with a piece of premium cedar fencing with fewer knots.

Step 4: Assemble
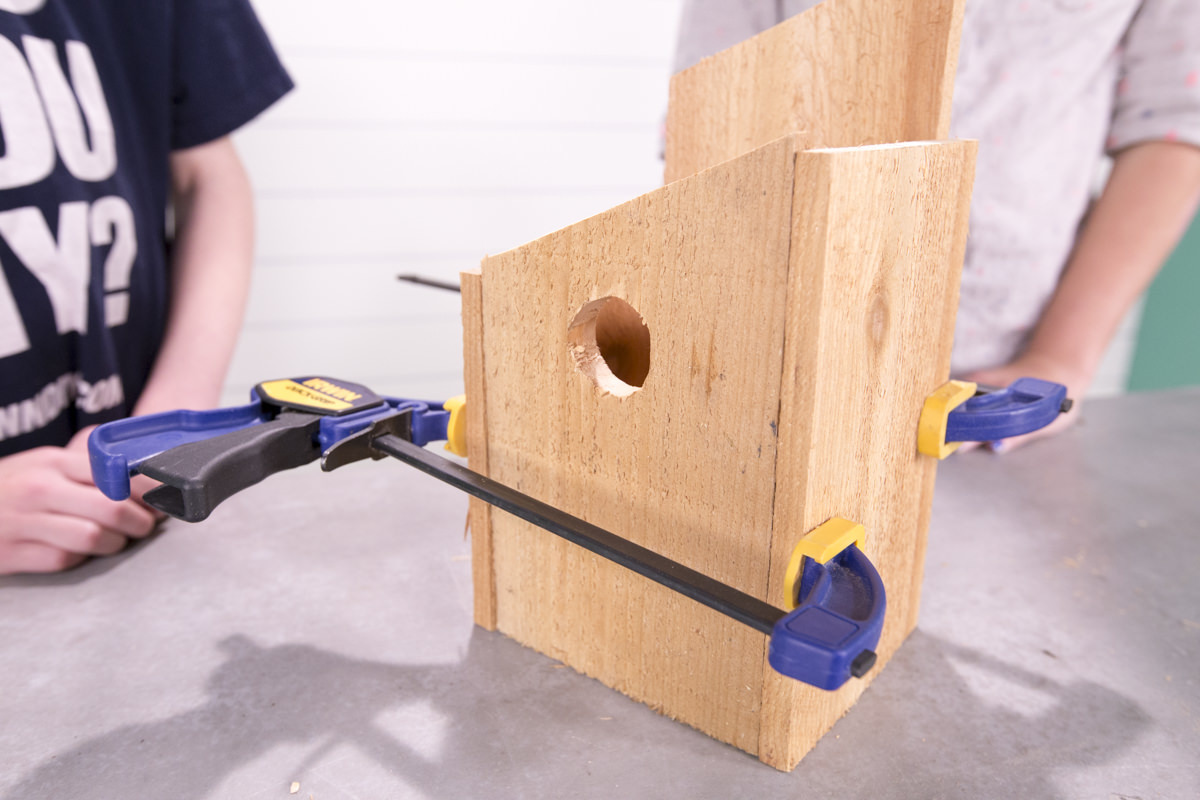
Now that everything fits and the door has been made, it’s time to assemble. Before you get started, clamp all the sides together. It takes a little bit of patience to figure it out, but we found that laying the birdhouse on its side while nailing (since the nail is going down vertically) makes it much easier—and the added benefit of gravity helps, too.
a) Attach the two sides to the front and the back
You’ll be nailing in multiple spots through the face of the sides and into the edges of the front and back.
Pre-drilling makes everything easier, especially if you’re doing this with kids. The structure is so small and the wood is so light that it’s hard to get a lot of force behind the nails without having the board fall apart before you get the nail in. We found that drilling with a 1/16” bit makes the process really simple. We suggest having an adult do the drilling, then letting the kid follow up with the nailing—it’s far more likely that the nail will go in straight if there’s a hole to follow.
b) Attach the roof
Nail down through the roof into both sides and the front. Then, nail through the back into the edge of the roof. You’re almost done!
c) Attach the bottom
The bottom is attached with two pivot nails so it can swing down for cleaning. Think of it as an axle running from front to back on one side of the bottom piece.
On the bottom left-hand corner of the front, drive a nail most of the way through the front and into the vertical edge of the bottom piece behind. Next (on the bottom right-hand corner of the back), drive another nail through the back and into the bottom piece. The bottom piece should swing open on the two nails. If it’s a little stiff, that’s fine.
Using a clamp, secure the bottom in place. If the bottom piece is small and you’re having a hard time clamping it tight, use some shims (we used stir sticks). Secure the bottom from swinging open by driving a nail loosely into the bottom through the front or the side opposite the pivot nails. This last nail acts as a catch and keeps the bottom from swinging open when the nail is in place. We did this by drilling a hole with a bit that was slightly bigger than the nail, so the nail could slide in without a hammer. We used finish nails for this project, but I went with a flat head nail for this part because the head on the nail makes it easier to grip.
Step 5: Paint, Stain, or Leave Plain
It’s best to leave the inside of the birdhouse as raw wood, but you can stain or paint the outside if you’d like. We left ours natural.
Step 6: Find a Location
You can place your birdhouse near any spot that you think a bird might like. I found a lot of great ideas for Logan (he kept our finished product) at Birdhouses 101.
Step 7: Mount
Because the back piece extends above the rest of the birdhouse, you can use this area to secure the birdhouse to your location using wire, nails, or screws. Just go straight through the back (above the roof) and into your mount. Sides of houses, fence rails, and free-standing poles are suitable sites, but be wary of trees—they give squirrels easy access.
Birdhouses offer a safe, secure place for birds to build their nests. I found a baby bird in my yard that had fallen out of its nest. The whole thing about birds not touching their babies after they’ve been touched by (and smell of) humans is a myth, but before I went to help it, I did some research. Apparently, if you find a baby bird that appears to have fallen out of its nest and it’s cute and fluffy and can hop, you should leave it alone. In those instances, it’s a fledgling—and falling is part of the process of leaving the nest, which means the bird is fine. If you find a baby bird that’s a little rough around the edges and can’t hop, then it’s fallen out by accident—and you can, in fact, put it back.
The nest the bird fell from was built between two posts in our trellis, and had dislodged and was hanging sideways. I went to right the nest and put the fallen bird back when I realized there may be more baby birds, and sure enough, when I peeked into the still-sideways nest, I saw two of them clinging on for dear life. I got a ladder and a piece of ¼” plywood I had on hand, and slid it under the nest, careful not to disturb the little birds inside. Now, the nest is sitting safely upright on a piece of plywood between two posts, the three little birds are back together, and the mom is happily flying to and from their home!


